What Is the Best Way to Remove Wallpaper? Pro Method

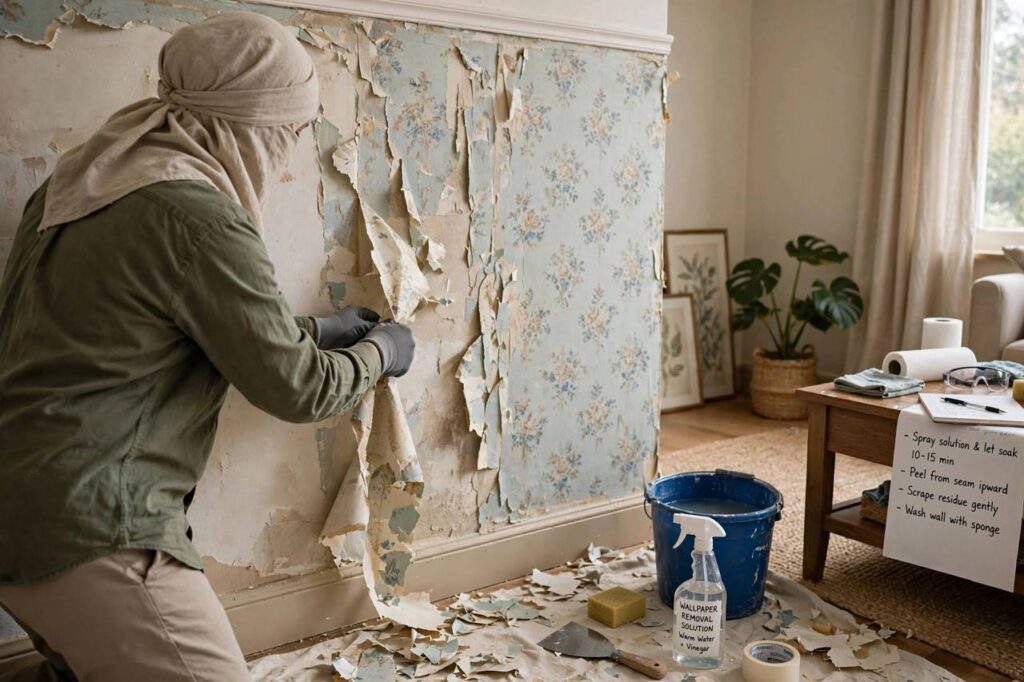
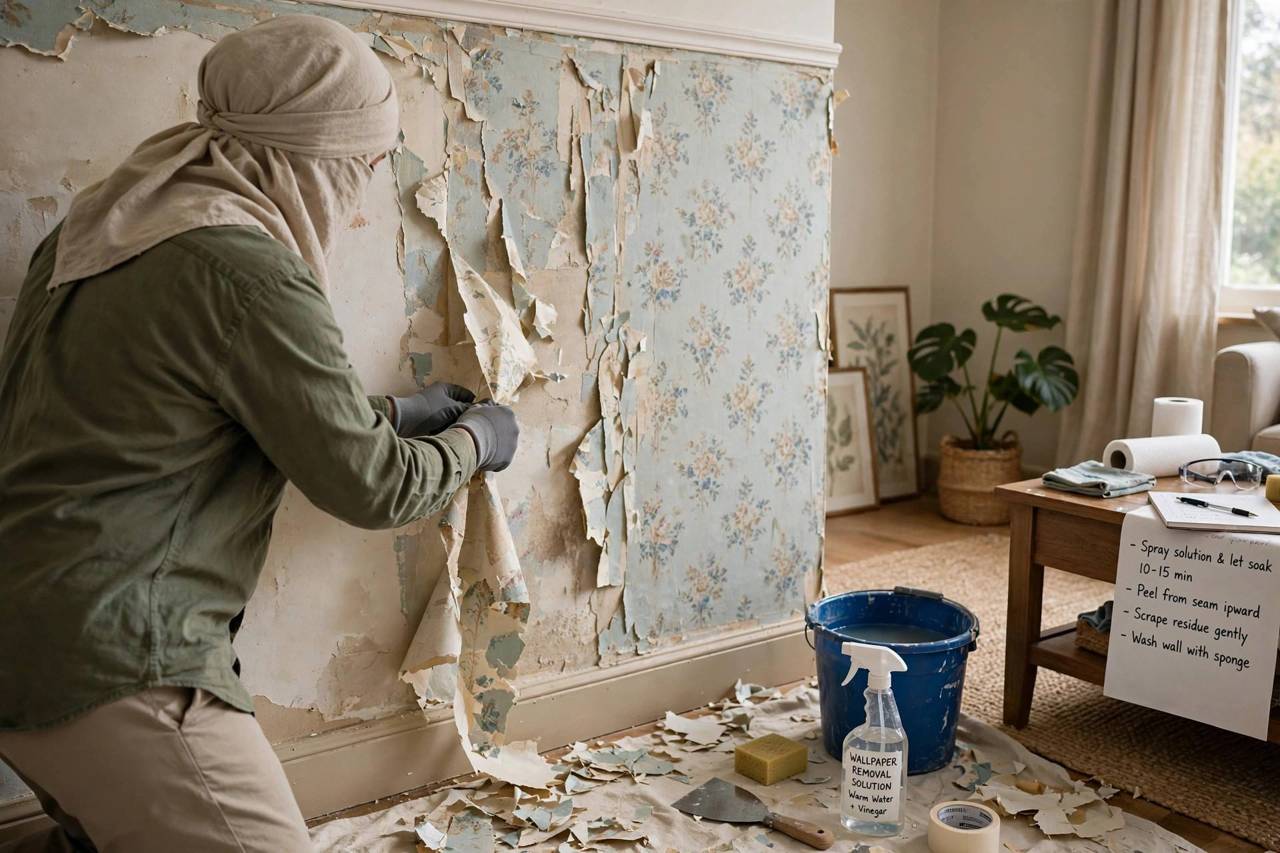
There’s a moment in every wallpaper removal project — usually about twenty minutes in, arms aching, with a patch of wall that refuses to budge — when you ask yourself whether the wallpaper is actually part of the wall now. I’ve been there. The good news: the answer to what is the best way to remove wallpaper isn’t what most people try first (dry-scraping in frustration until the drywall comes off with it).
What is the best way to remove wallpaper? The method professionals use: score the surface, apply hot water or steam to dissolve the adhesive, and peel in sections — paper layer first, then the backing. Done right, the wallpaper practically falls off. Done wrong, you’re repairing drywall for a week. This guide walks through the full process: prep, tools, the step-by-step method, and how to handle every type of wallpaper and every problem you’ll hit.
Before You Start: What Kind of Wallpaper Is It?
The removal method depends on the wallpaper type, so identify yours first. Peel back a corner in an inconspicuous spot — behind a door is perfect — and see what happens.
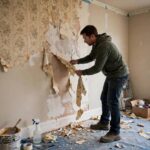
Strippable wallpaper (common in homes built or renovated since the 1990s) peels off in full sheets with no water needed. If a corner pulls away cleanly, leaving the wall mostly bare, you’ve won the lottery. Just peel slowly at a low angle and you’re done in an afternoon.
Peelable wallpaper has a decorative top layer that pulls off, leaving a paper backing stuck to the wall. Remove the top layer dry, then deal with the backing using water or steam as described below.
Traditional / non-strippable wallpaper — the old stuff, often layered over older stuff — is fully glued down and needs the complete wet method. This is the most work, but it’s still very doable.
Also check for layers. Old houses often have two, three, or more layers of wallpaper stacked like geological strata. Each layer needs to come off separately. And check whether the wall underneath was primed before papering — unprimed drywall is the nightmare scenario, because the adhesive bonds directly to the paper face of the drywall. (More on that below.)
Tools and Materials You’ll Need
Gather everything before you start. Stopping mid-project to buy supplies, with half a wall of wet paper, is miserable.
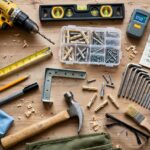
The essentials: a scoring tool (a small handheld device with rotating perforating wheels — the most important ten dollars you’ll spend), a pump sprayer or large sponge, a bucket, a wallpaper steamer (rent one for about a day’s cost; it’s worth it for large jobs), a broad putty knife or wallpaper scraper with a flexible blade, drop cloths, painter’s tape, a ladder, and trash bags. Optional but helpful: a spray bottle of commercial wallpaper remover solution, though hot water with a squirt of dish soap works nearly as well.
Prep the room properly. Remove outlet and switch covers (turn off the power to those circuits first — you’re about to spray water near electrical boxes). Tape plastic over the outlets. Lay drop cloths over the floor and tape them to the baseboards. Move furniture to the center and cover it. Wallpaper removal is wet, messy work; an hour of prep saves three hours of cleanup.
What Is the Best Way to Remove Wallpaper? The Full Process
Step 1: Score the wallpaper
Run the scoring tool over the wallpaper in overlapping circular motions, covering every square inch. The tiny perforations let water penetrate through the wallpaper’s protective surface to the adhesive underneath. Without scoring, water just beads up and runs off — this is the step most DIYers skip, and it’s why their wallpaper won’t budge. Be firm but don’t gouge; you’re perforating the paper, not carving the wall.
Step 2: Soak it thoroughly
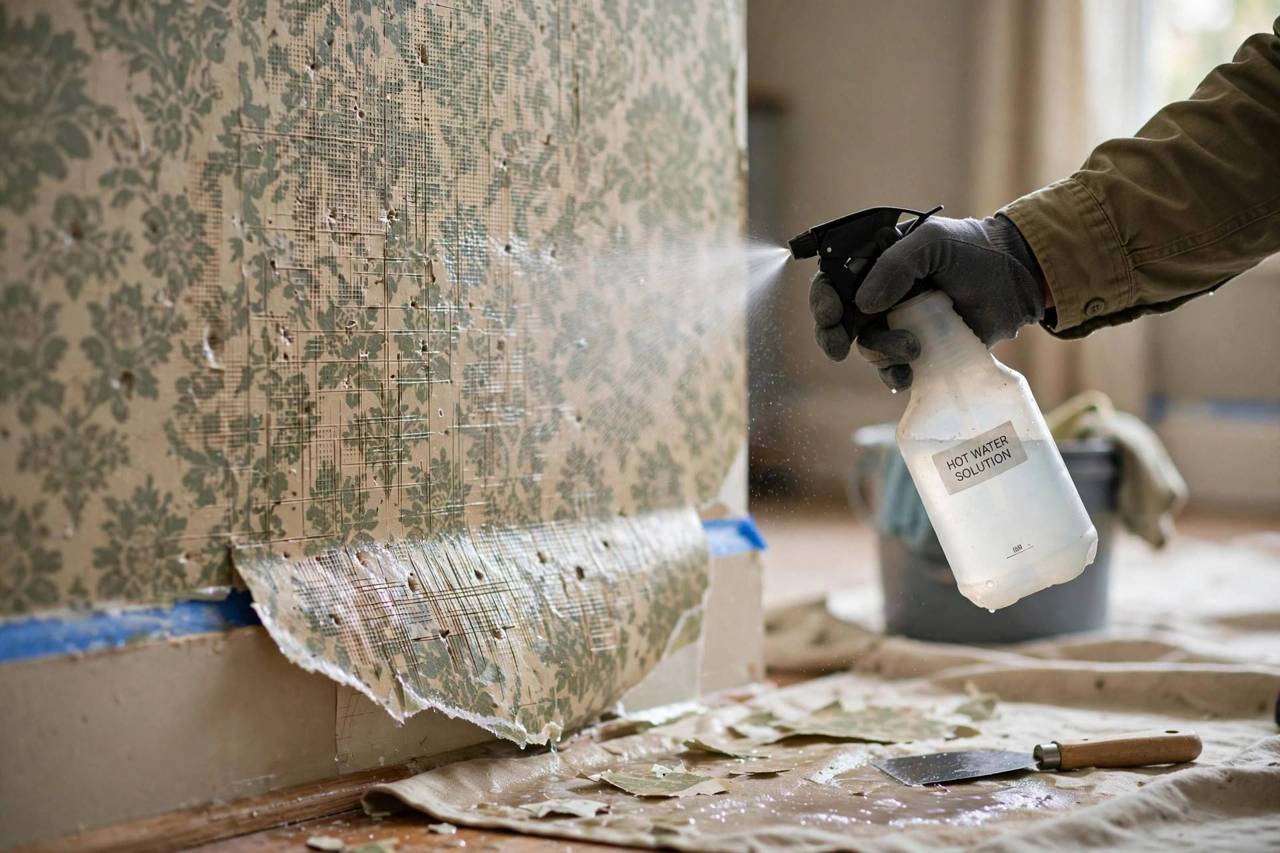
Fill your pump sprayer with the hottest tap water you can stand, plus a squirt of dish soap. Spray a section of wall — about a four-foot-wide area — until it’s visibly wet and dripping slightly. Then wait. This is the hard part for impatient people: give it 10–15 minutes. The water needs time to soak through and dissolve the adhesive. Spray it again halfway through the wait.
Work in sections. If you soak the whole room at once, the first section will dry out before you get to it. Four feet at a time, soak-wait-scrape, move on.
Step 3: Scrape and peel
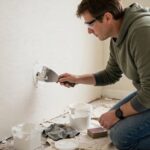
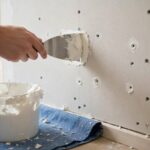
Starting at a seam or scored edge, slide your putty knife under the paper at a low angle — almost flat against the wall — and push. The paper should come away in satisfying sheets or strips. When you hit a stubborn patch, don’t force it; re-wet it and wait five more minutes. Forcing dry paper tears the drywall face underneath, and that’s how a wallpaper job becomes a drywall repair job.
For peelable wallpaper, pull the decorative layer off dry first (it usually comes away easily once you get a corner started), then soak and scrape the backing layer underneath.
Step 4: Get the backing and residue
After the face paper is off, you’ll usually find a thin backing layer or a film of adhesive still on the wall. Soak it again and scrape with the putty knife. Then wash the entire wall with hot water, dish soap, and a sponge, changing the water when it gets cloudy. This step matters more than people think — leftover adhesive will show through new paint as shiny patches and can prevent new wallpaper from sticking.
To check: run your hand over the dry wall. If it feels slick or slimy anywhere, there’s still adhesive. Wash again. The wall should feel like plain drywall or plaster when it’s truly clean.
Step 5: Repair and prime
Inspect the walls in good light. Fill any gouges or torn spots with lightweight spackle, let it dry, sand smooth, and wipe off the dust. Then prime — always prime before painting over a wall that had wallpaper. Use a quality primer; it seals any remaining adhesive residue and gives paint something uniform to grip. Skipping primer is the most common reason repainted walls look patchy.
When to Use a Steamer Instead
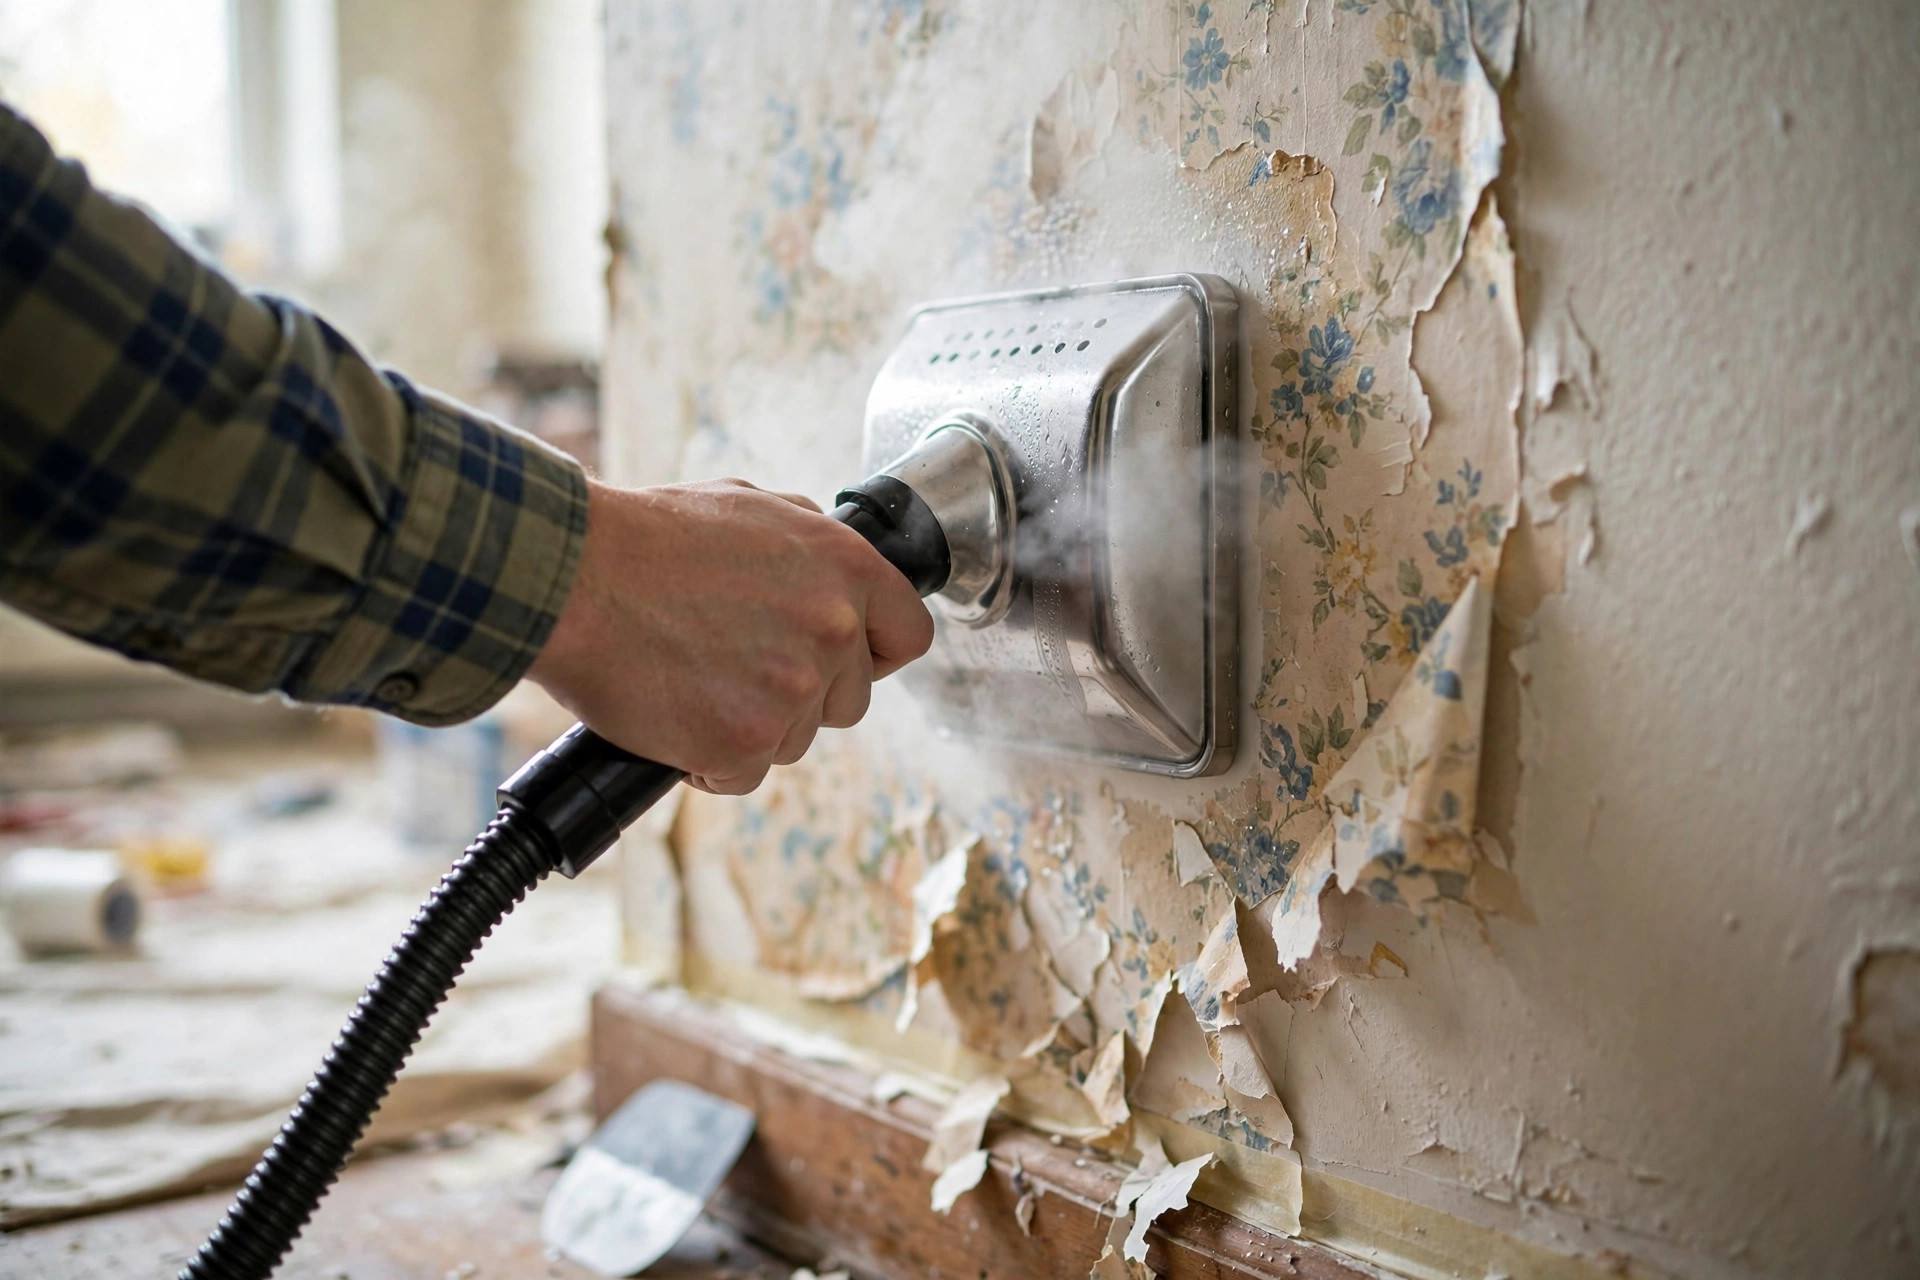
For large rooms, multiple layers, or truly ancient wallpaper, rent a wallpaper steamer. It’s a simple device: a water tank that boils, a hose, and a flat plate you hold against the wall. The steam penetrates and loosens adhesive far faster than sprayed water — hold the plate on a section for 20–30 seconds, then scrape while it’s hot and soft.
Steamers are dramatically faster, but they have rules: keep the plate moving (holding it in one spot too long can damage drywall or melt old paint underneath), wear gloves (steam burns are no joke), and work top-down so loosened paper falls away from your work area. For a whole house of wallpaper, a steamer rental pays for itself in the first hour.
Troubleshooting the Nightmare Scenarios
Wallpaper over unprimed drywall: the adhesive has bonded to the drywall’s paper face, and aggressive scraping will tear it. Go gently — more soaking, less force. If the drywall face tears in spots, that’s what spackle and primer are for. In extreme cases, professionals skim-coat the entire wall with joint compound rather than fighting every inch.
Paint over wallpaper: someone painted over the wallpaper instead of removing it (it happens constantly). The paint seals the surface so water can’t penetrate. Score aggressively — deeper than usual — and consider a steamer. It’ll take longer, but it still comes off.
Border strips at the top: borders are usually the easiest part — they’re narrow and often strippable. Peel what you can dry, then soak the rest.
Adhesive that won’t wash off: some old pastes are stubborn. A commercial enzyme-based remover can help, or a 50/50 mix of hot water and white vinegar. As a last resort, sanding with fine-grit sandpaper takes off residue — but sand gently and wear a mask, especially in older homes where lead paint might be under the wallpaper.
Lead paint warning: if your home was built before 1978, assume there may be lead paint under the wallpaper. Don’t sand aggressively or create dust without testing. A lead test kit costs very little and takes minutes. This is one area where calling a professional is genuinely the smart move.
How Long Does Wallpaper Removal Actually Take?
Set expectations before you start. A standard 12×12 bedroom with one layer of strippable wallpaper: half a day, easy. The same room with traditional glued wallpaper: a full day. Multiple layers, or wallpaper over unprimed drywall: a weekend. A whole house: plan room by room across several weekends, not one heroic push.
The biggest time variable isn’t the wallpaper — it’s the learning curve. Your first wall will take three times as long as your fourth. That’s normal. By the time you finish the first room, you’ll have a rhythm: score, soak, wait, scrape, move on. Don’t judge the project by the first hour; judge it by the third.
Frequently Asked Questions
What is the best way to remove wallpaper?
Score the surface with a perforating tool, soak sections with hot water (plus a drop of dish soap), wait 10–15 minutes, then scrape off with a putty knife at a low angle. For large jobs or stubborn paper, rent a wallpaper steamer. Always wash off all adhesive residue afterward and prime before repainting.
Can you remove wallpaper without a steamer?
Yes — hot water, patience, and a scoring tool handle most wallpaper. A steamer just does it faster. For a single room of standard wallpaper, the spray-and-soak method is perfectly adequate. Reserve the steamer rental for whole-house jobs or multiple layers.
How do you remove wallpaper without damaging drywall?
Soak thoroughly and never force dry paper — that’s what tears the drywall face. Keep your scraper at a low angle, re-wet stubborn spots instead of gouging them, and accept that minor touch-ups with spackle are normal. The damage comes from impatience, not from the wallpaper itself.
Do you have to wash walls after removing wallpaper?
Yes, and don’t skip it. Leftover adhesive causes paint to look patchy and can make new wallpaper fail to stick. Wash with hot water and dish soap until the wall feels like clean drywall, not slick or slimy.
Is it better to paint over wallpaper or remove it?
Removing it is almost always better. Paint over wallpaper can look acceptable temporarily, but seams eventually show, edges can lift, and moisture can cause bubbling. Removal is more work upfront but gives a far better and longer-lasting result.