How to Remove Wallpaper Easily: The Pro Method That Works

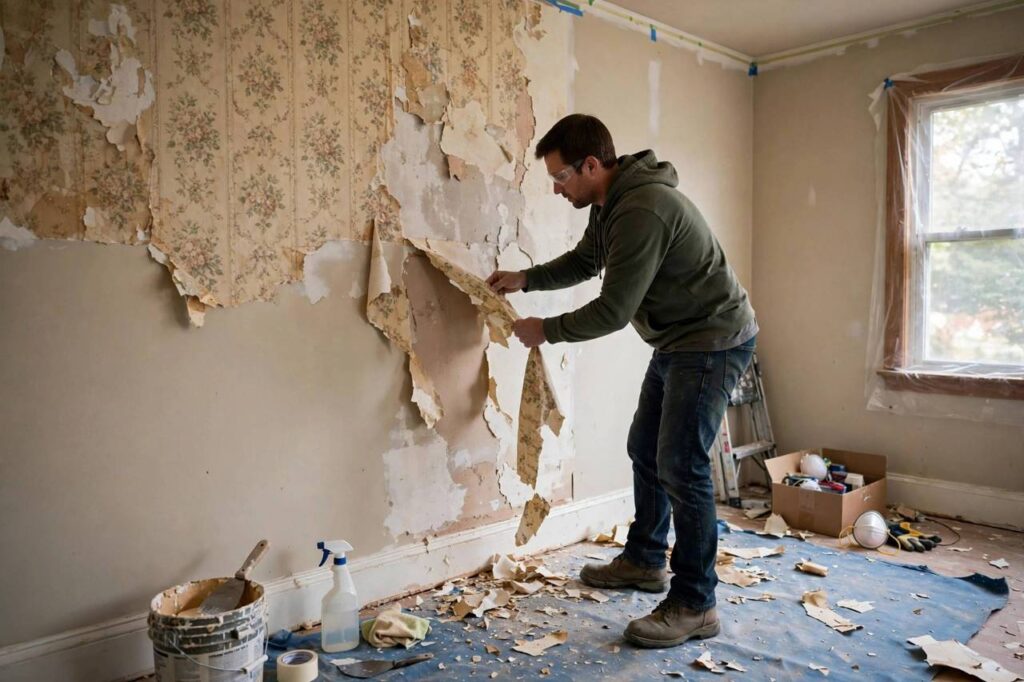
Wallpaper removal has a terrible reputation, and honestly, most of it is earned — by people who attack it dry with a putty knife and pure optimism. Do it wrong and you’ll spend a weekend gouging drywall and questioning your life choices. Do it right, and it’s just… a chore. A manageable, methodical chore. Here’s how to remove wallpaper easily: the method professionals actually use, the tools that matter, and the tricks that save your walls.
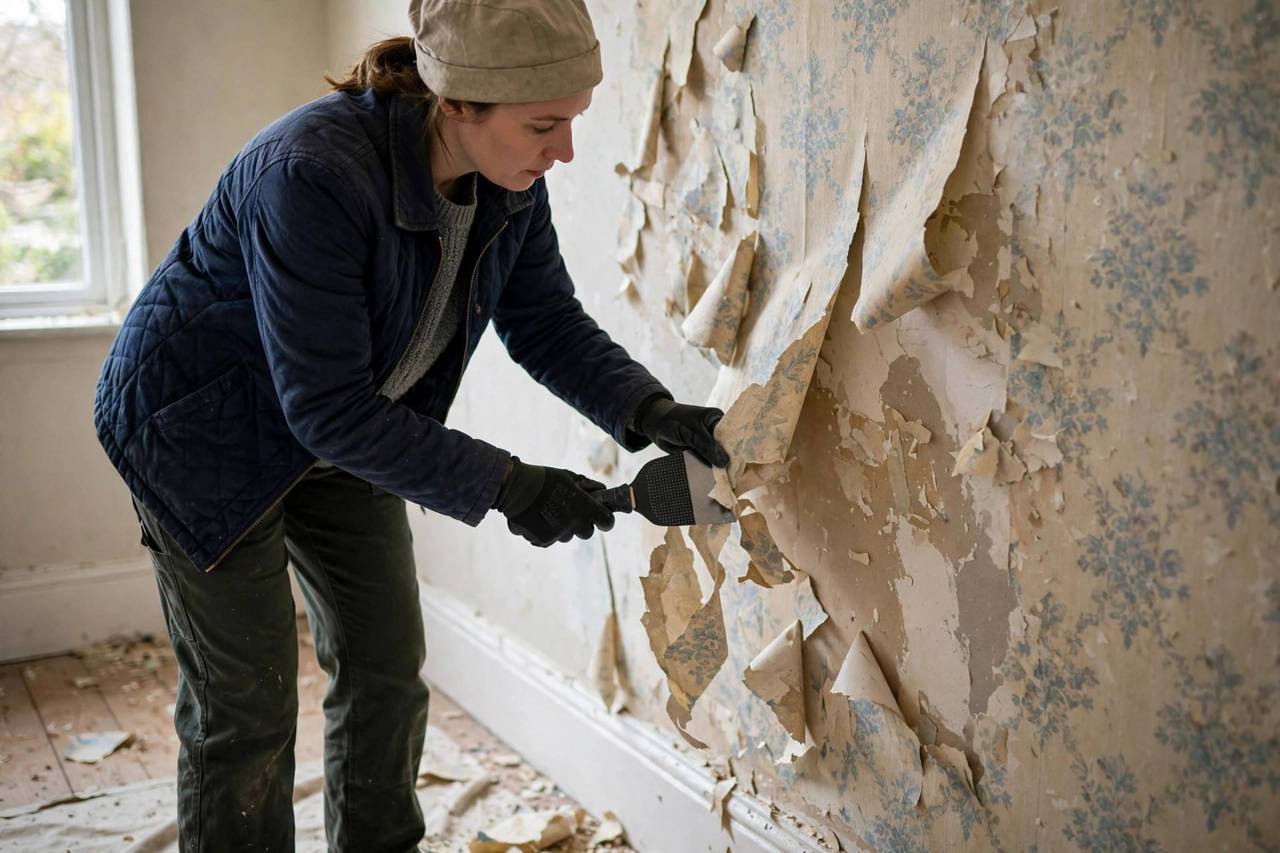
I’ve stripped wallpaper in dozens of houses. The whole job comes down to three things: water (or steam), patience, and working in the right order. Let’s get into it.
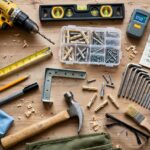
How to Remove Wallpaper Easily: What You’ll Need
- Wallpaper scoring tool — a small handheld tool with spiked wheels that perforates the wallpaper so water can get behind it. Cheap, essential for vinyl-coated papers.
- Pump sprayer or spray bottle — filled with hot water and a squirt of dish soap (or a dedicated wallpaper removal solution). A garden pump sprayer covers large areas fast.
- 3-4 inch putty knife or wallpaper scraper — plastic is gentler on drywall; metal is faster but riskier. Get both; they’re cheap.
- Drop cloths and painter’s tape — this gets wet and messy. Protect floors and trim.
- Bucket, sponges, and trash bags — for cleanup and for wiping paste residue.
- Step ladder — for the tops of walls.
Optional but worth it for big jobs: a wallpaper steamer (rents for a day cheaply and melts through stubborn paper). For one accent wall, skip it. For a whole house, rent it — your arms will thank you.
Step 1: Prep the Room (Don’t Skip This)
Move furniture to the center and cover it. Lay drop cloths along every wall you’re working on — soaked wallpaper backing turns into a pulpy mess that will find your carpet. Tape the drop cloths to the baseboards so they don’t slide.
Turn off power to outlets and switches on the walls you’re stripping (water + electricity = bad day), and cover them with painter’s tape. Remove outlet and switch covers so you can get the paper from behind them — you’ll be amazed how much cleaner the final result looks.
Step 2: Test a Corner and Identify Your Wallpaper Type
Before committing to a method, peel back a bottom corner with your putty knife and see what happens:
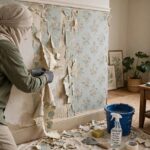
Peelable/strippable wallpaper pulls off in full sheets, leaving the wall nearly clean. If you’re lucky enough to have this, the job is mostly just peeling — congratulations, you won the wallpaper lottery.
Traditional paper with paste tears in strips and leaves paste on the wall. This is the standard job — water, patience, scraping.
Vinyl-coated wallpaper has a plastic-feeling top layer. The vinyl layer often peels off separately, leaving a paper backing glued to the wall — that backing then needs the full water-and-scrape treatment. The scoring tool is essential here to let water through.
Painted-over wallpaper is the nightmare scenario. Multiple layers of paint seal the paper completely. Score aggressively, use extra water (or rent the steamer), and accept that this wall will take twice as long. It’s still doable — just slower.
Step 3: Score, Soak, and Scrape (The Core Method)
Here’s the actual technique, and the order matters:
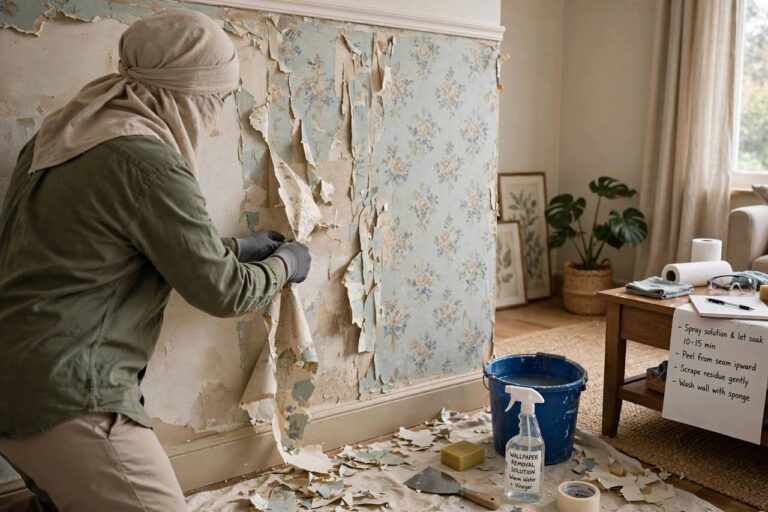
Score first. Run the scoring tool over the wallpaper in overlapping circles, pressing firmly enough to perforate but not so hard you gouge the drywall underneath. Cover the whole section you’re about to work — about a 4-foot-wide area at a time.
Soak thoroughly. Spray the scored section generously with hot soapy water. You want it genuinely wet, not misted. Wait 10-15 minutes. Then spray it again. The waiting is the hard part — the water needs time to dissolve the paste. Impatience here is what leads to gouged walls.
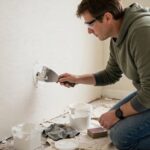
Scrape at a low angle. Slide your putty knife under the paper at a shallow angle — almost flat against the wall — and push. The paper should come off in satisfying sheets or strips. If it’s fighting you, it needs more water and more time, not more force. Re-soak and wait.
Work top to bottom, section by section. Don’t soak the whole room at once — work in sections so the water doesn’t dry before you scrape. As you clear each section, drop the debris straight into trash bags. Wet wallpaper on the floor becomes a slipping hazard fast.
Step 4: Remove the Leftover Paste
Getting the paper off is only half the job. The wall underneath is coated in old paste, and if you paint over it, the paint will crackle and peel. Test by running your hand over the dry wall — if it feels slimy or tacky when damp, paste remains.
Wipe the walls down with hot water and a sponge, using a paste-dissolving solution or a TSP substitute for stubborn areas. Rinse the sponge often. Let the wall dry completely, then run your hand over it once more. It should feel like clean, slightly chalky drywall — no slickness, no stickiness.
This step is boring and nobody wants to do it. Do it anyway. Every wallpaper-removal horror story about paint failing a month later traces back to skipped paste removal.
Step 5: Repair and Prep for What’s Next
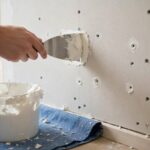
Stripped walls are never perfect. Fill gouges and dings with lightweight spackle, let it dry, sand smooth with 120-grit sandpaper, and wipe off the dust. For walls that took a beating, a skim coat of joint compound over the worst areas gives you a fresh canvas.
Prime before painting — always. Bare drywall and spackle absorb paint unevenly, and old paste residue can bleed through. A good stain-blocking primer seals everything and gives your topcoat a uniform surface. Two coats of quality paint over proper primer, and nobody will ever know what that wall used to look like.
While you’re refreshing the space, it’s a natural moment to declutter the room and rethink the layout — a freshly painted room with less stuff in it feels twice as big. And if the room is on the smaller side, small-space decorating ideas help you make the most of the newly blank canvas.
Troubleshooting Stubborn Wallpaper
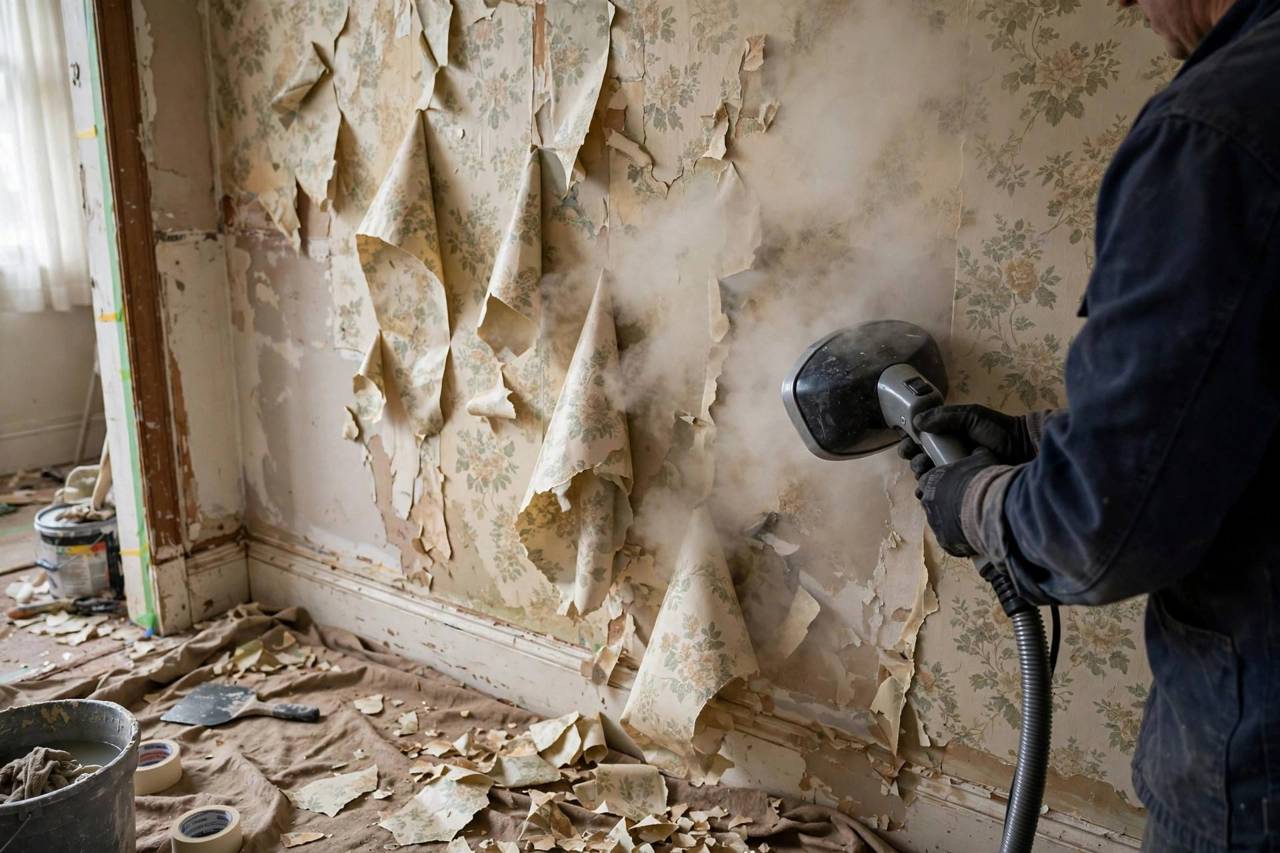
Paper won’t budge at all: score more aggressively, use hotter water, wait longer. If it’s truly sealed (painted-over vinyl), rent a steamer — hold the steam plate on each section for 15-20 seconds, then scrape while it’s hot. Steam is the nuclear option and it works on almost everything.
Backing layer stays glued down: totally normal with vinyl papers. Treat the backing as its own wallpaper: score, soak, scrape. It usually comes off easier than the top layer did.
Drywall paper tearing: you’re scraping too aggressively or the drywall wasn’t primed before wallpapering (common in older homes). Ease up, use more water, and keep the scraper angle shallow. Small tears get skim-coated later — don’t panic.
Paste won’t wash off: switch to a dedicated paste remover or TSP substitute, use hotter water, and change your rinse water frequently. Some old pastes (especially wheat-based ones) need multiple passes.
A few more stubborn-wallpaper situations and their fixes. Wallpaper that shreds into tiny pieces usually means it was hung without proper sizing or it’s the world’s cheapest paper — switch to smaller sections, keep everything wetter than feels reasonable, and accept that this wall will simply take longer. Vinyl wallpaper often has a peelable top layer: pull the vinyl face off first (it usually comes off in satisfying sheets), then deal with the paper backing underneath with the soak method. Paste that won’t budge after the paper is gone responds well to a second round with hot water and a splash of fabric softener, applied with a sponge and given ten full minutes to work before you scrub.
The Nightmare Scenario: Painted-Over Wallpaper
Every wallpaper remover dreads the same discovery: you start peeling and realize someone painted directly over the wallpaper. Maybe more than once. The paint seals the paper like shrink-wrap, water can’t get through, and your easy weekend project just became a war of attrition. Take a breath — it’s fixable, you just need a different battle plan.
First, assess how bad it is. Try the standard score-soak-scrape method on a test area. If the paper underneath is releasing and only the painted surface layer is fighting you, you’re in decent shape — score aggressively (more holes = more water penetration), soak longer than usual, and work in small sections. A garden pump sprayer becomes your best friend here because you’ll be applying a lot of water.
If the paint won’t let water through at all, you have two real options. Option one: rent a wallpaper steamer. Steam penetrates where liquid water can’t, softening both the paint film and the paste behind it. It’s slower and sweatier than the soak method, but it works on painted wallpaper that nothing else touches. Option two — and this is the honest contractor answer — skim-coat over it. If the wallpaper is firmly adhered (no bubbles, no peeling edges), you can seal it with an oil-based primer, skim-coat the seams and texture with joint compound, sand smooth, and paint. It’s not “removal,” but the wall looks perfect and you saved a weekend of misery.
The one thing you should not do: try to power through painted wallpaper with pure scraping force. You’ll gouge the drywall, and then you’re repairing walls and removing wallpaper. Patience or primer — pick one.
FAQ
What is the easiest way to remove wallpaper?
Score the wallpaper with a perforating tool, soak it thoroughly with hot soapy water (waiting 10-15 minutes), then scrape at a shallow angle. Patience with the soaking step is what makes it easy — forcing dry paper is what makes it hard.
Can I remove wallpaper without a steamer?
Yes, for most wallpapers. A scoring tool plus hot soapy water handles standard paper and vinyl-backed wallpaper. Rent a steamer only for large jobs or stubborn painted-over wallpaper — it’s the heavy artillery, not the starting point.
How do I remove wallpaper without damaging drywall?
Score lightly (don’t gouge), keep the paper well soaked so it releases easily, scrape at a shallow angle with light pressure, and never force dry paper. If the drywall paper face tears slightly, skim-coat it later — small damage is fixable.
Do I need to remove old paste before painting?
Absolutely. Paint applied over old paste will crackle, bubble, and peel. Wash walls with hot water and a paste-dissolving solution until they feel clean and chalky — not slimy — when dry, then prime before painting.
How long does it take to remove wallpaper from a room?
A standard bedroom with cooperative wallpaper takes most of a day including paste removal and basic repairs. Stubborn or painted-over wallpaper can double that. Working in sections with proper soaking is faster than rushing.
Can I just paint over wallpaper instead of removing it?
You can, but only if the wallpaper is in genuinely good shape — firmly stuck everywhere, no peeling seams, no bubbles, no texture you hate. The process: clean the walls, seal with an oil-based primer (this is non-negotiable — latex primer can reactivate old paste and cause bubbling), skim-coat any visible seams with joint compound, sand smooth, then paint. If the paper is peeling anywhere or you can see the seam pattern, removal is the better call — paint magnifies flaws instead of hiding them.