How to Patch a Hole in Drywall: From Nail Holes to Big Gaps

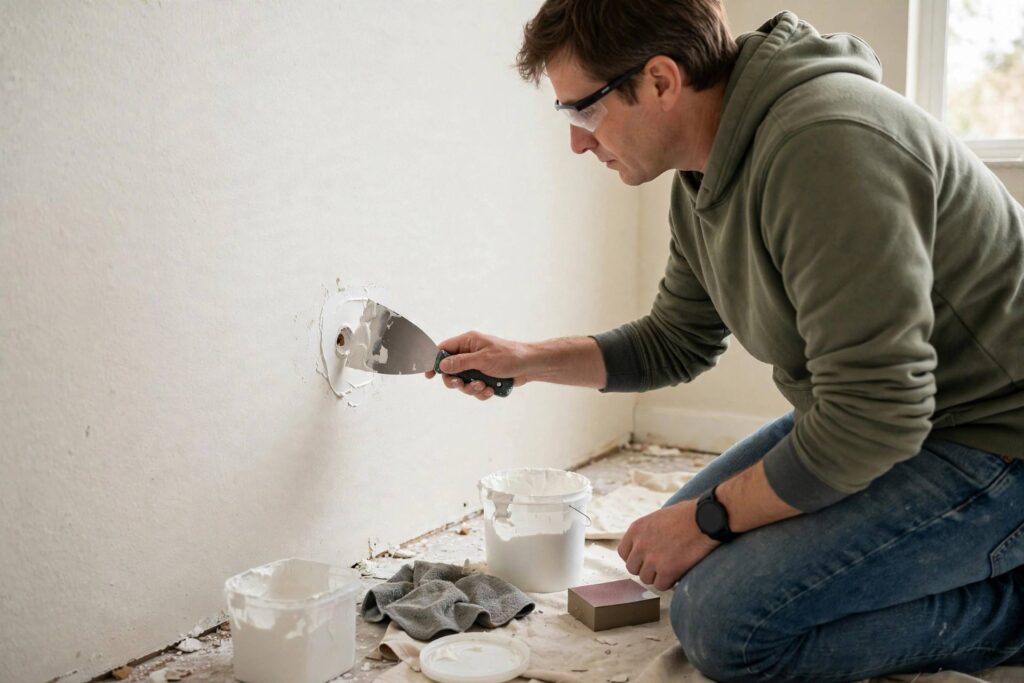
Drywall holes happen. Doorknobs, moving furniture, kids, “I swear the stud was right there” — I’ve seen them all, and I’ve fixed them all. If you’re wondering how to patch a hole in drywall so well no one can tell, here’s the good news: it’s one of the most satisfying DIY repairs there is. A hole that looks like a disaster in the morning can be invisible by dinner.
The trick is matching your method to the hole size. A nail hole and a doorknob hole are different jobs. Here’s exactly how to patch a hole in drywall at every scale — small, medium, and large — with the kind of finish that makes people ask “wait, where was the hole?”
What You’ll Need
For most drywall repairs, gather:
- Lightweight spackle (small holes) or joint compound (bigger jobs)
- Putty knives — a 1.5-inch for small work, a 6-inch for feathering
- Self-adhesive mesh patch or metal patch (medium holes)
- Utility knife
- Sandpaper or sanding sponge (120-grit, then 220-grit)
- Primer and matching paint
- For large holes: a drywall scrap, 1×3 wood furring strips, drywall screws, drill
Buy the small tubs, not the giant bucket, unless you’re patching half the house. Dried-out joint compound is useless, and an opened tub doesn’t last forever.
Small Holes: Nail Holes, Screws, and Minor Dings
Holes under half an inch — nail holes, small screw holes, minor dings — are the easiest fix in drywall repair. Don’t overthink it.
- Prep the hole. If there’s a raised bump around it (common with nail pops), press it flat with the handle of your putty knife or tap it gently with a hammer.
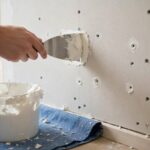
- Apply spackle. Press lightweight spackle into the hole with your finger or a small putty knife, then scrape flush with the wall. The goal is slightly overfilled — spackle shrinks a touch as it dries.
- Let it dry. Lightweight spackle dries fast — usually 30 minutes to an hour. It turns from gray/pink to white when dry (depending on brand).
- Sand smooth. Lightly sand with 220-grit until it’s flush and smooth. Use a light touch — you’re smoothing, not excavating.
- Prime and paint. Always spot-prime patched areas before painting. Joint compound and spackle absorb paint differently than the surrounding wall, and skipping primer leaves visible dull spots called “flashing.”
That’s it. Fifteen minutes of actual work. The drying time does the rest.
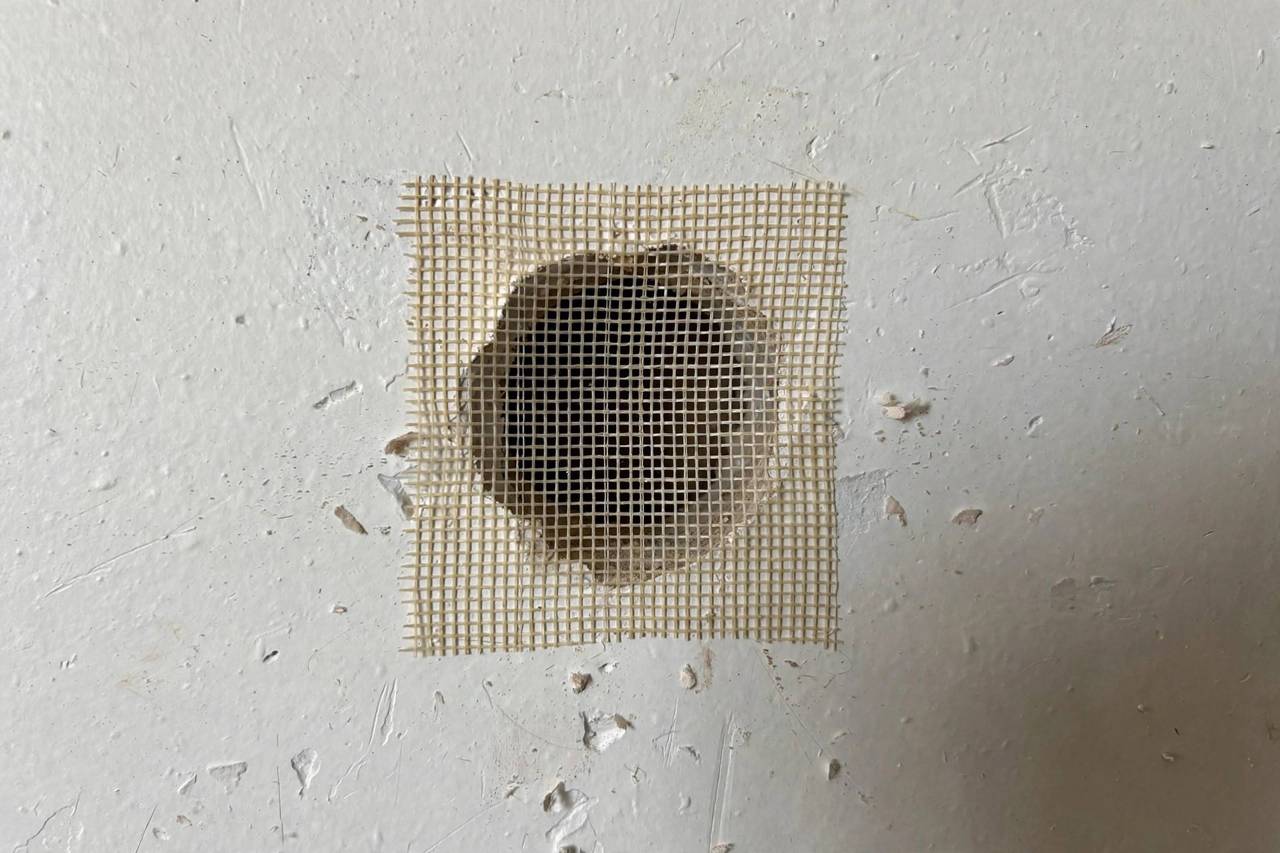
Medium Holes: 1 to 6 Inches (Doorknob Holes)
The classic doorknob-through-the-wall hole needs more than spackle — it needs backing. You’ve got two good options:
Option A: Self-Adhesive Mesh Patch (Easiest)
- Trim loose edges. Cut away any crumbled or hanging drywall around the hole with a utility knife. You want clean edges.
- Stick on the mesh patch. Center a self-adhesive mesh or metal patch over the hole. Press firmly — it needs full contact with the wall around the hole.
- Apply joint compound. Using a 6-inch putty knife, spread a thin layer of joint compound over the entire patch, feathering the edges out 2-3 inches beyond the patch onto the surrounding wall. Thin coats are the secret — thick coats crack.
- Let dry, then second coat. Once the first coat is fully dry (several hours or overnight), apply a second, wider coat, feathering even further out. Two thin coats beat one thick coat every time.
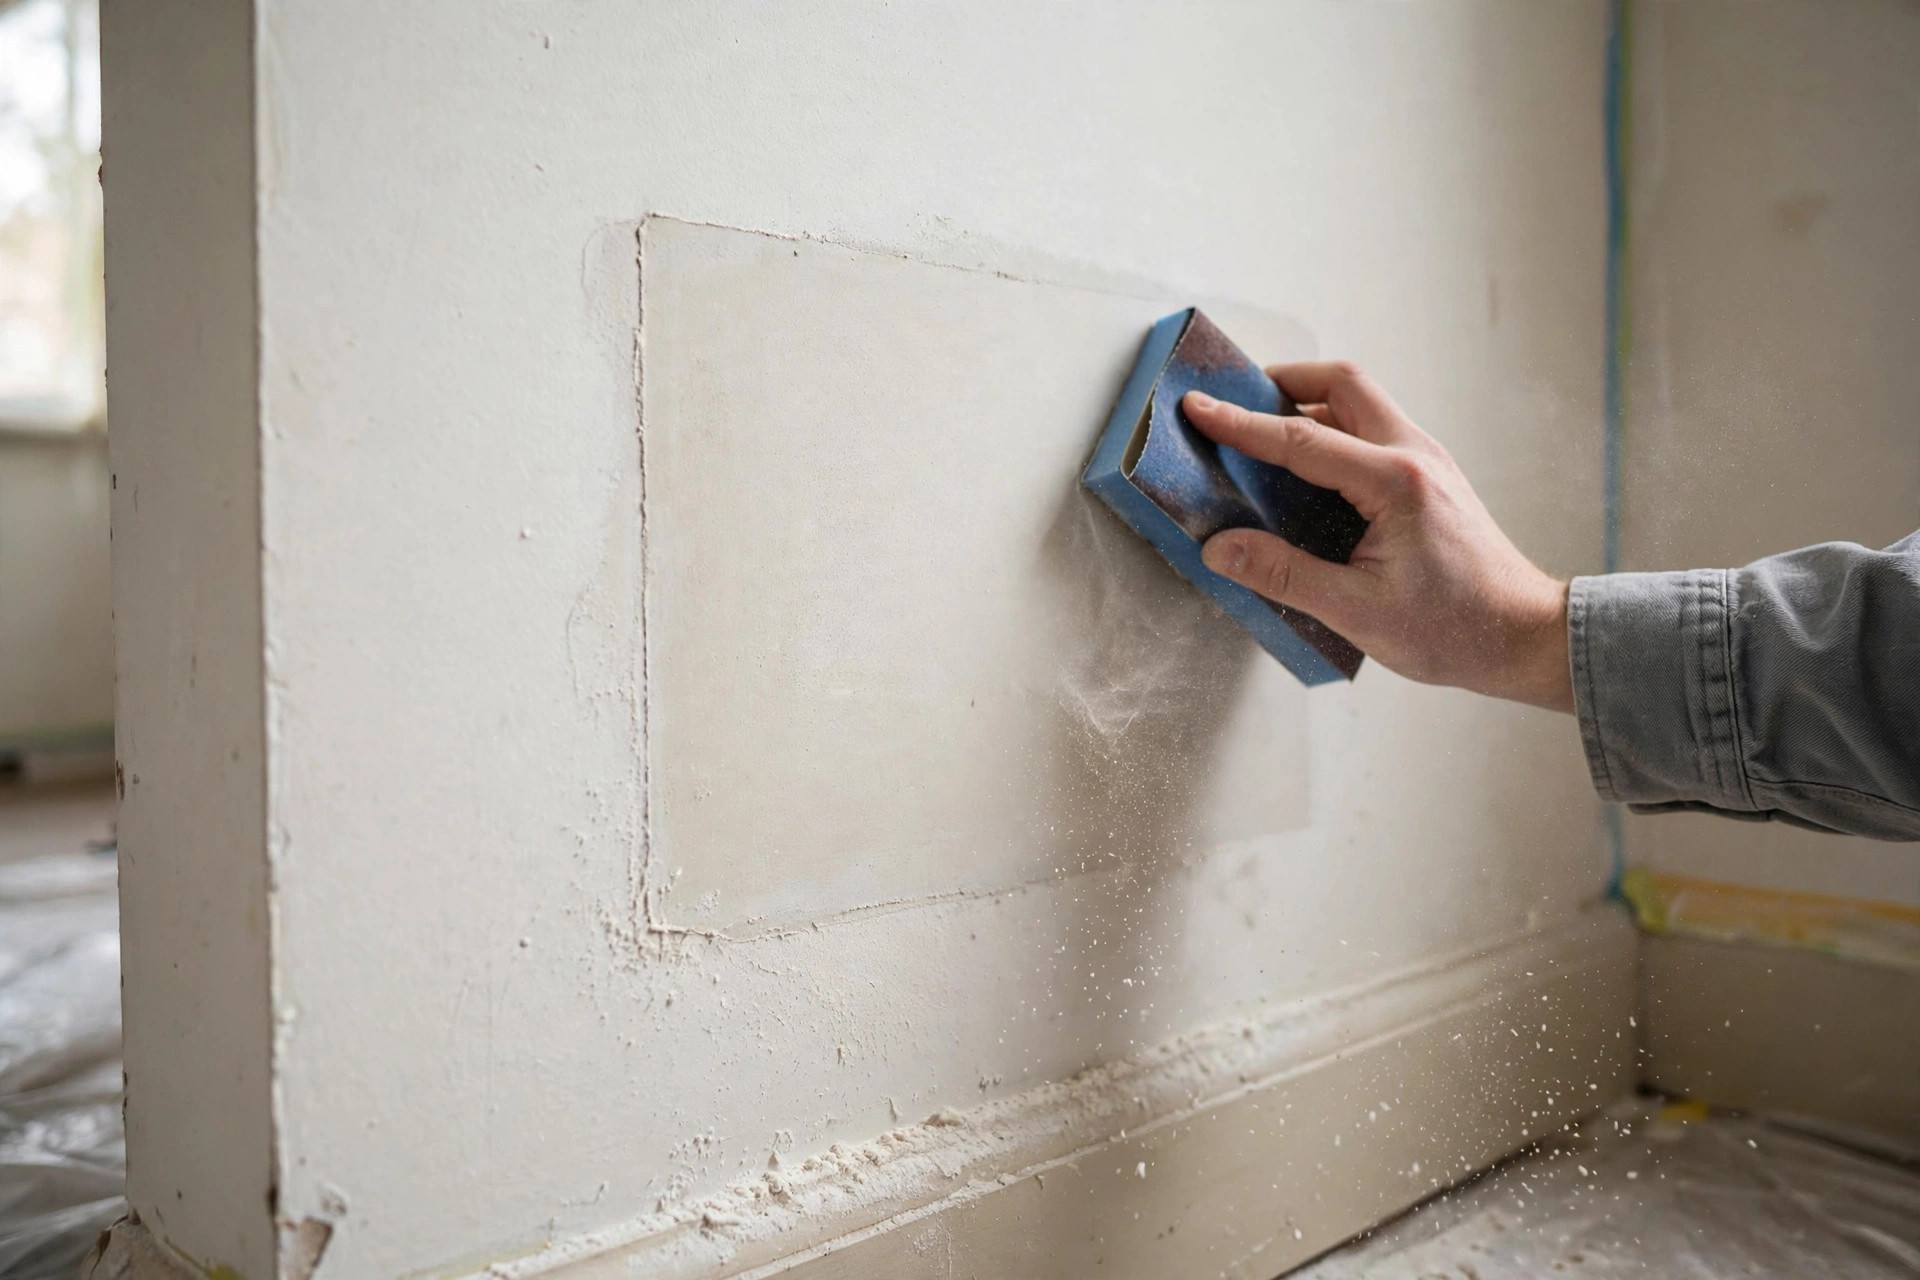
- Sand, prime, paint. Sand smooth with 120-grit then 220-grit, wipe off dust with a damp cloth, prime, and paint.
Option B: The California Patch (Pros’ Favorite)
For a stronger repair, cut a drywall scrap 2 inches larger than the hole in each direction. Score the back and peel away the gypsum, leaving a 2-inch paper “flange” around a center plug that fits the hole. Butter the flange with joint compound, press the plug into the hole, and smooth. The paper flange bonds beautifully and virtually eliminates cracking. It takes a bit more skill, but the result is rock solid.
Large Holes: 6 Inches and Up
Big holes — the “someone fell into the wall” category — need a proper drywall patch with wood backing. This sounds like a big job, but it’s very manageable:
- Square up the hole. Use a utility knife or drywall saw to cut the damaged area into a clean rectangle. Find the studs on either side if possible — cutting back to the studs gives you something solid to screw into.
- Install backing strips. If the hole doesn’t land on studs, cut 1×3 wood strips a few inches longer than the hole. Slip them inside the wall behind the hole edges and secure with drywall screws driven through the existing drywall into the strips. These are your anchors.
- Cut and fit the patch. Cut a drywall scrap to fit the rectangular hole snugly. Screw it to the backing strips (or studs) with drywall screws, sinking the heads just below the surface without tearing the paper.
- Tape the seams. Apply paper drywall tape (or mesh tape) over all seams with a bed of joint compound. Paper tape is stronger for butt joints; mesh is fine for most repairs and easier for beginners.
- Three coats of compound. First coat to embed the tape, second wider coat after drying, third even wider “skim” coat. Feather each coat further out — you’re creating a gradual ramp, not a speed bump. Let each coat dry fully (usually 24 hours).
- Sand, prime, paint. Sand smooth, wipe clean, prime the entire patched area generously, then paint. For best results, paint the whole wall — touch-ups almost always show slightly.
The Secret to an Invisible Repair: Texture and Paint
Here’s what separates amateur patches from invisible ones: it’s not the patching, it’s the finishing.
- Match the texture. If your walls have orange-peel or knockdown texture, a flat patch will stand out even with perfect paint. Texture spray cans are available for common patterns — practice on cardboard first, then apply lightly to the patch.
- Always prime. I said it before and I’ll say it again: patched spots absorb paint differently. Primer seals the repair so the topcoat looks uniform. Skipping primer is the number one reason patches remain visible.
- Feather your paint edges. When touch-up painting, use a mini roller and feather the edges into the existing paint. Better yet, paint corner to corner — a full wall always looks uniform.
- Check your work with raking light. Hold a work light at a sharp angle to the wall. This harsh side-lighting reveals every bump and ridge your straight-on view missed. Fix what you see, then check again.
How to Patch a Hole in Drywall: Mistakes That Ruin the Repair
- Too much compound at once. Thick coats shrink, crack, and take forever to dry. Multiple thin coats — that’s the whole game.
- Sanding too aggressively. You can sand right through paper tape or scuff the surrounding wall. Let the sandpaper do the work with light pressure.
- Painting before it’s dry. Joint compound looks dry on the surface long before it’s dry underneath. Rushing this step causes bubbling and peeling. When in doubt, wait another day.
- Skipping the primer. Worth a third mention. Prime. The. Patch.
- Using spackle for big holes. Spackle is for small holes. It lacks the strength and adhesion for anything over half an inch. Use joint compound and proper backing for bigger repairs.
When to Call a Pro
Most drywall holes are DIY-friendly, but call a professional if: the damage involves water (find and fix the leak first — patching over active water damage is pointless), the hole is in a ceiling (overhead patching is miserable and gravity is undefeated), there’s electrical or plumbing in the damaged area you’re unsure about, or the wall is plaster rather than drywall (different material, different techniques).
Otherwise? You’ve got this. Measure the hole, match the method, take your time with the finish work, and enjoy the deeply satisfying moment when the hole simply… disappears.
Patching Drywall in Bathrooms and Kitchens
Moisture-prone rooms need a little extra care. If you’re patching in a bathroom or kitchen, use moisture-resistant joint compound (often labeled for bathrooms) and consider mold-resistant drywall for the patch itself — standard drywall plus steam equals future problems.
Ventilation matters during drying: run the exhaust fan and give each coat extra drying time, since humid air slows curing dramatically. What dries overnight in a bedroom might need two days in a steamy bathroom. And always use a bathroom-appropriate primer and paint (satin or semi-gloss) over the repair — flat paint in a bathroom is asking for moisture damage.
One more thing: if the hole was caused by water — a leak, condensation, a plumbing mishap — fix the moisture source FIRST. Patching over an active leak is like painting over rust. Find it, fix it, dry everything thoroughly, then patch.
FAQ
How to patch a hole in drywall without a patch kit?
For small holes, you just need spackle and a putty knife — no kit required. For medium holes, the “California patch” method uses only a drywall scrap and joint compound. For large holes, wood strips and a drywall scrap from any hardware store do the job. Kits are convenient, not mandatory.
How long does it take to patch a hole in drywall?
Small holes: 15 minutes of work plus an hour of drying. Medium holes: 30-45 minutes of work spread over two days (drying between coats). Large holes: a couple of hours of work spread over 3-4 days for three coats with full drying time. The work is quick; the waiting is the project.
Can you patch drywall without sanding?
Not well. Even the smoothest application needs light sanding to level the repair with the surrounding wall. The good news: with thin coats and a careful hand, sanding takes just a minute or two per patch.
What’s the difference between spackle and joint compound?
Spackle is for small holes — it dries fast, sands easily, and shrinks minimally, but lacks strength for large repairs. Joint compound (drywall mud) is for taping and larger patches — stronger, better adhesion, but slower drying and more shrinkage. Use each for its intended job.
Do I really need to prime before painting a drywall patch?
Yes. Patched areas absorb paint at a different rate than the surrounding wall, causing visible dull spots called flashing. A coat of primer seals the repair and ensures uniform sheen. It’s a five-minute step that makes or breaks the invisible finish.
Keep Reading
- How to Patch Drywall Holes Fast: Quick Fixes for Every Size
- How to Hang Shelves on Drywall: A Beginner’s DIY Guide
- How to Patch a Tire Puncture With a Plug Kit