A nail in the tread, a slow leak, no spare handy — the plug kit is the roadside hero for exactly this scenario. A $10 kit and fifteen minutes can seal a puncture well enough to get you home or to the shop. But plugs have limits, and knowing them matters more than knowing the technique: a plug in the wrong place isn’t a repair, it’s a gamble. I’ll show you the method, then the boundaries. The full wheel-swap procedure is at how to change a tire.
Table of Contents
- What a Plug Kit Is (and Isn’t)
- When a Plug Is Safe — and When It Isn’t
- What You Need
- Step 1: Find and Assess the Puncture
- Step 2: Ream the Hole
- Step 3: Thread and Insert the Plug
- Step 4: Trim and Test
- Plug vs. Patch vs. Plug-Patch: What’s What
- After the Plug: What Next
- Frequently Asked Questions
What a Plug Kit Is (and Isn’t)
A plug kit seals a puncture from the outside: you force a sticky rubber cord into the hole, it expands to fill it, and the tire holds air. It’s fast, cheap, and requires no tire removal — which is why every trunk should have one.
What it isn’t: a permanent, manufacturer-endorsed repair. Tire makers and safety organizations consider the proper permanent repair to be a plug-patch combination installed from inside the tire (more on that below). An outside plug is a temporary repair — excellent for getting you rolling, not a lifetime fix. Think of it as a really good bandage: it holds, but the wound still deserves proper treatment.
That said — and this is thirty years talking — a properly installed plug in the tread, on a tire with good tread life remaining, holds reliably for a long time in practice. The “temporary” label is about liability and best practice, not about plugs spontaneously failing. Respect the label, but don’t fear the plug.
When a Plug Is Safe — and When It Isn’t
The location and nature of the damage decide everything:
Plug it (tread punctures only): – Nail, screw, or small sharp object through the tread (the flat part that touches the road) – Hole diameter under 1/4 inch (6mm) – Puncture angle reasonably straight — not a long diagonal slash – Tire otherwise healthy: good tread, no dry rot, no previous repairs crowding the same area
Don’t plug it — replace or professionally repair: – Sidewall damage. Any cut, bulge, or puncture in the sidewall. The sidewall flexes constantly; no plug holds there reliably, and sidewall failures are sudden. This is the hard line — no exceptions. – Shoulder damage. The curved transition between tread and sidewall flexes too much for plugs. – Large holes or gashes. Anything over 1/4 inch, cuts, or tears — the structure is compromised beyond what a plug seals. – Bead damage. Leaks where the tire meets the rim need professional attention. – Multiple close punctures. Overlapping damage zones weaken the area; one plug per general area is the practical limit. – Run-flat tires driven flat. The internal structure may be damaged invisibly — these need professional inspection, not a plug.
When in doubt, the tire shop’s verdict beats your hope. A $150 tire is cheaper than a blowout.
What You Need
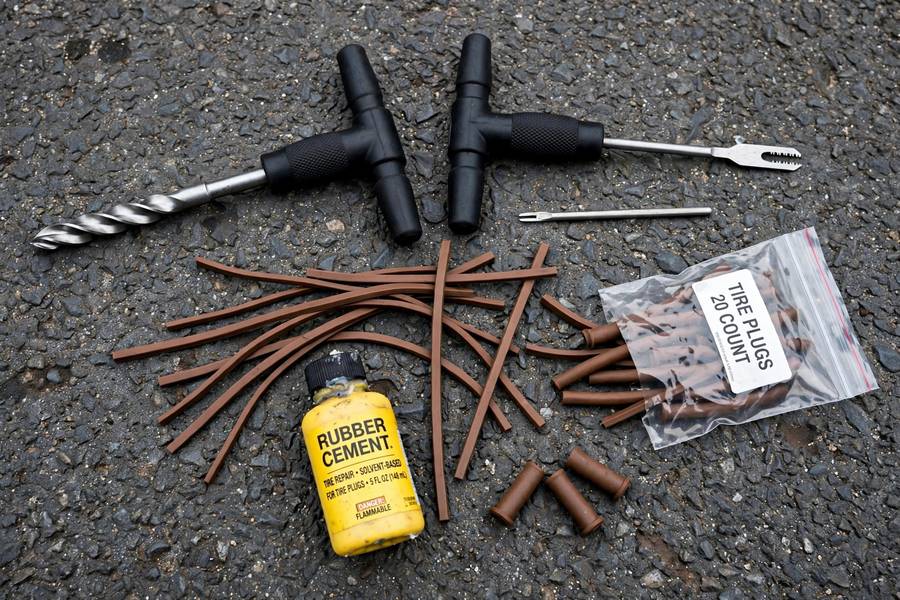
The kit itself is simple — most $8-15 kits include:
- T-handle reamer (the rasp-looking tool) — cleans and shapes the hole
- T-handle insertion tool (with the split eyelet) — pushes the plug in
- Rubber plug cords — sticky, tar-coated strings
- Rubber cement (some kits) — lubricant and supplemental sealant
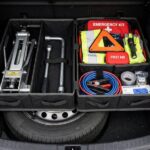
Plus from your trunk: pliers (to pull the nail), a tire pressure gauge, a portable compressor or access to air (you’ll lose pressure during the repair and need to refill), soapy water in a spray bottle (for finding leaks and testing the seal), and a utility knife or razor to trim the plug.
Keep the kit in the car permanently. A plug kit in the garage helps exactly nobody on the highway.
Step 1: Find and Assess the Puncture
- Locate it. If you can see the nail or screw, you’re lucky. If you just have a slow leak, spray soapy water over the tread — bubbles mark the leak. Listen closely too; a faint hiss in a quiet spot is audible.
- Check the location. Tread only — center 75% of the tread width is the safe zone. Anything on the shoulder curve or sidewall: stop, that’s a replacement, not a plug.
- Check the angle. Pull the object straight out along its entry path with pliers. If the hole is a clean small puncture, proceed. If it’s a slash or the hole is visibly large, abort.
- Mark it. A piece of chalk or tape near the hole — you’ll lose it the second you look away.
Do this assessment honestly. The temptation to plug a shoulder puncture “just to get home” is real, and the shoulder is exactly where plugs fail. A tow is cheaper than a blowout at 70 mph.

Step 2: Ream the Hole
The reamer does two jobs: cleans rust and debris out of the puncture channel, and roughs it to the right size for the plug.
- Coat the reamer with rubber cement if your kit includes it (lubricates and starts the sealing).
- Push the reamer into the hole with a twisting, in-and-out motion — like you’re cleaning a pipe. Work it several times.
- You’re aiming for a clean, uniform channel — not a bigger hole. A few firm passes suffice; don’t wallow it out.
This step feels wrong the first time — you’re deliberately working the hole bigger. But a clean channel grips the plug uniformly, while a ragged hole leaks around it. Trust the process.
Step 3: Thread and Insert the Plug
- Thread a plug cord through the eyelet of the insertion tool so equal lengths hang on each side — like threading a needle, with the cord centered.
- Coat the plug with rubber cement (lubricates insertion, adds sealing).
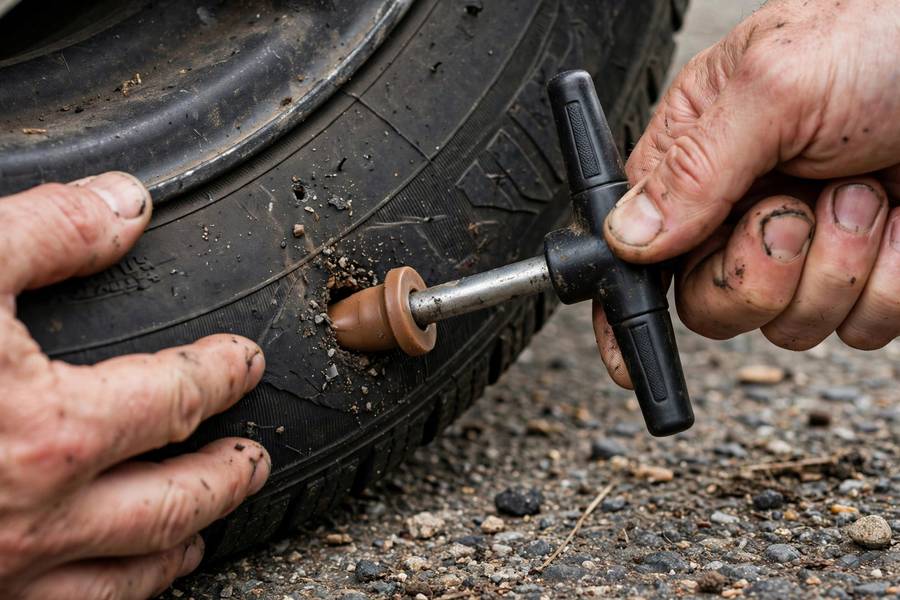
- Push the insertion tool straight into the hole with firm, steady force until about 1/2 to 2/3 of the plug is inside — you want a good inch of plug in the tire and the doubled-over loop plus tails sticking out.
- Pull the tool straight out with a quick, firm motion — the split eyelet releases the plug, which stays in the hole. This is the moment of truth; commit to it. Hesitant half-pulls drag the plug back out.
If the plug pulls out with the tool, you didn’t push far enough in — re-thread and go deeper. The plug needs enough length inside to mushroom against the inner liner and grip.
Step 4: Trim and Test
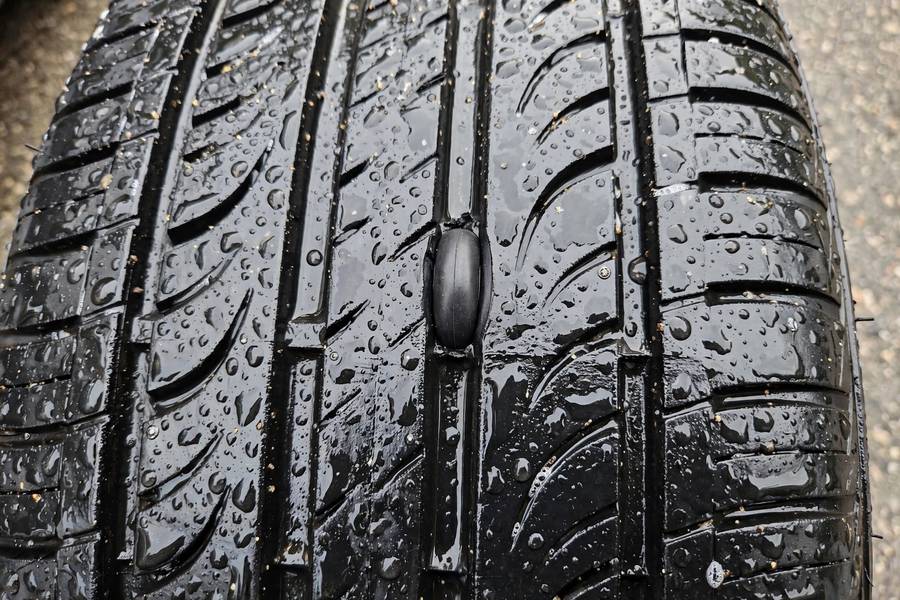
- Trim the excess plug flush with the tread surface using a razor or utility knife — leave just a whisper above the tread, not a tuft. A tuft wears unevenly and can catch; flush is clean.
- Inflate the tire to the correct pressure (door jamb sticker — cold spec).
- Test the seal: spray soapy water generously over the repair. No bubbles = sealed. Bubbles = leak — which means the plug didn’t seat, and you repeat the process (or admit defeat and call for the spare/tow).
- Wait a few minutes and recheck pressure. Then drive gently at first, rechecking pressure after 10-15 minutes of driving.
No bubbles after the soapy test and stable pressure after a short drive: you’re sealed. Well done — that’s a proper plug.
Plug vs. Patch vs. Plug-Patch: What’s What
Terminology matters because shops and safety orgs distinguish these:
- Plug (outside-in): what this guide covers. Fast, no dismount needed. Considered temporary by manufacturers.
- Patch (inside): tire dismounted, inner liner buffed, adhesive patch applied over the puncture from inside. Seals the liner but doesn’t fill the puncture channel — considered incomplete alone by current standards.
- Plug-patch combo (inside): the gold standard — a single unit with a plug stem filling the channel and a patch sealing the liner, installed from inside after dismounting. This is what tire manufacturers and safety organizations endorse as the proper permanent repair.
Practical takeaway: your roadside plug gets you rolling safely; the shop’s plug-patch makes it permanent. The plug isn’t a lesser repair for being temporary — it’s the right tool for the situation, followed by the right follow-up.
After the Plug: What Next
- Drive to the shop within a reasonable distance. The plug is rated for normal driving, but get the proper plug-patch repair or professional assessment promptly — don’t just forget about it for six months.
- Keep speeds sane. No track days on a plug. Normal highway driving is fine; the plug doesn’t meaningfully limit speed, but the tire deserves a professional look soon.
- Monitor pressure for the first few days. A slow leak past the plug shows up as gradual pressure loss — catch it with the gauge, not with a surprise flat.
- Tell the shop about the plug when you go in. They’ll inspect the repair and either upgrade it to a plug-patch or advise replacement.
- One plug per area. If the tire collects another puncture later in a different tread spot, that’s generally fine. Multiple plugs clustered together, or a plug on top of an old repair — that’s replacement territory.
And re-examine your trunk kit after using it: replace the used plug cords so the kit is whole for next time. A half-used kit is a future disappointment. Speaking of preparedness, how to buy a used car covers tire inspection as a negotiation point — and how to jump start a car rounds out the roadside essentials.
Frequently Asked Questions
Pull the object, ream the hole clean with the T-handle reamer, thread a rubber plug through the insertion tool, push it firmly into the hole, pull the tool out sharply (the plug stays), trim flush, inflate, and test with soapy water for bubbles.
Manufacturers consider outside plugs temporary — the endorsed permanent repair is a plug-patch combo installed from inside the tire. A properly installed plug holds reliably in practice, but get the professional plug-patch repair done promptly.
No — never. Sidewalls flex constantly and no plug holds there reliably; sidewall failures are sudden. Any sidewall cut, bulge, or puncture means the tire must be replaced, no exceptions.
Up to about 1/4 inch (6mm) in the tread — nail and screw holes. Larger holes, cuts, gashes, or slashes compromise the tire’s structure beyond what a plug can safely seal; those tires need professional assessment or replacement.
A properly installed plug in the tread can hold for the remaining life of the tire in practice, but it’s officially a temporary repair. Get a shop’s plug-patch (the permanent repair) done soon, monitor pressure for the first few days, and never plug sidewall damage.