Five minutes, once a month, with a $10 tool — that’s the entire cost of the single most effective tire maintenance habit there is. I check mine on the first Saturday of every month, and in thirty years I’ve never had a pressure-related blowout or a set of tires die young from neglect. Most drivers never check at all, then wonder why their tires wore out early or why the TPMS light keeps nagging them. This is the complete procedure: gauge types, the steps, and what to do with the reading. For the tire-change procedure itself, see how to change a tire.
Table of Contents
- Why Bother: What Monthly Checks Buy You
- Gauge Types: Pencil, Dial, and Digital
- Step 1: Find Your Target PSI
- Step 2: Check Cold
- Step 3: Remove the Cap, Press the Gauge
- Step 4: Read the Gauge
- Step 5: Add or Release Air
- Step 6: Recheck and Replace Caps
- Don’t Forget the Spare
- Frequently Asked Questions
Why Bother: What Monthly Checks Buy You
Tires lose 1-2 PSI per month just sitting there — rubber is slightly permeable, and it’s normal, not a defect. Over three months of neglect, that’s up to 6 PSI low: enough to accelerate edge wear, hurt fuel economy, dull handling, and — at highway speeds in summer — build dangerous heat in the sidewalls.
Monthly checks buy you: full tread life (even wear instead of edge wear), best fuel economy (about 0.2% per PSI per tire — it adds up), proper handling and braking (the contact patch the engineers designed), and early warning of slow leaks (a tire losing 5 PSI a month has a nail in it — catch it now, not on the highway).
The TPMS light is not a substitute. It typically warns at 25% below spec — by the time it illuminates, you’ve been driving on significantly under-inflated tires for weeks. TPMS is the fire alarm; the gauge is the smoke detector. You want both, but the gauge is the maintenance tool.
Gauge Types: Pencil, Dial, and Digital
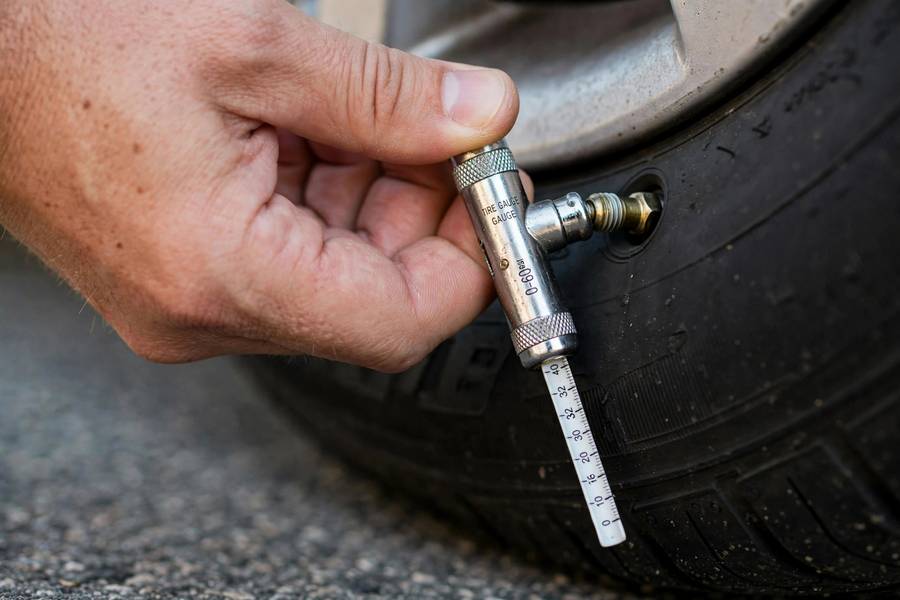
Pencil (stick) gauge. A sliding bar pops out showing the pressure. $5-10, pocket-sized, no batteries, nearly indestructible. Slightly harder to read precisely (the bar jumps in 1-2 PSI increments). The glovebox classic — buy two, keep one in each car.
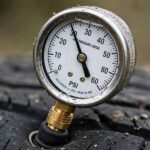
Dial gauge. A round face with a needle, often with a bleed button and a short hose. $15-30, easier to read than pencil, the bleed button lets you fine-tune pressure precisely. My personal preference for home use — the hose reaches awkward valve stems and the dial reads clearly.
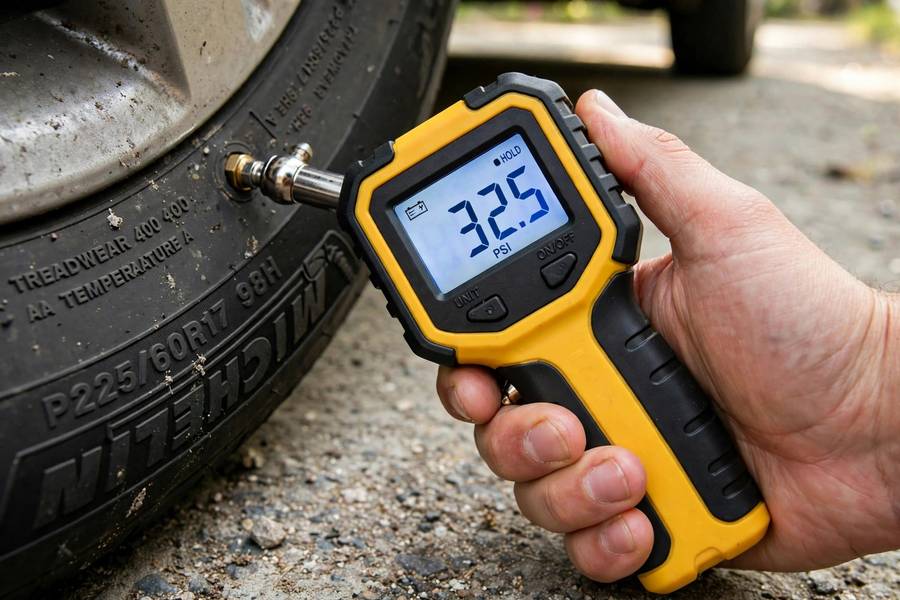
Digital gauge. Electronic display, backlit, reads to 0.1 PSI. $10-25, easiest to read, especially in the dark. Needs batteries (which die exactly when you need them — keep a spare). Accuracy is excellent when the batteries are fresh.
Any of the three beats the gas-station air hose gauge, which is abused, uncalibrated, and often wrong by 5+ PSI. Your own gauge is the truth; everything else is approximate. Pick whichever type you’ll actually use — the best gauge is the one in your glovebox, not the fancy one in a drawer at home.
Step 1: Find Your Target PSI
Before touching a tire, know your number: the driver’s door jamb sticker (tire placard) lists the manufacturer’s recommended cold pressure for front and rear. Typical: 30-35 PSI for cars, 35-40 for trucks — but your sticker is the authority, not typical.
Write it down or photograph it with your phone. Front and rear often differ by 1-3 PSI — use each axle’s number. And remember: this is cold pressure. The whole procedure below assumes cold tires.
Step 2: Check Cold
“Cold” means the tires haven’t been driven for at least three hours — overnight or first thing in the morning is ideal. Driving heats tires and raises pressure 3-5 PSI, so a warm reading tells you nothing useful about whether you’re at spec.
If you’ve just driven and must check (road trip stop, say), know the reading will be high — don’t bleed air to reach the cold spec on warm tires. You’ll end up under-inflated. Either wait for them to cool or add air to roughly spec-plus-4 and recheck cold later.
Morning, driveway, before the day’s first drive: that’s the ritual. Tie it to something monthly — first Saturday, payday, whatever sticks.

Step 3: Remove the Cap, Press the Gauge
- Unscrew the valve stem cap and put it somewhere safe — a pocket, not the ground. (Lost caps are the #1 tiny annoyance of tire maintenance; the cap keeps dirt and moisture out of the valve.)
- Press the gauge squarely onto the valve stem — straight on, firm, quick. You’ll hear a brief hiss as it seats; that’s normal.
- Hold it steady for a second or two until the reading stabilizes.
The most common beginner fumble: pressing at an angle, which lets air escape around the gauge and gives a low false reading. Straight on, firm, decisive. If you hear sustained hissing, reseat it — you’re leaking air past a crooked seal, not measuring.
Step 4: Read the Gauge
- Pencil: the bar slides out and stops at your pressure — read where the bar’s edge aligns with the markings. Note it tends to read in whole or half PSI; that’s precise enough.
- Dial: read the needle position. If your gauge has a hold feature, great; if not, read it while it’s on the valve.
- Digital: read the display. Done.
Compare to your target from Step 1. Note each tire’s reading — all four, plus the spare when you do the full check. A pattern tells stories: one tire consistently lower than the others has a slow leak (nail, bead issue, valve problem); all four equally low is just normal permeation and seasonal temperature drop.
Step 5: Add or Release Air
Too low: add air with a compressor (home unit, gas station pump, or portable 12V compressor). Add in short bursts — 5-10 seconds — then recheck with your gauge. It’s easy to overshoot; sneaking up on the target beats bleeding off excess. The gas-station pump’s built-in gauge is a rough guide only — always verify with your own gauge.
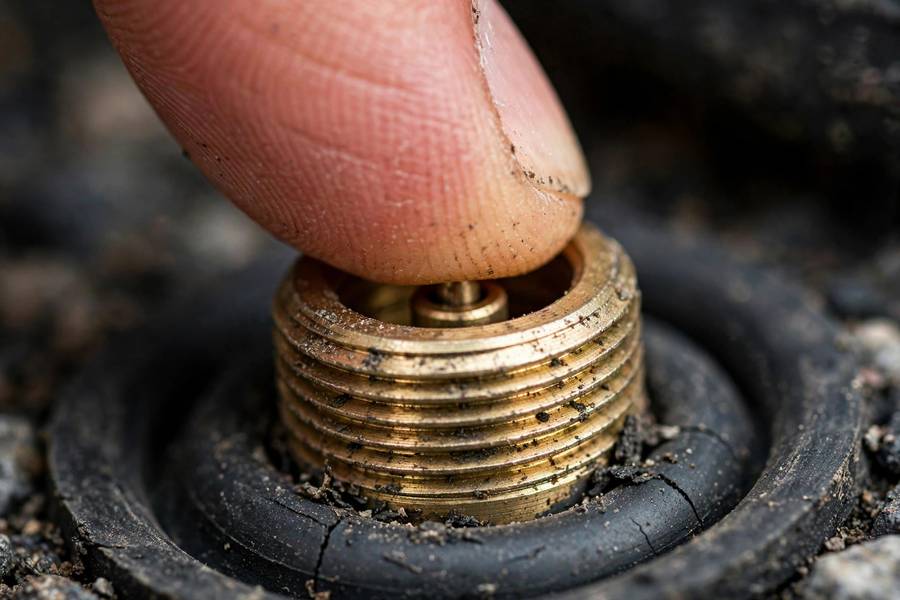
Too high: press the valve core pin briefly with the back of the gauge (most pencil gauges have a nub for this) or a small tool — short presses, rechecking between. A one-second press drops roughly 1-2 PSI.
Target the cold spec exactly. Not “a couple extra for good measure” — the engineers accounted for heat buildup in the cold number. Right on spec is right.
If a tire needs frequent topping (losing more than 2-3 PSI a month), it’s not permeation — it’s a leak. Soapy-water test around the tread and valve, or have a shop find it. Topping up a leaky tire monthly is treating the effect, not the cause.
Step 6: Recheck and Replace Caps
- After adjusting, recheck each tire with your gauge to confirm it’s at spec. Trust the recheck, not your memory of how long you held the air hose.
- Screw the valve caps back on — snug, not gorilla-tight. The cap is the valve’s first defense against dirt and moisture.
- Log it if you’re organized: date and four readings in your phone’s notes. Over time, the log reveals slow leaks before they become flats — the data does the diagnosing.
That’s the whole procedure. Four tires, five minutes, once a month. The habit is worth more than the tool — but the tool costs ten dollars, so there’s no excuse for skipping either. And while you’re under there monthly, glance at tread wear too: uneven patterns (edge wear, center wear, one-sided wear) are pressure and alignment stories your tires are telling you. For bigger-picture car ownership, how to buy a used car treats tire condition as the inspection tell it is.
Don’t Forget the Spare
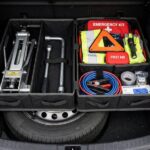
The spare loses air sitting in the trunk just like the others — arguably worse, since nobody looks at it. Check it during your monthly round (or at minimum twice a year): same procedure, and note that compact spares often spec higher pressure (typically 60 PSI — check its sidewall or your manual, since the door sticker covers the road tires).
A flat spare is the cruelest roadside surprise there is — you did everything right, changed the tire by the book, and the “rescue” is flat too. Thirty seconds with the gauge, twice a year minimum, prevents it entirely.
One more spare-tire note: if your spare is a full-size matching wheel, rotate it into service with your regular tire rotations so it wears evenly and never ages out unused. If it’s a donut, check its expiration — the rubber still ages sitting in the trunk, and most manufacturers recommend replacing donut spares after about ten years regardless of use.
Frequently Asked Questions
Check cold (undriven 3+ hours). Remove the valve cap, press the gauge squarely onto the stem until it seats, read the pressure, compare to your door-jamb sticker spec, add or release air as needed, recheck, and replace the cap.
Your car’s spec is on the driver’s door jamb sticker — typically 30-35 PSI for cars, 35-40 for trucks, but use your sticker’s number, not typical values. That’s the cold pressure; check before driving.
Warm readings run 3-5 PSI high and don’t reflect the spec — don’t bleed air to reach cold spec on warm tires or you’ll end up under-inflated. Check cold (morning, before driving) for accurate readings.
Monthly — tires lose 1-2 PSI per month naturally. Also check seasonally (temperature swings move pressure ~1 PSI per 10°F), before long trips, and when the TPMS light comes on (which warns late, at ~25% below spec).
Any dedicated gauge beats gas-station hose gauges. Pencil gauges ($5-10) are indestructible glovebox tools; dial gauges ($15-30) read clearly with a bleed button; digital gauges ($10-25) are easiest to read but need batteries. Pick the one you’ll actually use.