How to Patch Drywall Holes Fast: Quick Fixes for Every Size

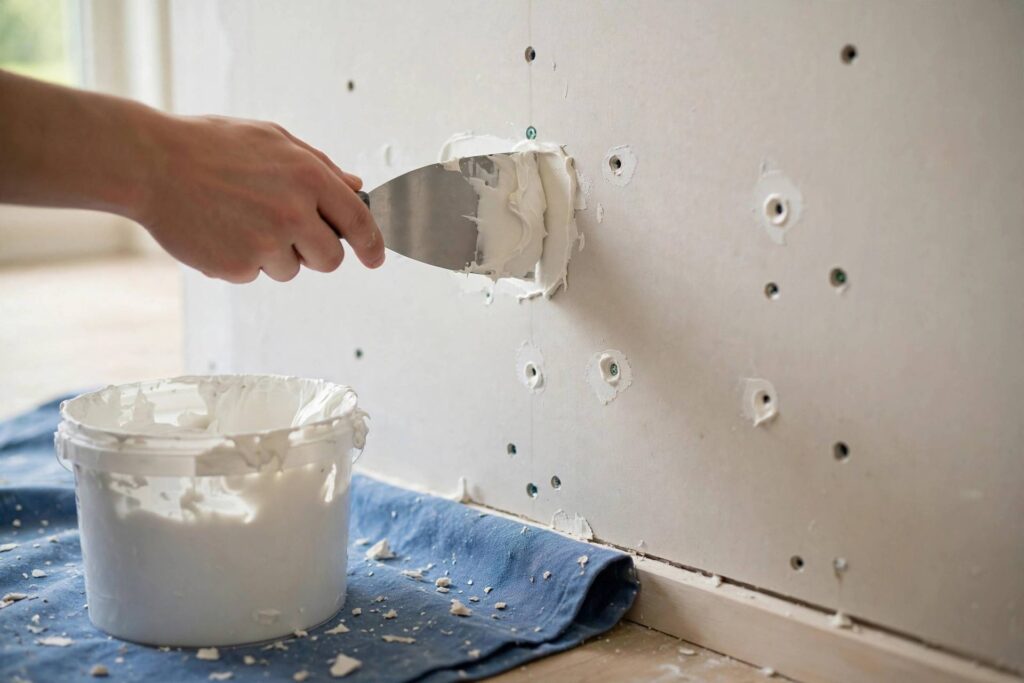
Moving out? Just hung pictures and now there are holes everywhere? If you need to know how to patch drywall holes fast, you’re in the right place. Or did life happen to your walls — dents, dings, cracks, and the occasional mystery hole? Whatever the cause, you want them gone fast, and you want the repair to actually hold.
This is your quick-fix field guide to how to patch drywall holes — organized by damage type, not by textbook chapter. Find your hole below, follow the method, and get on with your day. Most of these take under 30 minutes of actual work.
How to Patch Drywall Holes: Identify Your Damage First
Different holes need different fixes. Here’s the triage:
- Pinholes & nail holes (under 1/4 inch): Spackle, 5 minutes. Easiest repair in homeownership.
- Dents & dings (no actual hole): Fill and sand. The drywall is intact, just deformed.
- Small holes (1/4 to 1/2 inch): Spackle with a little more care, or a dab of joint compound.
- Medium holes (1/2 inch to 6 inches): Self-adhesive patch + joint compound. The doorknob special.
- Cracks (hairline to wide): Different technique — cracks need flexible treatment or they come back.
- Large holes (over 6 inches): Full patch with backing. Bigger job, covered at the end.
Nail Holes & Pinholes: The 5-Minute Fix
This is the most common drywall repair in existence — every picture hook, every nail, every “I’ll just hang this here” leaves one. Here’s the fastest reliable method:
- Press the area flat. Nail holes often have a tiny raised rim. Press it flush with your putty knife handle or your thumb.
- Fill with spackle. Use your finger or a small putty knife to press lightweight spackle into the hole. Scrape flush in one smooth motion.
- Let it dry (30-60 minutes for lightweight spackle).
- Quick sand with fine sandpaper — two or three light passes.
- Touch up paint. Dab with a small brush or mini roller, feathering the edges.
Speed tip for move-outs: When you’re filling dozens of nail holes, work assembly-line style — fill all holes first, then sand all, then paint all. Batching the steps is dramatically faster than completing one hole at a time.
What about toothpaste? You’ve heard the trick. It works as an emergency cosmetic fill for tiny holes in white walls — but it shrinks, cracks, yellows over time, and doesn’t sand well. For a repair that lasts, use actual spackle. It costs a few dollars and works infinitely better.
Dents & Dings: No Hole, Still Ugly
Furniture bumps, vacuum cleaner collisions, the corner of a box — dents where the drywall paper is intact but compressed. The fix:
- Lightly sand the dent to remove any loose paint flakes.
- Apply a thin skim of spackle or joint compound over the dent with a wide putty knife, feathering well beyond the damaged area.
- Dry, sand smooth, prime, paint.
The key with dents is the feathering — because there’s no hole to fill, you’re building up a thin layer to restore the flat surface. Wide, thin applications blend invisibly; a blob in the middle of the dent will show.
Small Holes (1/4 to 1/2 Inch): Anchors & Oopsies
Wall anchor holes, small screw holes, the aftermath of a badly placed anchor — these need slightly more attention than nail holes because there’s actual missing material:
- Remove any anchor remnants. If a plastic anchor is stuck, push it through into the wall cavity rather than digging it out (digging makes the hole bigger).
- Fill with spackle in two thin layers rather than one thick one — fill, let dry, fill again. Two thin layers don’t shrink and crack the way one thick layer does.
- Sand, prime, paint.
For holes at the larger end of this range, switch from spackle to joint compound — it’s stronger and sands just as easily.
Medium Holes: The Peel-and-Stick Patch Method
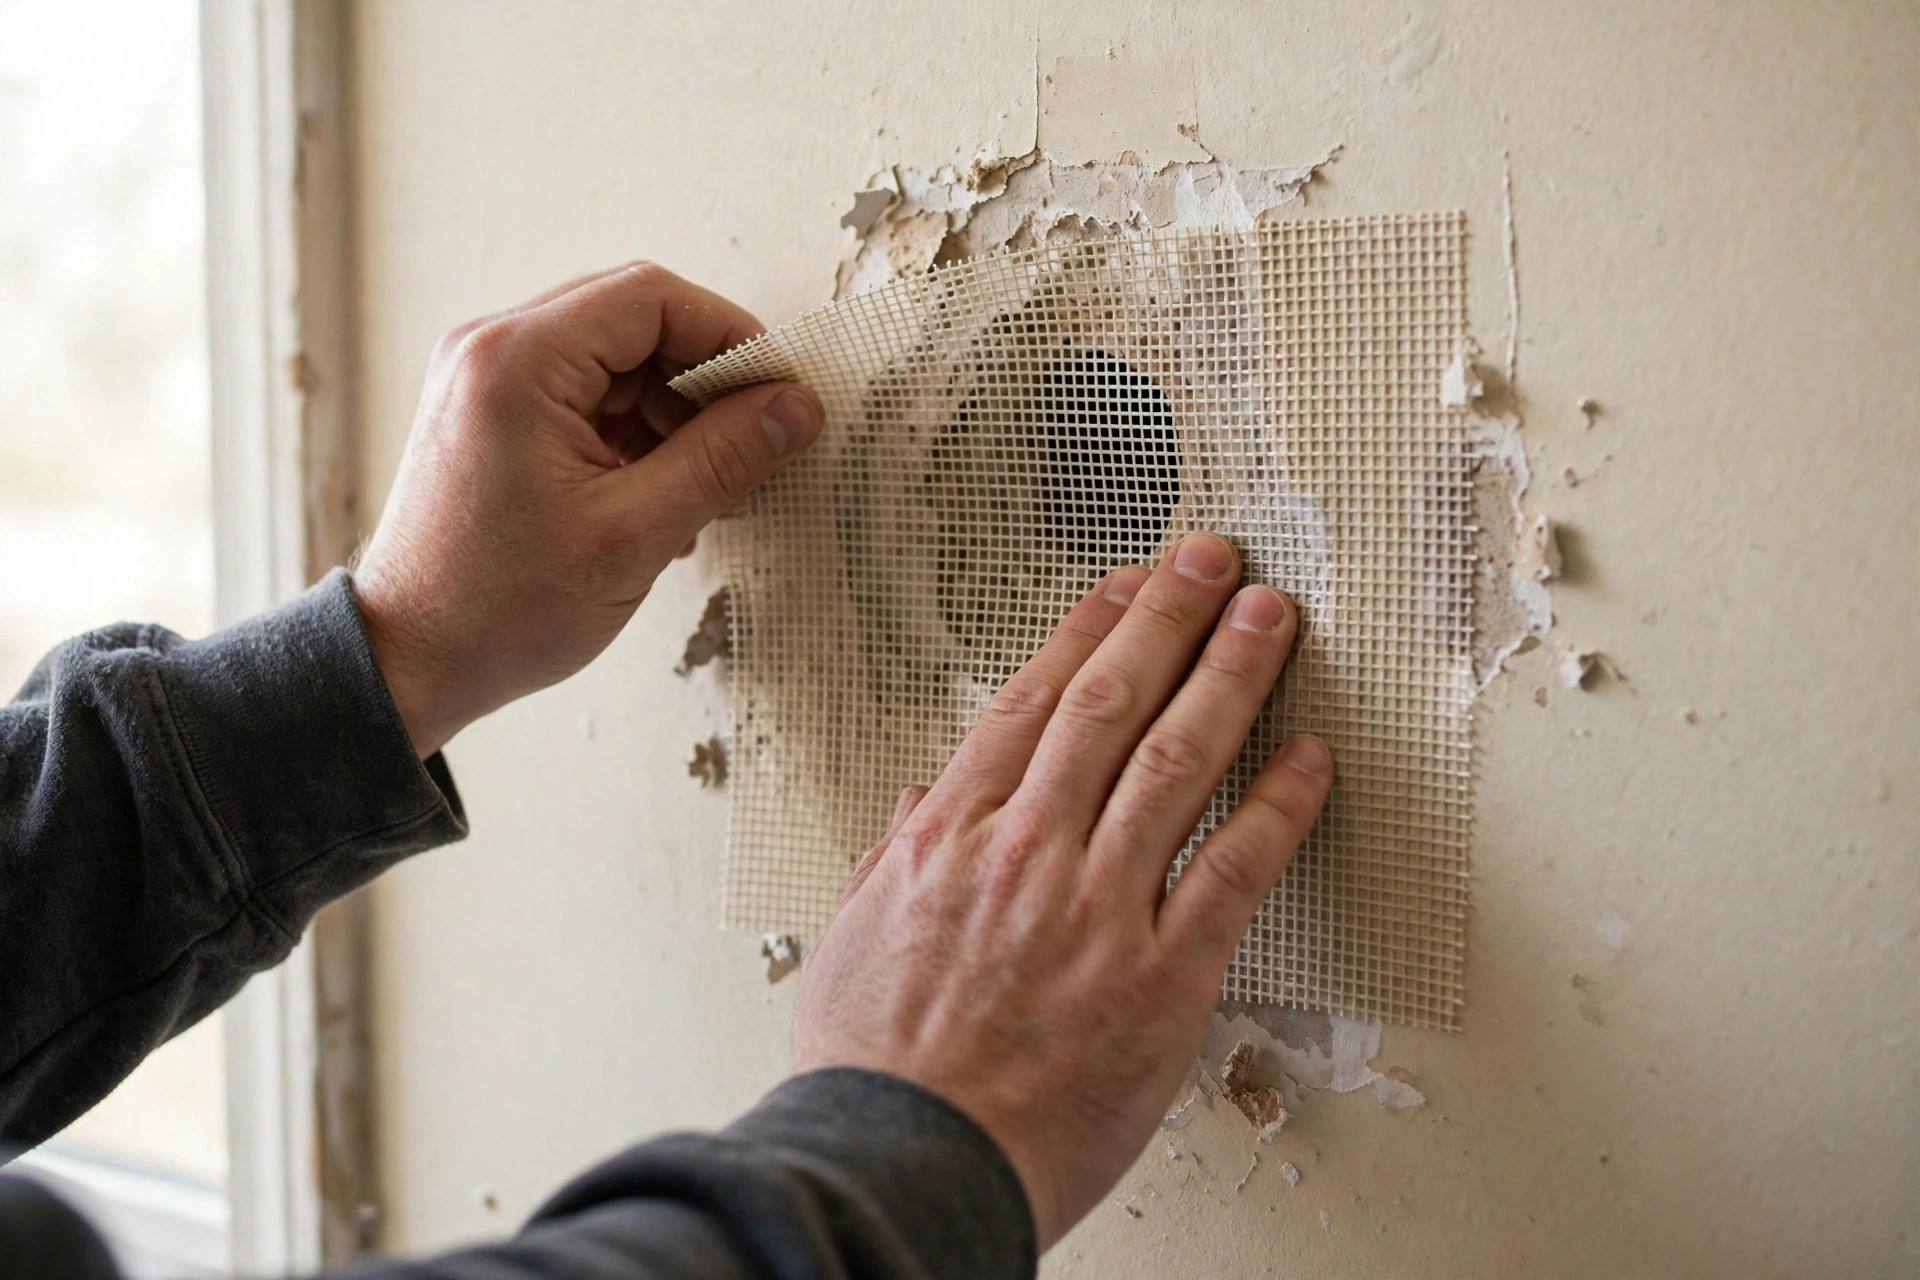
Doorknob holes, fist-sized accidents, the “oops” range from half an inch to about six inches. Self-adhesive mesh patches are made for exactly this:
- Clean up the edges. Trim away crumbled drywall with a utility knife. The patch needs solid wall around the hole to grip.
- Stick the patch on. Center it over the hole and press firmly around all edges. Full contact is essential — any lifted edge will show through the compound.
- First coat of joint compound. With a 6-inch knife, spread a thin layer over the entire patch, feathering 2-3 inches past the patch edges. Thin is the operative word.
- Dry completely, then second coat. Wider than the first, feathered further out. You’re building a gradual, invisible transition.
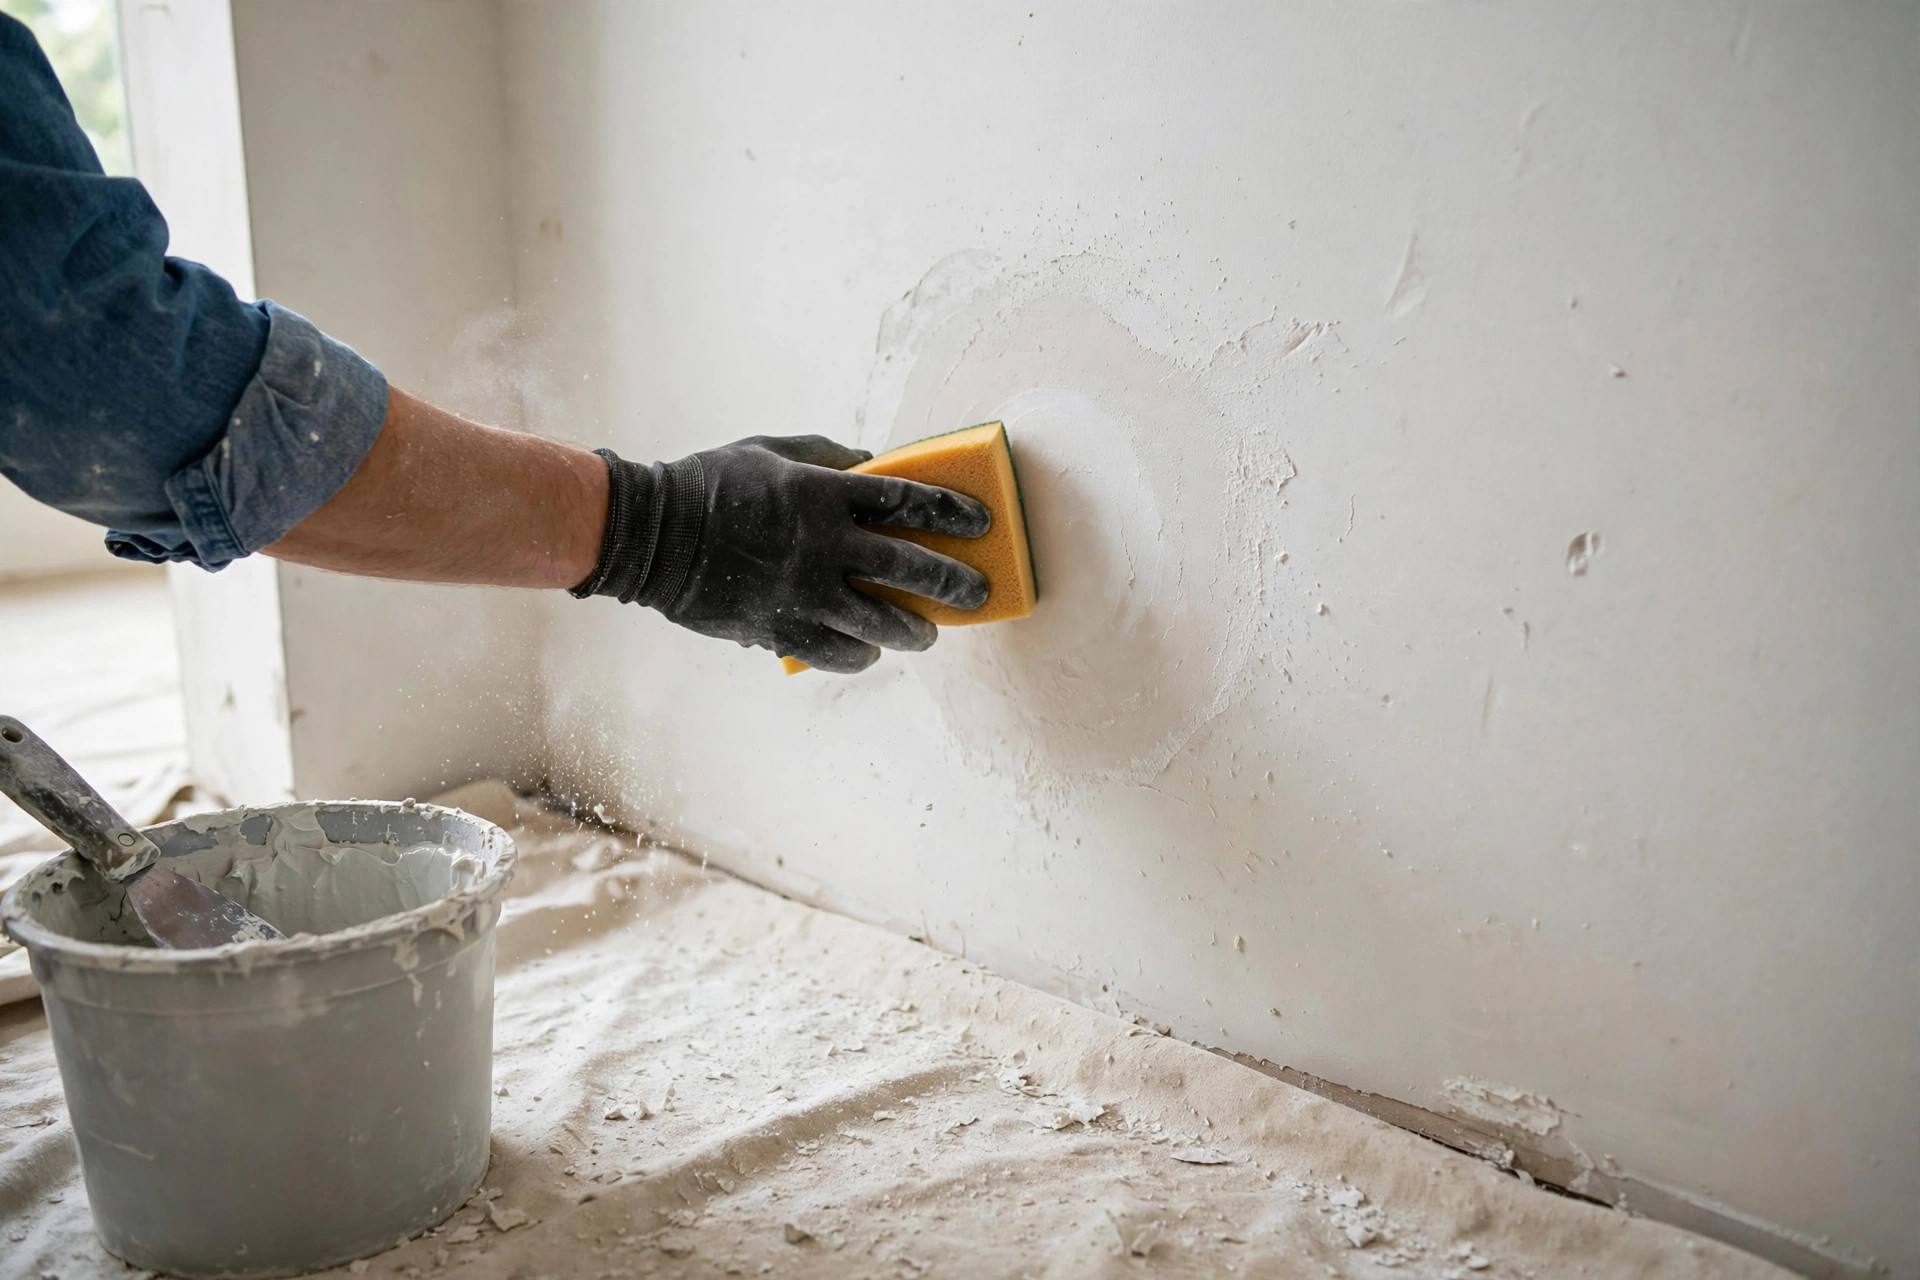
- Sand smooth (120-grit, then 220-grit), wipe dust with a damp cloth, prime, and paint.
Two thin coats with full drying between them. That’s the entire secret to patches that disappear. Rushing the drying is the #1 reason patches fail or show.
Cracks: The Special Case
Cracks behave differently from holes — they move. Houses settle, temperatures change, and a rigid patch over a live crack just cracks again. Here’s how to handle them:
- Hairline cracks: Widen slightly with a utility knife (a V-groove gives filler something to grip), fill with flexible paintable caulk or spackle, sand, prime, paint. The slight flexibility of caulk accommodates minor movement.
- Recurring cracks: If the same crack keeps coming back, the wall is moving. Use mesh tape embedded in joint compound over the crack — the tape bridges the movement. For cracks that persist through that, the underlying cause (settling, moisture, structural) needs addressing, not just the symptom.
- Cracks at corners: Where walls meet ceilings or other walls, use flexible caulk rather than rigid compound. Corners move; rigid filler doesn’t.
Large Holes: When It’s a Real Project
Holes over 6 inches need a structural patch: cut the damage into a clean rectangle, install wood backing strips inside the wall, screw in a drywall patch, tape the seams, and apply three feathered coats of joint compound with full drying between each. It’s very doable — just slower, spread over 3-4 days mostly waiting for compound to dry.
The finishing principles are the same as every repair on this page: thin coats, full drying, careful sanding, always prime before painting. Scale changes the method; it doesn’t change the fundamentals.
The Finishing Touches That Make Repairs Disappear
Regardless of hole size, these finishing steps separate invisible repairs from obvious ones:
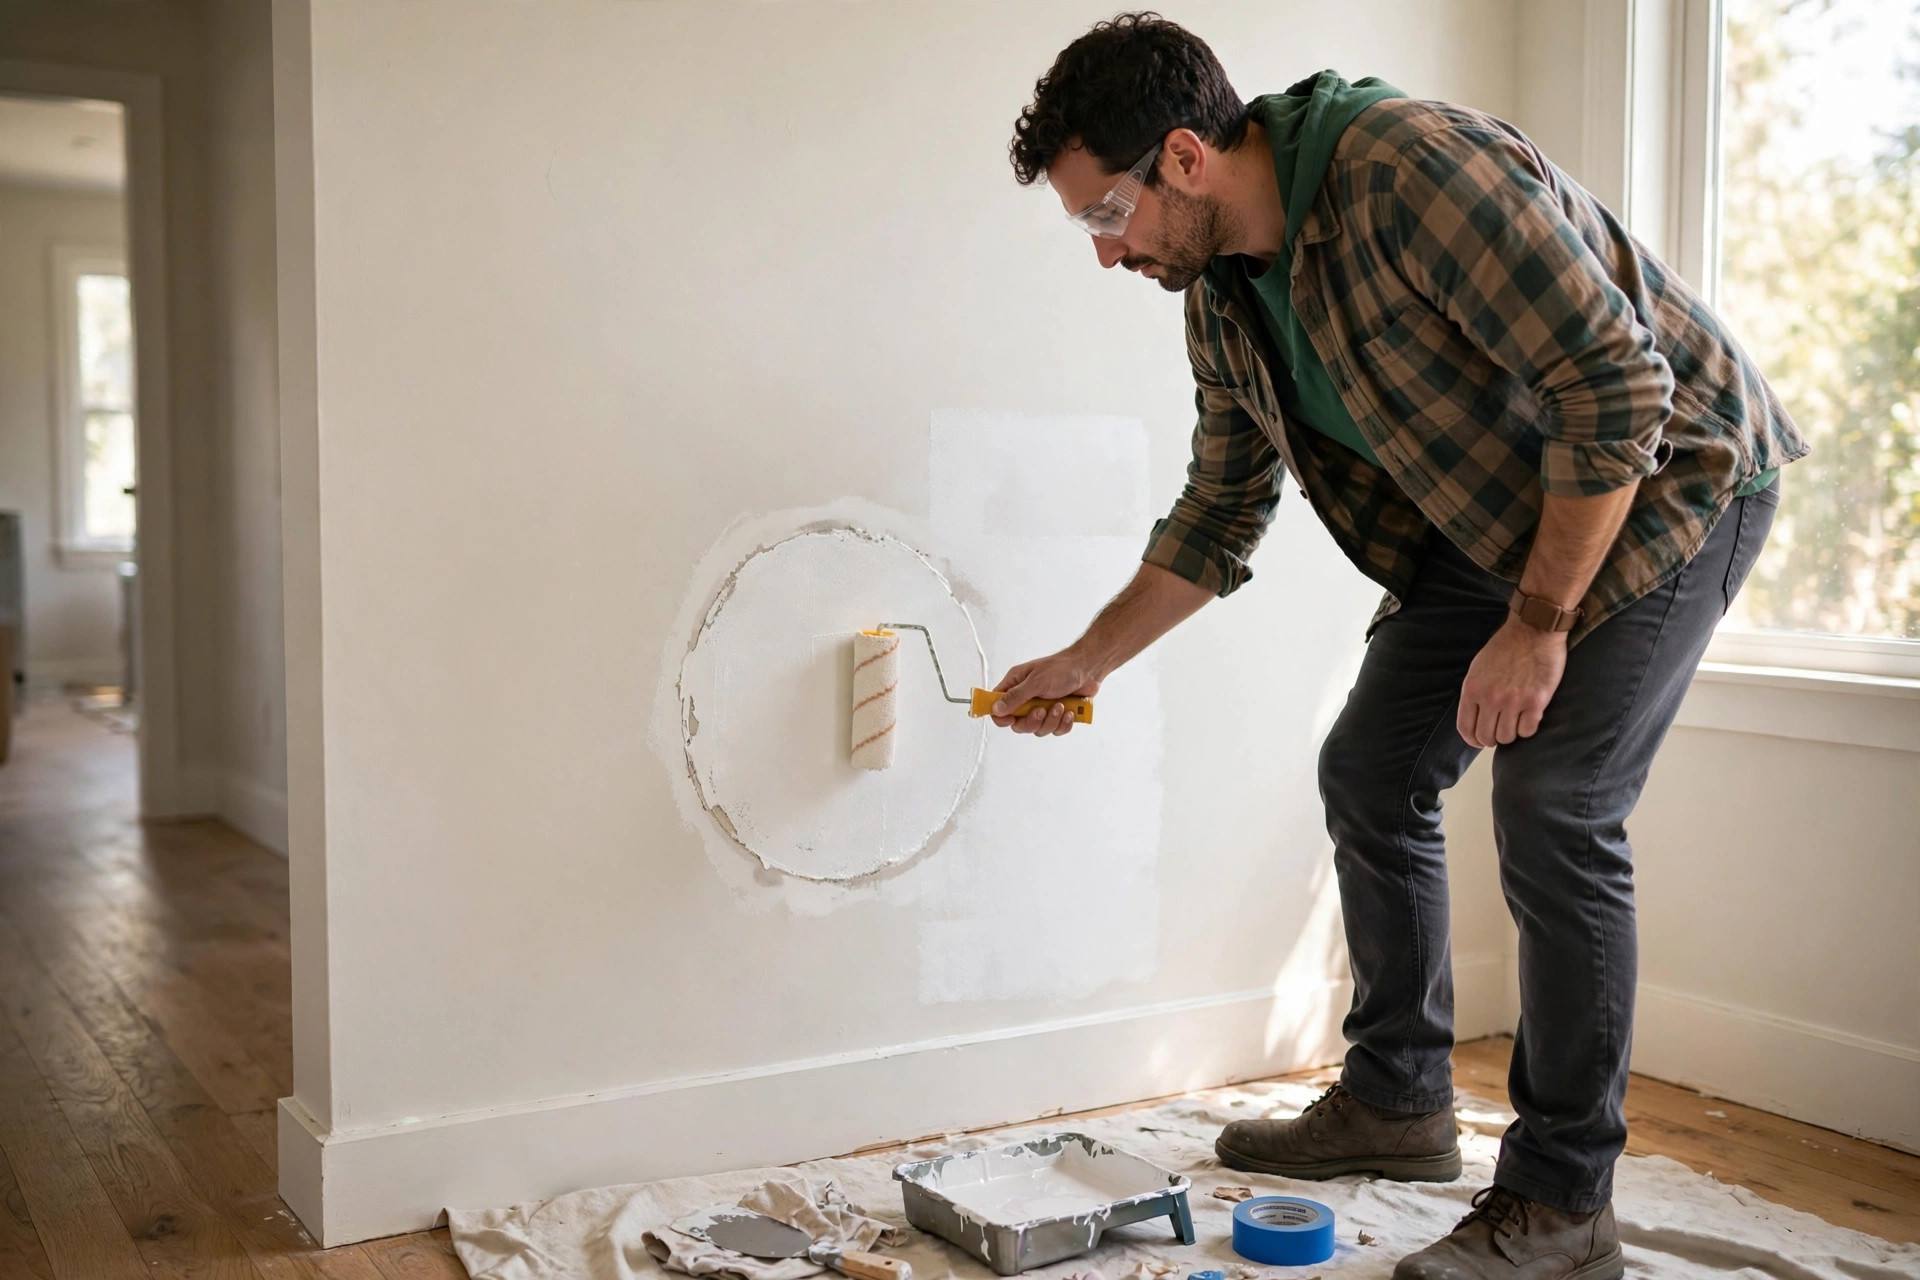
- Always prime patches. Joint compound absorbs paint differently than drywall, leaving dull “flashed” spots. Primer equalizes everything. Non-negotiable.
- Match the texture. Orange-peel or knockdown walls need texture spray on the patch, or the flat repair stands out even with perfect paint. Practice on cardboard first.
- Check with raking light. Shine a work light across the wall at a sharp angle — it reveals every imperfection your straight-on view hides. Fix what you see.
- Feather paint edges with a mini roller, or better yet, paint the full wall corner to corner. Touch-up paint almost always shows slightly; a full wall never does.
- Keep leftover paint. Label the can with the room and date. Future touch-ups match perfectly — paint fades and formulas change, so the original can is gold.
Your Quick-Reference Kit
Keep these on hand and you’re ready for any drywall emergency:
- Lightweight spackle + 1.5-inch putty knife (nail holes, dents)
- Self-adhesive mesh patches, assorted sizes (medium holes)
- Small tub of all-purpose joint compound + 6-inch knife (patches, larger fills)
- Sanding sponge (120/220 grit)
- Primer + leftover wall paint + mini roller
- Utility knife, painter’s tape, drop cloth
Total investment: modest. Total capability: handling 95% of wall damage without calling anyone. That’s the DIY sweet spot — small skills, big independence.
Patching Textured Walls: Don’t Skip This
Flat patches on textured walls scream “repair here!” even with perfect paint. If your walls have orange-peel, knockdown, or popcorn texture, you must re-texture the patch:
- Orange-peel: Texture spray cans from any hardware store match this well. Practice on cardboard first — distance and speed control the droplet size. Light passes, let dry between coats.
- Knockdown: Spray heavier texture, wait 10-15 minutes until tacky, then lightly flatten with a wide drywall knife. The timing takes practice; test on cardboard.
- Popcorn: The trickiest to match. Spray cans exist for small patches; large areas may need a hopper gun. Honestly, for big popcorn repairs, this is where calling a pro starts making sense.
Texture AFTER the compound is sanded smooth but BEFORE priming. Prime over the texture, then paint. Skip the texture step and even a flawless patch will catch every eye in the room.
When Patches Fail: Troubleshooting
- Bubbling under the patch: Moisture trapped underneath or compound applied over dusty surfaces. Scrape it off, clean the area, let it dry fully, and redo.
- Cracking around the patch edges: Coats too thick, or dried too fast (heat blasting directly on wet compound). Sand out the cracks and apply thinner coats.
- Patch visible after painting: Almost always skipped primer (flashing) or mismatched texture. Prime properly and match texture — the two fixes solve 95% of visible patches.
- Mesh showing through: First coat was too thin over the patch center, or you sanded too aggressively. Add another thin coat over the top and sand gently.
- Sagging compound: Too much compound applied at once on a vertical surface. Scrape off the excess while wet and reapply thinner. Gravity always wins against thick mud.
Every one of these is fixable. Drywall is the most forgiving building material in your house — when a repair goes wrong, you just sand it back and try again. That’s the beauty of it.
FAQ
How to patch drywall holes quickly for a move-out?
Work assembly-line: fill all nail holes with spackle first, let everything dry, sand everything, then touch up paint throughout. For larger holes, use self-adhesive patches with two thin coats of joint compound. Start 2-3 days before move-out to allow drying time between coats.
Can I patch a drywall hole without sanding?
Not well — even careful application needs light sanding to level the repair with the surrounding wall. The good news: with thin coats and a light touch, sanding takes under a minute per patch. Skipping it leaves visible ridges every time.
What’s the fastest way to patch a small drywall hole?
Lightweight spackle applied with a putty knife, scraped flush — 5 minutes of work plus 30-60 minutes drying. For holes up to half an inch, two thin layers of spackle (drying between) give a durable, invisible repair with minimal effort.
Do I need to prime before painting over a drywall patch?
Yes, always. Patched areas absorb paint at a different rate than the surrounding wall, causing visible dull spots called flashing. One coat of primer seals the repair and ensures the topcoat looks uniform. Skipping primer is the most common reason patches remain visible.
How do you patch a drywall hole without a patch kit?
For small holes, spackle and a putty knife are all you need — no kit required. For medium holes, the “California patch” technique uses only a drywall scrap and joint compound. Full kits are convenient but never mandatory; the individual components are cheap and widely available.
Keep Reading
- How to Patch a Hole in Drywall: From Nail Holes to Big Gaps
- How to Hang Shelves on Drywall: A Beginner’s DIY Guide
- How to Memorize Vocabulary Fast: 5 Science-Backed Methods