How to Soundproof a Room Cheaply: 12 Budget Fixes

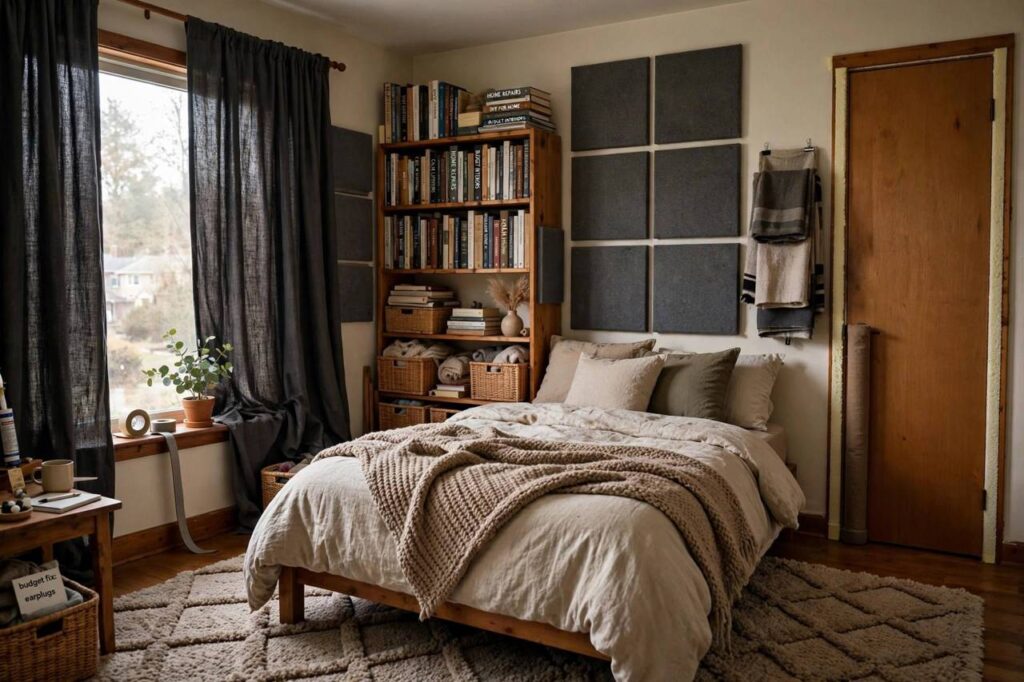
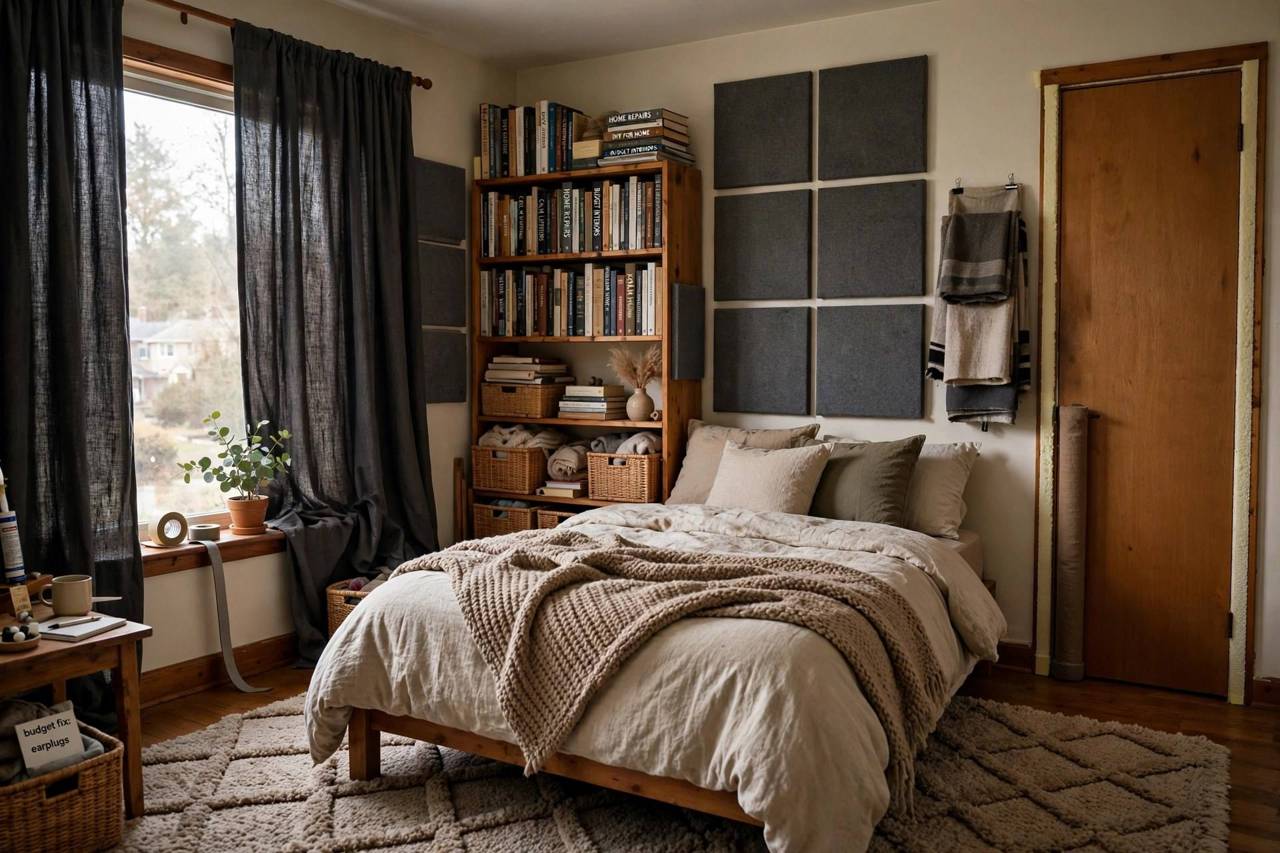
Learning how to soundproof a room cheaply starts with an uncomfortable truth: you cannot make a room truly silent on a budget, but you can make it dramatically quieter for very little money. After twenty years of DIY work, I have learned that most noise problems come down to two things: sound leaking through gaps, and hard surfaces bouncing sound around. Fix those two, and a $100 weekend project can cut perceived noise in half. Here are twelve fixes, ordered from cheapest and easiest to the bigger weekend projects.
First, set expectations honestly. Real soundproofing, the kind recording studios use, means adding mass, decoupling walls, and sealing everything airtight. That costs serious money. What we are doing here is sound reduction: blocking the easy paths noise takes and absorbing the reflections that make a room feel loud. For bedrooms, home offices, and apartments, that is usually exactly what you need.
Start With the Gaps: Sound Travels Like Water
Sound behaves like water: it finds every crack. A quarter-inch gap under a door can let through as much noise as a much larger hole in the wall would suggest, because sound doesn’t need much of an opening. Before you buy anything soft or heavy, walk the room and find the gaps.
1. Seal the door gap
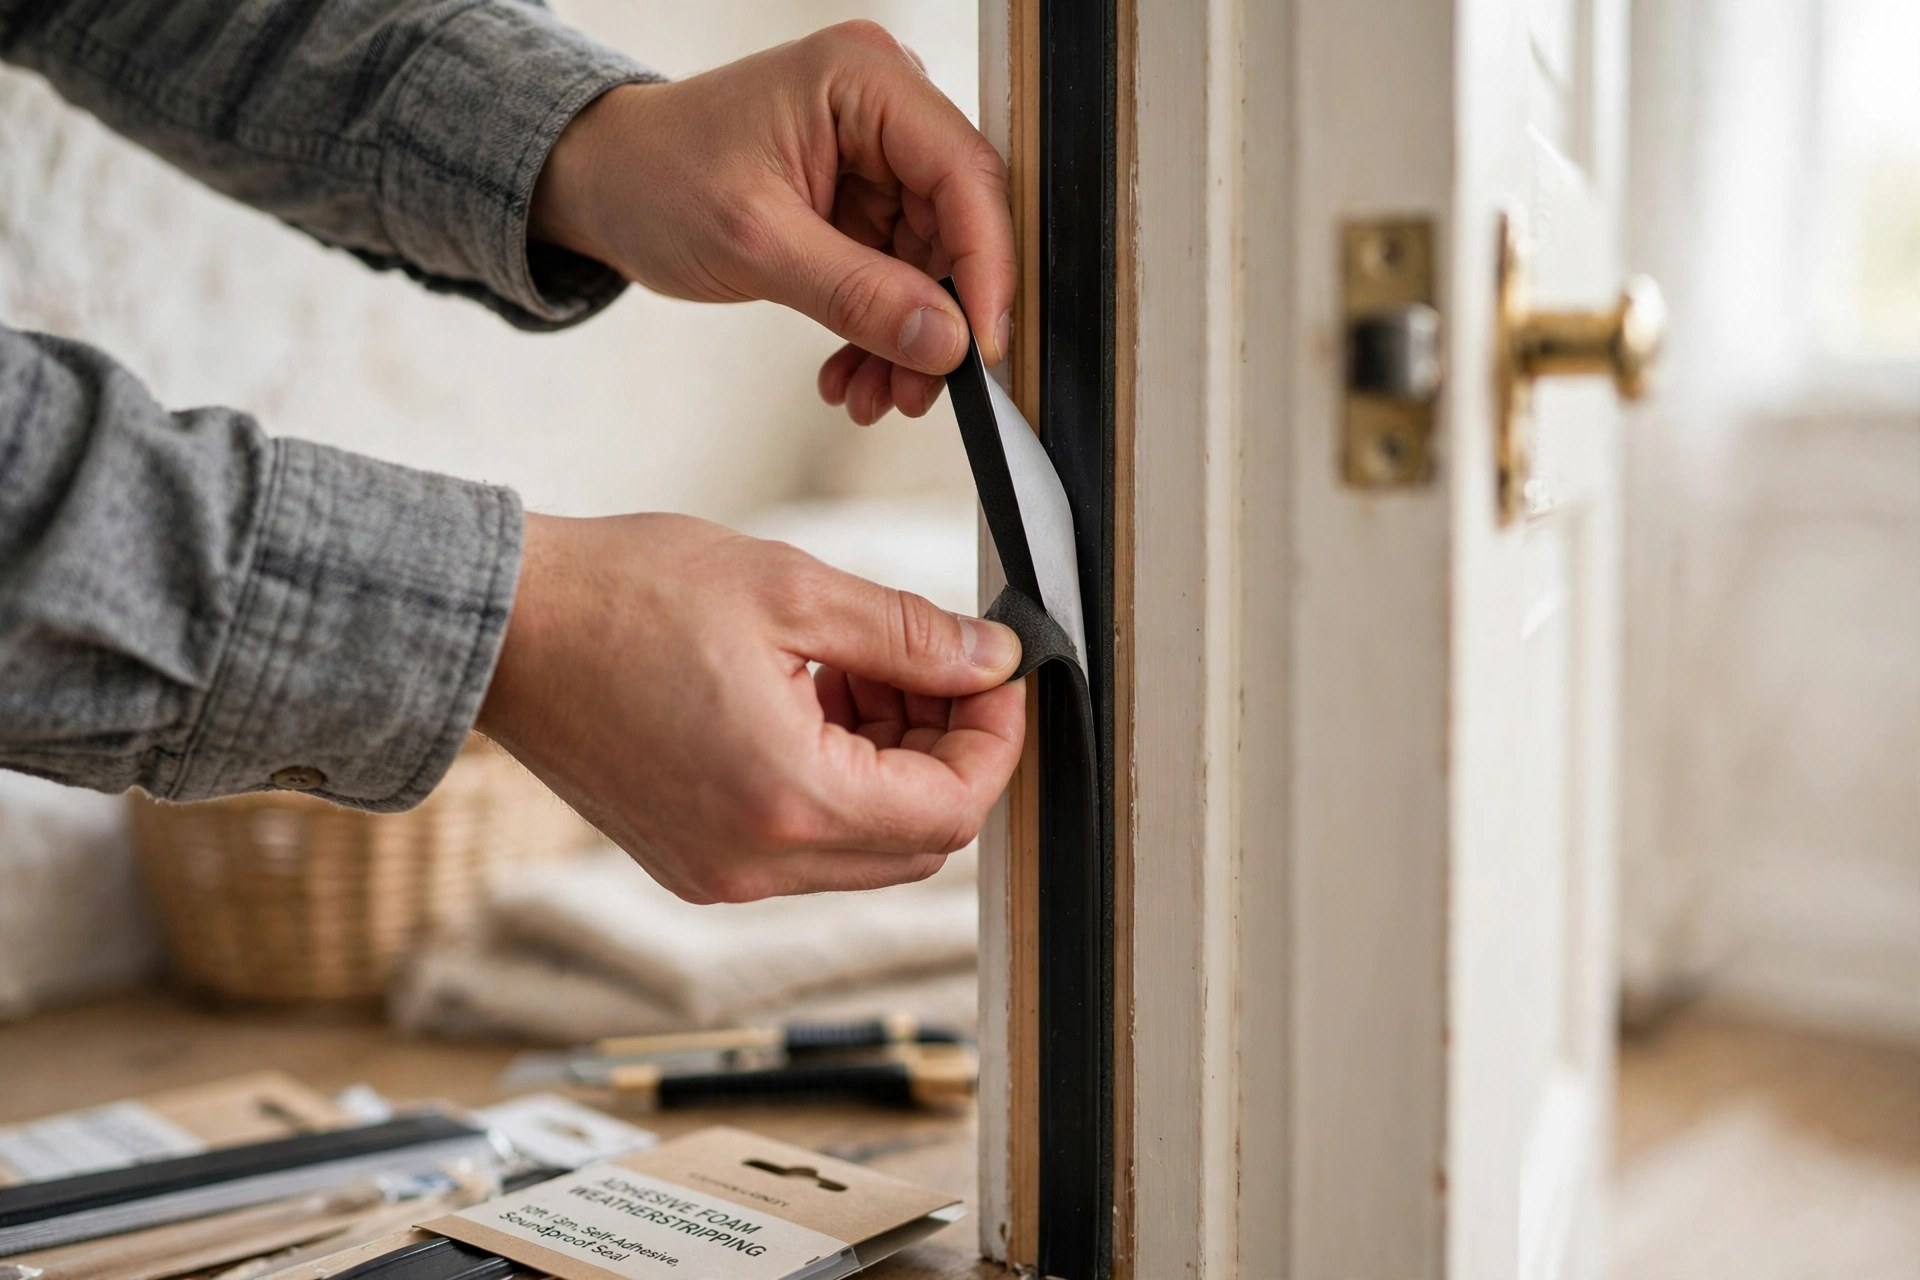
The gap under an interior door is the single biggest sound leak in most rooms. A door sweep, a $10 strip that attaches to the bottom of the door, blocks it. For the sides and top, adhesive foam weatherstripping costs a few dollars and takes minutes to install. Close the door, turn off the lights, and have someone shine a flashlight from the other side; anywhere light comes through, sound comes through.
2. Weatherstrip the windows
Old windows leak sound the same way they leak drafts. Self-adhesive foam tape around the sash costs almost nothing. For a bigger upgrade, a removable window plug, a piece of rigid foam board cut to fit the window opening and wrapped in fabric, can be popped in at night and removed in the morning. Ugly? A bit. Effective? Very.
3. Caulk the cracks
Check where walls meet floors and ceilings, around electrical outlets, and around any pipes passing through walls. A tube of acoustic caulk, which stays flexible instead of cracking, seals these permanently. Regular paintable caulk works for small gaps; the acoustic stuff is better for anything that might shift.
Add Mass: Heavy Stops Sound
Once gaps are sealed, the rule is simple: mass blocks sound. Heavy, dense things stop sound waves; light, thin things let them through. You don’t need to rebuild walls. You need to put heavy stuff where the noise is.
4. Hang moving blankets
Thick moving blankets are the budget soundproofer’s secret weapon. They are dense, heavy, cheap, and you can hang them on curtain rods over windows or on the noisiest wall. Two layers with an air gap between them work noticeably better than one. They are not pretty, but behind curtains or in a closet-turned-office, nobody sees them.
5. Load up a bookshelf
A fully loaded bookshelf against a shared wall is one of the most effective cheap sound barriers in existence. Books are dense and irregular, which both blocks and scatters sound. If you have a noisy neighbor on one side, that is where the bookshelf goes. Fill every shelf; half-empty shelves barely help.
6. Layer rugs and carpets
Hard floors reflect sound and transmit footsteps to the room below. A thick rug with a dense pad underneath tames both. Layer a large area rug over existing carpet for extra effect. In apartments, this is also the single best thing you can do for your downstairs neighbor.
Tame the Echo: Absorption Fixes the Inside
Some rooms aren’t loud because of outside noise; they are loud because sound bounces off every hard surface. This is reverberation, and it makes conversations tiring and recordings unusable. Soft surfaces absorb it.
7. Hang heavy curtains
Floor-to-ceiling curtains in heavy fabric do double duty: they cover window glass, which is a terrible sound barrier and a great reflector, and they absorb reflections inside the room. Hang the rod wide and high so the curtains cover the whole window plus the surrounding wall. Thermal or blackout curtains are usually the heaviest off-the-shelf option.
8. Build DIY acoustic panels
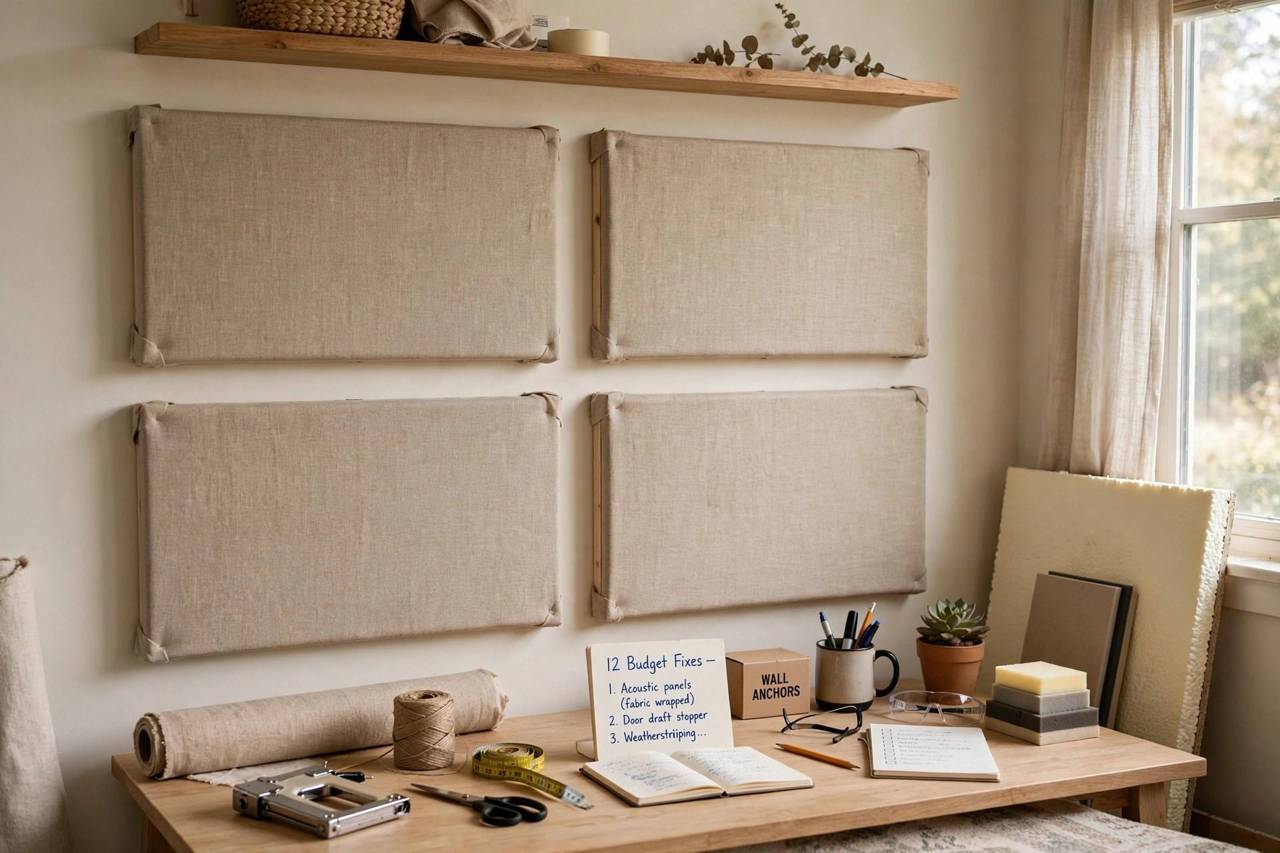
Commercial acoustic panels are overpriced for what they are. Make your own: rigid mineral wool or fiberglass boards in a simple wooden frame, wrapped in breathable fabric. A 2×4-foot panel costs a fraction of the store-bought version. Hang them at reflection points: the wall behind your desk, the wall you face, and the ceiling above if you are ambitious.
9. Add soft furnishings everywhere
Every soft surface helps a little: upholstered furniture, throw pillows, a fabric ottoman, wall tapestries. A bare room with hardwood floors and drywall is an echo chamber; the same room with a couch, rug, curtains, and bookshelves is calm. If your home office sounds hollow on calls, this is the fix.
The Bigger Weekend Projects
10. Add a second layer of drywall
If one wall is the main problem and you own the place, a second layer of 5/8-inch drywall with a damping compound between the layers is the most effective single upgrade short of rebuilding. It is a real project: heavy, dusty, and it shrinks the room by over an inch. But for a home office against a noisy street, it is transformative.
11. Decouple with resilient channel
This is the advanced move. Resilient channel, thin metal strips mounted to the studs before drywall, breaks the direct path sound takes through the wall framing. Combined with the extra drywall layer, it approaches professional results. Only attempt this if you are comfortable opening up a wall; otherwise, everything above it still helps enormously.
12. White noise for what remains
After physical fixes, masking covers the rest. A white noise machine, or even a simple fan, raises the background floor so intermittent sounds, traffic, voices, plumbing, fade into it. It doesn’t block sound; it makes the remaining sound unnoticeable. For sleep, this is often the highest-value ten dollars you will spend. Pair it with noise-cancelling headphones during the day and you have covered both ends of the problem.
What Not to Waste Money On
Egg-crate foam and thin acoustic foam tiles are the most oversold products in this space. They absorb high-frequency echo inside the room but block almost no sound coming through walls; people buy them expecting soundproofing and get mild echo control. Expensive curtains marketed as soundproof are usually just heavy curtains at triple the price. And no paint, green glue alternative, or magic spray replaces mass and sealed gaps. Spend your money on the boring stuff: seals, mass, and absorption.
How to Soundproof a Room Cheaply in a Rental
Renters can’t open walls, but most of the effective fixes don’t require it. Focus on the fully reversible: door sweeps that attach with adhesive or slide on, weatherstripping that peels off, window plugs that press into the frame, moving blankets hung on removable hooks, bookshelves against shared walls, rugs with pads, and heavy curtains on tension rods. All of it comes down on moving day with no trace. What you can’t do in a rental is add drywall or resilient channel, so put that budget into more mass instead: double up the blankets, get the thickest rug pad available, and seal every gap twice. Landlords rarely object to any of this, and the security deposit stays safe.
One renter-specific tip: talk to the neighbor. Most noise conflicts are solved faster with a conversation than with construction. A rug under your desk chair and an agreement about quiet hours does what no foam panel can.
Soundproofing a Home Office for Video Calls
Video calls have a different enemy: echo, not outside noise. Your microphone hears the room’s reflections and broadcasts them to everyone on the call. The fix is absorption near the desk: a rug under the chair, curtains on the nearest window, a bookshelf behind you, and one DIY panel on the wall you face. A soft headset microphone beats a laptop mic more than any room treatment will. And the cheapest upgrade of all: close the door. Half of bad call audio is just an open door to a noisy house.
Measuring Your Results
You don’t need lab equipment to know if your fixes worked. Use a free sound-level app on your phone: measure the room’s background noise before you start, then again after each round of fixes, at the same time of day. A drop of even 5 to 10 decibels is clearly noticeable, since decibels are logarithmic. But the real test is subjective: can you sleep through the noise now, can you hear the television at normal volume, does the room feel calm? If the answer is yes, the project is done, whatever the numbers say.
Frequently Asked Questions
Can you really soundproof a room for under $100?
You can significantly reduce noise for under $100: door sweep and weatherstripping ($20), caulk ($10), moving blankets ($40), and a white noise machine or fan. That combination handles the biggest leaks and is the best value per dollar.
What is the cheapest way to block neighbor noise through a wall?
A fully loaded bookshelf against the shared wall plus sealed gaps. Books are dense and free if you already own them. Moving blankets hung on the wall are the next cheapest effective option.
Do acoustic foam panels soundproof a room?
No, not really. Foam panels reduce echo inside the room but do almost nothing to stop sound passing through walls. For blocking outside noise you need mass and sealed gaps; foam only treats reflections.
How do I soundproof a bedroom door?
Install a door sweep on the bottom and adhesive weatherstripping around the frame so the door seals fully when closed. A solid-core door blocks far more sound than a hollow one; replacing a hollow bedroom door is one of the best single upgrades.
Will rugs help with upstairs neighbor noise?
Rugs help with impact noise you make, footsteps and dropped objects, more than with noise coming from above. For upstairs noise, sealing gaps and adding ceiling mass help more, but in practice a combination of both is what works.