How to Fix a Leaky Faucet (A 30-Minute DIY Repair)

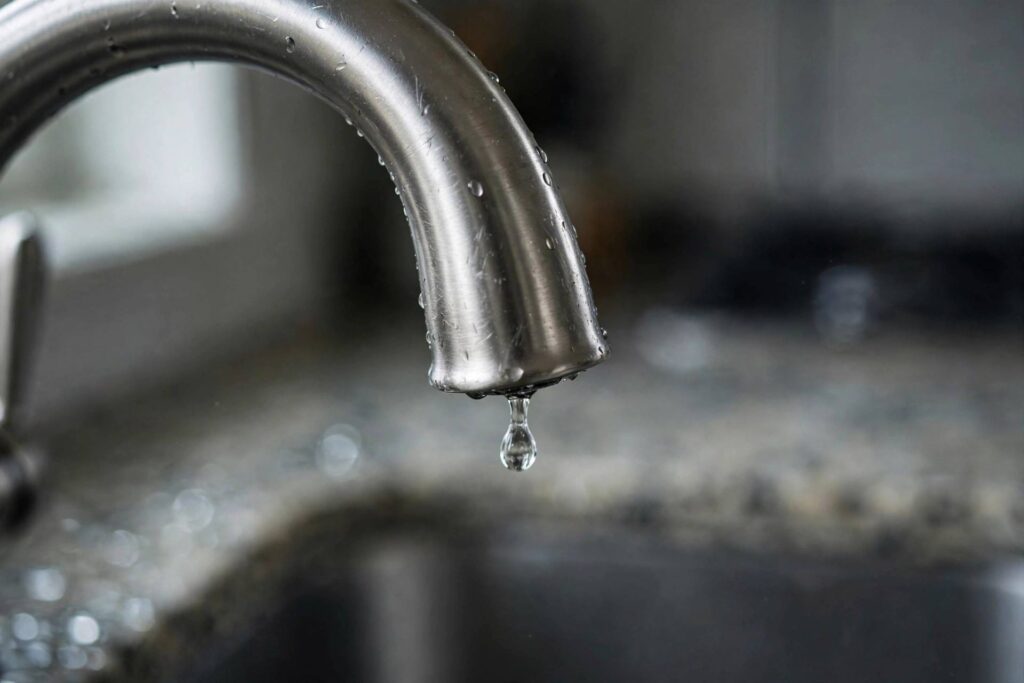
Drip. Drip. Drip. That leaky faucet isn’t just annoying — it’s money going down the drain, literally. A faucet dripping once per second can waste thousands of gallons a year, and that shows up on your water bill. Here’s the good news: fixing a leaky faucet is one of the most satisfying DIY repairs in existence. It takes about 30 minutes, costs a few dollars in parts, and requires no special skills. I’ve walked countless first-timers through this, and I’m going to walk you through it too — step by step, no jargon, no assumptions. Here’s how to fix a leaky faucet in about 30 minutes with a few dollars in parts.
Why Faucets Leak (Know Your Enemy)
Almost every faucet leak comes down to worn-out internal parts. Every time you turn a faucet on and off, small components — washers, O-rings, cartridges, valve seats — take a beating. Eventually they wear out, and water finds its way through. The fix is almost always replacing a cheap part, not replacing the faucet.
Where the water comes from tells you what’s wrong:
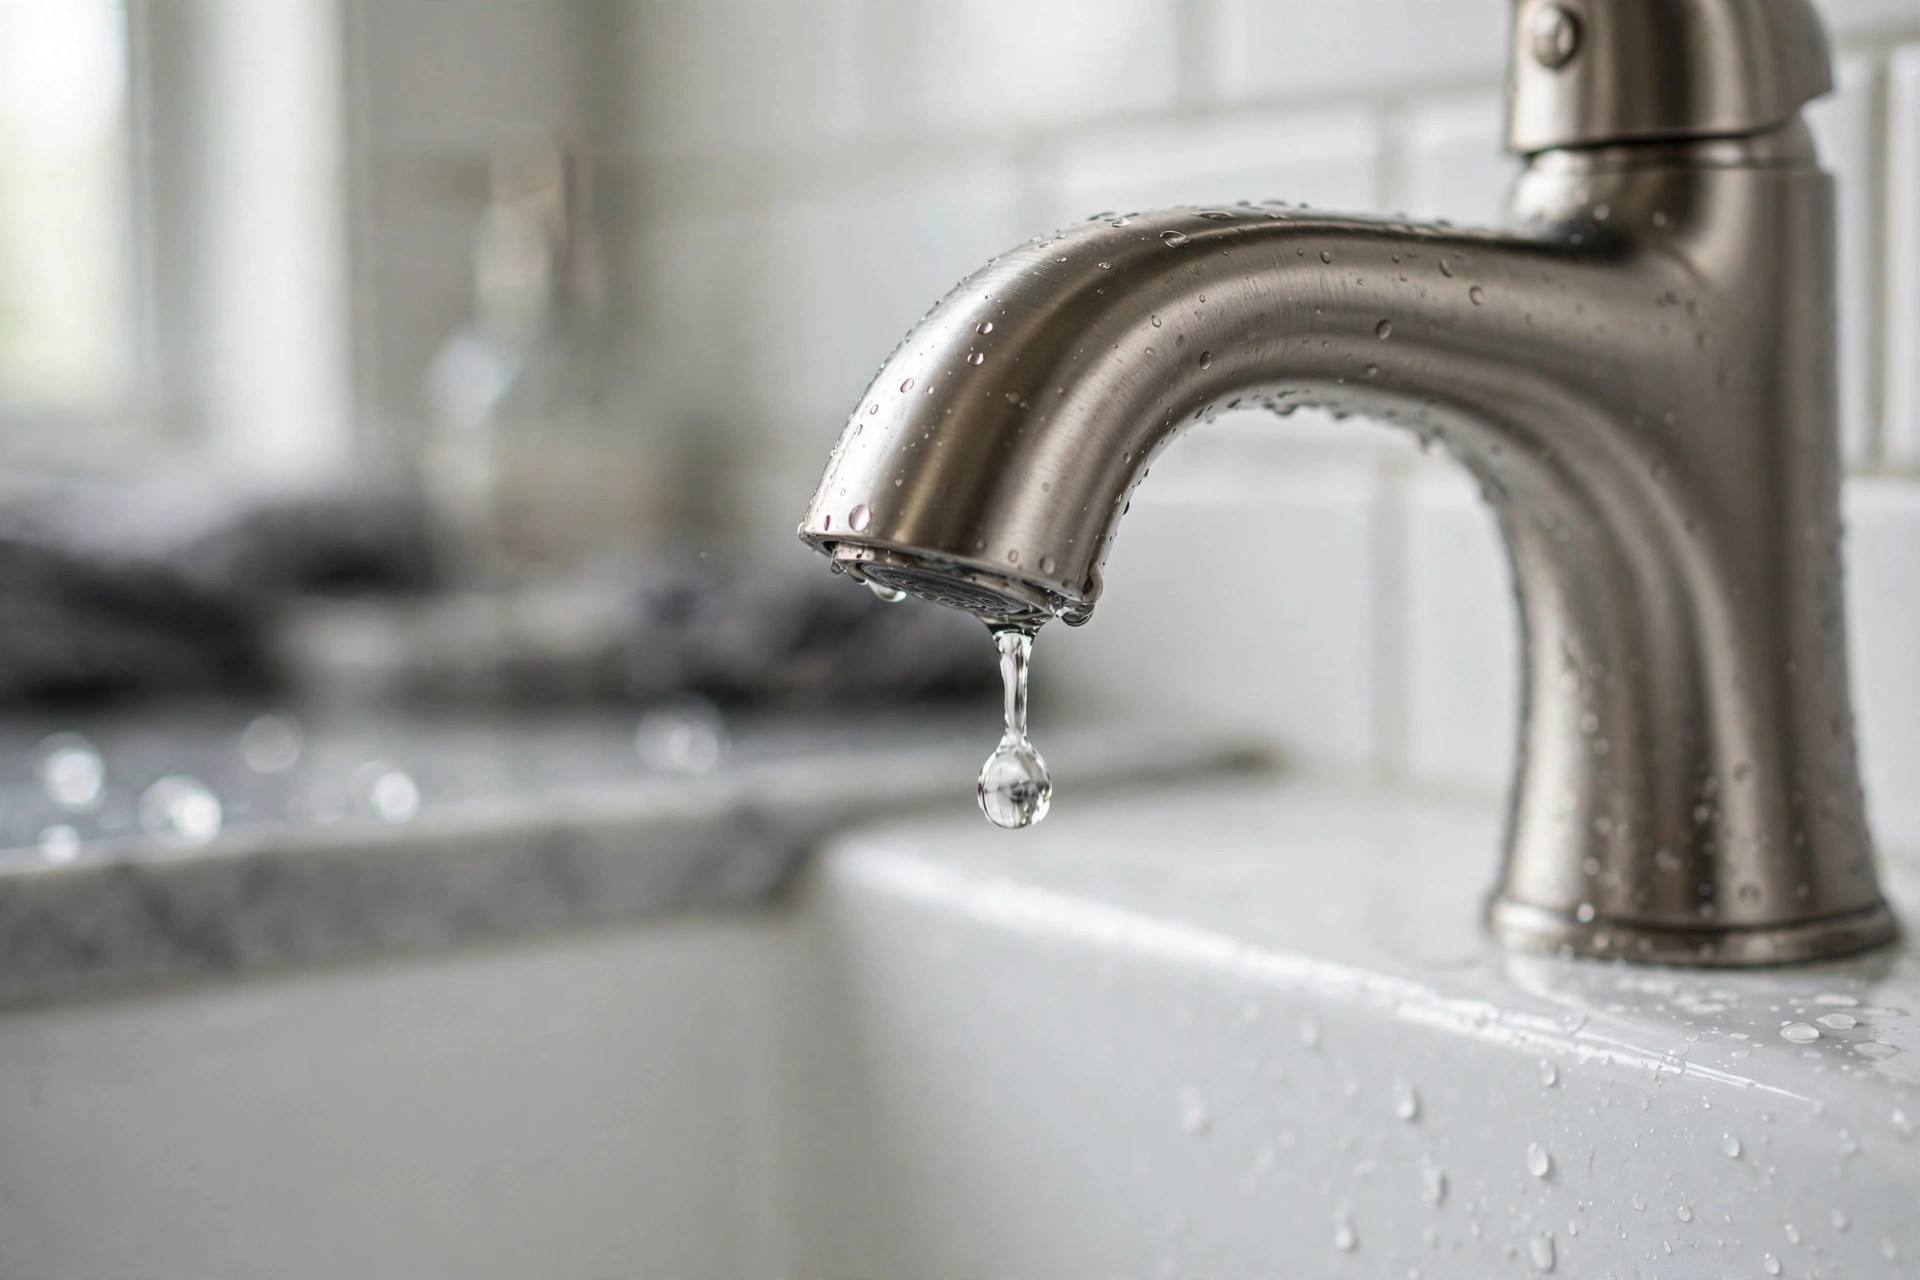
- Dripping from the spout: The internal seal isn’t closing fully — usually a worn washer, O-ring, or cartridge.
- Leaking around the handle or base: Worn O-rings or packing around the valve stem.
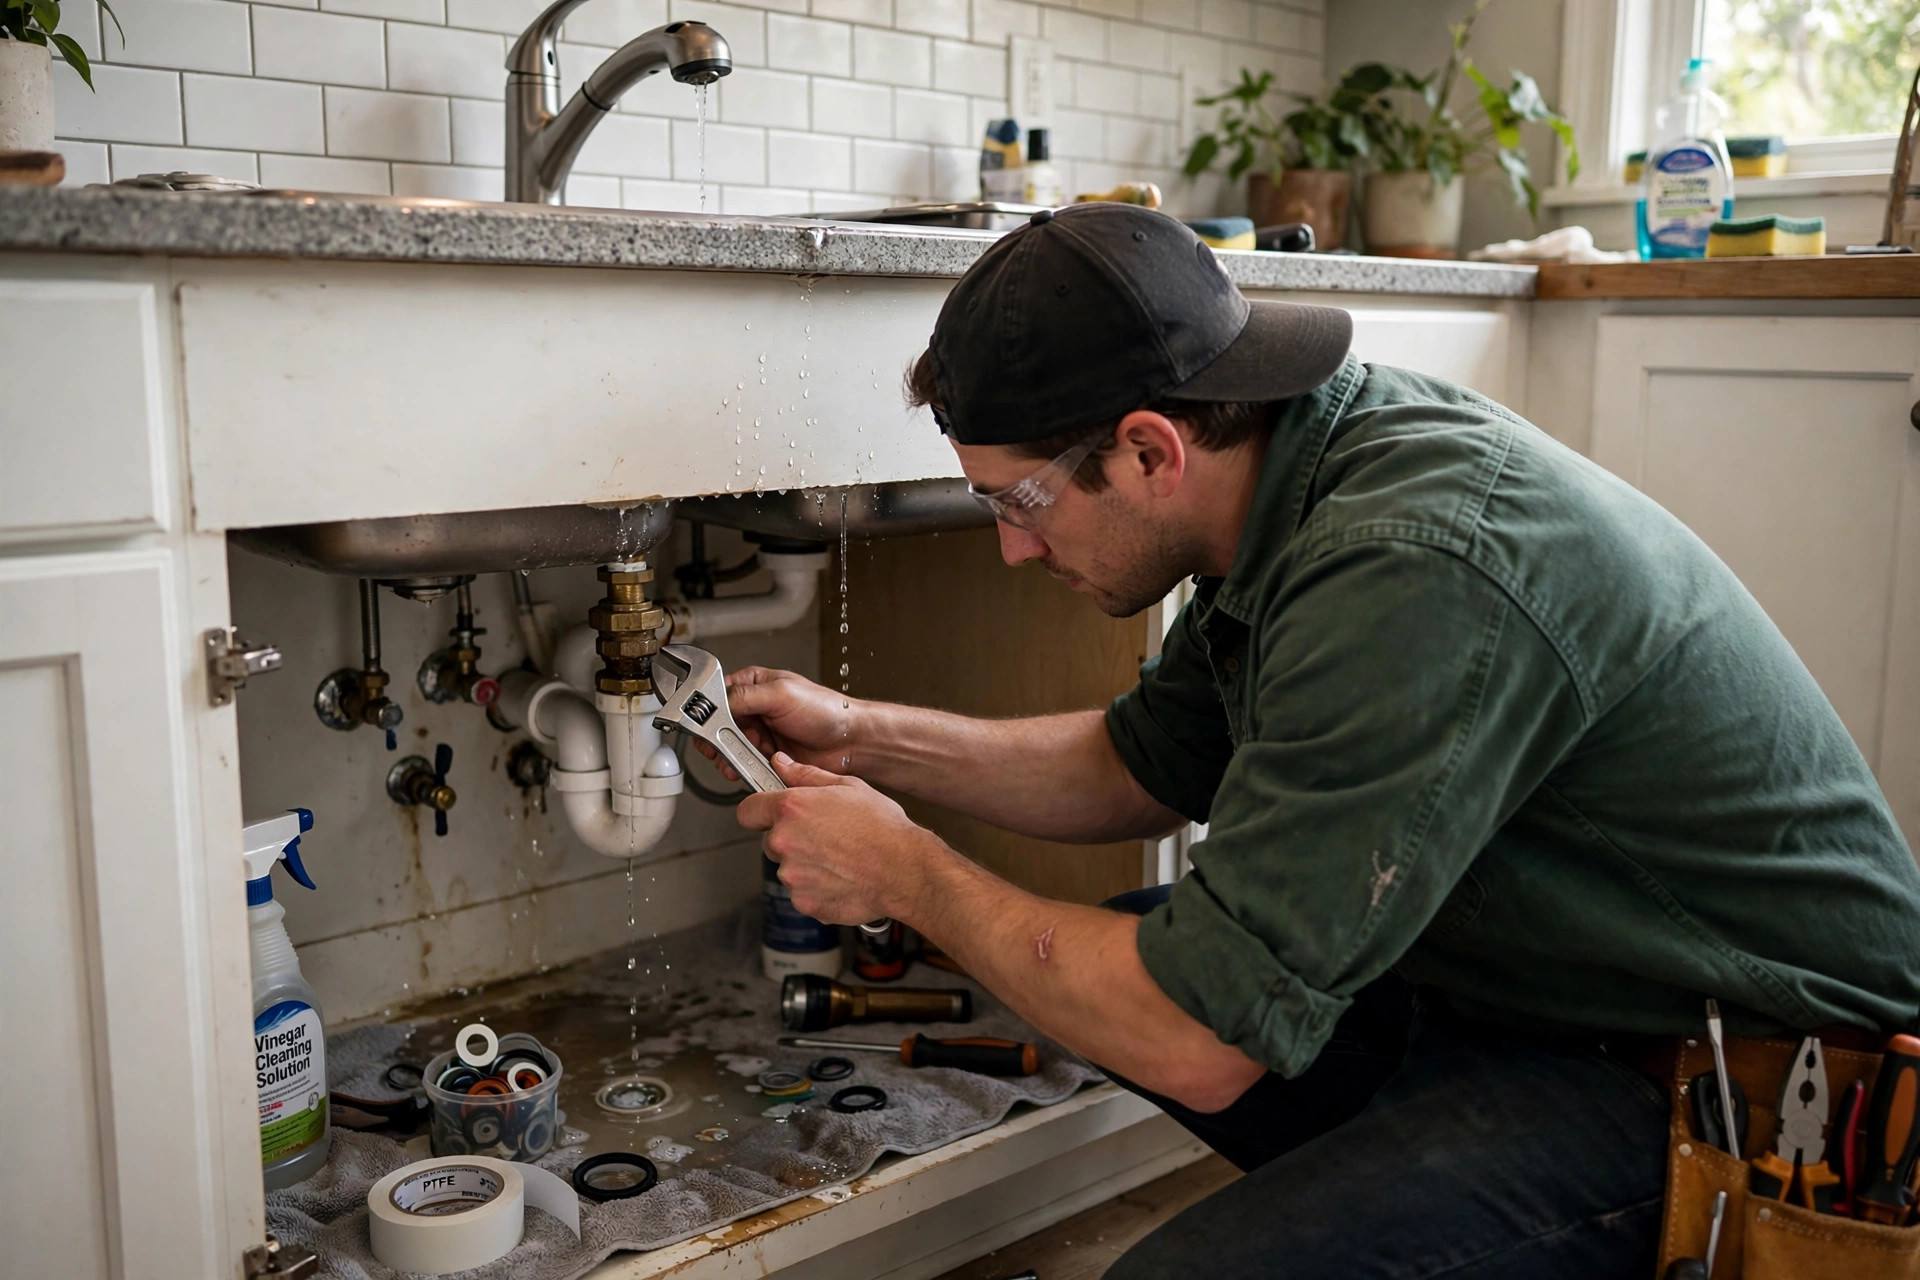
- Leaking under the sink: Loose supply line connections or a failing supply hose — different fix, check those connections first.
Identify your leak location before buying parts. It determines everything that follows.
Step 0: Identify Your Faucet Type
This is the step people skip, then regret. There are four main faucet types, and the repair differs for each:
- Compression faucet: Two separate handles for hot and cold that you twist multiple turns. The oldest style. Most common leaker, easiest fix — it’s almost always a washer.
- Ball faucet: Single handle that rotates on a ball joint. Common in kitchens. Has the most parts inside.
- Cartridge faucet: Single or double handle that moves up/down or side to side smoothly (half-turn). The cartridge is one replaceable unit — simple swap.
- Ceramic disk faucet: Single lever, very smooth quarter-turn operation. Newest style, most durable, least likely to leak — but when it does, you replace the disk cylinder.
Not sure which you have? Turn the handle. Multiple full rotations = compression. Single lever moving freely in an arc = ball, cartridge, or disk. That narrows it down enough to buy the right repair kit — most hardware stores sell type-specific kits with every part you’ll need.
What You’ll Need
- Adjustable wrench
- Phillips and flathead screwdrivers
- Replacement parts: washer/O-ring kit, cartridge, or repair kit matched to your faucet type
- Plumber’s grease (silicone-based — a tiny tube lasts years)
- White vinegar and an old toothbrush (for mineral buildup)
- A towel or small container (to catch water and hold tiny parts)
- Your phone (to photograph each step during disassembly — trust me on this)
Total parts cost: typically $5-20. Compare that to a plumber’s service call and you’re already winning.
How to Fix a Leaky Faucet, Step 1: Shut Off the Water
Look under the sink for the shutoff valves — there should be one for hot and one for cold on the supply lines. Turn both clockwise until they stop. Then turn on the faucet to release remaining pressure and confirm the water is off. If the valves are stuck or there are none, shut off the main water supply to the house.
Plug the drain with a rag or the stopper. Faucet repair involves tiny screws and parts that love to dive down drains. This thirty-second precaution has saved more projects than any tool in the box.
Step 2: Disassemble the Faucet
Work slowly and photograph everything. Here’s the general sequence:
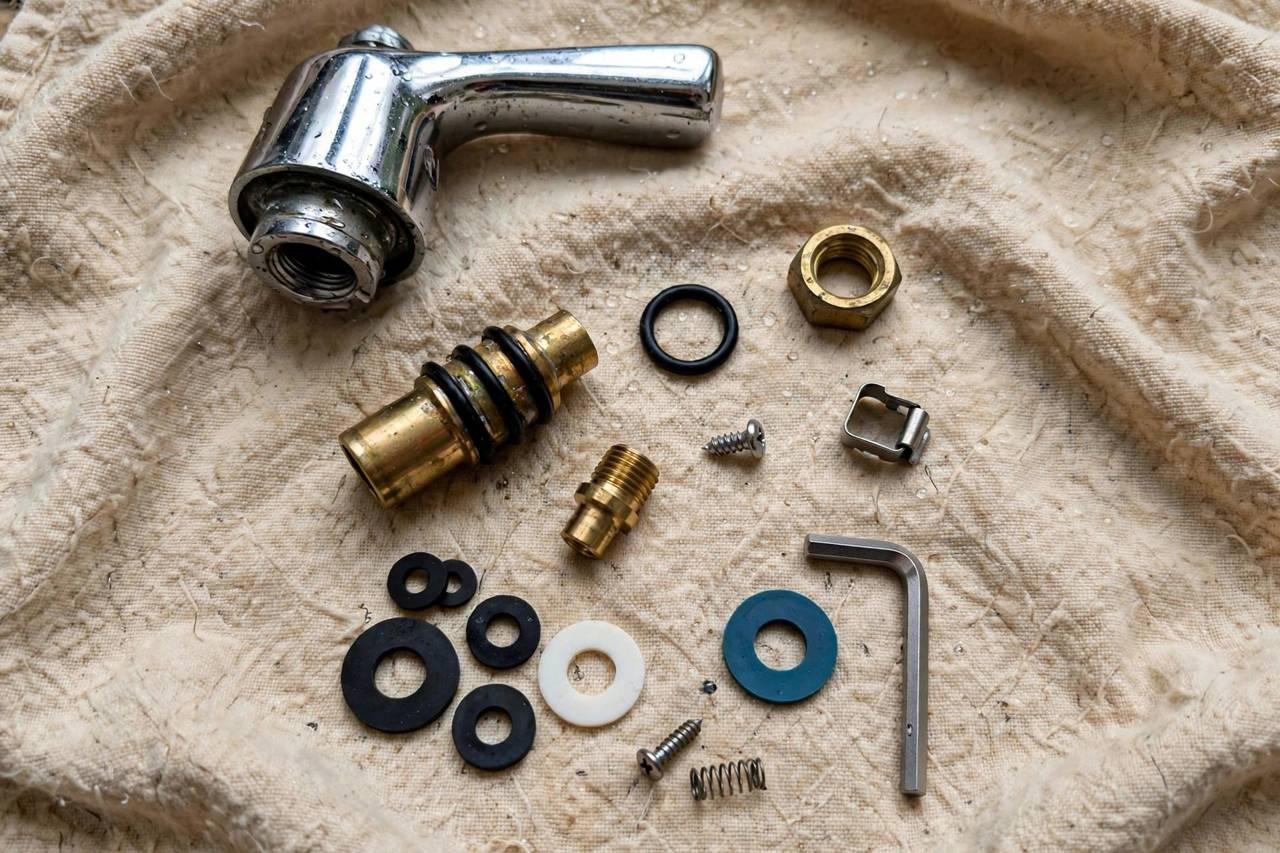
- Remove the handle. Look for a small screw — often hidden under a decorative cap (pop it off with a flathead screwdriver) on top or at the back of the handle. Remove the screw and lift the handle off. If it’s stuck, wiggle gently — don’t force it.
- Remove the trim/cap. Unscrew the decorative dome or bonnet nut covering the valve assembly. This usually unscrews by hand or with gentle wrench help (wrap it in a cloth first to avoid scratching the finish).
- Extract the stem, cartridge, or ball assembly. Depending on your type: unscrew the valve stem (compression), pull out the cartridge (cartridge type — note its orientation!), or lift out the ball assembly (ball type).
Lay every part out in order on a towel, left to right, exactly as it came out. Your phone photos are backup; the towel lineup is your primary map for reassembly.
Step 3: Inspect and Replace the Worn Parts
Now the detective work. Look at each part:
For compression faucets: The culprit is almost always the rubber washer at the bottom of the valve stem — it’ll look flattened, cracked, or grooved. Unscrew the brass screw holding it, replace with an exact-size match, and reassemble. Also check the O-ring around the stem and replace if worn. While you’re in there, inspect the valve seat (the surface the washer presses against) — if it’s rough or pitted, smooth it with a valve seat dresser tool or replace it.
For cartridge faucets: The simplest fix in plumbing — pull the old cartridge, push in the new one (matching the orientation exactly). If you don’t know the brand/model, bring the old cartridge to the store for matching. Many manufacturers offer free replacement cartridges under lifetime warranties — check before buying.
For ball faucets: Replace the springs, rubber seats, O-rings, and the ball itself if it’s scratched. Ball-type repair kits include everything and cost just a few dollars. This type has the most fiddly parts, so go slow and follow the kit diagram.
For ceramic disk faucets: Lift out the disk cylinder and replace it with an identical unit. These rarely fail, so also check that the inlet seals are clean and intact.
Clean everything while it’s apart. Soak mineral-crusted parts in white vinegar for 15-20 minutes, scrub with the old toothbrush, rinse. Apply a thin coat of plumber’s grease to O-rings and moving parts before reassembly — it extends their life significantly and makes everything operate smoothly.
Step 4: Reassemble and Test
Reverse your disassembly order using your towel lineup and photos. Hand-tighten everything first, then snug with the wrench — overtightening cracks ceramic parts and strips threads, which turns a $5 repair into a faucet replacement. This is the most common DIY mistake; gentle and snug beats strong and sorry.
Turn the water back on slowly at the shutoff valves. Check under the sink for leaks at the supply connections. Then turn on the faucet and check the spout, handles, and base. Let it run for 30 seconds — air in the lines may cause sputtering at first, which is normal.
No drip? Congratulations — you now know how to fix a leaky faucet, and you just did a plumber’s job. Still dripping? Don’t panic. The most common causes: a part seated incorrectly (disassemble and check orientation), the wrong size washer, or a damaged valve seat that needs attention. Walk through the steps once more methodically.
When to Repair vs. Replace the Whole Faucet
Repair is almost always the right call — but not always:
Repair it when: the faucet is otherwise in good shape, parts are available, and it’s a straightforward washer/cartridge/O-ring issue. This covers the vast majority of leaks.
Replace it when: the faucet body is corroded or cracked, the finish is destroyed, parts are discontinued and unavailable, you’ve repaired the same leak twice and it keeps coming back, or the faucet is so old and cheap that a new one costs barely more than the repair kit. Also consider replacement if you’re remodeling anyway — sometimes the stars align.
Replacing a whole faucet is also very DIY-able (it’s essentially the reverse of installation: disconnect supply lines, remove mounting nuts, lift out, drop in new, reconnect). But that’s a project for another day — today, you fixed the drip.
Preventing Future Leaks
- Don’t overtighten handles. Cranking the handle shut with all your might is the number one cause of premature washer wear. Turn until the water stops, then stop.
- Address small drips promptly. A slow drip wears the seat and washer progressively worse. Fix it early and the repair stays simple.
- Know your water. Very hard water deposits minerals that chew through seals faster. If your area has hard water, expect more frequent washer replacements — it’s just the cost of doing business.
- Exercise the shutoff valves annually. Turn them off and on once a year so they don’t seize. A seized shutoff valve turns every future plumbing job into a bigger ordeal.
That’s the whole job. Thirty minutes, a few dollars, and the deeply satisfying silence of a faucet that finally shuts off completely. Every drip you hear from now on in someone else’s house, you’ll think: “I could fix that in half an hour.” And you’d be right.
FAQ
Why does my faucet drip even when it’s turned off tightly?
The internal seal — usually a washer, O-ring, or cartridge — is worn and no longer closes fully. Tightening harder won’t help and actually makes it worse by damaging the seal further. The fix is replacing the worn part, which is a simple, cheap repair.
How much water does a leaky faucet waste?
A faucet dripping once per second wastes thousands of gallons per year — enough to fill a small swimming pool. Even a slow drip adds up remarkably fast on your water bill, which is why prompt repair pays for itself many times over.
Can I fix a leaky faucet without turning off the water?
No — don’t try it. You need the water off to disassemble the faucet safely. Use the shutoff valves under the sink, or the main house shutoff if those don’t exist or are stuck. Working on a pressurized faucet will soak your kitchen and possibly damage parts.
How do I know what type of faucet I have?
Turn the handle: multiple full rotations means a compression faucet. A single lever moving in an arc is a ball, cartridge, or disk faucet. For cartridge vs. disk, remove the handle and look — a cartridge pulls straight out as one unit, while a disk faucet has a wider ceramic cylinder. When in doubt, bring the old part to the hardware store.
Should I call a plumber for a leaky faucet?
For a standard drip from the spout or handle, DIY is very achievable — it’s one of the best beginner plumbing repairs. Call a plumber if water is leaking inside the wall, under-sink supply lines are damaged, shutoff valves are broken, or you’ve attempted the repair twice without success.
Keep Reading
- How to Find Last Minute Hotel Deals (That Actually Work)
- How to Stretch Before Running (The 8-Minute Warm-Up That Prevents Injury)
- How to Clean Car Battery Terminals (10-Minute Fix)