How to Parallel Park Step by Step (Foolproof Method)

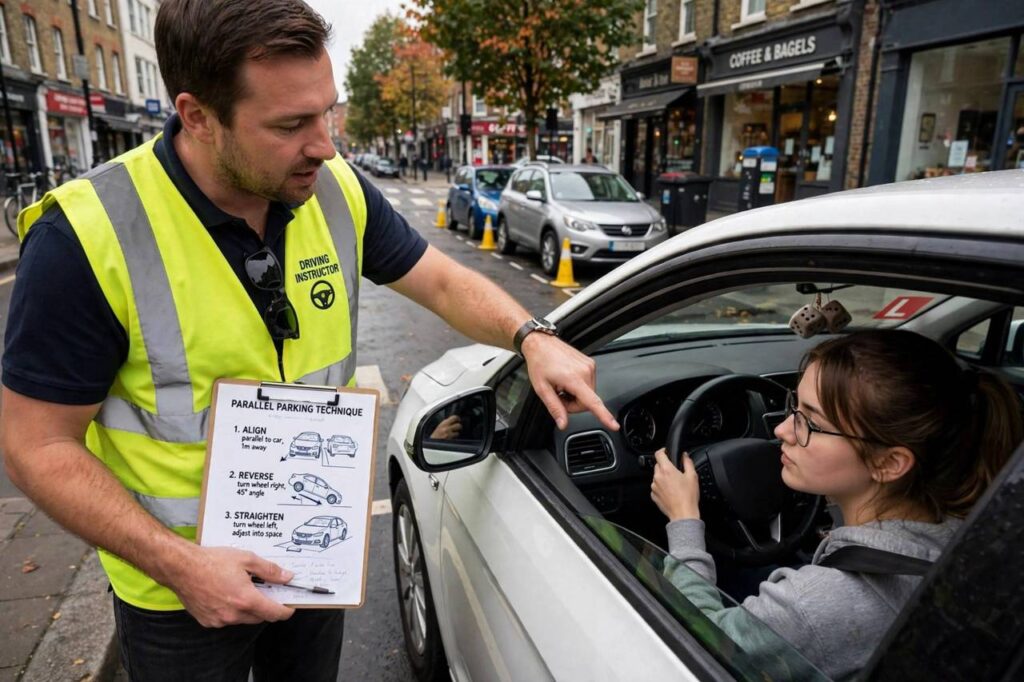
Parallel parking: the maneuver that makes grown adults circle the block three times hoping for an easier spot. Here’s the thing nobody tells you — it’s not a talent, it’s a recipe. The same steps, in the same order, every time. Once you learn how to parallel park step by step, it stops being scary and starts being automatic. I’ve taught this method to nervous new drivers and to people who’ve been avoiding it for twenty years. It works for all of them, and it’ll work for you.
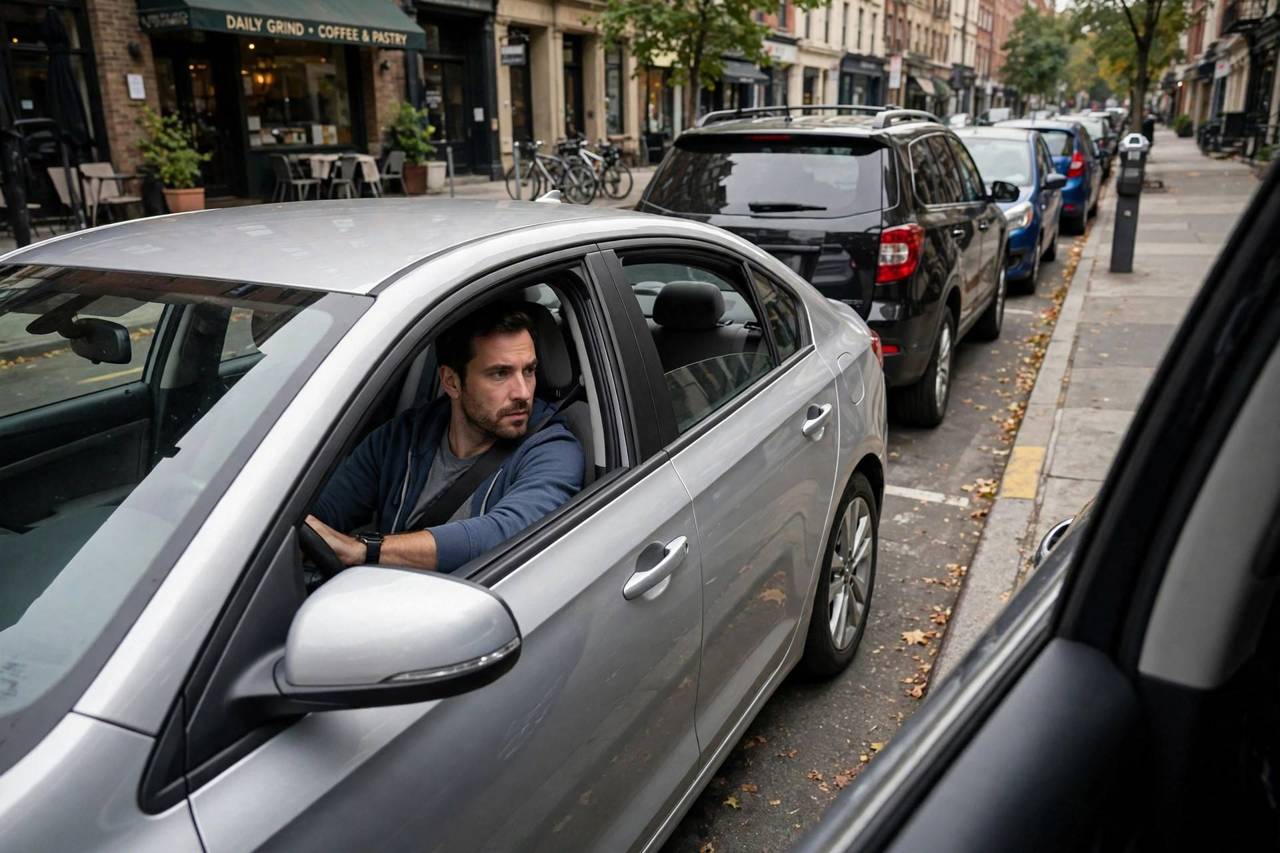
We’ll go through the exact steps, the reference points that make it foolproof, how to fix it when you mess up (everyone does), and how to practice without an audience.
Before You Start: The Setup Matters
Find the right spot. For learning, pick a space at least one-and-a-half times your car’s length. As you improve, you’ll handle tighter spots, but give yourself room while the steps are new. Make sure the spot is legal — check signs, hydrants, and driveways.
Prepare your car. Turn off the radio, roll down your window slightly (hearing your surroundings helps), and adjust your mirrors — tilt the passenger mirror down a touch so you can see the curb. Properly inflated tires make steering feel predictable, so checking your tire pressure is worth doing before practice sessions.
Signal and position. Pull up alongside the car in front of the empty space, leaving about 2-3 feet of side gap. Line up so your rear bumpers are roughly even (or your rear wheels are aligned with theirs). Put on your right turn signal, check mirrors and blind spot, and take a breath. Rushing is what causes 90% of bad parks.
How to Parallel Park Step by Step
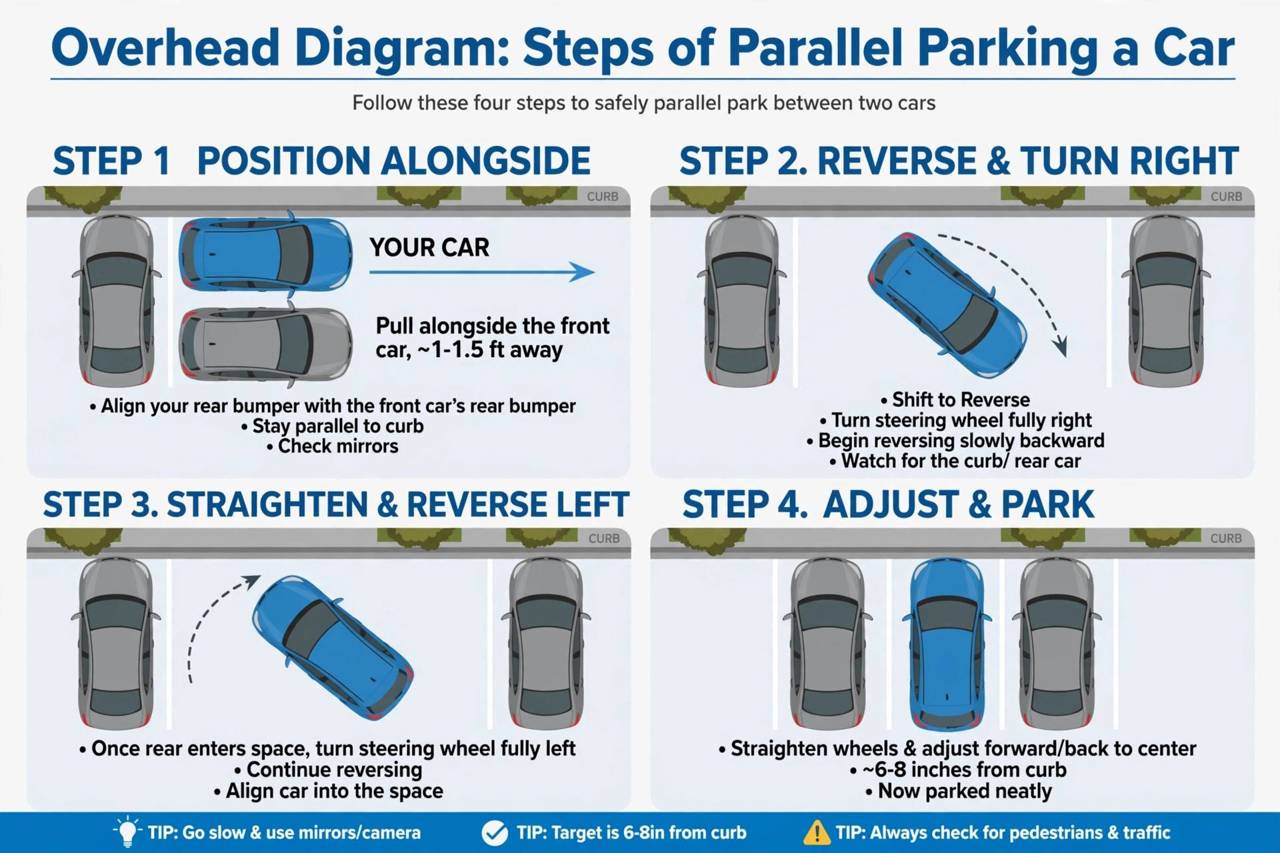
Step 1: Reverse straight back. Shift into reverse and back up slowly in a straight line until your rear bumper passes the rear bumper of the car beside you — roughly when your back seat is aligned with their rear bumper. Stop.
Step 2: Full lock toward the curb. Turn your steering wheel all the way to the right (toward the curb) and continue reversing slowly. Watch your right mirror — you’re aiming to back in at about a 45-degree angle. Keep going until your car is at roughly 45 degrees to the curb, or until your left mirror shows the full front of the car behind you.
Step 3: Straighten and continue. When your front bumper clears the rear bumper of the car in front, straighten the wheel (turn left to center) and keep reversing straight back. You’re now sliding into the space.
Step 4: Full lock away from the curb. When your front bumper is about even with the rear bumper of the car ahead, turn the wheel all the way left (away from the curb) and continue reversing. This swings your front end into the space while your rear tucks toward the curb.
Step 5: Straighten and center. Once you’re in, straighten the wheels and pull forward or back to center yourself in the space — roughly equal distance from both cars, 6-12 inches from the curb. Done.
The whole thing should take 30-60 seconds once practiced. Slow is smooth, and smooth is fast — creeping speed gives you time to correct.
The Reference Points That Make It Foolproof
The steps above work, but reference points make them repeatable. These are the visual cues to burn into memory:
- The starting alignment: your rear bumper even with the other car’s rear bumper. This is the most important reference — get this right and the geometry works.
- The 45-degree turn point: in your right mirror, when you can see the curb approaching your rear tire at an angle, or when the car behind fills your left mirror — time to straighten.
- The front-clearance check: before turning left in Step 4, glance at your right mirror to confirm your front bumper has cleared the car ahead. This is where impatience causes scrapes.
- The curb check: use the tilted passenger mirror to watch your distance from the curb as you finish. Six to twelve inches is the target — close enough to be legal, far enough to protect your rims.
Every car has slightly different sightlines, so calibrate these references to your car during practice. The method is universal; the exact visual cues are personal.
How to Fix It When You Mess Up
You will mess up. Everyone does, including people who’ve parked for decades. The fix is always the same: pull out and start over. There’s no shame in it — trying to salvage a bad angle with seventeen tiny adjustments is how curbs get curbed and bumpers get kissed.
Common problems and fixes:
Too far from the curb: you started your turn too late or didn’t turn sharply enough. Pull forward, reposition, and start the right turn a touch earlier.
Too close to the curb / hitting it: you turned too early or too sharply. Next time, reverse straight a bit further before the full-lock turn.
Front sticking out: the space might be tight, or you didn’t complete Step 4’s left turn fully. Straighten, pull forward, and back in again with more left lock.
About to hit the car behind: stop, pull forward, and restart. Never guess clearances — if you can’t see it, you don’t know it.
The golden rule: when in doubt, pull out. Restarting takes 20 seconds. Bodywork takes weeks.
Here’s the mindset shift that makes fixing mistakes easy: a bad park is just a park you haven’t finished yet. There’s no penalty for pulling out and starting over — no judge is scoring you, and the drivers waiting behind you have all been exactly where you are. If you’re crooked, too far from the curb, or at a weird angle, pull forward (straighten your wheels first), reposition, and try the back-in again. Most “failed” parallel parks are fixed in one smooth pull-forward-and-retry. The only real mistake is the panic kind: jerky steering, rushed reversing, and hoping it’ll somehow work out. Slow down, reset, and run the recipe again.
How to Practice Without Pressure
Use cones or boxes first. Set up two “cars” (traffic cones, cardboard boxes, trash cans) in an empty parking lot with generous spacing. Practice the steps with zero stakes until the sequence is muscle memory.
Graduate to real streets at quiet times. Sunday mornings on residential streets are perfect — real curbs, real cars, minimal audience. Bring a calm friend for the first few attempts if it helps.
Practice both sides eventually. You’ll almost always park on the right, but one-way streets sometimes require left-side parallel parking. The steps mirror — it’s worth practicing a few times so it doesn’t surprise you.
Learn your car’s dimensions. Spend five minutes understanding where your car’s corners are — the hood length, the rear overhang. Most parking anxiety is really “I don’t know where my car ends” anxiety, and it fades with deliberate practice.
Parallel Parking Tips for Tight Spots and Hills
Tight spots: the minimum workable space is about 1.2 times your car’s length. Below that, find another spot — it’s not worth the risk. For tight-but-doable spots, the steps are identical; just execute more precisely and be ready for an extra forward-back adjustment at the end.
Hills: turn your wheels toward the curb when facing downhill and away from the curb when facing uphill (so the car rolls into the curb, not traffic, if the brakes fail), and always use the parking brake. On steep hills, curb your wheels before you relax — make it part of Step 5.
At night or in rain: slow down further, use your mirrors more, and don’t be embarrassed to get out and check clearances. Nobody ever regretted being careful.
Parallel parking is one of those skills that feels impossible until suddenly it isn’t — and the “suddenly” comes from about ten good practice reps, not ten years of driving. Learn the steps, trust the reference points, and give yourself permission to restart. Within a week of practice, you’ll be sliding into spots that used to make you keep driving.
Parallel Parking With a Backup Camera (and Without One)
Backup cameras changed parallel parking forever — and honestly, mostly for the better. But the camera is a tool, not a replacement for the technique. Here’s how to use it properly, plus how to park the old-fashioned way when you’re in a car without one.
With a camera: those colored guide lines are genuinely useful. As you back in, watch the lines curve with your steering — they show exactly where your rear bumper is heading. The trick is to not stare at the screen exclusively. Use the camera for precision in the final two feet, but do the main maneuver with mirrors and shoulder checks like always. The screen has a slight delay and a fisheye distortion that messes with distance judgment; your mirrors don’t lie. And always, always do a shoulder check before swinging out — the camera shows what’s behind you, not the cyclist coming up alongside.
Without a camera (or when it fails): this is pure mirror-and-reference-point driving, and it’s a skill worth having because rental cars, older cars, and cameras full of road grime are all real life. Your right side mirror is your best friend — angle it down slightly so you can see the curb and your rear tire. Line up using the reference points from the steps above, turn your head for the shoulder check, and go slowly. Slow is smooth, smooth is parked.
A note on parking sensors: those beeps are measuring distance to the nearest object, not telling you where to steer. Use them as a proximity warning in the final approach, not as a parking guide. Solid beep means stop — not “you’re parked,” just “stop before you touch something.”
FAQ
What are the steps to parallel park?
Align beside the car in front of the space, reverse straight until your rear bumper passes theirs, turn full-lock toward the curb while reversing to 45 degrees, straighten and reverse in, then turn full-lock away from the curb to tuck the front in. Straighten and center.
How far from the curb should I be when parallel parked?
About 6-12 inches from the curb. Close enough to be legal (most jurisdictions require within 12-18 inches), far enough to protect your wheels and tires.
What is the hardest part of parallel parking?
Judging the turn points — when to start turning toward the curb and when to straighten. This is why reference points (bumper alignment, mirror cues) matter more than ‘feel’ when you’re learning.
How much space do you need to parallel park?
For learning, a space about 1.5 times your car’s length. The practical minimum is around 1.2 times your car’s length — anything tighter isn’t worth attempting.
Should you turn your wheels when parallel parking on a hill?
Yes. Facing downhill, turn wheels toward the curb; facing uphill, turn them away from the curb (so the car rolls into the curb if the brakes fail). Always engage the parking brake on hills.
Is parallel parking still on the driving test?
It depends entirely on where you live — and it’s changing. Many US states have dropped parallel parking from the road test in recent years, while others still require it. But here’s my take: learn it regardless of the test. The test is fifteen minutes; real life is decades of city streets where the only open spot requires a parallel park. The drivers who skipped learning it are the ones circling the block — don’t be them.