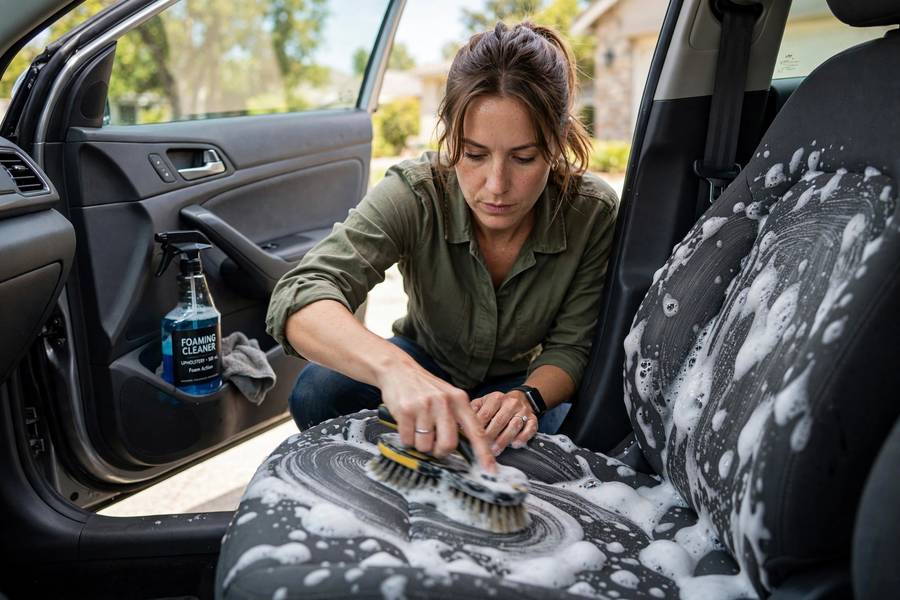
I’ve spent ten years around cars, and here’s something the repair shop taught me that has nothing to do with engines: the inside of your car matters more to its value — and your daily happiness — than almost any mechanical part. A clean interior makes a 150,000-mile car feel decent; a trashed interior makes a 50,000-mile car feel done.
Upholstery cleaning isn’t complicated, but the wrong product on the wrong material causes real damage. Bleach on cloth, silicone dressings on leather, soaking electronics under the seats — I’ve seen all of it. Here’s how to clean car upholstery properly, for both cloth and leather, with the mistakes to avoid.
Contents
- Know Your Material First
- What You’ll Need
- Cloth Upholstery: Step by Step
- Removing Common Stains
- Leather Upholstery: Step by Step
- Leather Don’ts (Read This Before Touching Anything)
- Odors: The Deep Clean
- How Often and How to Maintain
Know Your Material First
Before any cleaner touches any seat, identify what you’re working with:
- Cloth/fabric: woven textile. Most common, most forgiving, stains most visibly.
- Leather: genuine hide. Supple, needs conditioning, damaged by wrong chemicals.
- Leatherette/vinyl (often called “leather-trimmed”): synthetic. Looks like leather, cleans like plastic — much tougher, needs no conditioning.
- Suede/Alcantara: the fuzzy stuff in sporty cars. Beautiful, extremely easy to ruin. Special cleaners only, minimal moisture.
Check your manual or the original window sticker if unsure. Treating leatherette like leather wastes money on conditioners it can’t absorb; treating leather like vinyl (harsh all-purpose cleaners) dries and cracks it. When in doubt, test any product on a hidden spot first — under the seat, behind a flap.
What You’ll Need
For cloth:
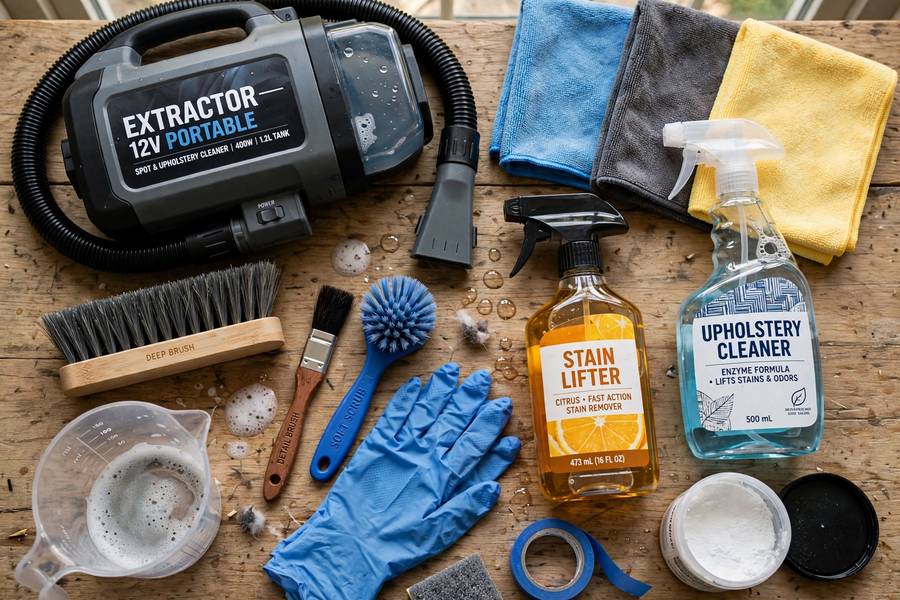
– Vacuum with crevice and upholstery attachments
– Stiff-bristle brush (nail brush works)
– Dedicated upholstery/carpet cleaner (foaming type) — not household carpet cleaner, which often leaves residue
– Several clean microfiber towels
– Spray bottle with water
For leather:
– Vacuum with soft brush attachment
– pH-neutral leather cleaner (not all-purpose cleaner)
– Leather conditioner (the step everyone skips)
– Soft microfiber towels
Worth the investment: a small wet/dry extractor (like a Bissell SpotClean, ~$130). Would I spend my own money on one? I did — it’s the difference between surface cleaning and actually extracting grime. For one car maintained regularly, it’s borderline; for a family with kids and dogs, it’s essential.
Cloth Upholstery: Step by Step
1. Remove everything and vacuum thoroughly. Floor mats out, seats moved fully forward and back to reach underneath. Vacuum every seam, crevice, and the seat tracks — that’s where the archaeology lives. Use the crevice tool along every seam.
2. Pre-treat stains. Spray upholstery cleaner directly on visible stains and let it dwell 5–10 minutes. Don’t scrub yet — let the chemistry work.
3. Agitate with the brush. Work in small sections, scrubbing in overlapping circles. The brush lifts the pile and works the cleaner into the fibers. You’ll see dirty foam — that’s good.
4. Extract or blot. With an extractor: slow passes, overlapping. Without one: press clean, damp microfiber towels firmly into the fabric, lifting (not rubbing) to pull out dissolved grime. Repeat with fresh towel sections.
5. Let it dry completely. Leave doors open or windows cracked for a few hours. A damp car closed up overnight grows mildew — I’ve smelled the results. If you can, do this on a warm, dry day.
Removing Common Stains
The stain-specific intel, from years of seeing what works:
- Coffee: blot immediately (never rub — rubbing spreads it). Upholstery cleaner + cold water. Old coffee stains may need an enzyme cleaner.
- Grease/food: dish soap solution (a drop in warm water) cuts grease surprisingly well. Follow with clean water blotting to remove soap residue — residue attracts new dirt.
- Blood: cold water only — hot water sets protein stains permanently. Hydrogen peroxide on light fabrics can help; test first.
- Ink: rubbing alcohol dabbed (not rubbed) with a cloth. Work from outside in to avoid spreading.
- Vomit (kids, road trips): remove solids, enzyme cleaner (the pet-stain kind works on human messes too), then baking soda sprinkled on, left overnight, vacuumed. Enzyme cleaners are the only thing that actually digests the organic matter causing the smell.
- Mystery stains: start with the gentlest method (water + mild soap) and escalate. You can always get more aggressive; you can’t undo bleach.
Leather Upholstery: Step by Step
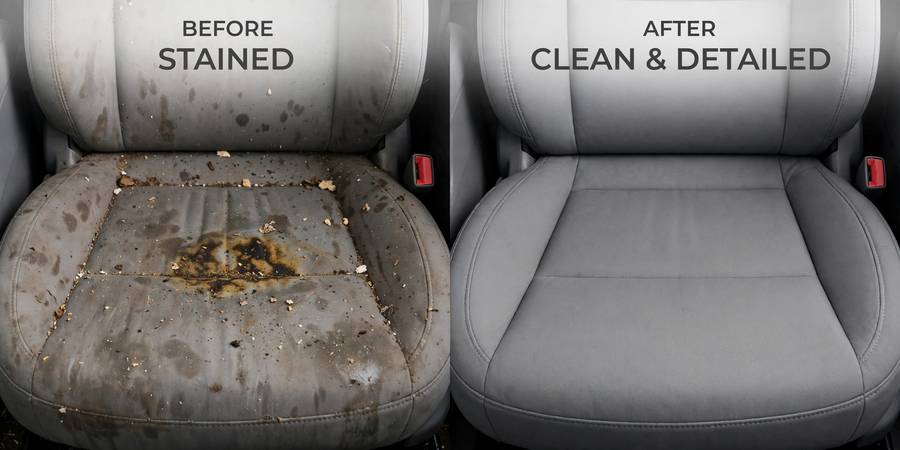
Leather is skin — treat it like skin. Clean gently, moisturize after.
1. Vacuum with the soft brush attachment. Grit scratches leather. Get it all off before any liquid touches the surface. Pay attention to perforations (those tiny holes trap everything).
2. Clean with pH-neutral leather cleaner. Apply to a microfiber towel, not directly to the seat (avoids over-wetting seams and stitching). Wipe in gentle circles, section by section. For textured/grained leather, a soft brush helps get into the grain.
3. Wipe off residue with a separate clean, slightly damp towel. Cleaner left to dry on leather leaves a film that attracts dirt.
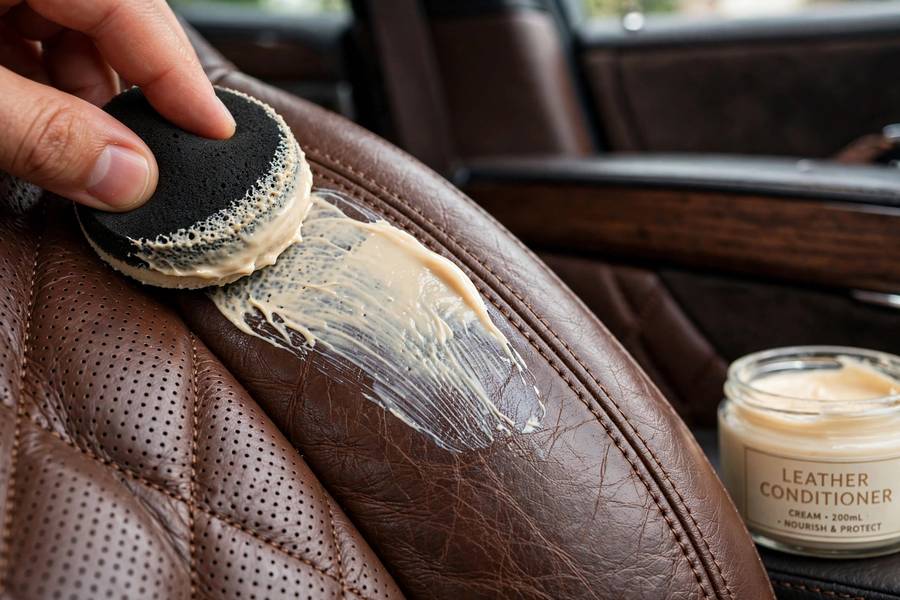
4. Condition while the leather is clean. This is the step everyone skips, and it’s the most important one. Apply leather conditioner thinly and evenly with a foam applicator. It replenishes the oils that keep leather supple and crack-resistant. Let it absorb 15–30 minutes, then buff off excess with a dry towel.
5. Don’t sit in it for a few hours if you can avoid it — let the conditioner fully absorb.
Leather Don’ts (Read This Before Touching Anything)
The damage I’ve seen, so you don’t repeat it:
- No all-purpose cleaners, dish soap, or household chemicals on leather. They’re too alkaline — they strip the leather’s natural oils and protective coating. The damage shows up months later as cracking.
- No silicone-based “protectants” (certain popular dashboard dressings). They make leather shiny and slippery short-term while drying it long-term. Matte and supple beats shiny and slick.
- No steam cleaners on leather. Heat + moisture is brutal on leather’s structure and stitching.
- No scrub brushes on leather. Soft cloth only. Aggressive scrubbing wears through the color coating.
- No “leather” products on Alcantara/suede. Completely different material, completely different care. Use suede-specific cleaner, minimal moisture, soft brush to restore nap.
Odors: The Deep Clean
When cleaning doesn’t kill the smell, the odor is in the foam beneath the fabric:
- Baking soda: sprinkle generously on dry upholstery, leave 8+ hours (overnight), vacuum thoroughly. Absorbs odors remarkably well.
- Enzyme cleaner: for organic smells (milk, sweat, pets) — the enzymes digest the source, not just mask it.
- The cabin air filter: a funky smell when the AC runs is often a moldy cabin filter, not the seats. Replace it (it’s a $15 part behind the glove box on most cars).
- Ozone generator: the nuclear option for persistent smells (smoke, mildew). Run it in the sealed car per instructions, air out thoroughly after. Effective and slightly alarming — follow the safety guidance exactly.
How Often and How to Maintain
- Vacuum: monthly. Five minutes prevents 90% of ground-in grime.
- Wipe-down: leather gets a quick cleaner wipe every 2–3 months; cloth gets spot treatment as needed.
- Deep clean: cloth annually (or with an extractor when visibly dirty); leather gets cleaned + conditioned 2–4 times a year.
- Immediate action: spills get blotted now, not “this weekend.” Every stain is easier fresh.
Protect the investment: seat covers for work vehicles and kid-haulers (washable ones), window shades to prevent UV fading and cracking (leather’s other great enemy), and a no-eating rule if you can enforce it — which, with kids, you can’t, so keep the extractor handy.
A clean interior won’t make your car faster, but it’ll make every drive better and every resale easier. Understand your car instead of fearing it — inside and out.
And don’t stop at the cabin: how to clean car headlights restores night visibility in an afternoon, how to jump start a car is the skill you’ll thank yourself for at 6 AM, and what cruise control is, is worth knowing so you use the features you’re already paying for.
Frequently Asked Questions
Vacuum thoroughly, pre-treat stains with upholstery cleaner, agitate with a brush, extract or blot with microfiber towels, and let dry completely. For leather: vacuum, clean with pH-neutral leather cleaner, then condition. Always test products on a hidden spot first.
A dedicated automotive upholstery cleaner (foaming type) works best — household carpet cleaners often leave residue that attracts dirt. For extraction, a small wet/dry spot cleaner dramatically improves results over blotting alone.
Vacuum with a soft brush, clean with pH-neutral leather cleaner applied to a microfiber towel (never spray directly), wipe off residue, and always follow with leather conditioner. Avoid all-purpose cleaners, silicone dressings, steam, and scrub brushes on leather.
Start with baking soda left overnight then vacuumed. For organic odors use an enzyme cleaner. Check the cabin air filter if the smell comes through the AC. Persistent smoke or mildew may need an ozone generator treatment.
Generally no — especially on leather, where alkaline household cleaners strip oils and cause cracking months later. Dish soap diluted in water works for cloth grease spots in a pinch, but dedicated automotive products are safer and more effective.