
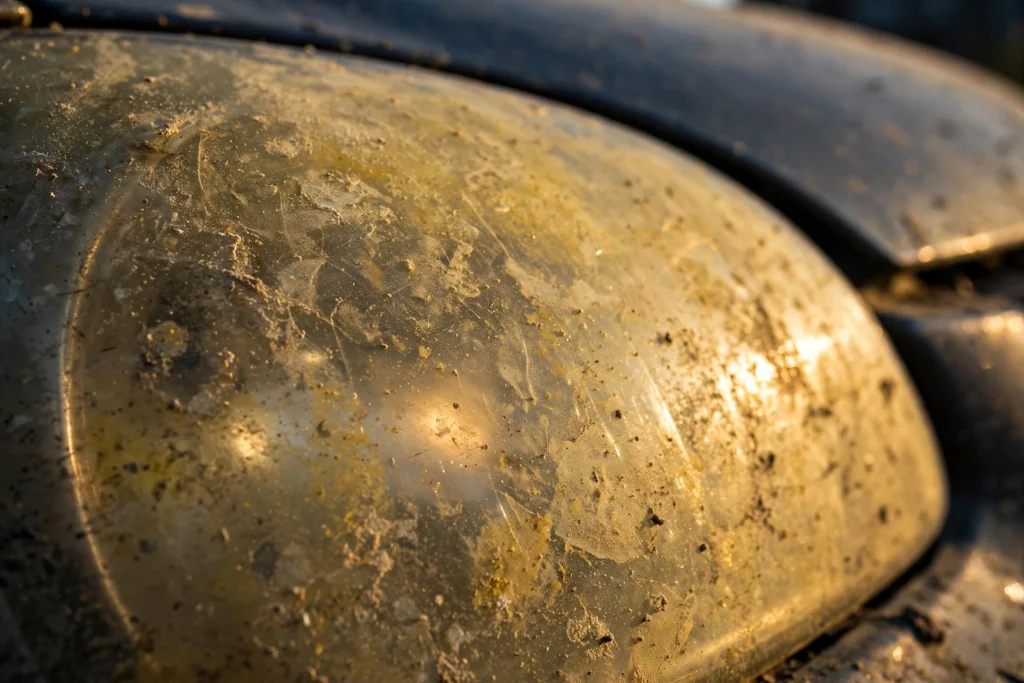
Your headlights are yellow. Hazy. Maybe one looks like it’s been sandblasted and the other isn’t far behind. You noticed it at night, when the road ahead looked dimmer than it should, or in a parking lot when the sun hit them just right and you thought — when did that happen?
It happens to every plastic headlight eventually. Ten years turning wrenches taught me this is one of the most common cosmetic problems on cars over five years old, and it’s also one of the easiest to fix yourself. A shop will charge you real money for this. You can do it in your driveway for the price of sandpaper and an afternoon.
Here’s the full truth, including the parts the kit manufacturers won’t tell you.
Why Headlights Turn Yellow in the First Place
Modern headlights aren’t glass. They’re polycarbonate plastic, and they come from the factory with a thin UV-resistant hard coating. That coating is the only thing standing between the plastic and the sun.
Sunlight breaks it down. Year by year, UV rays eat through the coating, and then they start oxidizing the plastic underneath. That’s the yellowing — it’s oxidation, same idea as rust on metal, just on plastic. Road grime, heat from the bulbs, and car wash chemicals speed it up. Cars parked outside age faster than garaged cars. Southern cars age faster than northern ones. Simple as that.
Once the coating is gone, the surface gets microscopically rough. Light scatters instead of passing through cleanly. That’s why they look foggy even when they’re “clean.” No amount of car wash soap fixes it, because you’re not dealing with dirt anymore. You’re dealing with damaged plastic.
Understanding this matters because it tells you what actually works: you have to remove the damaged layer and protect the fresh plastic underneath. Anything that doesn’t do both of those things is temporary.
The Two Real Options (And Which One I’d Pick)
There are two ways to fix cloudy headlights. Everything else is marketing.
Option 1: The full restoration. Wet-sand the lens, polish it smooth, then seal it with a UV protectant. Takes 1–2 hours for both headlights. Lasts one to three years depending on sun exposure. This is what I do, and it’s what this guide teaches.
Option 2: The quick polish. Hit the lens with a polishing compound and a buffer, skip the sanding. Takes 20 minutes. Looks great for a few weeks, then the haze creeps back because you never removed the oxidized layer — you just shined it up.
Shops mostly do option 1 and charge anywhere from roughly $75 to $150 for the pair, based on general going rates I’ve seen. The DIY version costs under $30 in materials. That’s the math. Would I spend my own money on a shop doing this? No. Not when the process is this straightforward.
What You Actually Need (And What You Don’t)
Here’s your shopping list. Nothing exotic.
- Wet/dry sandpaper in 800, 1000, and 2000 grit (a variety pack is cheapest)
- A spray bottle with water and a drop of dish soap
- Painter’s tape (the blue stuff)
- Plastic polishing compound (any reputable brand)
- Microfiber cloths, several
- A UV sealant made for headlights — this is the one product that actually matters
- Optional: a drill with a small buffing pad attachment (faster, but hand-polishing works fine)
Total: roughly $20–30 if you’re starting from zero. You probably own half of this already.
Now, what you don’t need: the $40 “headlight restoration kit” from the auto parts store. I’ve used them. They’re fine — but you’re paying triple for sandpaper, a thimble of polish, and a wipe-on sealant, all repackaged in a blister pack. Buy the pieces separately and you’ll have enough left over to do three cars. The kits aren’t a scam. They’re just a tax on not knowing what to buy.
And let’s kill the toothpaste myth while we’re here. Yes, toothpaste is mildly abrasive. Yes, it will make a headlight look slightly better for about a week. No, it is not a restoration. It doesn’t remove the oxidized layer and it provides zero UV protection, so the haze comes right back. It’s a party trick, not a fix. Your dentist would also like a word about where that tube belongs.
The Full Restoration, Step by Step
Work on one headlight at a time, in the shade. Direct sun dries everything too fast and you’ll fight the process. Give yourself an afternoon — rushing this is how you get swirl marks.
Step 1: Mask Off the Paint
Run painter’s tape around the entire headlight, overlapping onto the paint and trim by a good margin. Two layers. Sandpaper does not care about your clear coat, and one slip will put a scratch in your paint that costs more to fix than this whole job. Take the two minutes. Tape generously.
Step 2: Wet-Sand the Lens (This Is the Whole Job)
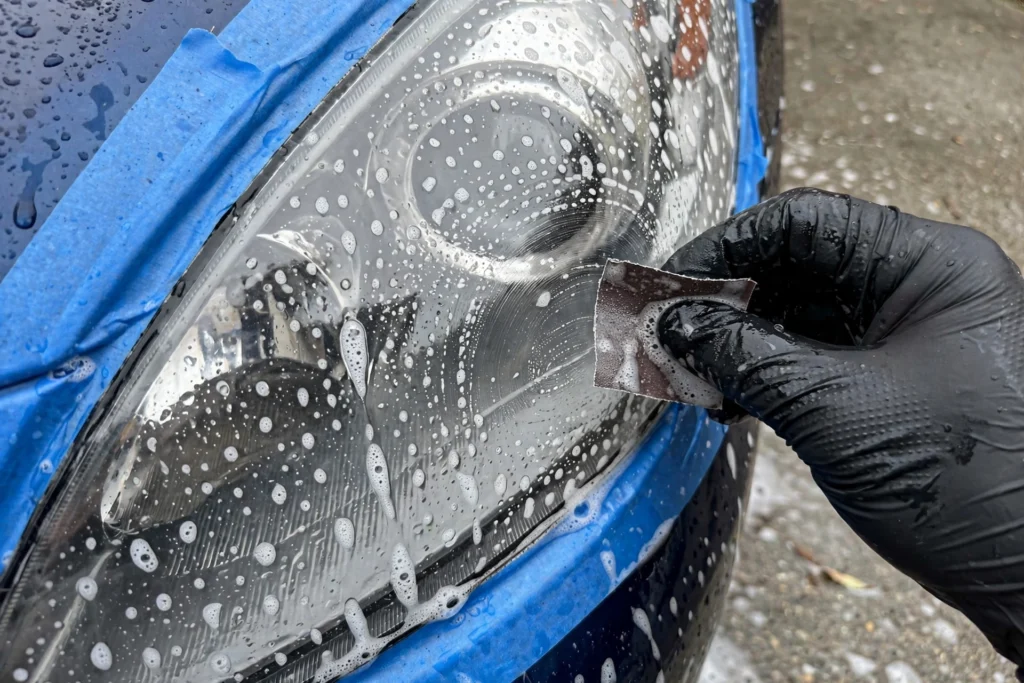
Soak your 800-grit paper in the soapy water. Keep the lens wet the entire time — the water carries away the dead plastic and keeps the paper from gouging. Sand in straight, even strokes, one direction only. You’ll see yellowish slurry coming off. That’s the oxidized layer leaving. Good.
When the lens looks uniformly matte — no shiny spots, no clear patches — you’re done with 800. Wipe it down, move to 1000 grit, and sand at a 90-degree angle to your first direction. This is the part people skip and regret: each finer grit exists to remove the scratches from the coarser one before it. Then 2000 grit, same deal, direction switched again.
Your headlight will look worse before it looks better. Frosted, opaque, like a shower door. That’s correct. Don’t panic. Every first-timer panics here. Keep going.
Step 3: Polish It Clear
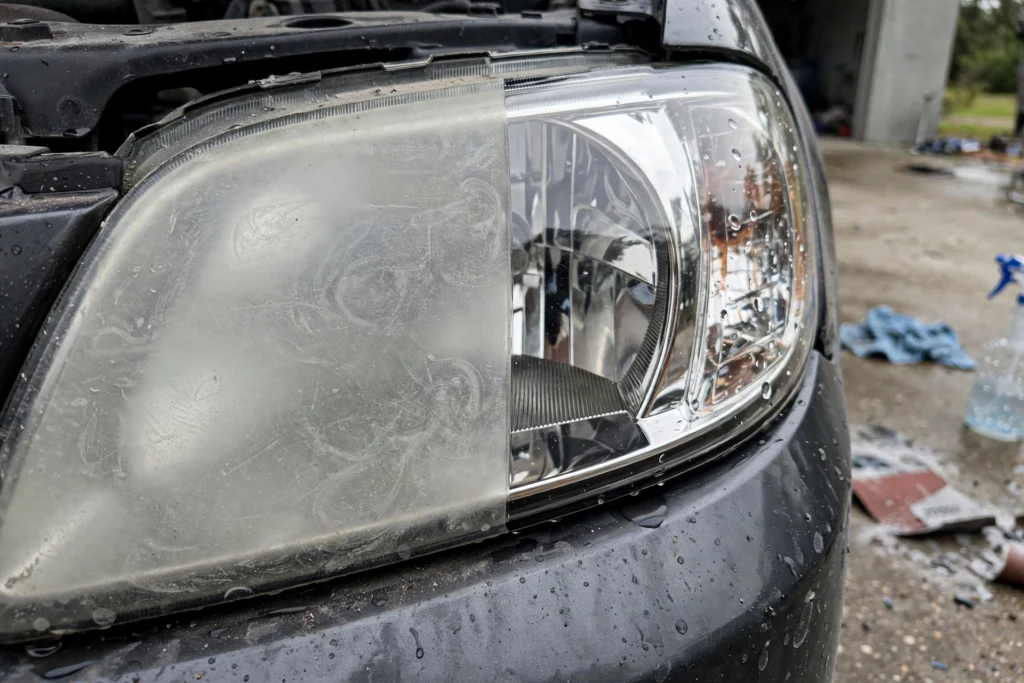
Now the satisfying part. Put a dab of polishing compound on a microfiber cloth (or your drill-mounted pad on low speed) and work the lens in small circles with firm, even pressure. The frost starts disappearing. Keep the pad moving — don’t sit in one spot or you’ll heat the plastic.
Wipe and check your work in good light. If you still see sanding scratches, you didn’t go fine enough in step 2 — go back to 2000 grit rather than trying to polish out 800-grit scratches. Polish removes haze. It doesn’t remove scratches. That’s the rule.
This step is where the headlight goes from shower door to glass. Take your time with it. When I did this in the shop, the rookies always wanted to rush the polish. The veterans knew: the sanding does the work, the polish just reveals it.
Step 4: Seal It (The Step Everyone Skips)
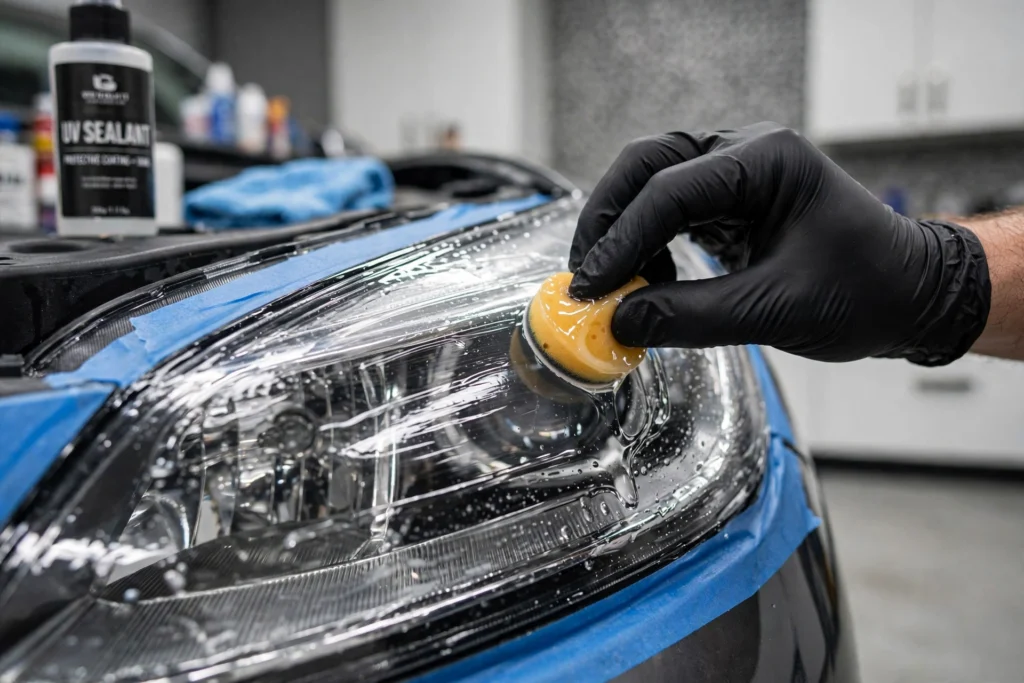
This is the most important step and the one most DIY guides underplay. That fresh, clear plastic you just exposed has no UV protection. Leave it bare and you’ll be redoing this job in six months.
Apply a UV sealant made for headlights — a wipe-on ceramic or acrylic headlight coating, not regular car wax. Wax burns off under headlight heat in weeks. A proper UV sealant cures onto the plastic and buys you one to three years of clarity. Follow the product’s cure time. Don’t wash the car for a day or two after.
I’d rather see you do a mediocre sanding job with a great sealant than a perfect polish with no sealant. The sealant is what makes the fix last. Full stop.
The Quick Fix (When You’re Selling the Car Next Month)
Sometimes you don’t need three years. You’re selling the car, or inspection is next week, or you just want it to look decent for now. Fine. Here’s the honest quick version:
Tape off the paint. Hit the lens with polishing compound on a drill pad for five minutes per side. Wipe clean. Apply whatever UV spray sealant you have, even a basic one.
It’ll look dramatically better. It will not last — expect the haze to start returning within a couple of months, because the oxidized layer is still in there. This is cosmetic, not corrective. Nothing wrong with that, as long as you know what you’re buying: time, not a fix.
When It’s Not Worth Fixing
Straight talk: sometimes the answer is replacement, not restoration.
If the haze is on the inside of the lens — condensation, moisture, a failed seal — no amount of sanding the outside will fix it. You’ll polish the exterior to perfection and it’ll still look foggy. Check by looking at an angle: if the cloudiness seems to sit behind the surface, or you see actual moisture droplets inside, that’s an internal problem.
If the plastic is cracked, deeply pitted from years of highway sandblasting, or the reflective coating inside is flaking, restoration won’t save it either. At that point you’re looking at replacement housings. Aftermarket units run roughly $50–150 per side for common cars, and swapping them is usually a few bolts and a wiring clip — a genuinely easy DIY if you’re comfortable popping the front trim. A shop charges mostly labor for this, and the labor is the easy part.
My rule: if two rounds of proper wet-sanding don’t get it clear, stop sanding. You’re not going to win. Put the sandpaper down and price a replacement.
Keeping Them Clear Afterward
Once they’re restored and sealed, maintenance is almost nothing:
- Wash them with the rest of the car. Normal soap, normal sponge. Don’t overthink it.
- Reapply the UV sealant once a year, or whatever interval the product specifies. Five minutes per side. This is the entire maintenance program.
- Park in shade or a garage when you can. UV is the enemy. Everything else is secondary.
- Skip the “headlight cleaning wipes” sold at gas stations. They’re a weak polish with no protection — the toothpaste trick in a foil packet.
Do those four things and your restoration holds for years instead of months. The people redoing this job every spring are the ones who skipped the sealant. Don’t be those people.
The money angle, since that’s how I think about car stuff: a proper DIY restoration costs under $30 and an afternoon. A shop charges roughly $75–150. Replacement housings run $100–300 for the pair on most common cars. Knowing which of those three your headlights actually need — that’s the whole game. For most of you reading this, it’s the $30 option. If you’re weighing car costs against the rest of your budget, it also helps to know where you stand financially — what your credit score actually means and how to improve it if a car loan is anywhere in your future. For more of my automotive guides, they’re all in one place.
A full DIY restoration — wet-sanding, polishing, and sealing — takes about 1–2 hours for both headlights. A quick polish-only job takes around 20 minutes but won’t last, since it doesn’t remove the oxidized layer. Most of the time goes to the sanding steps; don’t rush them.
Toothpaste can make headlights look slightly clearer for a week or so because it’s mildly abrasive, but it’s not a real fix. It doesn’t remove the oxidized plastic layer and provides zero UV protection, so the haze comes right back. It’s a temporary cosmetic trick, not a restoration — save the toothpaste for your teeth.
They’re not a scam, but they’re overpriced for what’s inside — mostly sandpaper, a small amount of polish, and a wipe-on sealant. Buying the components separately (sandpaper variety pack, polishing compound, and a dedicated UV headlight sealant) costs roughly half as much and gives you enough material for multiple cars. The one product worth spending on is the UV sealant, whichever route you take.
A proper restoration with wet-sanding, polishing, and a quality UV sealant typically lasts one to three years, depending on sun exposure — garaged cars hold up much longer than cars parked outside daily. A polish-only quick fix without sanding or sealing may start hazing again within a couple of months. Reapplying UV sealant yearly extends the results significantly.
No — if the cloudiness or condensation is on the inside of the lens, polishing the outside won’t fix it. Internal haze means the housing seal has failed. In that case the fix is drying out and resealing the housing (difficult) or replacing the headlight assembly, which is usually a straightforward DIY job of a few bolts and a wiring connector.
Clean them first — restoration costs under $30 in materials and works for the vast majority of yellowed, oxidized headlights. Replace them if the plastic is cracked, deeply pitted, hazy from the inside, or still cloudy after two proper rounds of wet-sanding. Aftermarket replacement housings typically run roughly $50–150 per side for common vehicles.