I’m Marcus. Ten years around cars — dealership service bays, my own two-bay shop now — and I can tell you the scratch on your car door bothers you way more than it bothers anyone else. But that doesn’t mean you should ignore it. A scratch through the clear coat is an open door for rust, and rust is the one thing that turns a $20 fix into a $500 problem.
The good news: most scratches — the light ones, the clear-coat scuffs, the “shopping cart kissed my door” marks — can be fixed in your driveway in under an hour. Here’s how to assess what you’re dealing with and fix it the right way.
In This Guide
- First: How Deep Is the Scratch?
- What You’ll Need
- Method 1: Polishing Out Clear-Coat Scratches
- Method 2: Touch-Up Paint for Deeper Scratches
- Method 3: Rubbing Compound for Stubborn Marks
- When to Let a Professional Handle It
- Preventing Future Scratches
- Frequently Asked Questions
First: How Deep Is the Scratch?
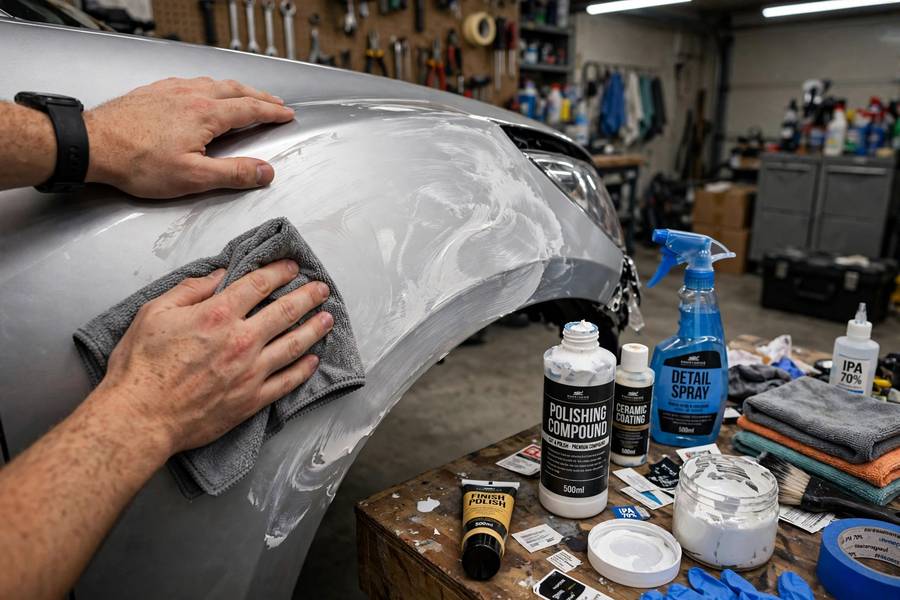
Car paint has layers: primer at the bottom, color coat in the middle, clear coat on top. Your repair method depends entirely on which layer the scratch reached.
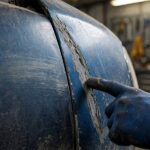
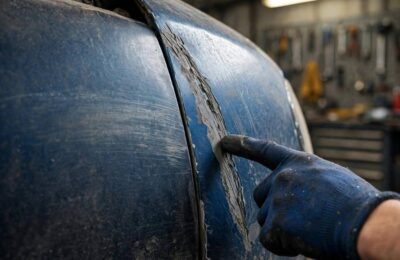
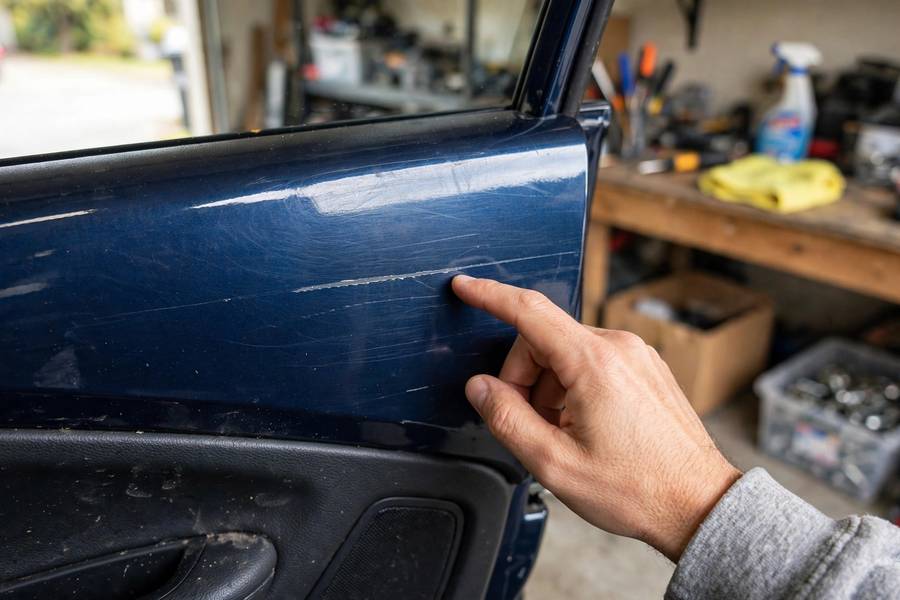
The fingernail test. Run your fingernail gently across the scratch. If your nail doesn’t catch, the scratch is in the clear coat only — the easiest fix. If it catches slightly, it’s into the color coat. If you see bare metal or plastic underneath, it’s through everything.
The water test. Splash water on the scratch. If it disappears when wet, it’s a clear-coat scratch — polishing will fix it. If it’s still visible when wet, it’s deeper.
Color check. White or light-gray scratch on a dark car usually means clear-coat damage (you’re seeing the disrupted clear coat). A scratch showing your car’s primer color or bare metal needs touch-up paint at minimum.
Roughly 70% of the scratches people bring me are clear-coat only. Those are a Saturday-morning fix. Let’s get into it.
What You’ll Need
For clear-coat scratches: a quality polishing compound, two or three clean microfiber cloths, car wash soap, and water. That’s it — under $25 in supplies.
For deeper scratches, add: touch-up paint matched to your car’s paint code (found on the driver’s door jamb sticker), a fine applicator brush or toothpick, clear-coat touch-up pen, and 2000-grit wet sandpaper for leveling.
One rule before you start: wash the area first. Rubbing dirt into paint while you polish creates new scratches — the exact thing you’re trying to fix. Wash, rinse, dry, then work.
Method 1: Polishing Out Clear-Coat Scratches
This handles the majority of scratches — the ones your fingernail glides over.
- Clean the area with car wash soap and dry it completely.
- Apply a small amount of polishing compound to a microfiber cloth — about a pea-sized dab.
- Rub in straight lines along the scratch (not circles — circles create swirl marks), using moderate pressure. Work a 6-inch section at a time.
- Wipe clean with a fresh microfiber and inspect. The scratch should be fading or gone.
- Repeat 2–3 times if needed. Patience beats pressure here — aggressive rubbing thins the clear coat.
- Apply wax or sealant afterward to protect the freshly polished area.
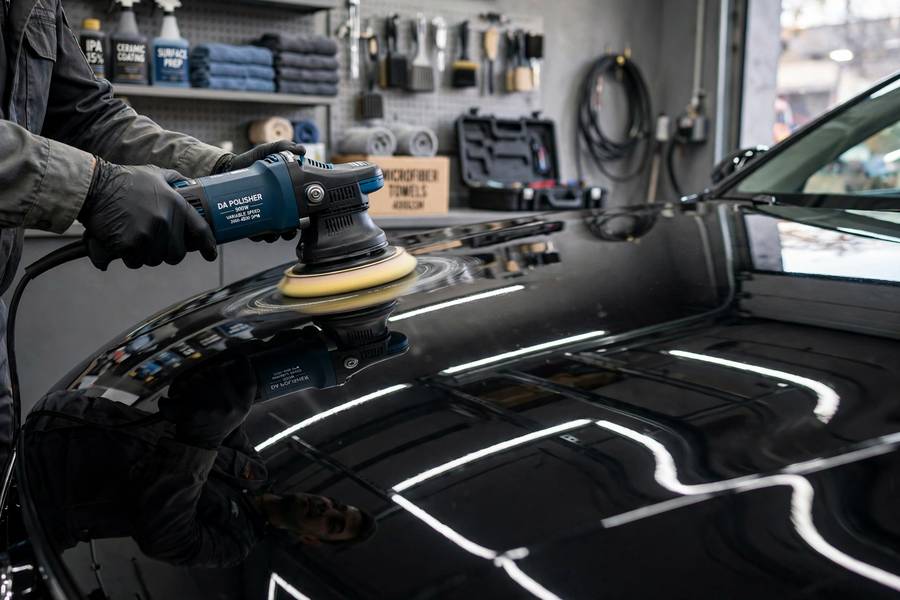
By hand, this takes 15–30 minutes per panel. A dual-action polisher speeds it up enormously and gives more even results — if you plan to detail your own car regularly, it’s worth the investment. Speaking of keeping the whole car looking sharp, cloudy headlights age a car just as fast as scratches; my guide to how to clean car headlights covers that afternoon project.
Method 2: Touch-Up Paint for Deeper Scratches
When the scratch reaches the color coat or primer, polishing alone won’t fill it — you need paint.
- Clean and dry the scratch thoroughly. Use a wax/grease remover or isopropyl alcohol for a truly clean surface.
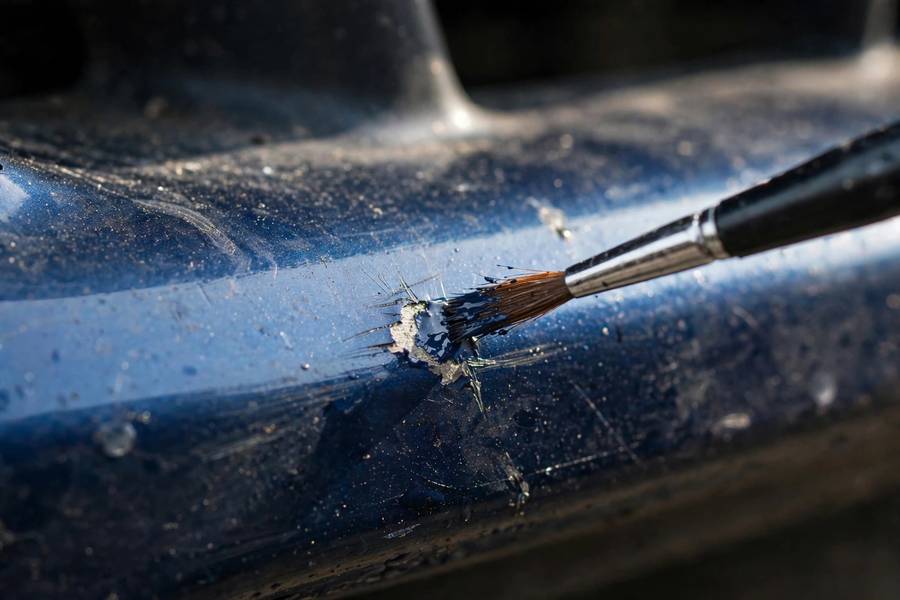
- Apply touch-up paint sparingly with a fine brush or toothpick. Less is more — you want the paint in the scratch, not mounded on top. Multiple thin coats beat one thick blob.
- Let each coat dry 30–60 minutes between applications. Two to three thin coats usually fill the scratch level with the surrounding paint.
- Level it. Once fully dry (24 hours is ideal), wet-sand very lightly with 2000-grit sandpaper wrapped around a small foam block, keeping the area wet. You’re just knocking down the high spot.
- Polish the sanded area with compound to restore gloss.
- Apply clear coat from a touch-up pen over the repair, then wax the panel.
The result won’t be invisible under close inspection — I’d never promise that — but from three feet away, a good touch-up job disappears. And critically, the metal is sealed against rust.
Getting the color right matters. Use your car’s exact paint code, not a “close enough” generic. The code is on the sticker in the driver’s door jamb. Order from the dealer or a reputable online paint supplier.
Method 3: Rubbing Compound for Stubborn Marks
Rubbing compound is more aggressive than polishing compound — it removes a thin layer of clear coat to level out deeper clear-coat scratches, paint transfer (that white smear when another car’s bumper kisses yours), and oxidation.
The technique is the same as polishing, but with two warnings: work a small area, and don’t overdo it. Compound removes clear coat, and clear coat doesn’t grow back. Two or three passes, then switch to polish to refine. If the scratch is still there after that, it’s deeper than compound can fix — move to touch-up paint instead of grinding through your clear coat.
Paint transfer specifically — the colored smear from another vehicle — often comes off with compound alone, since the foreign paint sits on top of your clear coat. Try a clay bar first for these; sometimes that’s all it takes.
When to Let a Professional Handle It
DIY has limits, and knowing them saves money:
- Scratches through to bare metal across a large area — needs proper priming, painting, and blending that requires a spray booth.
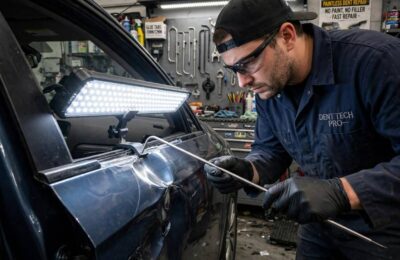
- Dents combined with scratches — paintless dent repair plus paint work is a pro job.
- Scratches on plastic bumpers through the paint — adhesion promoters and flex agents matter; a bad DIY job peels within months.
- You drive a lease or high-value car — a visible DIY repair can cost you more at turn-in than the professional fix would have.
A professional scratch repair typically runs $150–$400 per panel depending on depth and location. Full panel resprays run $500+. Compare that honestly against your skill level and the car’s value.
Preventing Future Scratches
You can’t prevent all scratches, but you can prevent most:
- Two-bucket wash method. One bucket for soapy water, one for rinsing your mitt. Most swirl marks come from washing with dirty water.
- Microfiber only. Old t-shirts, bath towels, and paper towels scratch paint. Microfiber cloths are cheap — use them for everything.
- Wax or sealant twice a year. Protection doesn’t prevent scratches, but it makes the clear coat more resistant and makes future polishing easier.
- Park defensively. End spots, away from cart corrals. The extra 30 seconds of walking beats an hour of scratch repair.
- Fix chips promptly. A tiny chip is a 10-minute touch-up job today and a rust repair in two years.
While you’re in maintenance mode, it’s worth knowing the basics of roadside self-sufficiency too — like how to jump start a car — because a well-kept car still needs a capable owner.
Most scratches look worse than they are. Test the depth, start with the gentlest method, and work up only as needed. An hour in the driveway with $25 in supplies fixes what a body shop would charge hundreds for — and you’ll know your car a little better afterward.
Frequently Asked Questions
Yes — most clear-coat scratches can be removed at home with polishing compound, microfiber cloths, and 15–30 minutes of work. Deeper scratches reaching the color coat need touch-up paint matched to your car’s paint code. Only scratches through to bare metal over large areas truly require a professional.
Use the fingernail test: if your nail glides over it, it’s clear-coat only. If it catches, it’s into the color coat. If you see bare metal or plastic, it’s through all layers. The water test also helps — scratches that disappear when wet are clear-coat level and will polish out.
Toothpaste is a very mild abrasive, so it can slightly reduce the appearance of the lightest surface scuffs — but proper polishing compound works far better and costs about the same. Toothpaste is a fun experiment, not a real repair method. For actual results, use automotive polishing compound.
Professional scratch repair typically costs $150–$400 per panel depending on scratch depth and location. A full panel respray runs $500 or more. DIY repair with polishing compound and touch-up paint costs $20–$50 in supplies for most scratches.
If the scratch goes through the paint to bare metal, yes — exposed steel will rust, and rust spreads under the surrounding paint. Clear-coat-only scratches won’t rust but should still be polished and sealed. Any scratch showing metal should be sealed with touch-up paint as soon as possible.