You walk up to your car and there it is — a fresh scratch, right at eye level, practically glowing. Your stomach drops. Then comes the real question: is this a $20 fix I can handle myself, or am I about to have an expensive conversation with a body shop?
I spent ten years turning wrenches before I started writing about cars, and I can tell you this: the answer is almost always knowable in about sixty seconds, in your driveway, with nothing but your eyes and a fingernail. Here’s exactly how to figure out what you’re dealing with.
Table of Contents
- The Short Answer
- Know Your Paint: The 4 Layers
- The 60-Second Scratch Assessment
- Buffable vs Not: The Verdict Table
- 5 Scratches People Misdiagnose
- When Buffing Makes It Worse
- What to Do Next
- Car Scratch FAQ
The Short Answer
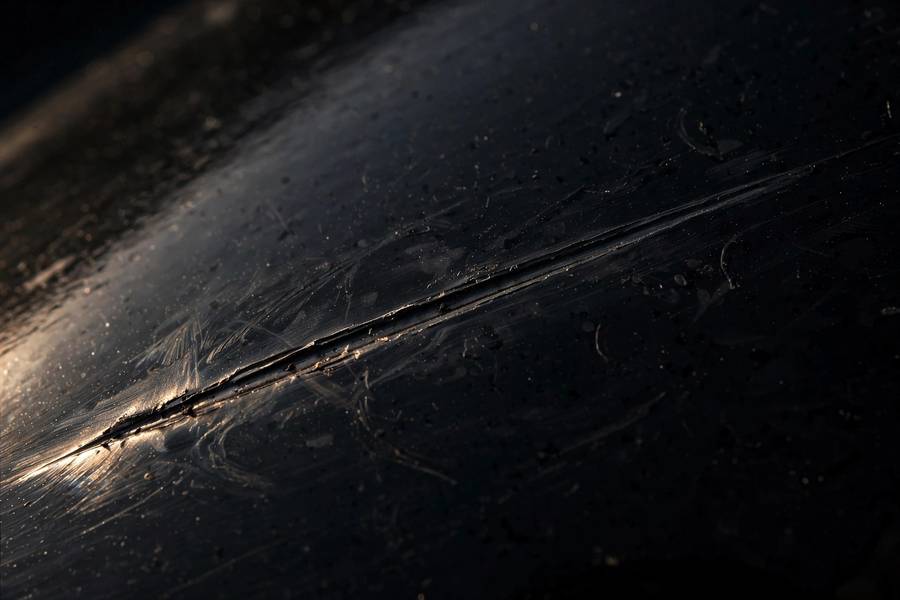
If the scratch is only in the clear coat — the transparent top layer — it can almost always be buffed out. If it’s gone through to the color coat, primer, or bare metal, buffing won’t fix it; you’ll need touch-up paint or professional bodywork.
That’s the whole game. Everything below is just how to determine which one you’re looking at. Don’t skip the tests — I’ve seen people pay for full panel repaints on scratches that would have polished out in ten minutes, and I’ve seen people buff the same spot for an hour trying to fix damage that needed paint from the start.
Know Your Paint: The 4 Layers
Modern car paint is a layer cake, and it helps to know the layers because your scratch has stopped at one of them:
- Bare panel (steel, aluminum, or plastic) — the foundation. If you can see shiny metal, the scratch went all the way through.
- Primer — usually gray or white, helps paint stick. If the scratch shows gray or white and your car isn’t gray or white, you’re looking at primer.
- Base coat (color) — the actual color of your car. Thin — thinner than you’d expect.
- Clear coat — the transparent, glossy top layer. This is the thickest working layer and the only one buffing can fix.
Think of it like a scratch on a wooden table with varnish: if only the varnish is scuffed, you can polish it. If the wood itself is gouged, polish won’t bring the wood back. Same principle, fancier materials.
The 60-Second Scratch Assessment
Do these in order. The whole sequence takes a minute, and each step tells you something.
Step 1: Clean It First
Wash the area with car soap and a microfiber cloth, then dry it. This isn’t optional — half of all “scratches” people panic about are just dirt, rubber marks, or paint transfer sitting on top of perfectly fine clear coat. I’ve had customers come into the shop furious about damage that wiped off with a damp cloth. Clean first, diagnose second.
Step 2: The Fingernail Test
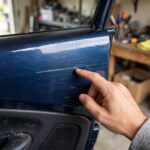
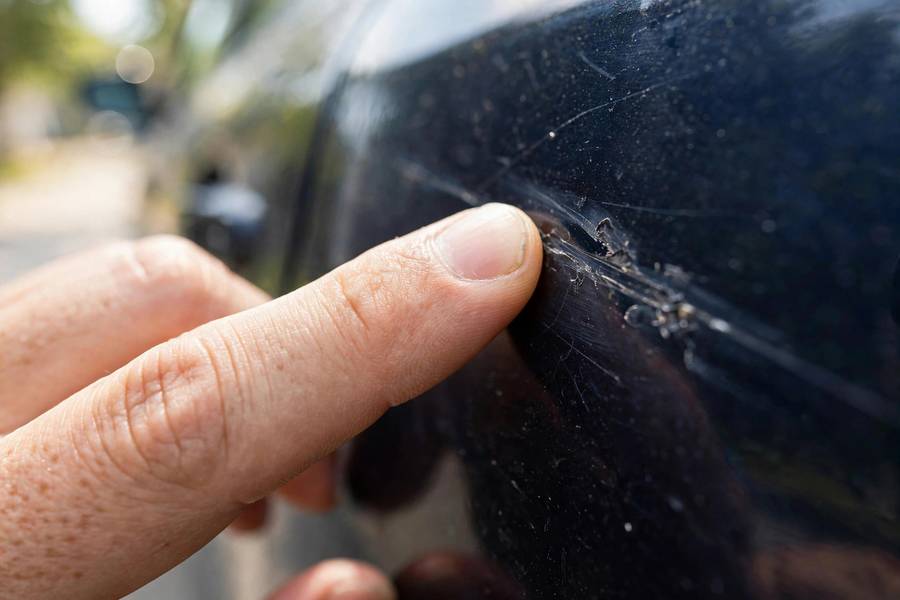
This is the test that matters most. Run your fingernail across the scratch (perpendicular to it), gently:
- Nail glides over smoothly, no catch: The scratch is in the clear coat only. Excellent candidate for buffing. This is your best-case scenario.
- Nail catches slightly, a faint ridge: The scratch has reached the bottom of the clear coat or just kissed the color coat. Buffing may improve it significantly but probably won’t make it vanish completely.
- Nail drops into a groove or clicks: The scratch is through the clear coat and into the color or primer. Buffing will not fix this — it needs paint.
Do it a few times, lightly. You’re feeling for depth, not excavating.
Step 3: The Water Test
Wet the scratch — just dribble some water over it or wipe it with a damp cloth:
- The scratch disappears while wet, then reappears as it dries: It’s a clear-coat scratch. Water temporarily fills the tiny groove and matches the refractive index, making it invisible. This is a very good sign — it means polishing can permanently do what the water does temporarily.
- The scratch stays visible when wet: The damage is deeper. Water can’t hide missing color or primer.
This test is beautifully simple and surprisingly reliable. Old detailers swear by it, and they’re right.
Step 4: Read the Color
Look closely at the bottom of the scratch in good light:
- White or light-colored mark on a dark car: Usually clear-coat damage (light scattering in the disrupted clear layer). Often buffable.
- Gray or white primer showing: Through to primer. Needs paint.
- Shiny metal or rust-colored edges: Through everything. Needs professional repair — and sooner rather than later, because exposed metal rusts.
- A different color entirely (e.g., white paint on your black bumper): That’s paint transfer from whatever hit you — often buffs right off.
Buffable vs Not: The Verdict Table
| What you see | Fingernail test | Water test | Verdict |
|---|---|---|---|
| Faint white line, no groove | Glides over | Disappears when wet | Buff it out — clear-coat scratch |
| Swirl marks / light haze | Glides over | Fades when wet | Buff it out — machine polish ideal |
| Paint transfer (another car’s paint on yours) | Glides or slight catch | May fade | Buff it out — it’s sitting on top |
| Visible groove, same color as car | Catches slightly | Stays visible | Improve, not erase — try compound, expect 50–80% better |
| Gray/white primer visible | Catches hard | Stays visible | Needs paint — touch-up pen for small ones |
| Bare metal visible | Deep groove | Stays visible | Body shop — rust risk, don’t wait |
5 Scratches People Misdiagnose
After a decade in shops, these are the ones that fool people most often:
1. Paint transfer. The other car’s paint rubbed onto your clear coat. It looks catastrophic — a big white streak on your black door — but it’s sitting ON TOP of your paint, not cut into it. Usually buffs off completely with compound. Always try this before assuming the worst.
2. Bumper scuffs on textured plastic. Lower bumpers and trim are often unpainted textured plastic. Scratches here look terrible but there’s no paint to “fix” — and buffing textured plastic just makes it shiny and weird. Trim restorer or replacement is the answer, not polish.
3. Swirl marks. Those spiderweb fine lines visible in sunlight, usually from bad washing. They’re the shallowest possible clear-coat damage and machine polishing eats them for breakfast. Don’t confuse a panel full of swirls with “deep scratches.”
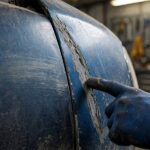
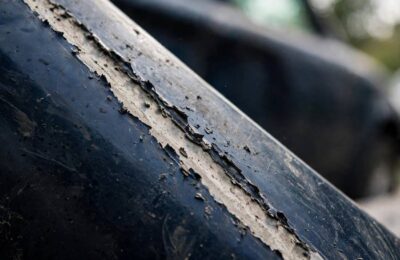
4. Clear-coat failure. If the clear coat is peeling, flaking, or cloudy over a large area (common on older cars, especially on horizontal panels), that’s not a scratch problem — the clear coat is dying of old age and UV. No amount of buffing fixes delamination; it needs a respray.
5. The “keyed” look that’s actually a shopping cart. Long straight scratches at bumper height are usually carts or doors, and they’re often shallower than they look. Run the tests before you fume — I’ve seen “keyed car” panic turn into a ten-minute polish job.
When Buffing Makes It Worse
Buffing removes a microscopic layer of clear coat — that’s literally how it works. Usually that’s fine, but there are times to hold off:
- Thin or old clear coat. If the paint is 15+ years old, sun-baked, or already been polished many times, there may not be enough clear coat left to safely remove more. A paint thickness gauge (cheap ones exist) settles this.
- On panel edges and body lines. Clear coat is thinnest on sharp edges. Machine polishing an edge aggressively can burn straight through to color in seconds. Hand-polish edges, or tape them off.
- When you’ve already tried three times. If two or three rounds of compound haven’t fixed it, more buffing won’t either — you’ll just thin the surrounding clear coat for nothing. That’s your signal to move to touch-up paint.
- Matte or satin finishes. Buffing creates gloss. On a matte-finish car, polishing a scratch creates a shiny spot that’s arguably worse than the scratch. Matte paint is a specialist job.
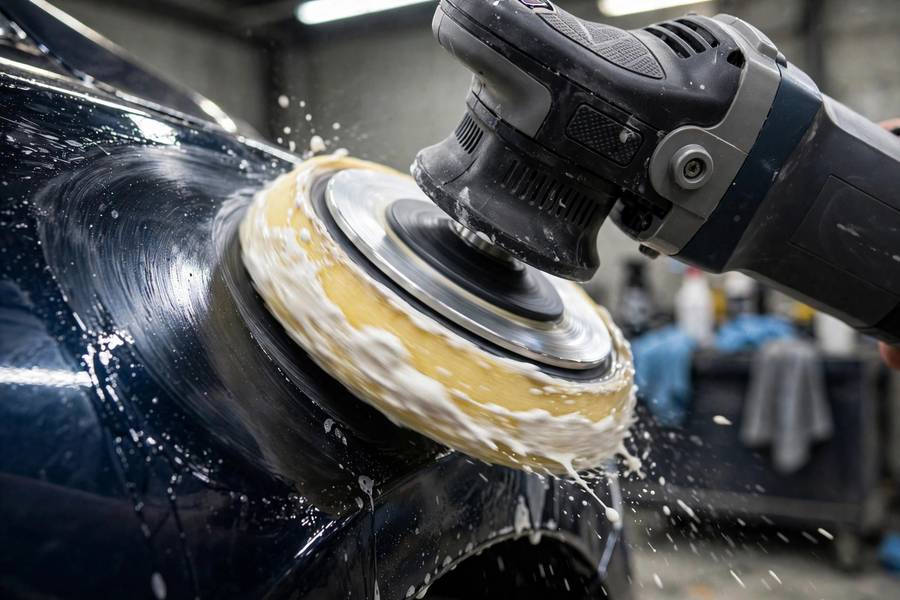
The rule I lived by in the shop: buffing should be the gentlest thing that works. Start by hand with a mild polish; step up to compound only if needed; machine only if hand work isn’t cutting it. You can always get more aggressive — you can’t put clear coat back.
What to Do Next
So you’ve run the tests. Here’s your fork in the road:
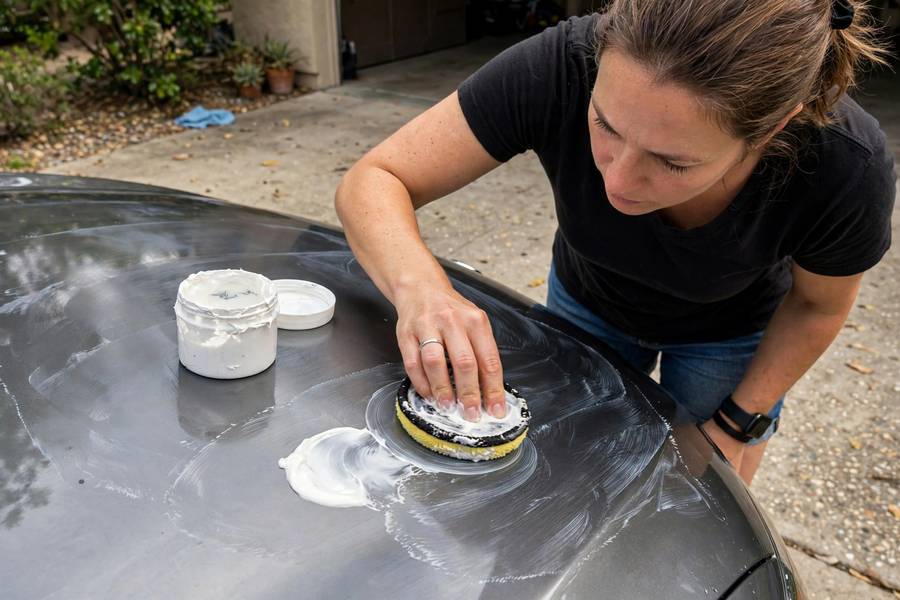
It’s buffable (clear-coat only): Start with a hand polish and a microfiber applicator — mild products first. Work a small section, check your progress, and step up to a cutting compound only if the mild stuff isn’t moving it. For the full walkthrough, my guide on how to fix a car scratch covers the process step by step.
It’s borderline (slight catch, same color): Try a rubbing compound by hand. You’ll likely get major improvement even if a faint line remains in certain light. Many people stop here and are perfectly happy — a scratch you have to hunt for in raking light is effectively gone. More on technique in removing scratches from your car.
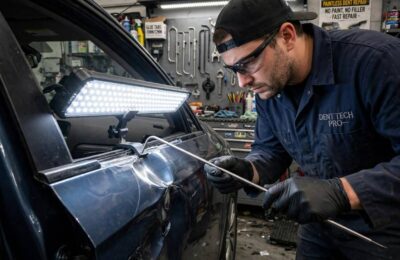
It needs paint (primer or metal showing): For small chips, a touch-up pen in your exact factory color code (it’s on the door jamb sticker) plus clear coat on top does a respectable job. For anything bigger than a coin, or any bare metal, get a body shop quote — and don’t wait on bare metal, because rust doesn’t negotiate. While you’re assessing body damage, it’s worth knowing what paintless dent repair is too, since dents and scratches often arrive together.
And once the paint is sorted, keep it that way — detailing your car’s interior is the other half of making the whole car feel new again.
Car Scratch FAQ
Probably not completely. If your nail catches, the scratch has gone through the clear coat into the color coat or primer. Buffing may improve its appearance by 50–80%, but fully removing it requires touch-up paint or professional repair.
If a scratch disappears while wet and reappears as it dries, the damage is confined to the clear coat — water temporarily fills the groove. Polishing can permanently achieve what the water does temporarily. If it stays visible when wet, the damage is deeper.
Yes, in most cases. Paint transfer — another vehicle’s paint rubbed onto your clear coat — sits on top of your paint rather than cutting into it. A rubbing compound or polish usually removes it completely.
Buffing only works within the clear coat layer. If you can see gray/white primer or bare metal in the scratch, or your fingernail drops into a distinct groove, it’s too deep — buffing removes clear coat but can’t replace missing color or primer.
Yes — light clear-coat scratches respond well to hand polishing with a mild compound and a microfiber applicator pad. Machine polishers are faster and more consistent, but hand work is safer for beginners and perfectly adequate for minor marks.
Yes, that’s how it works — polishing abrasives shave a microscopic layer of clear coat to level the surface down to the bottom of the scratch. Done properly it’s harmless, but over-buffing thin or old clear coat can burn through to the color layer.