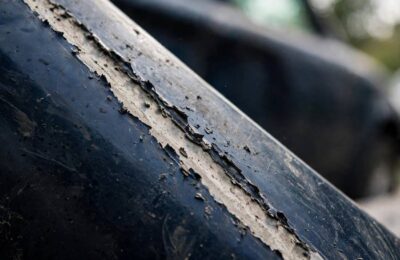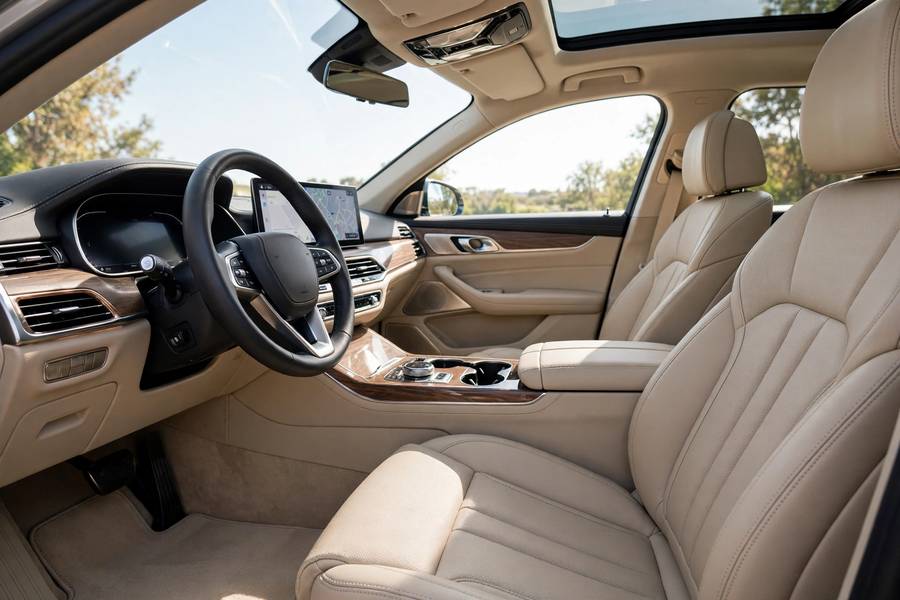
There’s cleaning your car, and then there’s detailing it. Cleaning is what you do before a road trip. Detailing is the systematic restoration that makes a five-year-old interior look nearly new — and it’s a skill, not a mystery.
Ten years around cars, and I’ve watched professional detailers work their quiet magic. I’ve also picked up their methods for my own vehicles. This is the complete process: the pro order of operations (it matters), what products actually work, and the mistakes that separate a great detail from a wasted Saturday.
Contents
- Detailing vs Cleaning: The Difference
- What You’ll Need
- The Golden Rule: Top Down, Back to Front
- Step 1: Declutter and Remove
- Step 2: Deep Vacuum (The Right Way)
- Step 3: Headliner and Visors
- Step 4: Dashboard, Console, and Trim
- Step 5: Vents, Crevices, and Details
- Step 6: Glass (Inside)
- Step 7: Seats and Upholstery
- Step 8: Carpets and Floor Mats
- Step 9: Door Jambs and Final Touches
- Mistakes That Ruin a Detail
Detailing vs Cleaning: The Difference
Cleaning removes visible dirt. Detailing restores every surface to its best possible condition through a systematic process: decontamination, cleaning, correction, and protection — in that order.
The practical difference: a cleaned car looks tidy for a week. A detailed car looks new for months, because every surface was actually treated, not just wiped. It takes 3–6 hours for a full interior detail (pros take 2–4 with experience and better tools). Block the time; rushing is how details get ruined.
What You’ll Need
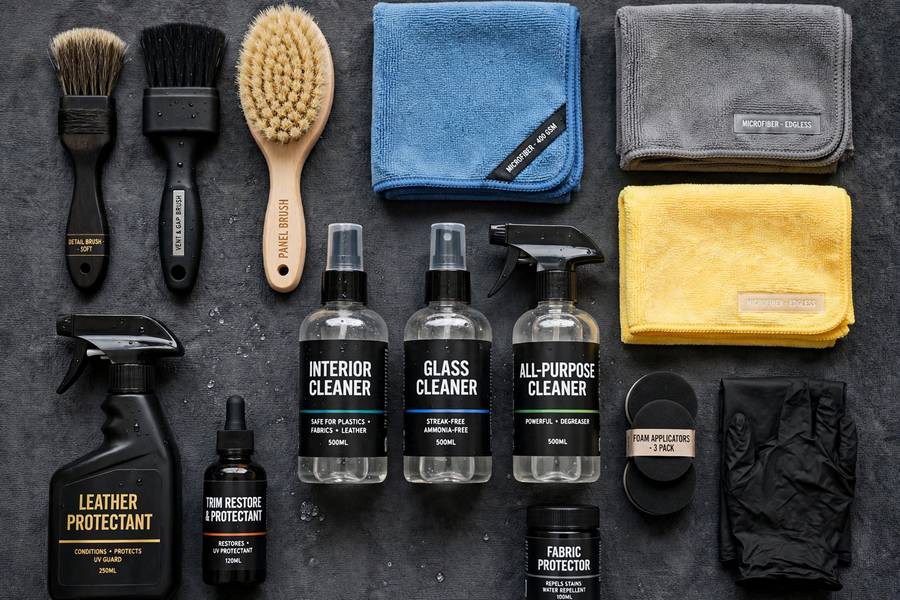
The pro kit, without the pro prices:
- Vacuum with crevice tool, upholstery brush, and (ideally) a blower function
- Brushes: soft detailing brushes (various sizes), a stiff brush for carpets, toothbrush-style for crevices
- Microfiber towels — lots of them (12+; you’ll go through them). Different colors for different jobs prevents cross-contamination.
- All-purpose interior cleaner (dilutable concentrate is economical)
- Glass cleaner (ammonia-free — ammonia damages tint)
- Leather cleaner + conditioner (if applicable)
- Upholstery cleaner + extractor or spot cleaner
- Interior protectant (matte finish — avoid the greasy shiny stuff)
- Cotton swabs, toothpicks for the truly tight spots
Total investment: $80–150 for products that’ll do dozens of details. A professional interior detail costs $150–300 per car. The math is obvious.
The Golden Rule: Top Down, Back to Front
Pros work top to bottom (headliner → dash → seats → carpets) and back to front (rear seats → front → dash). Why: dirt falls downward and gets pushed forward as you work. Clean the carpets first and you’ll re-dirty them cleaning the seats above. This ordering is the single biggest difference between amateur and pro results.
Step 1: Declutter and Remove
Take everything out — floor mats, trash, the gym bag, the seventeen charging cables, the stuff in every door pocket and cup holder. Remove child seats if you can (clean under them — trust me). Open all doors.
This isn’t just tidiness; you can’t detail around clutter. Pros start with an empty car every time.
Step 2: Deep Vacuum (The Right Way)
Vacuum before any wet cleaning — wet dirt becomes mud.
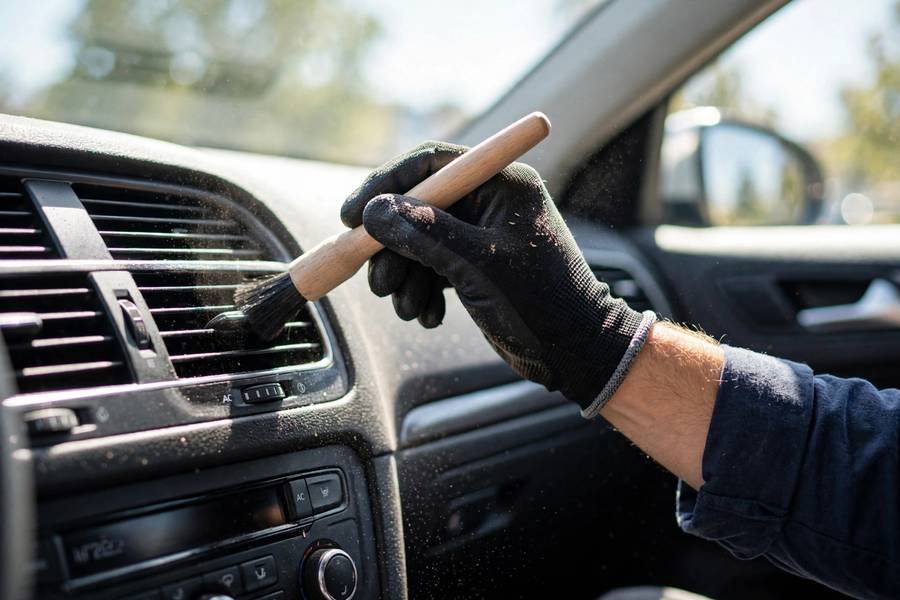
- Technique: slow passes, overlapping. Fast vacuuming is theater; slow passes actually extract.
- Seats: move them fully forward and back. Vacuum the tracks (use the crevice tool). If seats fold, fold them and get behind.
- Carpets: brush first with the stiff brush to lift the pile and loosen embedded grit, then vacuum. This one-two punch pulls out shocking amounts of dirt.
- Trunk/cargo area: don’t forget it. Spare tire well too.
Step 3: Headliner and Visors
Start at the top. The headliner (ceiling fabric) is delicate — light touch only. Use a microfiber barely damp with interior cleaner, gentle blots. Never soak it; the adhesive holding the fabric fails when wet, causing the dreaded sagging headliner (a miserable repair).
Visors: wipe down with interior cleaner. Check the vanity mirrors.
Step 4: Dashboard, Console, and Trim
Work across the dash methodically:
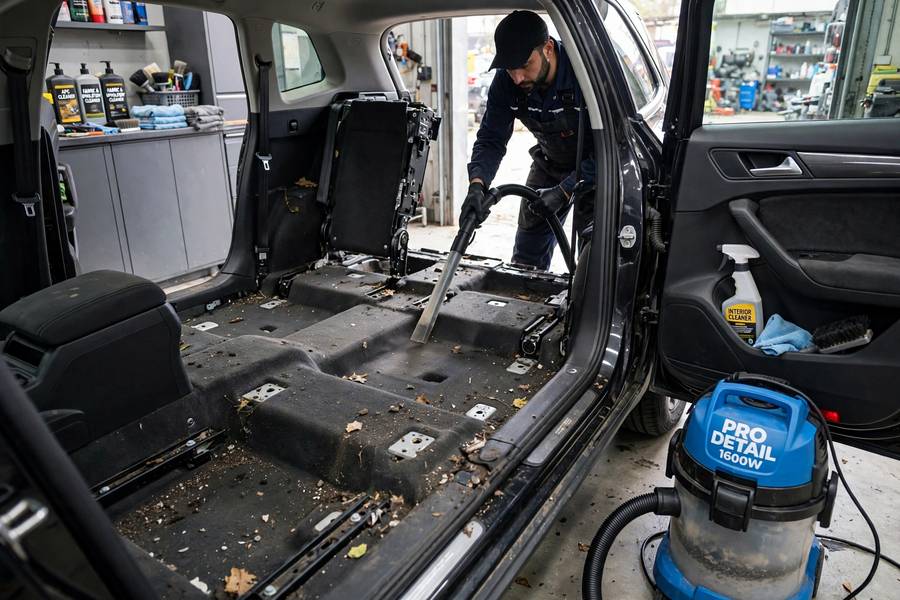
- Dust first with a soft brush or dry microfiber — wiping dust with a wet cloth just makes mud.
- Clean with interior cleaner on a microfiber. For textured plastic, a soft brush works the cleaner into the grain.
- Screens (infotainment, instrument cluster): microfiber only, barely damp with water or screen-specific cleaner. No ammonia, no alcohol on coated screens — check your manual. Scratches here are permanent and expensive.
- Buttons and knobs: brush around them, then wipe. Grime rings around buttons are a hallmark of neglected interiors.
- Steering wheel: clean thoroughly — it’s the dirtiest surface in the car (think about it). Leather wheels get leather cleaner.
Step 5: Vents, Crevices, and Details
This is where detailing earns its name:
- Air vents: soft detailing brush to loosen dust, then vacuum or compressed air. A foam swab gets between the slats.
- Seams and gaps: where the dash meets the windshield, around the shifter boot, cup holder crevices — brush and vacuum every one.
- Seatbelts: extend fully, clean with interior cleaner. Grimy belts are shockingly common and easy to fix.
- Door panels: clean the armrests (body oil builds up), the pockets (archaeological dig), and the speaker grilles (soft brush).
Step 6: Glass (Inside)
Interior glass gets a filmy haze from off-gassing plastics — that smeary film that makes night driving hazy.
- Use ammonia-free glass cleaner (ammonia damages window tint).
- Two-towel method: one damp to clean, one dry to buff. This prevents the streaks that plague everyone.
- Do glass after dust-generating work but before final protectant application (overspray lands on glass).
- Don’t forget the inside of the windshield — the hardest to reach, the most important for night visibility.
Step 7: Seats and Upholstery
Full treatment per material — I’ve covered this in depth in my upholstery guide, but the detailing version:
- Cloth: vacuum, pre-treat stains, brush-agitate with upholstery cleaner, extract, dry completely.
- Leather: vacuum (soft brush), pH-neutral cleaner, then conditioner. Non-negotiable order.
- Don’t forget: seat backs, headrests (front and back), and the sides of seats facing the doors.
Step 8: Carpets and Floor Mats
- Mats: remove, shake/beat, scrub with upholstery cleaner and stiff brush, extract or hose off (rubber mats), dry fully before reinstalling.
- Carpets: brush to lift pile, vacuum slowly, treat stains, extractor passes. For ground-in grime, a drill brush attachment ($15) is the amateur’s secret weapon — it does in minutes what hand-scrubbing takes an hour to do.
- Pedals: scrub the rubber pads — brake dust and grime build up.
Step 9: Door Jambs and Final Touches
The details that make people say “wow”:
- Door jambs: open each door and clean the painted jamb area and rubber seals. Nobody cleans these, so clean ones signal real detailing.
- Protectant: apply matte interior protectant to dash and trim (not the steering wheel or pedals — slippery is dangerous). This adds UV protection and that “new car” look without the greasy shine.
- Final vacuum pass for anything dislodged during the process.
- Air freshener: optional. If you cleaned properly, you barely need one. The best-smelling car is a clean car.
Mistakes That Ruin a Detail
- Wrong order — cleaning carpets before seats. Top down, back to front. Always.
- Soaking the headliner — sagging headliner repair costs hundreds. Damp, never wet.
- Ammonia glass cleaner on tint — destroys tint film. Ammonia-free always.
- Silicone dressings on everything — shiny, slippery, dust-attracting. Matte protectant on dash; nothing slippery on wheel/pedals.
- Forgetting to dry — closing up a damp car breeds mildew. Ventilate until fully dry.
- Using the same towel for everything — you’ll spread grime and scratch screens. Color-code and rotate.
A full interior detail is a Saturday well spent. You’ll know every inch of your car, it’ll feel new again, and you’ll have saved $200. Understand your car instead of fearing it — and that applies to the cabin just as much as the engine bay.
Pair it with the exterior basics: how to clean car headlights for cloudy lenses, how to jump start a car for dead-battery mornings, and what cruise control is so the tech on your steering wheel stops going unused.
Frequently Asked Questions
Work top-down and back-to-front: declutter, deep vacuum, headliner, dashboard and trim, vents and crevices, interior glass, seats and upholstery, carpets and mats, then door jambs and protectant. The order prevents re-dirtying cleaned areas.
3–6 hours for a thorough DIY interior detail; professionals take 2–4 hours with experience and commercial equipment. Rushing is the main cause of poor results — block adequate time.
Vacuum with attachments, detailing brushes, 12+ microfiber towels, all-purpose interior cleaner, ammonia-free glass cleaner, leather cleaner and conditioner (if applicable), upholstery cleaner, and matte interior protectant. Expect $80–150 for products that last dozens of details.
Professional interior detailing typically costs $150–300 depending on vehicle size and condition. DIY costs $80–150 in reusable products, making it economical after just one or two details.
Seats before carpets — always work top-down. Cleaning carpets first means dirt from the seats above will re-dirty them. The professional order is: headliner, dash, seats, then carpets and mats last.