How to Stream Video Games on Twitch: Beginner Setup

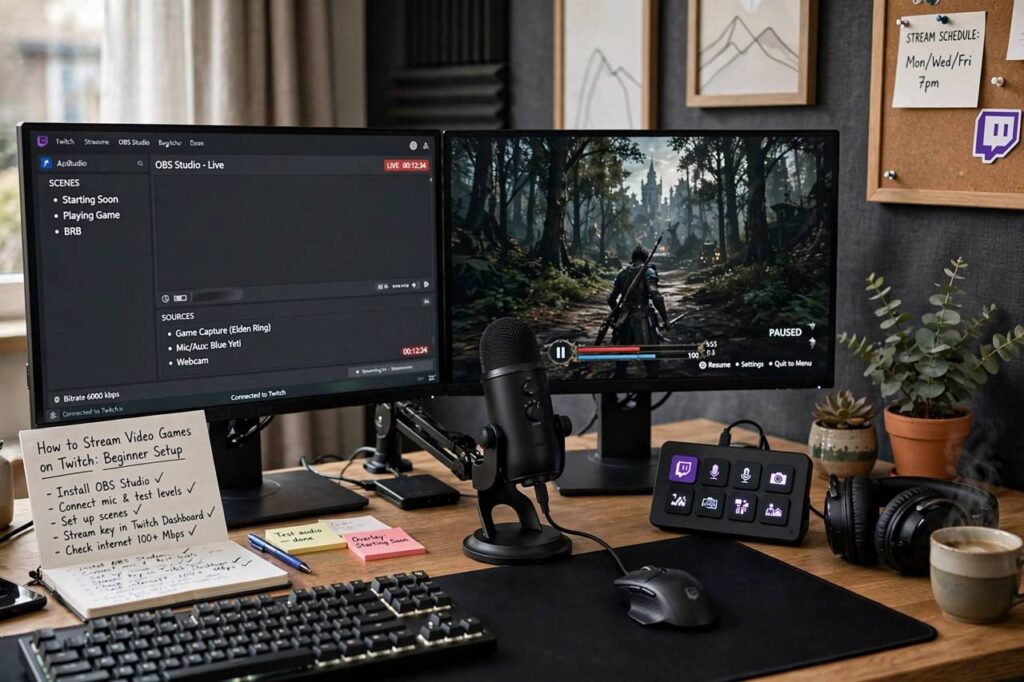
Figuring out how to stream video games on Twitch looks complicated from the outside — software, overlays, bitrates, a dozen settings menus — but the actual path from zero to live is shorter than most people think. You need a Twitch account, broadcasting software, and a game. Everything else is polish you add later. I have helped friends go from “I have no idea what OBS is” to their first stream in a single evening, and the ones who stick with it all say the same thing: they wish they had started sooner instead of waiting until everything was perfect. This guide covers the full setup in order — account, software, audio, scenes, going live — plus the beginner mistakes that make new streams look amateur and the habits that actually grow a channel.
Step 1: Set Up Your Twitch Account Properly
Start at twitch.tv and create your account with a username you will still like in two years. Short, pronounceable, and easy to spell beats clever — people need to find you and tell friends about you. Once registered, open your Creator Dashboard, which is mission control for everything: your stream key, analytics, moderation settings, and channel page. Your stream key is the password that connects your broadcasting software to your account. Never share it or show it on screen; if it ever leaks, reset it immediately from the dashboard. Fill out your channel page before you ever go live: a profile picture, a banner, and a short bio that says what you stream and when. Add panels below your video player with your schedule, your PC specs if viewers ask, and your rules — even three simple rules (“be kind, no spoilers, no self-promo”) set the tone early. Enable two-factor authentication on day one. Streamer accounts get targeted precisely because they become valuable, and losing your channel to a hijack is a miserable experience. This fifteen minutes of setup is the foundation everything else builds on.
Step 2: Install and Configure OBS Studio
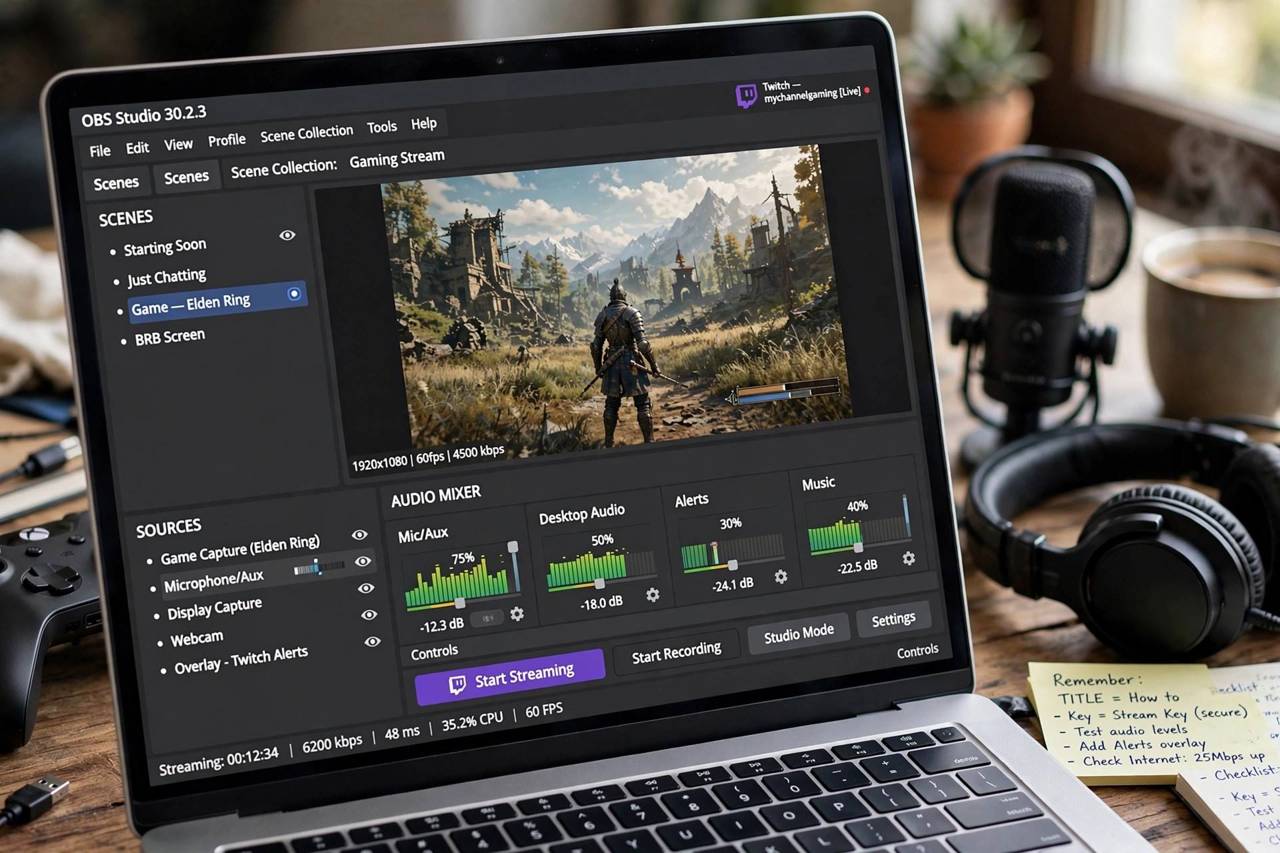
OBS Studio is free, open-source, and what the vast majority of streamers use — there is no reason for a beginner to pay for anything else. Download it from the official site, install it, and run the auto-configuration wizard. Tell it you want to optimize for streaming, enter your resolution and frame rate, and let it suggest encoder settings based on your hardware. If you have a modern NVIDIA or AMD graphics card, use its hardware encoder — it offloads the work from your CPU and keeps your game running smoothly. Then connect OBS to Twitch: in Settings, choose the Streaming tab, select Twitch as the service, and log in with the built-in account connection rather than pasting your stream key manually. It is more secure and survives key resets. Next, build your first scene. A scene is just a layout — add a “Game Capture” source for your game, a “Video Capture Device” source for your webcam, and arrange them so the camera sits in a corner that does not cover important game UI. Add a second scene that is just a “Starting Soon” screen so you have somewhere to be while viewers gather. Test everything with a private recording before you go live. Understanding how live streaming works under the hood — encoding, bitrate, and delivery — will help every settings decision you make from here on.
Step 3: Get Your Audio Right (It Matters More Than Video)
Viewers will forgive 720p video. They will not forgive bad audio — they leave within a minute. You do not need a studio microphone to start; a decent USB mic or even a good headset mic works if you set it up well. The setup matters more than the price tag. Position the mic close to your mouth — six to eight inches — and slightly off to the side so breath and plosives do not hit it directly. In OBS, add three filters to your mic source: a noise gate so it only picks up sound above a threshold (no keyboard clatter during quiet moments), a compressor so loud laughs do not blast viewers’ ears, and a touch of noise suppression for background hum. Then balance your levels: your voice should peak around the yellow zone of the OBS mixer, game audio noticeably lower underneath it. Wear headphones while streaming — speakers cause echo that drives viewers away instantly. Do a test recording and listen back on earbuds, because that is how most of your audience hears you. If your voice is clear, consistent, and free of echo and background noise, your production quality is already ahead of most new streamers.
Step 4: Choose What to Play and When to Stream
Game choice is strategy, not just taste. Streaming the biggest game on Twitch as a new channel means competing with thousands of established streamers for the same viewers — your stream drowns. The sweet spot is games with a healthy but not saturated audience: a few hundred to a few thousand viewers site-wide, where a new face on the browse page actually gets noticed. New releases in a genre you love are golden for about two weeks. Niche and retro games have loyal communities that actively welcome new streamers. Whatever you pick, play games you genuinely enjoy, because faking enthusiasm for six hours is unsustainable and viewers can tell. For a deeper appreciation of the medium you are broadcasting, it is worth knowing how video games are made — it gives you richer commentary material and genuine respect for the developers’ work. Schedule matters as much as game choice. Stream on a consistent schedule — three to four days a week at the same times — and post it on your channel page. Consistency beats marathon sessions: four focused three-hour streams build a community faster than one chaotic twelve-hour stream. Your regulars plan their evenings around you, and that habit is the engine of channel growth.
Step 5: Going Live and Running the Stream
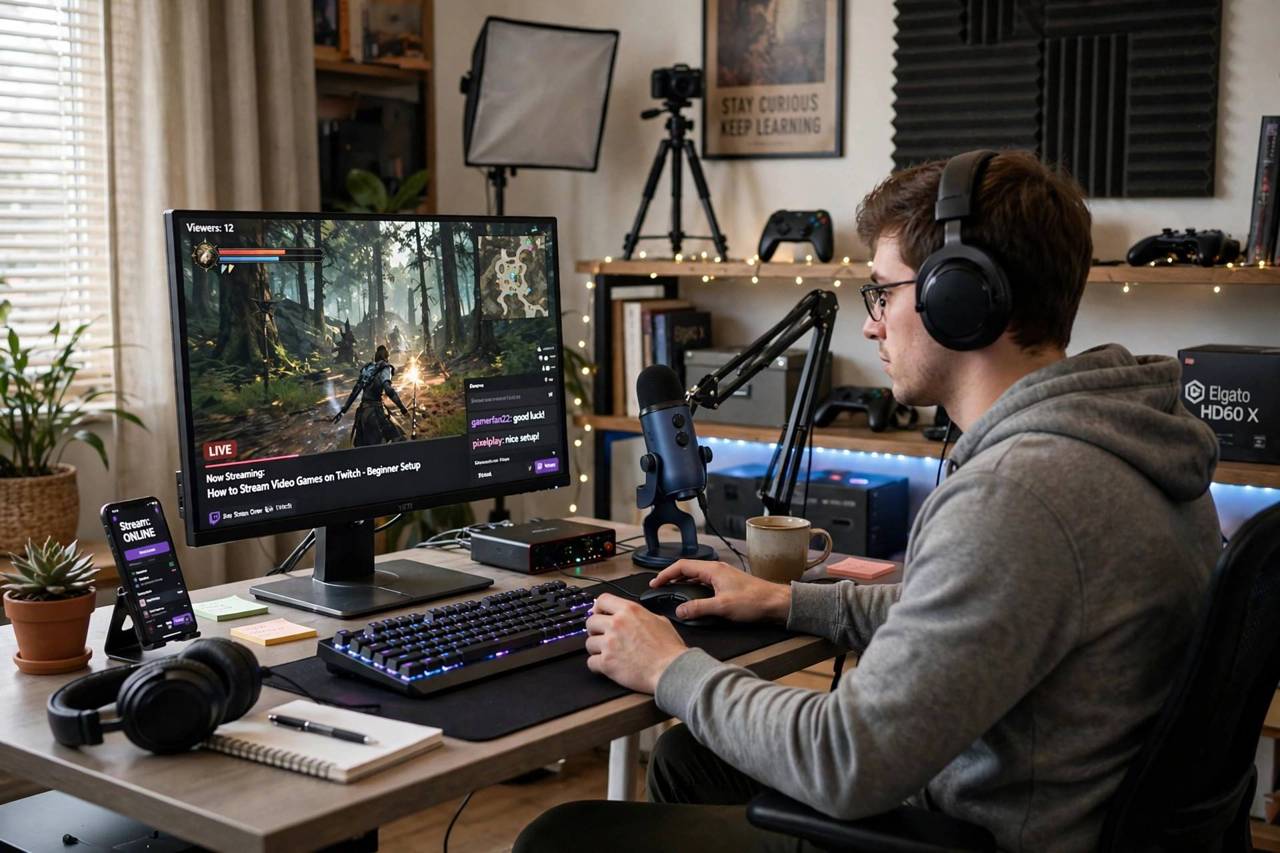
When you are ready, hit “Start Streaming” in OBS and give it thirty seconds before you start performing — the stream needs a moment to stabilize. Open your own channel in a browser (muted!) to confirm video and audio are coming through cleanly. Start each stream with energy: greet the early viewers by name, say what you are playing today and what the plan is. Dead air is the enemy — narrate your thinking, react to the game, read chat aloud so lurkers feel included. Talk even when chat is empty, because VOD viewers and late joiners judge the stream by its energy, not its viewer count. Moderate from the start: appoint one trusted friend as a moderator, set up basic chat filters in the Creator Dashboard, and do not be afraid to time out disruptive chatters. A clean, friendly chat retains viewers; a toxic one empties the room. End streams deliberately rather than fading out — thank everyone, raid another small streamer in your community (it is the single best networking move on Twitch), and remind people of your next stream time. The raid habit alone will build you more genuine connections than any amount of self-promotion.
Beginner Mistakes That Hold New Streamers Back
The number one mistake is waiting for perfect gear. Streamers with $3,000 setups and no viewers are everywhere; streamers who started on a laptop and grew are everywhere too. Start with what you have and upgrade from revenue or savings later. Mistake two is streaming into the void silently. If you only talk when chat talks, and chat is empty because you are new, you have built a silence loop nobody joins. Narrate everything. Mistake three is ignoring the VOD audience — many viewers discover streamers through clips and past broadcasts, so keep your energy up even at zero viewers and enable clipping. Mistake four is schedule chaos. Streaming “whenever I feel like it” trains nobody to show up; a posted schedule trains regulars. Mistake five is obsessing over viewer count instead of community. Ten regulars who show up every stream, chat, and bring friends are worth more than a hundred drive-by viewers. Learn their names, remember what they told you, ask about their week. And mistake six: neglecting the technical basics — an unstable internet connection will kill a channel faster than bad content. Wired ethernet over Wi-Fi, always, and test your upload speed before you commit to a bitrate.
How to Stream Video Games on Twitch and Actually Get Discovered
Going live is the easy part; getting found is the real game. Twitch’s browse page sorts by viewer count, which means new streamers start at the bottom of a very long list — so your discoverability strategy has to live partly off Twitch. Clips are your best weapon. After every stream, pull two or three great moments — a clutch play, a funny fail, a genuine reaction — and post them where gamers already scroll: short-form video platforms, gaming communities, and your own social accounts. One clip that travels can do more for your channel than a month of quiet streams. Networking beats advertising: become a genuine regular in three or four streams similar in size to yours, raid thoughtfully, and collaborate on multiplayer sessions. Streamers remember who showed up for them, and their communities notice. Titles and categories matter more than beginners think. A specific, searchable stream title (“Road to Diamond — Day 12 | No Backseat Gaming”) outperforms “playing ranked lol,” and streaming in the right category — including the game’s exact title rather than a generic one — determines whether browse filters surface you. Finally, treat your schedule like a TV timeslot and your VODs like a portfolio: enable past broadcasts, highlight your best streams, and keep your “About” panels current. Discovery is slow and compounding. The streamers who break out are rarely the most talented players; they are the most consistent broadcasters with the most clips in the wild.
Frequently Asked Questions
What equipment do I need to start streaming on Twitch?
The minimum is a computer that can run your game and OBS at the same time, a microphone (even a headset mic works to start), a webcam if you want facecam, and a stable internet connection with at least 6 Mbps upload. That is genuinely enough to begin — upgrade gear as you grow.
Is OBS Studio really free?
Yes, completely free and open-source, with no watermarks or feature locks. It is the industry standard for a reason. Avoid paid “streamer” software as a beginner — OBS does everything you need and has the largest library of free tutorials.
How fast should my internet be for Twitch streaming?
Twitch recommends 3 to 6 Mbps of stable upload speed for 720p to 1080p streaming. Use a wired ethernet connection rather than Wi-Fi, and run a speed test at the time of day you plan to stream, since speeds vary by hour.
Can I stream on Twitch from a console?
Yes. PlayStation and Xbox both have built-in Twitch streaming, which is the simplest way to start. For overlays, alerts, and full production control, add a capture card to bring the console feed into OBS on a computer.
How do new streamers get viewers?
Stream consistently on a schedule, pick games with mid-size audiences where you can be discovered, raid and befriend similar small streamers, and make clips for social media. Growth is slow at first — most channels take months of regular streaming to build a core community.