How to Refinish Wooden Furniture: A Step-by-Step Guide

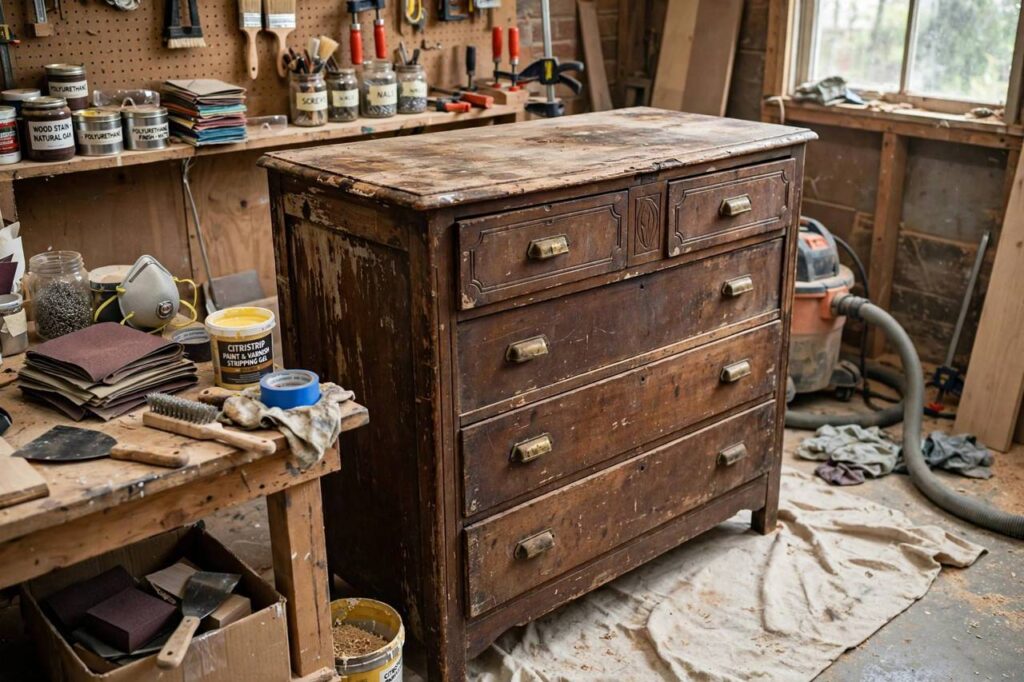
That scratched-up dresser on the curb, the dining table with the water rings, the chair your grandmother left you — they are all the same project wearing different clothes. Learning how to refinish wooden furniture is one of the most satisfying skills a homeowner can pick up, because the transformation is dramatic, the tools are basic, and the work itself is honest: strip it, sand it, fix it, finish it.
I have refinished everything from flea-market nightstands to a hundred-year-old oak sideboard, and the process below is the one I wish someone had handed me at the start. No shortcuts that backfire, no mystery products — just the sequence that works, the mistakes that waste weekends, and how to get a finish that looks like you hired it out.
First: Is This Piece Worth Refinishing?
Not every tired piece of furniture deserves the effort. Before you buy a single supply, run this assessment. Check what it is made of. Solid wood refinishes beautifully. Veneer — a thin layer of real wood over particleboard or plywood — can be refinished too, but gently: sand through the veneer and the piece is ruined. Pressed wood with a printed grain pattern cannot be refinished at all; it can only be painted.
Check its condition. Surface scratches, dull finish, water rings, and wobbly joints are all fixable. Deep structural damage, extensive rot, or missing chunks of solid wood are bigger commitments — doable, but know what you are signing up for. Check its value. If you suspect the piece is a genuine antique, pause: refinishing can destroy the value collectors pay for. When in doubt, get an opinion before you strip a century of patina off something irreplaceable.
For everything else — the solid-wood workhorse with good bones and an ugly finish — proceed with confidence. Those are the best candidates and the most rewarding projects.
How to Refinish Wooden Furniture: Tools and Materials
You need less than the home-center aisle suggests. The honest kit:
- Chemical stripper (citrus-based or paste type) — for removing old finish without aggressive sanding
- Sandpaper in 80, 120, 180, and 220 grits — the progression matters more than the brand
- Sanding block or random-orbit sander — hand sanding works; a sander saves hours on large flat surfaces
- Putty knife and old toothbrush — for scraping softened finish and cleaning details
- Wood filler matched to your wood tone — for dents and gouges
- Tack cloths — for removing every speck of dust before finishing
- Stain (oil or gel) in your chosen color, plus topcoat (polyurethane, varnish, or oil finish)
- Quality brushes or foam applicators — cheap brushes shed bristles into wet finish
- Safety gear: respirator or dust mask, chemical-resistant gloves, eye protection
Work in a ventilated space — a garage with the door open is ideal. Lay down drop cloths; stripper and stain find their way onto everything. And keep rags used with oil-based products spread flat outdoors to dry, never bunched up: oil-soaked rags can spontaneously combust, and this is the safety warning I repeat on every single project.
Step 1: Strip the Old Finish
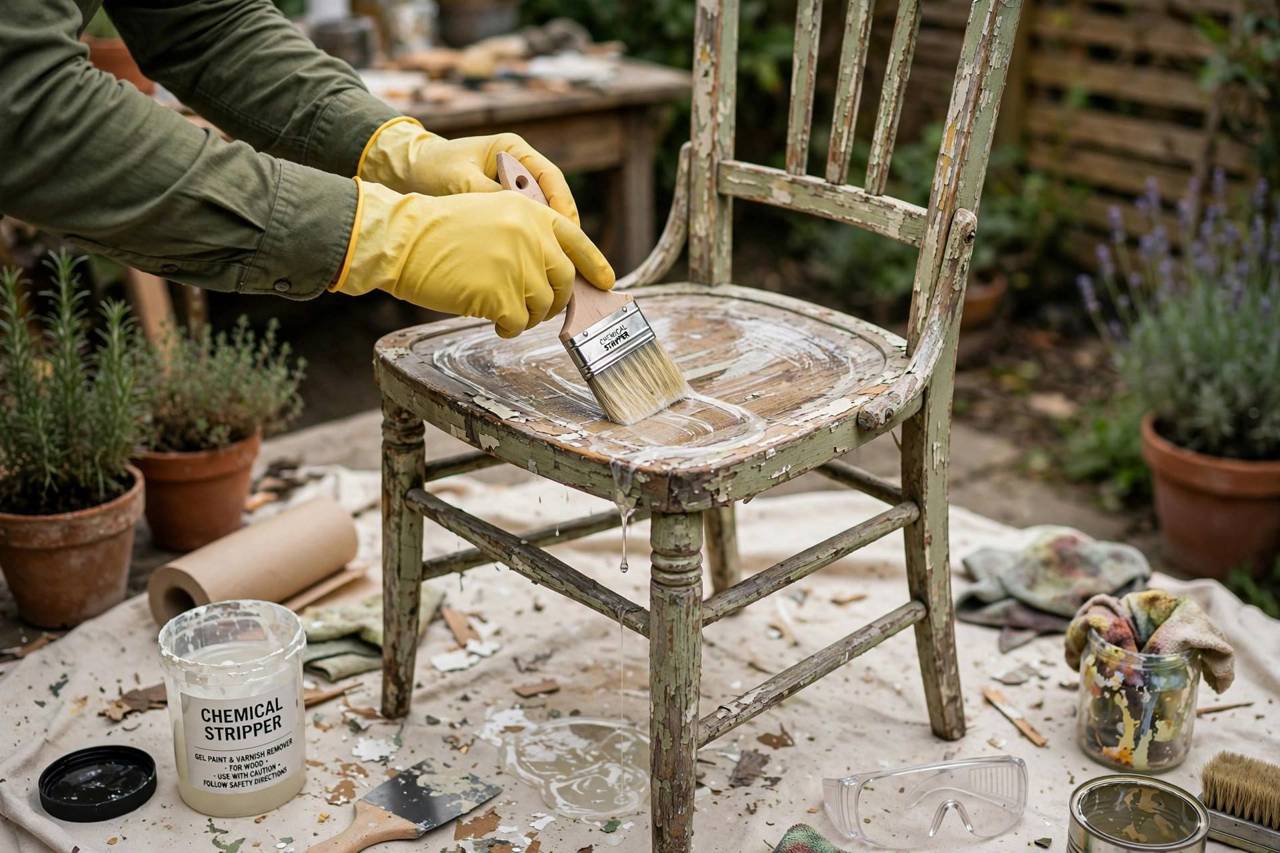
There are two ways to remove an old finish: chemically or mechanically. Chemical stripping is kinder to the wood and better for pieces with curves, carvings, or veneer. Brush the stripper on thick, in one direction, and let it work for the time the product specifies — usually 15 to 30 minutes. The old finish will bubble and lift. Scrape it off gently with a putty knife, working with the grain, and use an old toothbrush for carved details.
For flat, solid-wood surfaces with a thin finish, you can sometimes skip the stripper and start with 80-grit sandpaper. But be honest about when sanding alone is turning into a multi-hour grind — that is the stripper’s job calling. After stripping, wipe the piece down with mineral spirits or the neutralizer your stripper recommends, and let it dry completely.
Remove hardware before you start — handles, hinges, knobs — and label the pieces in a bag so reassembly is painless. Photograph the piece from several angles too; you will thank yourself later.
Step 2: Repair and Sand
With the old finish off, the wood’s real condition shows. Fill dents, gouges, and nail holes with wood filler, slightly overfilling since it shrinks as it dries. Let it cure fully, then sand the repairs flush. For loose joints, disassemble if you can, clean out old glue, and re-glue with wood glue clamped tight — fresh glue joints are stronger than the originals.
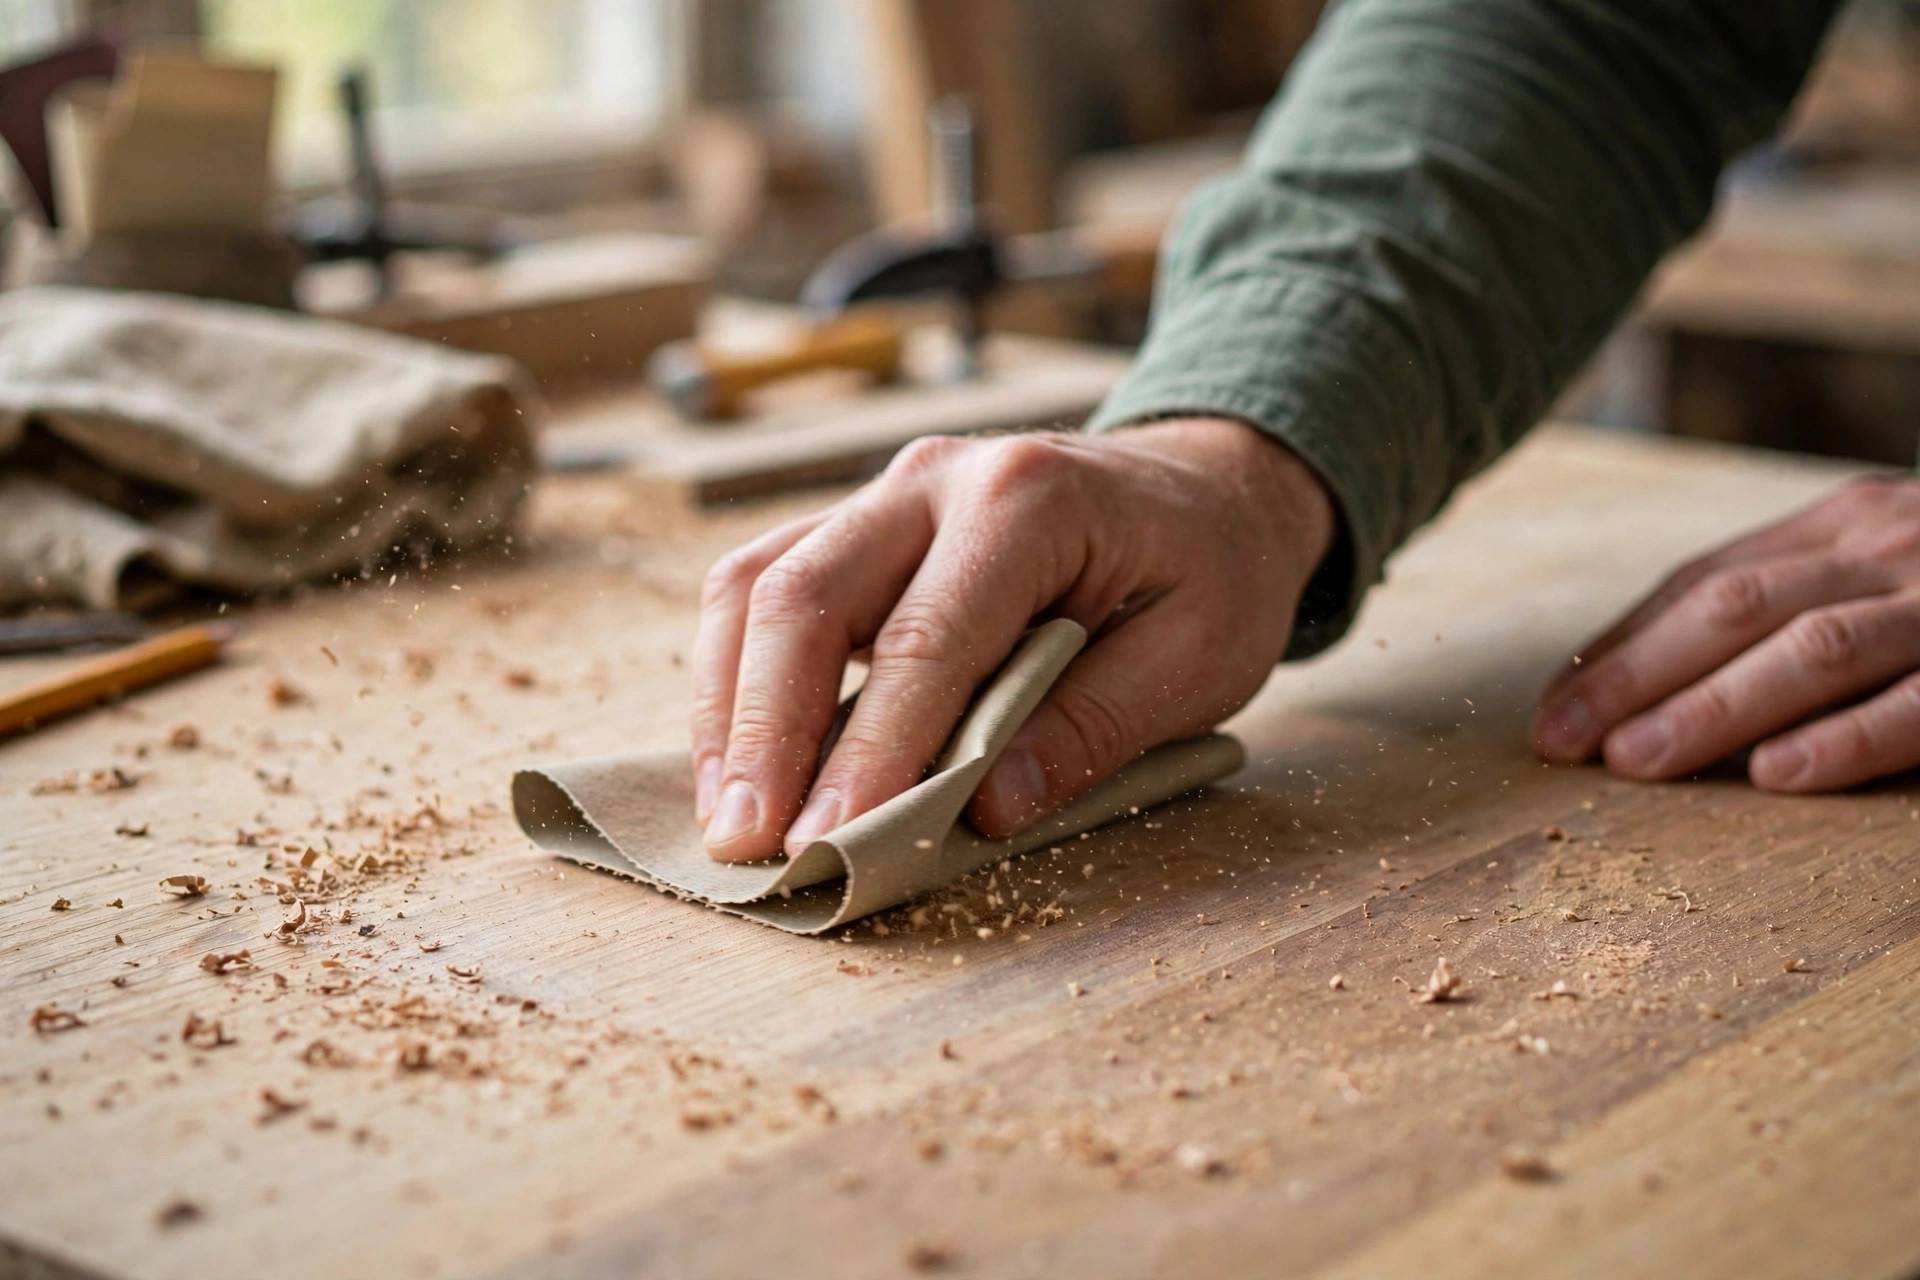
Now the sanding progression, which is where patience pays directly. Start with 80 or 100 grit to remove remaining finish and level repairs. Move to 120, then 180, then finish with 220. Each grit’s job is to remove the scratches left by the previous one — skipping grits leaves visible scratch patterns under the stain. Always sand with the grain, never across it, and keep the sander moving to avoid dips.
After the final pass, wipe the entire piece with a tack cloth. Then wipe it again. Dust is the enemy of a smooth finish, and the five minutes of tack-cloth work saves hours of fixing dust nibs later.
Step 3: Stain (If You Want Color)
Staining is optional — some woods are beautiful with just a clear finish — but it is how you get that rich, even color. Test your stain on a hidden spot or a scrap of the same wood first. Stain looks dramatically different on raw wood than it does on the can’s label, and this two-minute test prevents full-piece regret.
Apply stain with the grain using a brush or rag, working in manageable sections. Let it penetrate for the product’s recommended time — longer means darker — then wipe off the excess thoroughly with a clean cloth. The wipe-off is the step beginners underdo: excess stain left sitting turns blotchy and sticky. One thin, even coat beats one heavy coat every time; you can always add a second coat for more depth.
Gel stains are worth knowing about: thicker, more forgiving on blotch-prone woods like pine, and excellent for vertical surfaces since they do not drip. For beginners working with softwoods, gel stain is the easier path to an even result.
Step 4: Seal It With a Topcoat
The topcoat is the armor — it protects against moisture, scratches, and daily life. Polyurethane is the workhorse: durable, available in gloss levels from matte to high-gloss, and right for tables, dressers, and anything that takes abuse. Varnish offers similar protection with a slightly different look. Oil finishes (tung, Danish oil) penetrate rather than film-build, giving a natural, hand-rubbed feel that is easier to repair but less protective — lovely for pieces that will not see hard use.
Apply thin coats with a quality brush or foam applicator, working with the grain and maintaining a wet edge. Let each coat dry per the product’s directions, then lightly scuff with 220-grit or fine steel wool and tack-cloth before the next coat. Two to three coats is the standard for real durability. The scuffing between coats feels wrong — you are deliberately dulling a coat you just applied — but it is what gives the next coat something to grip, and it is the difference between a finish that lasts years and one that peels.
Then the hardest step: wait. Finishes feel dry long before they are cured. Give the piece the full cure time on the can — often several days to a couple of weeks — before heavy use. Setting a hot mug on a week-old finish will brand it permanently, and there is no sadder sight in woodworking.
Mistakes That Ruin a Refinish
Sanding through veneer. The classic catastrophe. If the piece is veneered, strip chemically and sand lightly by hand — no aggressive machine sanding.
Skipping grits. Jumping from 80 to 220 leaves deep scratches that the stain will highlight mercilessly. Walk the full progression.
Staining dusty wood. Every speck of dust becomes a dark dot under stain. Tack-cloth twice.
Thick topcoats. Heavy coats drip, bubble, and take forever to cure. Multiple thin coats always win.
Using the piece too soon. Respect the cure time. A finish that feels dry is not a finish that is hard.
Bunching oil rags. Spread them flat outside until dry. This one is about your house, not your furniture.
Caring for the New Finish
A fresh finish deserves a little protection to stay beautiful. Use coasters and felt pads under objects — the finish is tough, but prevention beats repair. Clean with a damp cloth rather than harsh cleaners, which can dull topcoats over time. For oil-finished pieces, an annual refresh coat keeps the wood fed and glowing; it takes twenty minutes and makes the piece look newly done. And keep furniture out of direct, all-day sunlight, which fades stain and dries wood regardless of the topcoat. Treat the finish well and your weekend of work pays off for decades.
Frequently Asked Questions
How long does it take to refinish wooden furniture?
A small piece like a nightstand takes a weekend: a day for stripping and sanding, a day for staining and the first topcoat, plus cure time. A dining table takes several days of active work. Most of the calendar time is drying and curing between steps, not labor.
Can I refinish furniture without stripping?
Sometimes. If the existing finish is intact and you only want a color change, a thorough cleaning, light scuff-sand, and gel stain or paint can work. But for damaged finishes, water rings, or bare-wood staining, proper stripping gives far better results. Shortcuts show.
What is the best finish for a dining table?
Polyurethane — it is the most durable common topcoat against heat, moisture, and daily abrasion. Use at least three thin coats and respect the full cure time. For a more natural look with less protection, a hardwax oil is the alternative.
How do I avoid blotchy stain?
Test first, apply evenly, and wipe off excess promptly. On blotch-prone woods like pine and cherry, use a pre-stain conditioner or switch to gel stain. Blotchiness usually comes from uneven absorption, so anything that evens out absorption helps.
Is it cheaper to refinish or buy new?
Refinishing a solid-wood piece almost always costs far less than buying equivalent quality new — materials run a fraction of a new solid-wood price. The real cost is your time. For veneer or particleboard pieces, replacement is often the smarter economics.