How to Sharpen Kitchen Knives at Home: Whetstone Guide

Let me tell you a kitchen secret that took me years to learn: a sharp knife is safer than a dull one. I know it sounds backwards, but think about it — a dull knife slips, needs force, and crushes your tomatoes instead of slicing them. A sharp knife goes exactly where you guide it, with barely any pressure. If your knives have been getting duller and scarier, learning how to sharpen kitchen knives at home will change your cooking life. And it’s easier — and more satisfying — than you think.
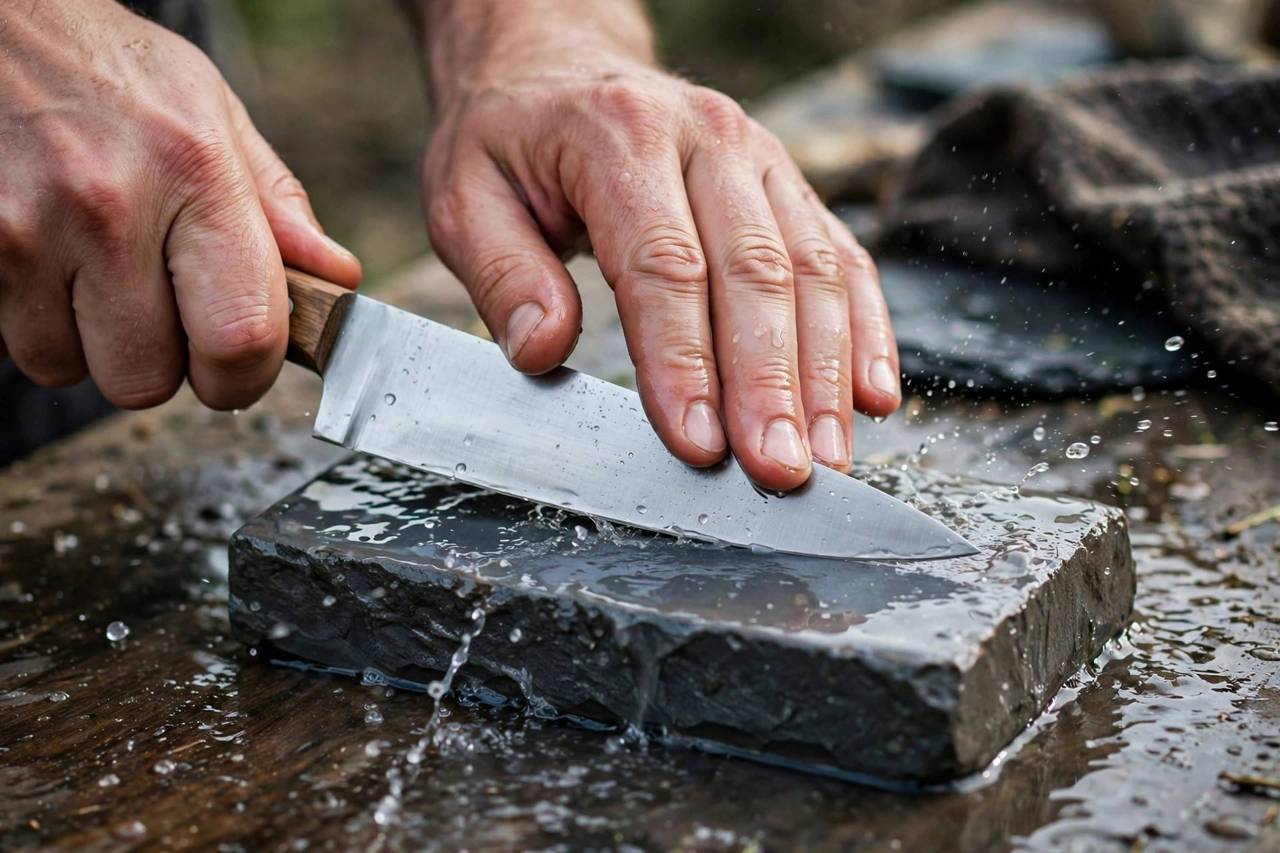
I’ll show you the three main methods (whetstone, honing rod, and pull-through sharpener), which one is right for you, the step-by-step technique, and how to keep that edge once you’ve got it. Put on some music, and let’s bring those blades back to life.
Sharpening vs. Honing: Know the Difference
Before we touch a stone, let’s clear up the confusion that trips up most home cooks. Honing (with a honing rod, that steel stick in your knife block) doesn’t remove metal — it straightens the microscopic edge that’s folded over with use. Do it often; it keeps a sharp knife sharp longer.
Sharpening actually removes metal to create a brand-new edge. That’s what we’re doing today, and it’s what a truly dull knife needs. If your knife slides off a tomato skin instead of biting in, honing won’t save it — it needs sharpening.
Think of it like this: honing is brushing your teeth, sharpening is going to the dentist. You need both, but they do different jobs. Once your knives are sharp, a quick hone every few uses keeps them that way for months.
What You Need: The Three Sharpening Methods
1. Whetstone (water stone) — the best method. A double-sided stone (1000 grit on one side, 6000 on the other) costs little and gives you the sharpest, most controlled edge. It takes a bit of practice, but it’s the method professionals use, and it’s deeply satisfying once it clicks. Soak the stone in water for 10 minutes before use.
2. Pull-through sharpener — the easiest method. You draw the knife through preset slots a few times. It’s fast and nearly foolproof, but it removes more metal than necessary and gives a less refined edge. Fine for inexpensive knives; I’d keep it away from good Japanese blades.
3. Honing rod — maintenance, not sharpening. As discussed: essential for upkeep, not a substitute for real sharpening. Use it regularly between sharpenings.
My honest recommendation: learn the whetstone. It’s a skill that pays off every single day you cook, and once your hands learn the angle, it’s almost meditative. The rest of this guide focuses on the whetstone method, with notes for pull-through users.
How to Sharpen Kitchen Knives at Home: Step-by-Step (Whetstone)
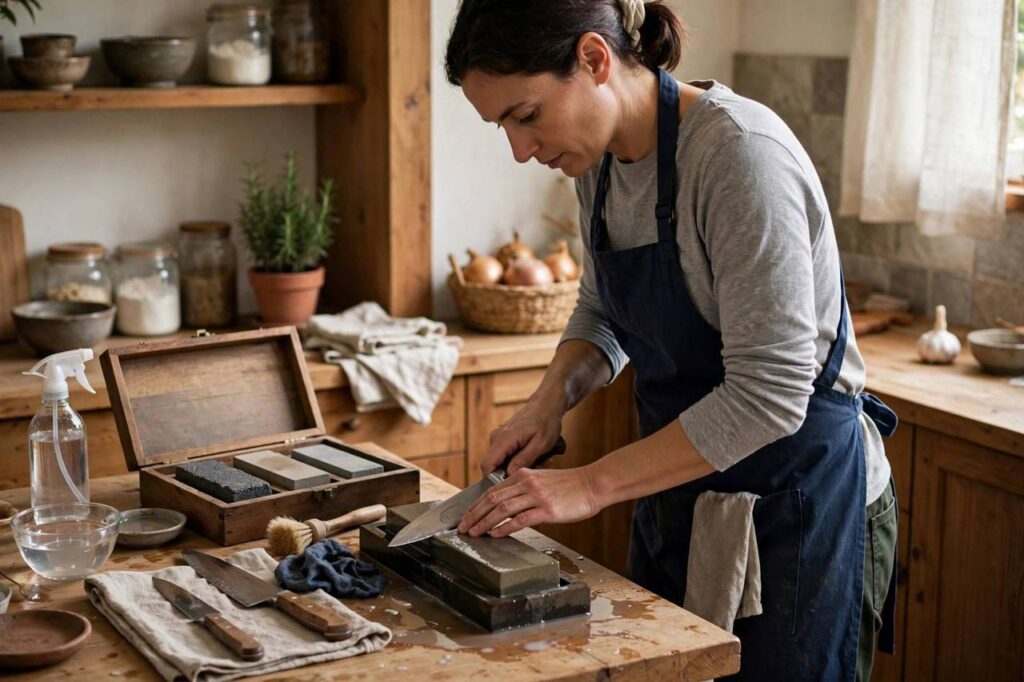
1. Set up your station. Soak your whetstone in water until the bubbles stop (about 10 minutes). Place it on a damp towel on a stable counter — it must not slide. Have a small bowl of water nearby to keep the stone wet.
2. Find your angle. This is the whole game. Western knives: about 20 degrees per side. Japanese knives: about 15 degrees. Can’t picture 20 degrees? It’s roughly the angle of a matchbook under the spine of the blade. Two stacked coins under the spine gets you close for a chef’s knife. Pick your angle and hold it — consistency matters more than perfection.
3. Sharpen the coarse side first (1000 grit). Starting at the heel of the blade, sweep the knife across the stone in a smooth arc, as if you’re trying to shave a thin layer off the stone’s surface. Use gentle pressure — let the stone do the work. Do 5-10 strokes, then flip the knife and do the same number on the other side. Keep the stone wet throughout.
4. Feel for the burr. After several strokes, run your fingertip carefully across (not along!) the edge on the opposite side from the one you just sharpened. You’ll feel a tiny raised ridge of metal — the burr. That burr means you’ve sharpened all the way to the edge. Work the whole length of the blade until you feel a burr along its entire length, on both sides.
5. Refine on the fine side (6000 grit). Flip to the fine grit and repeat with lighter pressure — 5 or so strokes per side. This polishes the edge and removes the burr.
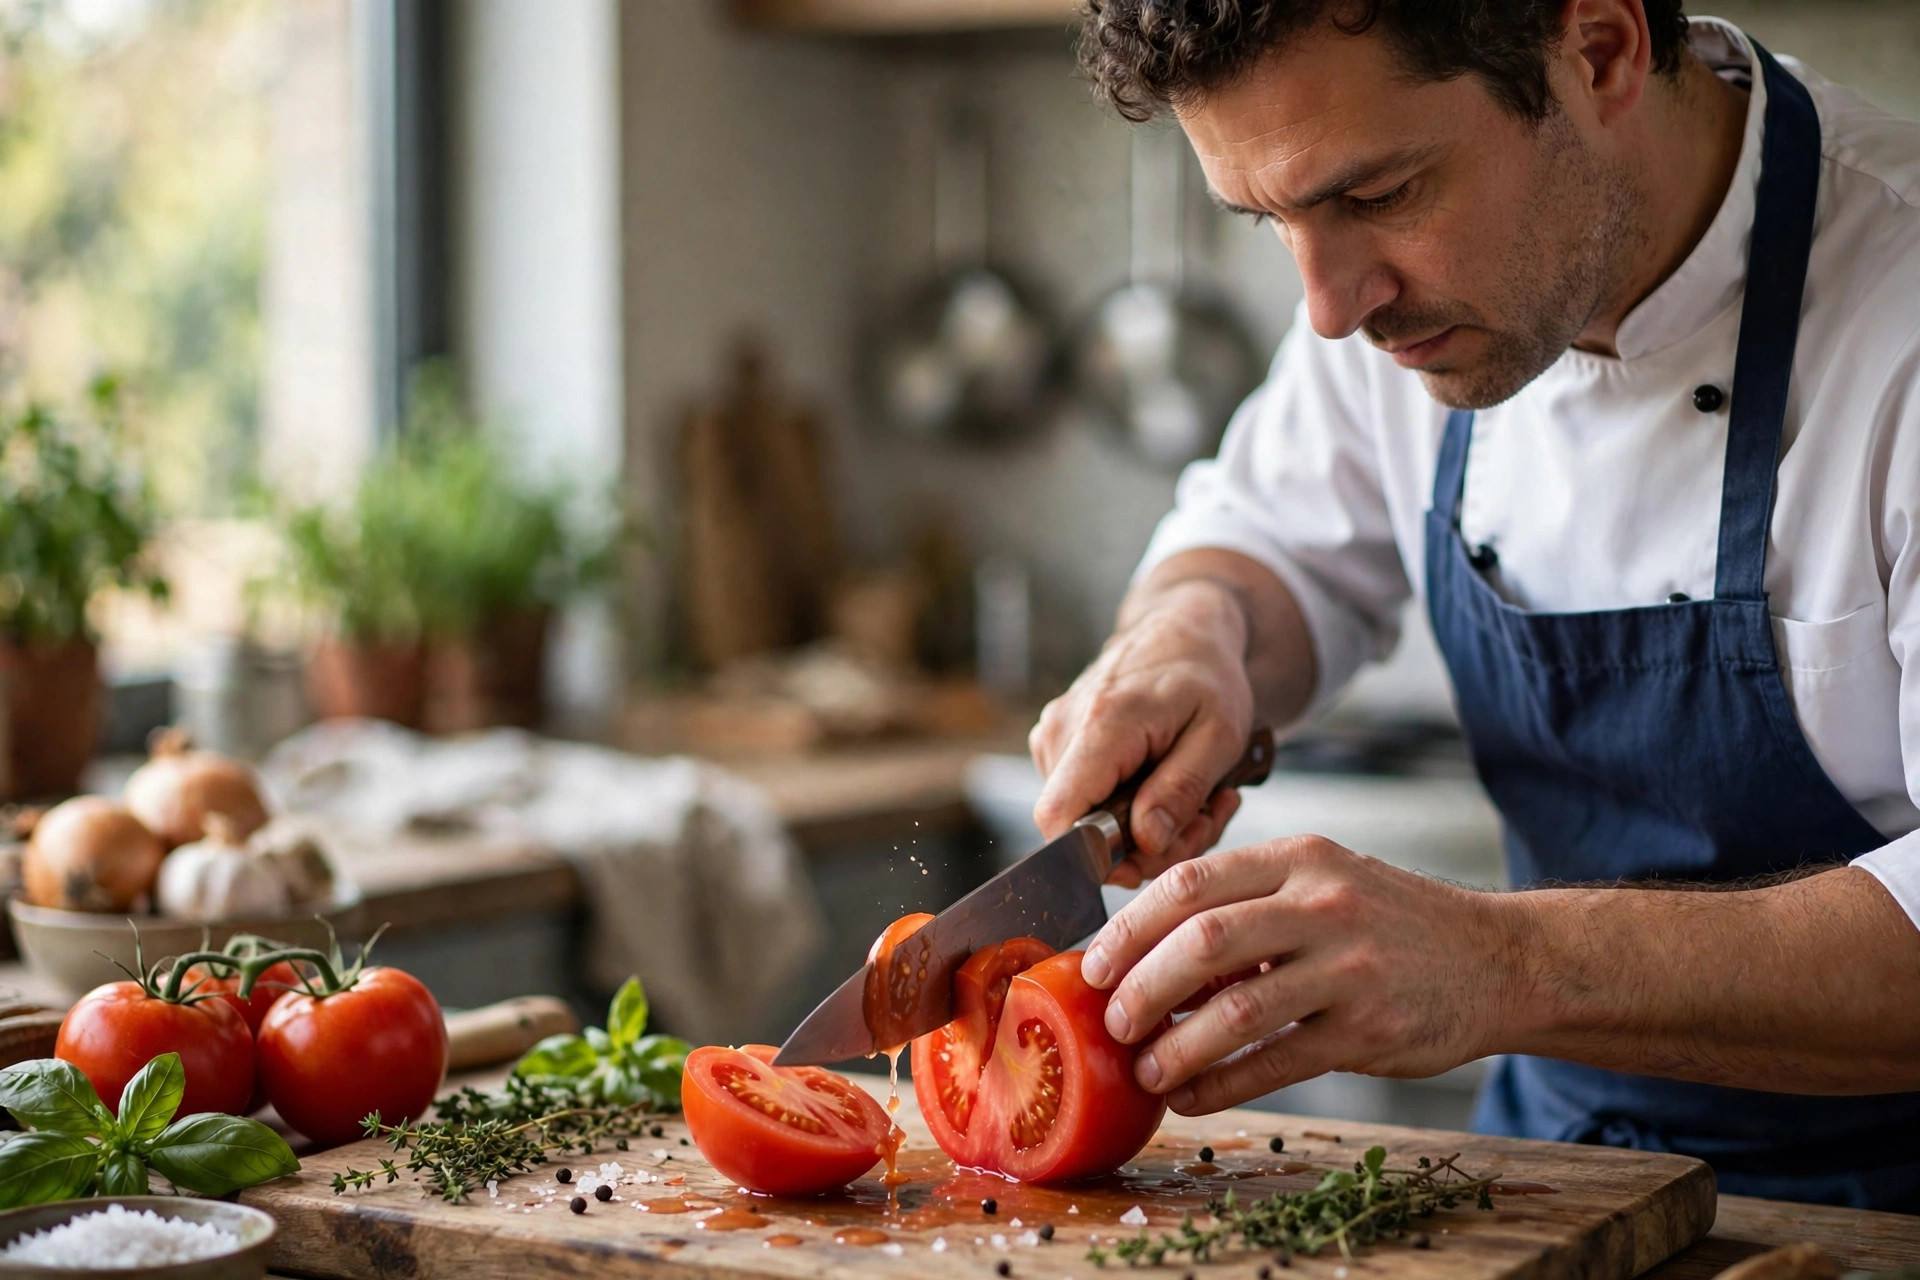
6. Strop and test. A few light strokes on each side at a slightly lower angle cleans off the last of the burr. Then test: a sharp knife slices paper cleanly and bites into a tomato under its own weight. If it does both, congratulations — you just sharpened a knife.
How Often Should You Sharpen?
It depends on how much you cook and what you cut. For a daily home cook: hone every few uses, sharpen on the stone every 2-3 months. If you’re only cooking a few times a week, twice a year may be plenty. The tomato test never lies — when the knife starts sliding instead of biting, it’s time.
What you cut on matters enormously. Glass and ceramic “cutting boards” destroy edges — always cut on wood or soft plastic. And never put good knives in the dishwasher: the heat, detergent, and rattling dull and damage edges. Hand wash, dry immediately, and store them properly.
Keeping Your Knives Sharp Longer
Store them right. Loose in a drawer, blades bang against everything and dull fast. A magnetic strip, a knife block, or simple blade guards solve this completely.
Hone regularly. Five strokes per side on the honing rod every few uses keeps the edge aligned. Hold the rod vertically with the tip on a towel, and sweep the blade down at 20 degrees — light pressure, smooth motion.
Cut on the right surface. Wood and soft plastic only. Your beautiful marble countertop is a knife murderer.
Use the right knife. Don’t pry cans open with your chef’s knife or hack through bones with a paring knife. Match the tool to the task and every blade lasts longer.
Sharp knives make every part of cooking more joyful — prep is faster, cuts are cleaner, and food cooks more evenly when pieces are uniform. If you love spending time in the kitchen, whether you’re into batch cooking cooking sessions or hosting dinner parties parties for friends, sharp knives are the foundation everything else is built on.
Let me be blunt about the two biggest knife killers in home kitchens: the dishwasher and the glass cutting board. Dishwasher detergent is abrasive, the heat cycle is brutal on handles, and knives rattle against everything in there. Hand wash, dry immediately, put it away. As for cutting boards — glass, ceramic, and stone might look pretty, but they’re harder than your knife’s edge and will dull it shockingly fast. Wood or quality plastic, always.
Storage matters more than people think. Tossing knives loose in a drawer is how edges get chipped and fingers get cut. A magnetic wall strip is my favorite — the blades don’t touch anything, you can see what you’re grabbing, and it looks great. A wooden knife block works too, but slide knives in spine-first so the edge doesn’t drag down the slot every time.
When to Let a Professional Handle It
Most knives you can maintain at home forever. But consider a professional sharpening service (many kitchen stores offer it) if: the blade is chipped or has a broken tip, the edge is severely damaged, or you have expensive Japanese knives and you’re nervous about your technique. A pro can reprofile a damaged edge in ways that take beginners a long time. There’s no shame in it — even professionals send out their most damaged blades.
What a pro can’t do is maintain your knives week to week. That part is yours — the honing, the careful storage, the hand washing. Think of the professional as the dentist and yourself as the brusher. Together, your knives stay scary-sharp for years.
The Paper Test and Other Ways to Check Sharpness
So you’ve been working that whetstone — but how do you actually know the knife is sharp? “Feels sharp” is not a measurement, friend. Here are the tests I use in my own kitchen, from simplest to most telling.
The paper test is the classic for a reason. Hold a sheet of regular printer paper by the top edge and slice downward with the knife. A truly sharp knife glides through with almost no resistance and leaves a clean edge. A dull-ish knife catches, tears, or needs sawing. This is the test I recommend to every beginner because it’s instant, free, and honest.
The tomato test is the kitchen reality check. A sharp knife should bite into a ripe tomato’s skin with just the weight of the blade — no pressing, no sawing. If you have to push down and the tomato squishes before it cuts, back to the stone. Tomatoes don’t lie.
The thumbnail test (use gently!): rest the blade lightly on your thumbnail at a slight angle. A sharp edge catches and doesn’t slide; a dull edge slides right across. Be careful and use almost no pressure — you’re feeling for grip, not cutting anything.
And here’s what sharp actually feels like in use: the knife falls through an onion instead of crunching through it, herbs come out clean instead of bruised and blackened at the edges, and your hand doesn’t get tired because you’re guiding, not forcing. Once you’ve felt it, you’ll never go back — and you’ll notice immediately when it’s gone.
FAQ
How often should I sharpen my kitchen knives?
For daily home cooks: hone every few uses and sharpen on a whetstone every 2-3 months. The tomato test is the real guide — when the knife slides instead of biting into a tomato skin, it’s time to sharpen.
Is a whetstone better than a pull-through sharpener?
Yes, for edge quality and control. A whetstone gives a sharper, longer-lasting edge and removes less metal. Pull-through sharpeners are faster and easier but produce a coarser edge and wear knives down faster.
What angle should I sharpen my kitchen knives at?
About 20 degrees per side for Western-style knives and about 15 degrees for Japanese knives. Consistency matters more than exact precision — holding a steady angle is the key skill.
Can I sharpen serrated knives at home?
Serrated knives need a different approach — a tapered ceramic rod worked through each serration individually. Many home cooks simply have serrated knives professionally sharpened, since they need it rarely.
Why do my knives get dull so fast?
The usual culprits: cutting on glass, ceramic, or stone surfaces; dishwasher cycles; storing knives loose in a drawer; and never honing between sharpenings. Fix these and your edges last dramatically longer.
Is an expensive chef’s knife worth it for a home cook?
Up to a point, yes — a well-made $80-120 chef’s knife holds its edge noticeably longer and feels better in hand than a $20 one. Beyond that, you’re paying for craftsmanship and prestige more than cutting performance. Here’s my honest advice: one good 8-inch chef’s knife that you keep sharp will outperform a whole block of expensive dull knives. Spend the money on one workhorse and a whetstone, not on a 15-piece set.