How to Make Sourdough Bread at Home (Beginner Guide)

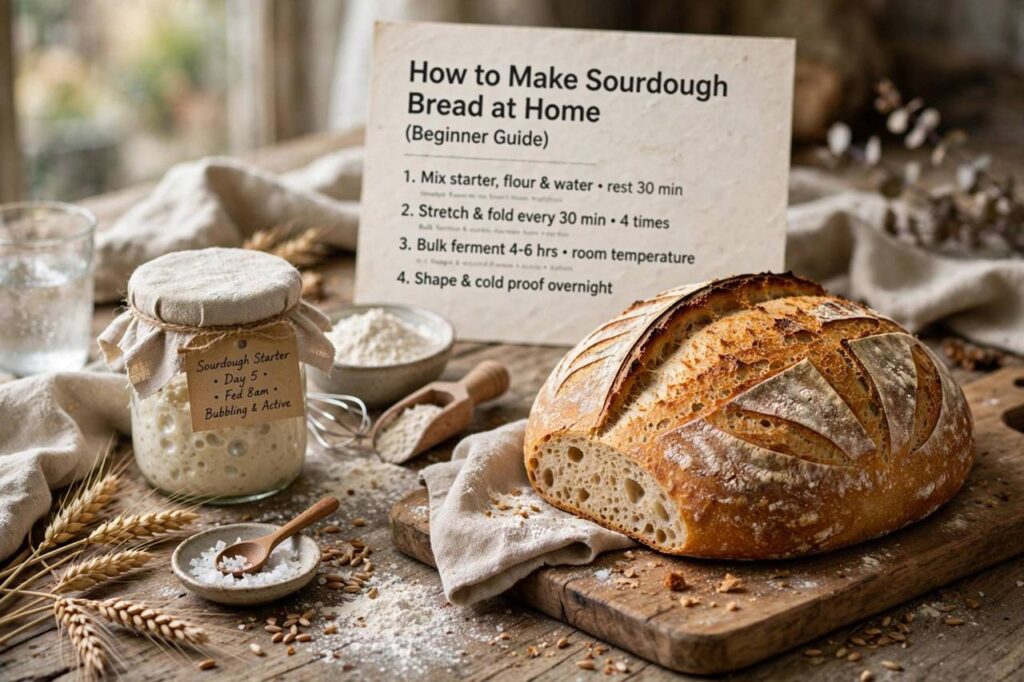
There is a moment every home baker remembers: the first time a loaf of sourdough comes out of the oven with a crackling crust, an open crumb, and that gentle tang that no store-bought bread quite manages. If you are wondering how to make sourdough bread at home, the good news is that the ingredient list is almost comically short — flour, water, and salt — and the process is more about patience than skill. This is a complete beginner’s guide: building and maintaining a starter, mixing and folding the dough, shaping, proofing, and baking, plus how to fix the problems every beginner meets. No special equipment beyond a bowl and an oven.
First, the Starter: Your Living Ingredient
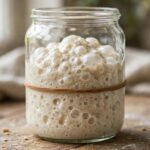
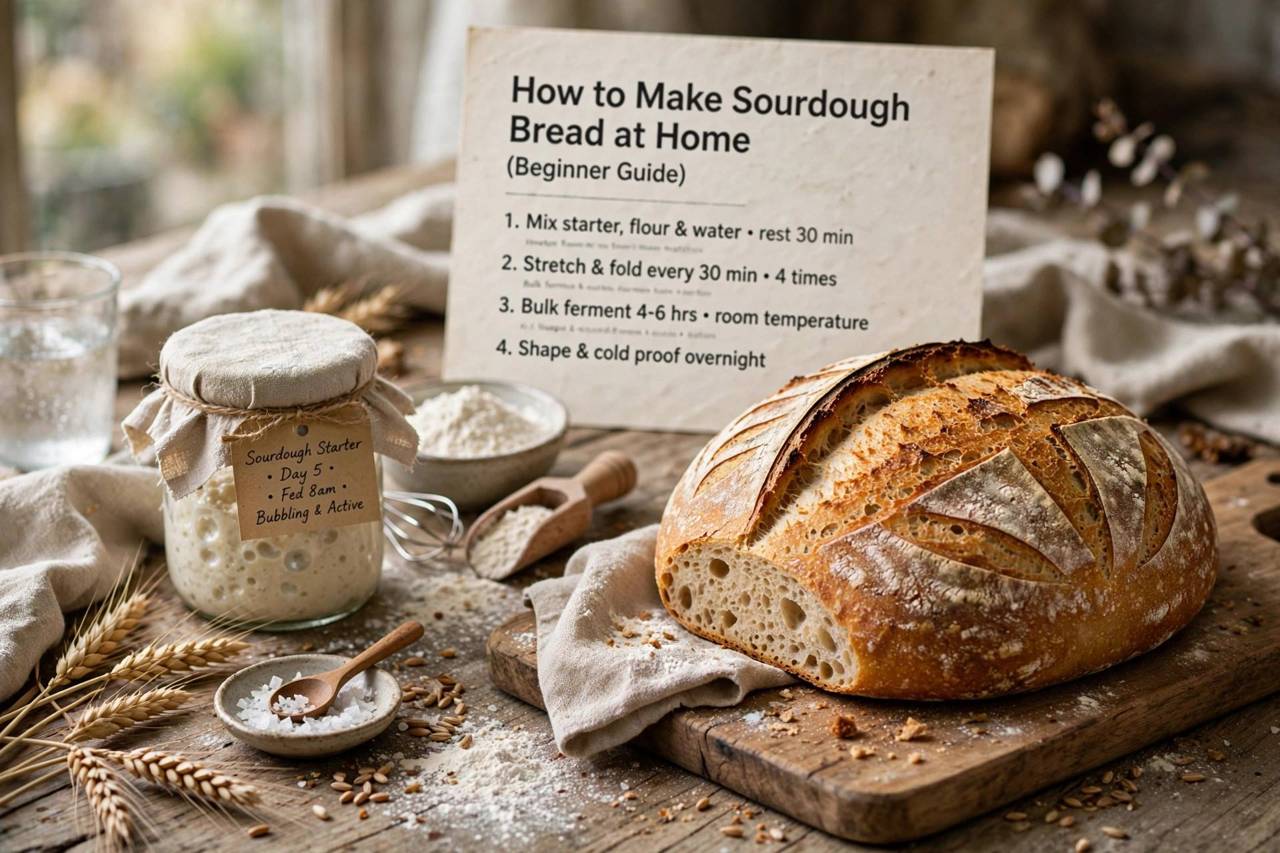
A sourdough starter is a jar of flour and water colonized by wild yeast and friendly bacteria — the natural leavening that makes the bread rise and gives it flavor. To build one from scratch, mix equal weights of whole-grain flour and water in a clean jar, cover loosely, and leave it at room temperature. Once a day, discard about half and feed it fresh flour and water. Within five to ten days you should see reliable rising: the starter doubles within four to eight hours of feeding, smells pleasantly tangy, and passes the float test (a spoonful dropped in water floats). That is a mature starter, ready to bake with. Patience matters more than precision here — starters are resilient, and an extra day or two of feeding never hurts.
Keeping Your Starter Alive Between Bakes
A starter is low-maintenance once established. If you bake weekly, keep it at room temperature and feed it daily. If you bake less often, store it in the fridge and feed it once a week — cold slows the microbes to a crawl. The night before baking, take it out, feed it, and let it peak at room temperature. Dark liquid on top (called hooch) is just a sign of hunger, not death: stir it in or pour it off and feed. A pink or orange tint, or a truly foul rotten smell, means contamination — start over. Otherwise, starters survive neglect that would kill a houseplant. Many bakers keep the same starter for years, even decades, and the flavor deepens with age.
The Recipe: Ingredients and Ratios
A reliable beginner formula, in baker’s weights: 500 grams of bread flour (about 100 percent), 350 grams of water (70 percent hydration), 100 grams of ripe starter (20 percent), and 10 grams of fine salt (2 percent). Weighing instead of measuring cups is the single biggest upgrade a beginner can make — flour compacts unpredictably in cups, and hydration is everything in sourdough. Mix flour and water first and rest for thirty to sixty minutes (this step is called autolyse and makes the dough easier to handle), then add the starter and salt and mix until combined. The dough will look shaggy and unimpressive. That is correct. Time and folding will transform it.
Bulk Fermentation: Folds, Not Kneading
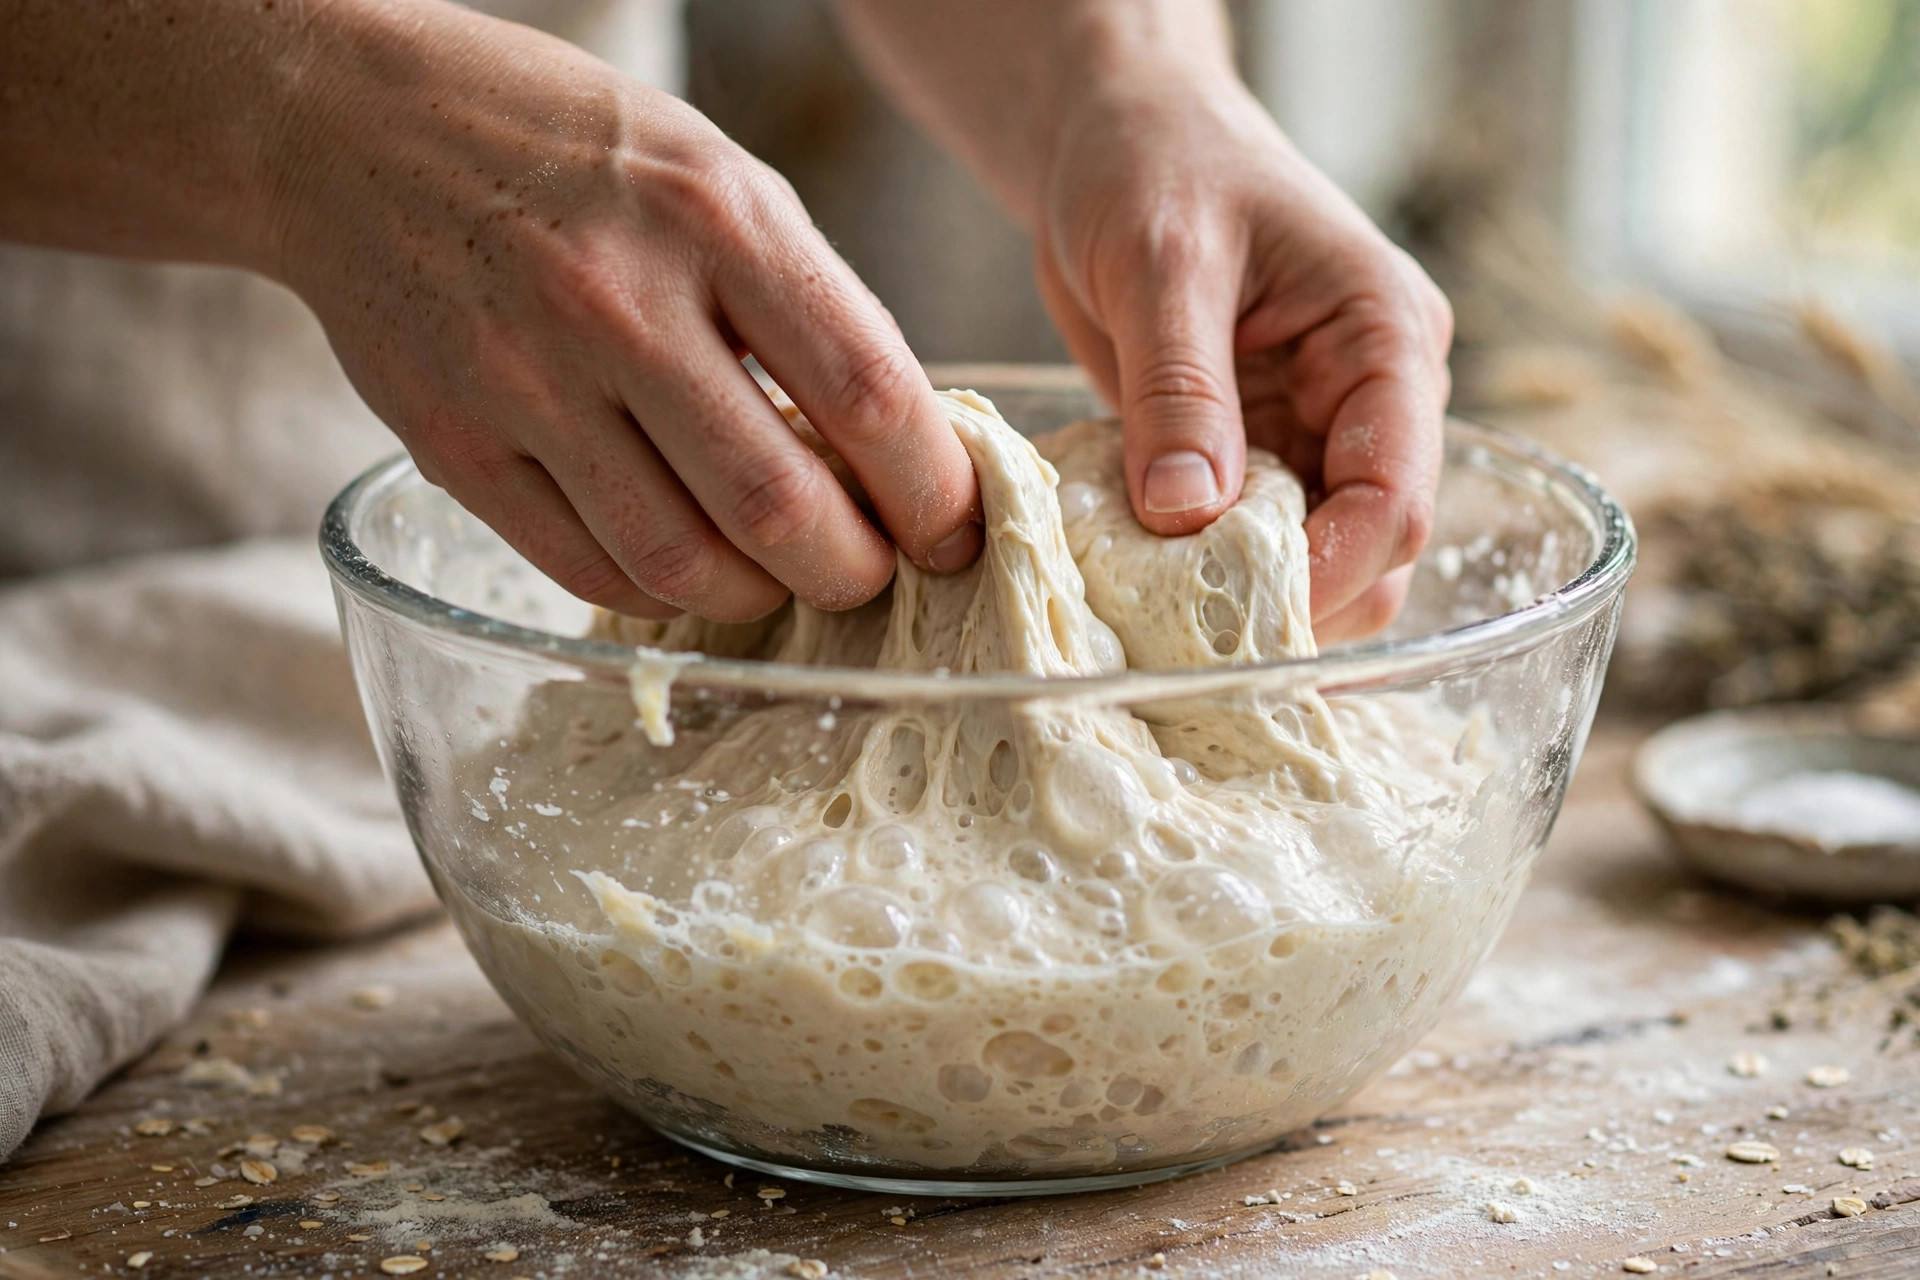
Sourdough develops strength through a series of gentle folds during bulk fermentation, not through kneading. Every thirty to forty-five minutes over three to four hours, wet your hand, reach under one side of the dough, stretch it up, and fold it over the center; rotate the bowl and repeat on all four sides. Between folds, cover the bowl and leave it somewhere comfortably warm, around 24 to 26 degrees Celsius. You are watching for signs of readiness, not the clock: the dough should grow by roughly half, feel airy and jiggly, and show bubbles on the surface. Under-fermented dough bakes dense; over-fermented dough collapses. When in doubt, most beginners under-ferment — give it a little more time than feels safe.
Shaping and Cold Proofing
Turn the dough onto a lightly floured surface and shape it into a tight round or oval: fold the edges to the center, flip it seam-side down, and drag it toward you to build surface tension. A taut skin is what gives you oven spring and an ear on the crust. Place the shaped loaf seam-side up in a floured basket or a bowl lined with a floured tea towel, cover, and refrigerate overnight — twelve to sixteen hours. This cold proof is beginner-friendly magic: it slows fermentation so timing is forgiving, deepens the flavor, and firms the dough so it scores cleanly. The next morning, the loaf goes straight from fridge to hot oven — no warming up needed.
Baking: Steam Is the Secret
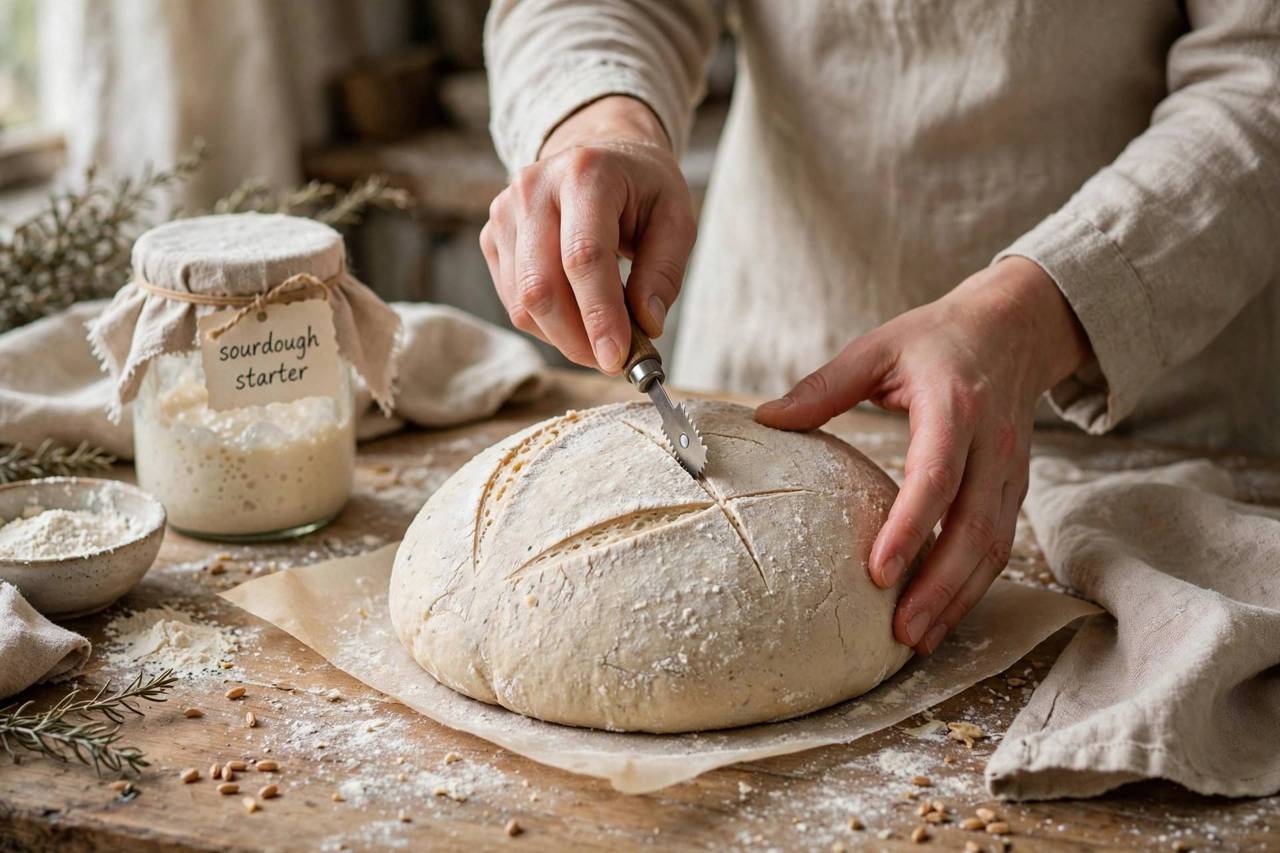
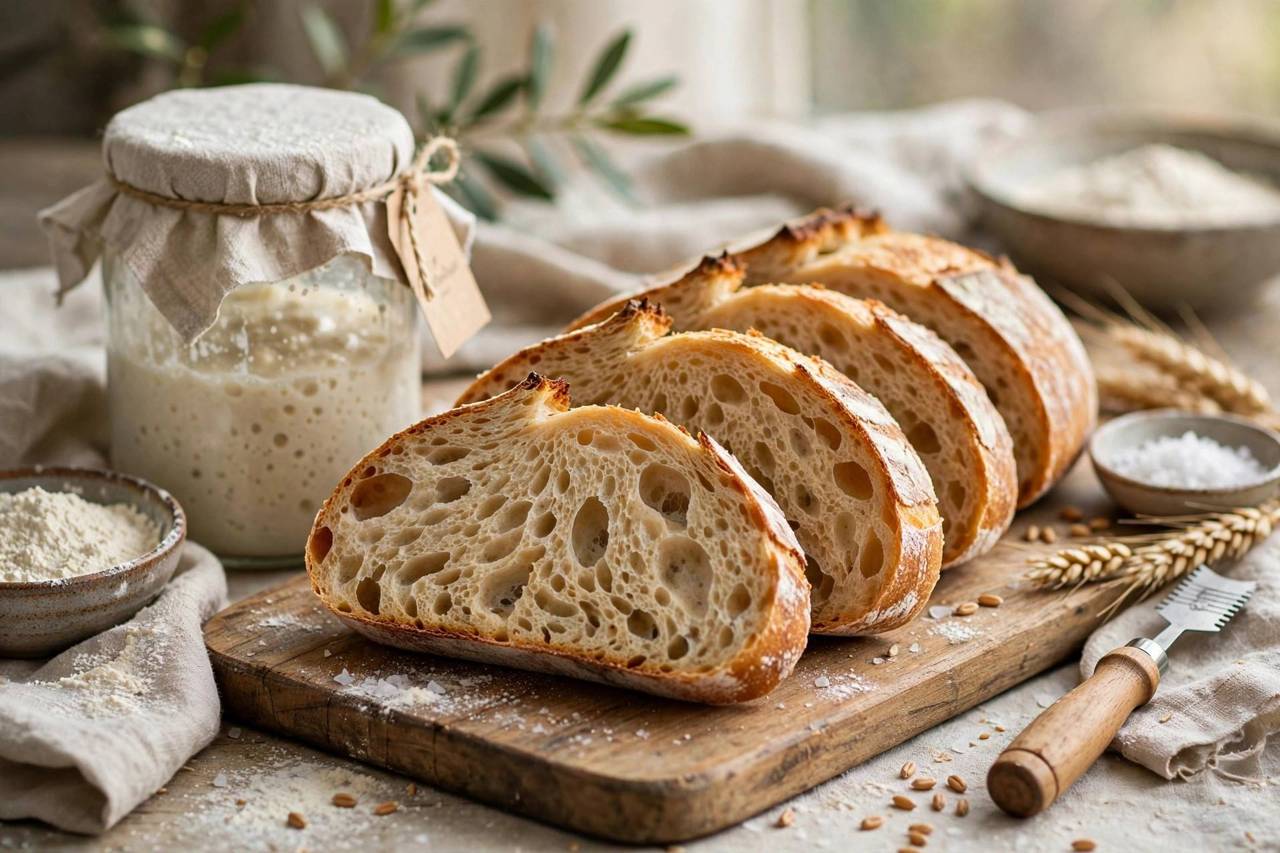
Crusty bread needs steam for the first part of baking, which keeps the crust soft while the loaf expands. The easiest home method is a heavy lidded pot: preheat it in the oven at 230 degrees Celsius for at least forty-five minutes, lower the cold loaf in on parchment, cover, and bake twenty minutes. Then remove the lid and bake another twenty to twenty-five minutes until deeply browned — darker than you think; pale sourdough tastes as timid as it looks. Cool the loaf on a rack for at least an hour before slicing, because the interior is still setting and cutting early gives a gummy crumb. The crackling sound as the crust cools is the baker’s applause.
Troubleshooting: What Went Wrong?
Dense, gummy crumb usually means under-fermentation or slicing too soon — extend the bulk ferment next time and cool fully. A flat loaf that spread instead of rising often means over-fermentation or weak shaping; tighten your shaping and shorten the proof slightly. A pale, soft crust means the oven was not hot enough or the bake was too short — preheat longer and bake darker. No sour flavor? Your starter may be young, or the ferment too warm and fast; a longer cold proof builds tang. Huge holes surrounded by dense dough suggest under-mixing or shaping that trapped big air pockets — fold more thoroughly. Keep notes on each bake: time, temperature, and what you changed. Sourdough rewards the scientific method, and every “failure” still makes excellent toast.
Your First-Week Schedule
Here is a realistic beginner timeline. Day one: feed your starter in the morning so it peaks by evening. Evening: mix the dough, then fold every forty minutes for three to four hours while you have dinner and relax. Shape, basket, and refrigerate before bed. Morning: bake straight from the fridge — forty-five minutes, mostly hands-off. Total active time is under an hour; the microbes do the rest while you sleep and work. After two or three bakes you will stop following the clock and start reading the dough, which is the real skill. That is how to make sourdough bread at home in practice: a rhythm, not a recipe, that fits around an ordinary life and fills the kitchen with the best smell known to humanity.
How to Make Sourdough Bread at Home: The Timeline Cheat Sheet
Pin this to the fridge. Evening, Day 1 (8 p.m.): mix flour and water, rest one hour (autolyse). 9 p.m.: add starter and salt, mix. 9:30 p.m. to 12:30 a.m.: four sets of folds, 45 minutes apart. 12:30 a.m.: shape the loaf, place in floured basket, cover, refrigerate. Day 2 (8 a.m.): preheat oven with lidded pot at 230C for 45 minutes. 8:45 a.m.: score the cold loaf, bake covered 20 minutes. 9:05 a.m.: uncover, bake 20 to 25 minutes more until deeply browned. 9:30 a.m.: cool on a rack. 10:30 a.m.: slice. Adjust the clock to your life — the overnight cold proof is flexible from 12 to 20 hours, so a 10 p.m. mix and a noon bake works just as well. Once the rhythm is in your bones, you will stop checking the cheat sheet entirely.
Beyond the Basic Loaf: Worthwhile Next Steps
Once the plain loaf is reliable, the variations are endless. Swap 20 percent of the white flour for whole wheat or rye for deeper flavor and a heartier crumb. Fold in olives, rosemary, or roasted garlic during the last fold for an instant dinner-party loaf. Try walnuts and honey for a breakfast bread, or cheddar and jalapeño for the bold. Experiment with hydration: wetter dough (75 to 80 percent) gives a more open crumb but is harder to shape — earn it gradually. Bake rolls or a sandwich tin loaf with the same dough. Each variation teaches you something about fermentation, and the failures are still delicious. That is the quiet joy of sourdough: the learning curve tastes good.
Storing, Freezing, and Reviving Your Sourdough
A great loaf deserves proper storage. Keep cut bread cut-side down on a wooden board for the first day or two — plastic bags soften the crust you worked for. For longer keeping, slice the whole loaf and freeze the slices with parchment between them; they toast straight from frozen beautifully. A whole loaf freezes well too: wrap tightly, thaw at room temperature, then crisp in a hot oven for ten minutes. Stale bread is not wasted — it becomes the best croutons, breadcrumbs, panzanella, or French toast you have ever had. To revive a day-old loaf, run it briefly under the tap and bake at 180C for ten minutes; the crust crackles back to life like magic. Never refrigerate bread — the cold accelerates staling rather than preventing it.
Frequently Asked Questions
How long does it take to make sourdough bread?
About 24 hours from mixing to eating, but only 45 to 60 minutes of active work. Most of the time is fermentation and the overnight cold proof, during which you do nothing.
Do I need special equipment for sourdough?
No. A bowl, a kitchen scale, a tea towel-lined bowl for proofing, and a heavy lidded pot for baking are enough. A scale matters more than any other tool because accurate hydration is key.
Why is my sourdough dense?
The most common causes are an immature starter, under-fermentation, or slicing before the loaf cooled fully. Make sure your starter reliably doubles after feeding, give the bulk ferment enough time, and cool at least one hour.
Can I make sourdough without a starter?
Not true sourdough — the starter is what leavens it. But you can build one from just flour and water in five to ten days, or get a spoonful of mature starter from a baker friend to skip the wait.
How do I get a more sour flavor?
Use a longer, cooler fermentation — especially an extended cold proof of up to 24 hours. A mature starter and whole-grain flour in the mix also deepen the tang.