How to Season a Cast Iron Skillet (The Complete Guide)

Oh, I love this topic, friend. A cast iron skillet is the closest thing to kitchen magic I know — it sears like a dream, goes from stovetop to oven without blinking, and if you treat it right, your grandchildren will cook with it. But that legendary non-stick surface? It doesn’t come from the factory. It comes from seasoning — and I’m going to teach you exactly how to season a cast iron skillet so it becomes your favorite pan for life.
Whether you’re rescuing a rusty thrift-store find or building up a brand-new skillet, this guide covers the full oven method, the best oils to use, and how to maintain that beautiful seasoning for decades. Let’s get that iron singing.
What Does “Seasoning” Actually Mean?
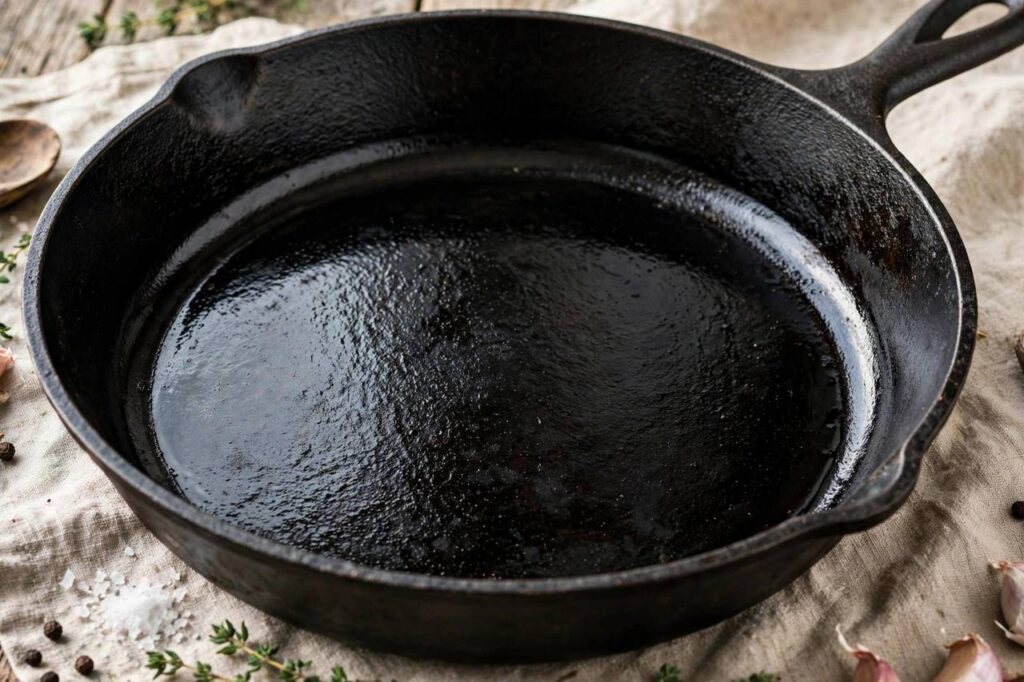
Seasoning isn’t flavoring — it’s chemistry. When you heat a thin layer of oil past its smoke point on iron, the oil polymerizes: it bonds to the metal and hardens into a slick, protective layer. Do this in multiple thin layers, and you build up a durable, naturally non-stick cooking surface.
This is why cast iron gets BETTER with age and use. Every time you cook with fats at high heat, you’re adding micro-layers of seasoning. A skillet that’s been loved for twenty years has a glassy, nearly black surface that eggs slide across like an air hockey table. That didn’t happen overnight — it happened one meal at a time.
And here’s what seasoning is NOT: it’s not a one-time coating like factory non-stick. It’s a living surface that you build, maintain, and occasionally restore. Think of it less like paint and more like a garden — tended regularly, thriving for generations.
When Does a Skillet Need Seasoning?
- New skillets: Most come “pre-seasoned” from the factory — a decent starter layer, but thin. Adding 2-3 rounds of your own seasoning dramatically improves performance from day one.
- After stripping rust: If you’ve scrubbed off rust (more on that below), the bare iron MUST be seasoned immediately — unprotected iron rusts within hours.
- When food starts sticking: If eggs that used to slide are now grabbing, or the surface looks dull, dry, or patchy, it’s time for a maintenance seasoning round.
- After harsh cleaning: If someone (not naming names) soaked it overnight or attacked it with harsh detergent, the seasoning may need rebuilding.
How to Season a Cast Iron Skillet: The Oven Method
This is the gold-standard method. It produces the most even, durable seasoning because the oven heats the entire skillet uniformly — no hot spots like stovetop seasoning.
What you need:
- Your cast iron skillet, clean and completely dry
- A high-smoke-point oil (see oil guide below)
- Paper towels or a lint-free cloth
- Aluminum foil
- An oven
The steps:
- Clean the skillet thoroughly. Wash with hot water and a stiff brush. For a new skillet, this removes factory residue. For a restoration, scrub off all rust first (steel wool or a chain-mail scrubber for tough spots). The surface should be clean bare-ish iron.
- Dry it completely. This is critical — any moisture causes problems. Towel dry, then place on a burner over low heat for a few minutes until bone dry. Let it cool just enough to handle.
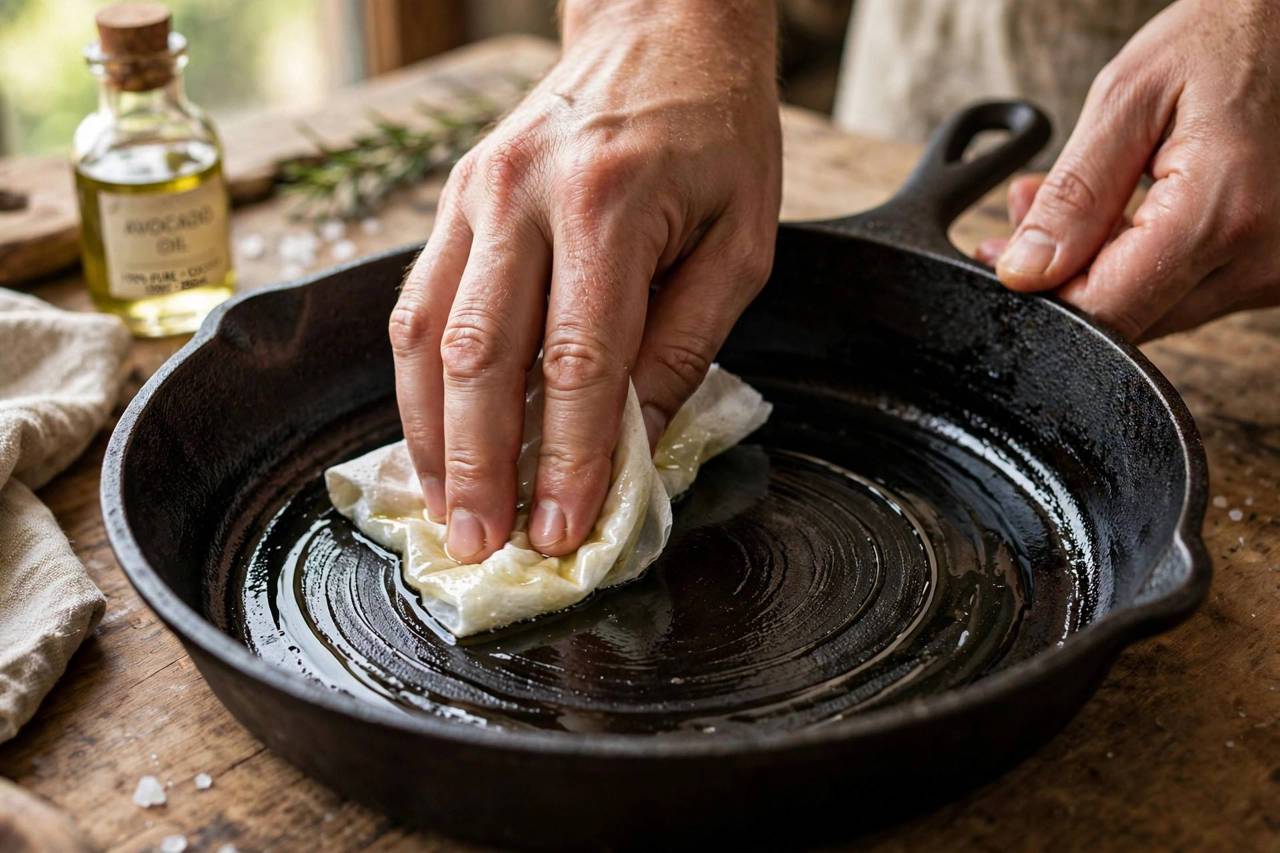
- Apply oil — then wipe it ALL off. Here’s the secret the pros know: rub a thin layer of oil over the entire skillet — inside, outside, handle, everything. Then take a clean cloth and wipe it all off like you made a mistake and you’re trying to remove it. What remains is the microscopically thin layer you want. Too much oil = sticky, gummy seasoning. This is the #1 beginner mistake.
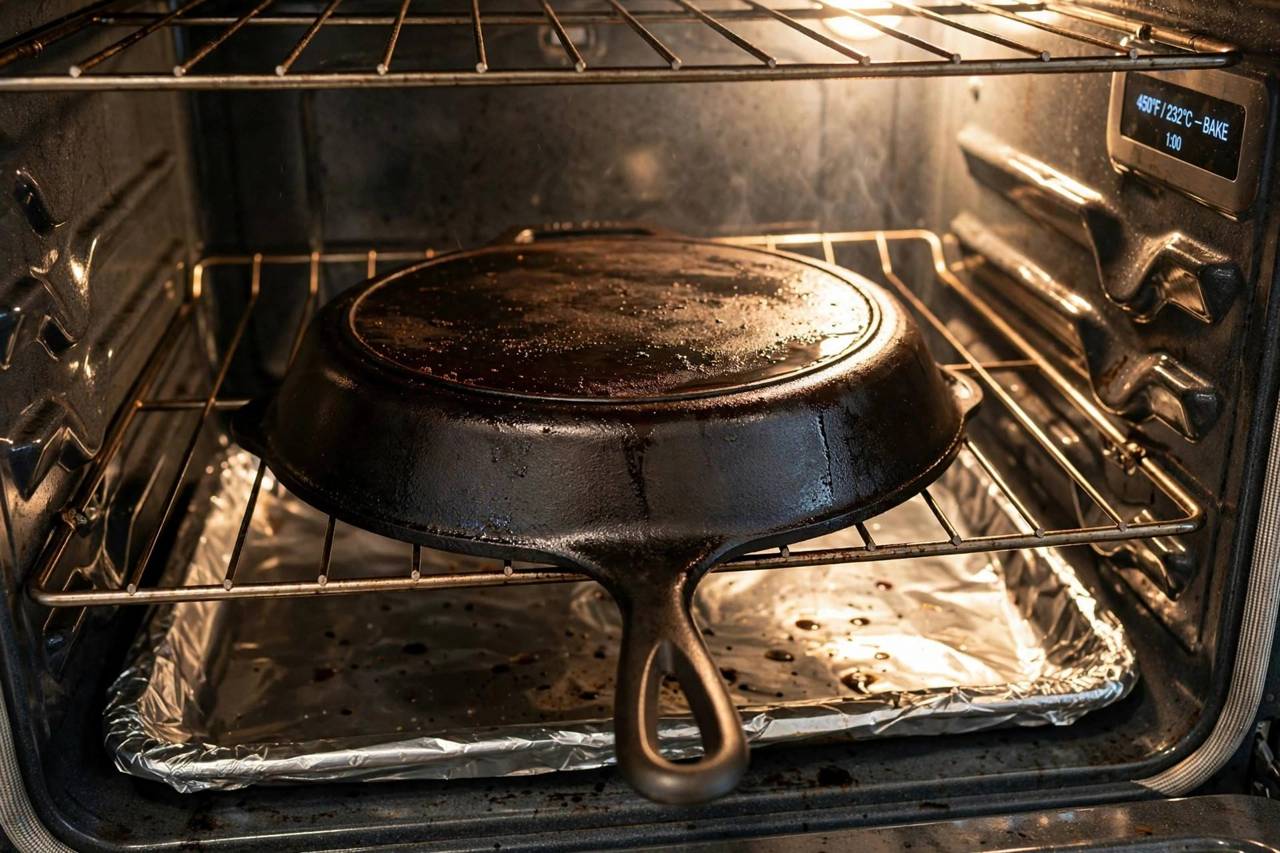
- Place upside down in a cold oven. Put foil on the lower rack to catch drips. Place the skillet upside down on the upper rack — upside down prevents oil from pooling.
- Heat to 450-500°F (above your oil’s smoke point). The oil MUST exceed its smoke point to polymerize. For most recommended oils, 450°F for one hour works. Your kitchen will get a little smoky — turn on the vent fan and open a window.
- Cool in the oven. Turn off the heat and let the skillet cool completely in the oven. Don’t rush this — thermal shock is real.
- Repeat 2-4 times. One round gives you a functional layer; 3-4 rounds build the deep, durable seasoning that makes cast iron legendary. Each round: oil, wipe, bake, cool.
The Best Oils for Seasoning Cast Iron
The internet argues about this endlessly. Here’s my practical take after years of doing it:
- Grapeseed oil: My top pick. High smoke point, neutral, polymerizes beautifully into a hard layer. Affordable and available everywhere.
- Canola/vegetable oil: The practical choice — cheap, high smoke point, works great. Don’t let oil snobs tell you otherwise.
- Crisco (vegetable shortening): The old-school champion. Melts easily, applies evenly, creates excellent seasoning. Grandmothers knew what they were doing.
- Flaxseed oil: Creates a very hard layer but is prone to flaking over time and goes rancid quickly. The internet loves it; experienced cast iron folks are more skeptical. I don’t recommend it for beginners.
Avoid: Olive oil (low smoke point, gummy results), butter (milk solids burn), and anything unrefined with a low smoke point. Save the fancy oils for salads.
Honestly? The oil matters less than the technique. Thin layers, proper temperature, enough rounds — that’s what builds great seasoning, regardless of which suitable oil you choose.
Restoring a Rusty Cast Iron Skillet
Found a rusty skillet at a flea market? Inherited grandma’s neglected pan? Don’t despair — cast iron is nearly indestructible. Here’s the rescue:
- Scrub off the rust. Steel wool, a stiff brush, or a chain-mail scrubber with hot water. For heavy rust, a 50/50 white vinegar and water soak for 1-2 hours helps (no longer — vinegar eats iron too).
- Wash and dry immediately. Hot soapy water is fine here — you’re stripping, not maintaining. Dry on a hot burner right away.
- Season immediately. Bare iron starts rusting within hours. Go straight into the oven method above — 3-4 rounds.
- Cook fatty foods first. Bacon, fried chicken, cornbread with butter — the first few cooks should be generous with fat to keep building the seasoning.
I’ve brought back skillets that looked like archaeological finds. Unless it’s cracked or warped, it’s salvageable. Cast iron forgives almost everything except cracks.
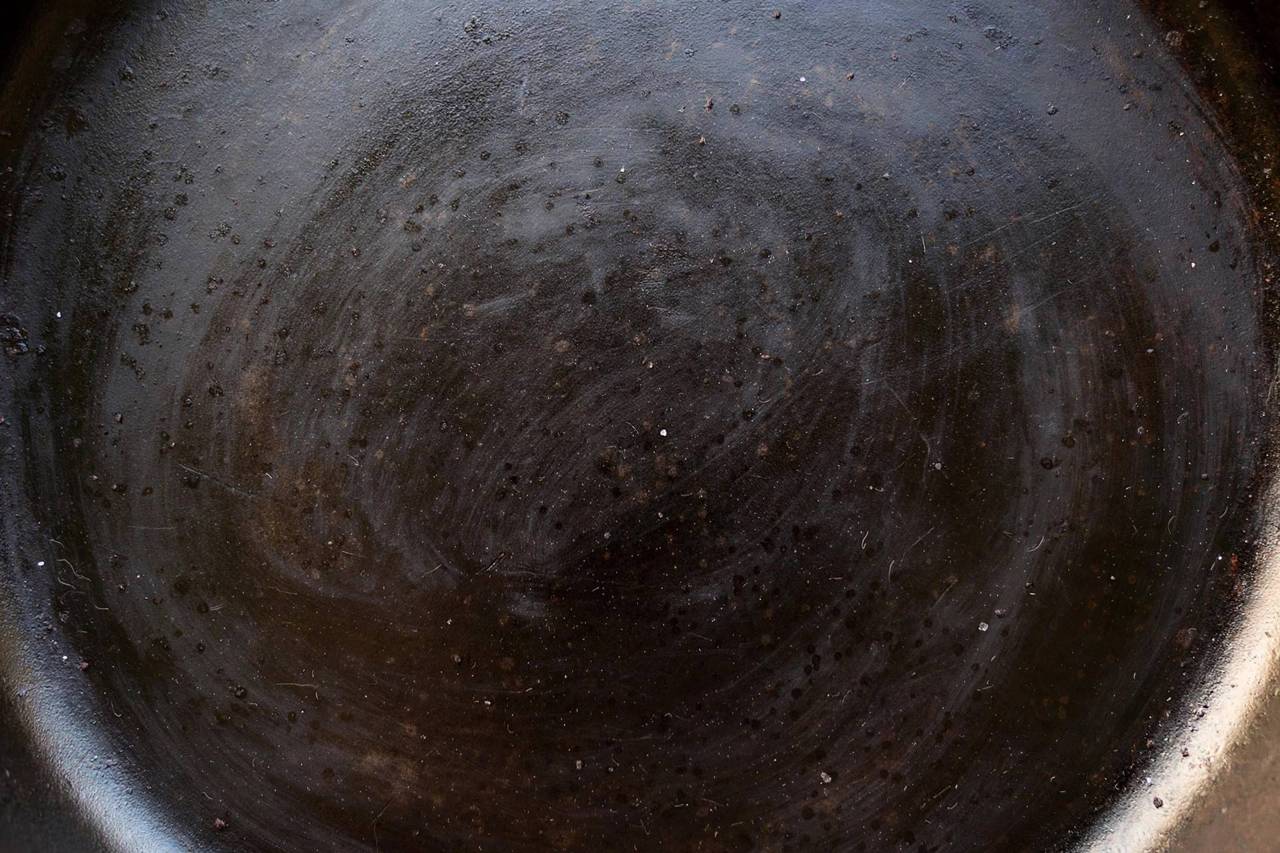
Daily Care: Maintaining Your Seasoning
Great seasoning is maintained, not just created. The daily routine is simple:
- Clean while warm. Hot water and a stiff brush or chain-mail scrubber right after cooking. Most messes wipe right out when the pan’s still warm.
- A little soap is fine. Yes, really — modern dish soap won’t strip polymerized seasoning (that’s a myth from the lye-soap era). A small amount for stubborn messes is fine; just rinse well.
- Dry thoroughly, every time. Towel dry, then heat on the burner for a minute to evaporate every drop. Water is seasoning’s enemy.
- Oil lightly after drying. While the pan’s warm, wipe the thinnest layer of cooking oil inside. This maintains the seasoning between uses.
- Store dry. If stacking, place a paper towel or cloth between pans to protect the surface.
What to avoid:
- Soaking in water (even “just for a few minutes” — it adds up)
- Dishwasher (the enemy of all seasoning)
- Cooking highly acidic foods (tomato sauce, wine reductions) for long periods in new seasoning — fine occasionally in well-established pans, but long simmers can strip young seasoning
- Thermal shock — never plunge a hot skillet into cold water
Cooking Tips for Your Newly Seasoned Skillet
- Preheat properly. Cast iron heats slowly and unevenly at first — give it a few minutes over medium heat before adding food. Then it holds heat like nothing else.
- Use enough fat. Especially in the early months, be generous with oil and butter. Fat is both your cooking medium and your seasoning builder.
- Don’t fuss with the food. Let proteins sear undisturbed — they’ll release naturally when properly browned. Forcing them early causes sticking and tears the crust.
- Embrace the oven. Stovetop-to-oven is cast iron’s superpower — sear a steak, finish in the oven; bake cornbread, deep-dish pizza, cobblers, even sourdough.
- Metal utensils are fine. Another myth busted — properly seasoned cast iron handles metal spatulas without damage. (Avoid aggressive scraping with sharp edges, but normal cooking utensils are no problem.)
Seasoning Myths Worth Forgetting
Cast iron comes with folklore. Let’s clear the air: you CAN use soap (modern dish soap is gentle), you CAN cook tomatoes (in well-established seasoning, briefly), metal utensils are FINE, and there’s no single “correct” oil — technique beats brand loyalty every time. What actually ruins seasoning? Soaking, dishwashers, thermal shock, and cooking acidic foods for hours in brand-new pans. Everything else is just people being precious about a pan designed to survive campfires, friend.
FAQ
How to season a cast iron skillet for the first time?
Clean and dry the skillet completely, apply a very thin layer of high-smoke-point oil (wiping off the excess), place upside down in a 450°F oven for one hour, cool in the oven, and repeat 2-4 times. Even “pre-seasoned” new skillets benefit greatly from additional home seasoning rounds.
What is the best oil to season cast iron?
Grapeseed oil, canola oil, or vegetable shortening (Crisco) — all have high smoke points and polymerize well. Avoid olive oil and butter (too low smoke point). Technique matters more than oil choice: thin layers, proper temperature, multiple rounds.
Can you use soap on cast iron?
Yes — a small amount of modern dish soap won’t damage polymerized seasoning. This is a persistent myth from the era of harsh lye soaps. Wash, rinse well, dry thoroughly on heat, and apply a light oil layer after.
How do you fix a sticky cast iron skillet?
Stickiness means too much oil was applied during seasoning (it didn’t fully polymerize). Fix it by baking the skillet upside down at 450-500°F for another hour — the excess oil will polymerize or bake off. In stubborn cases, scrub back to duller seasoning and re-season with properly thin oil layers.
How often should you re-season cast iron?
There’s no fixed schedule — re-season when food starts sticking more than usual, the surface looks dull or dry, or after any harsh cleaning. With proper daily care (dry thoroughly, light oil after use), a well-seasoned skillet can go years between full re-seasoning sessions, since regular cooking continuously maintains the seasoning.