How to Open a Tight Jar Lid Easily (Method Ladder: Easiest First)

Knowing how to open a tight jar lid easily is one of those life skills nobody teaches you and everybody needs. I have stood in my kitchen at 6 a.m., coffee not yet brewed, wrestling a jar of pickles like it personally offended me. Over the years I have collected every method worth knowing — and I have arranged them here as a ladder, easiest first, so you try the gentle stuff before the dramatic stuff.
A quick note on why jars fight you: most are vacuum-sealed. The lid is not just screwed on tight — air pressure is holding it down. That is why the methods that break the vacuum seal work so much better than the ones that just add muscle. Keep that in mind as you climb the ladder.
Rung 1: The Grip Boosters (30 seconds, no tools)
Start here. Half of all stuck jars surrender to better grip alone.
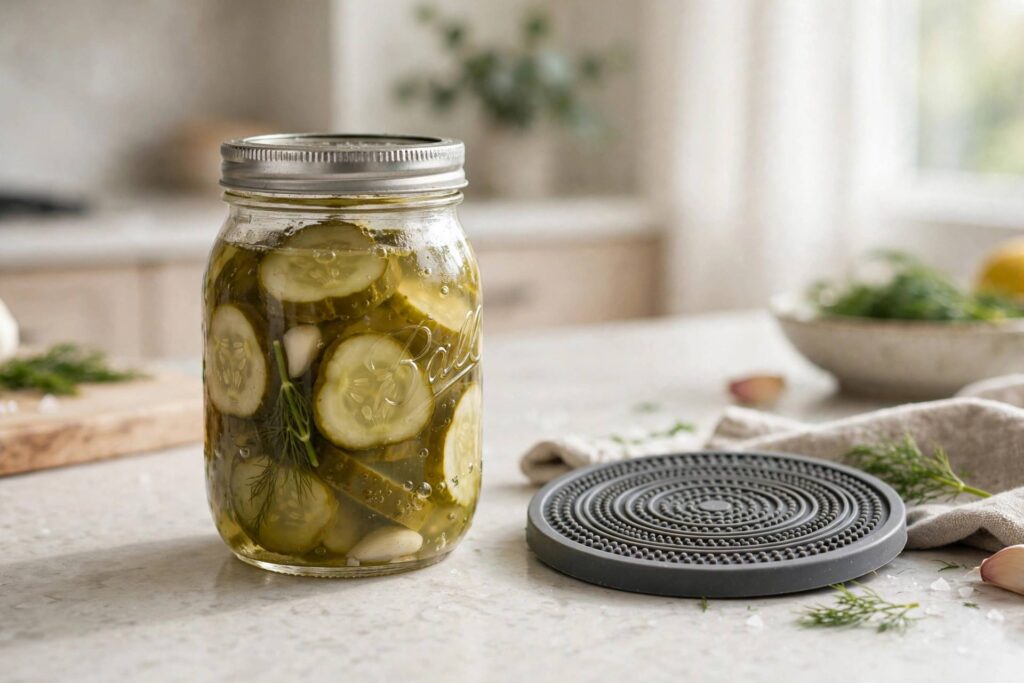
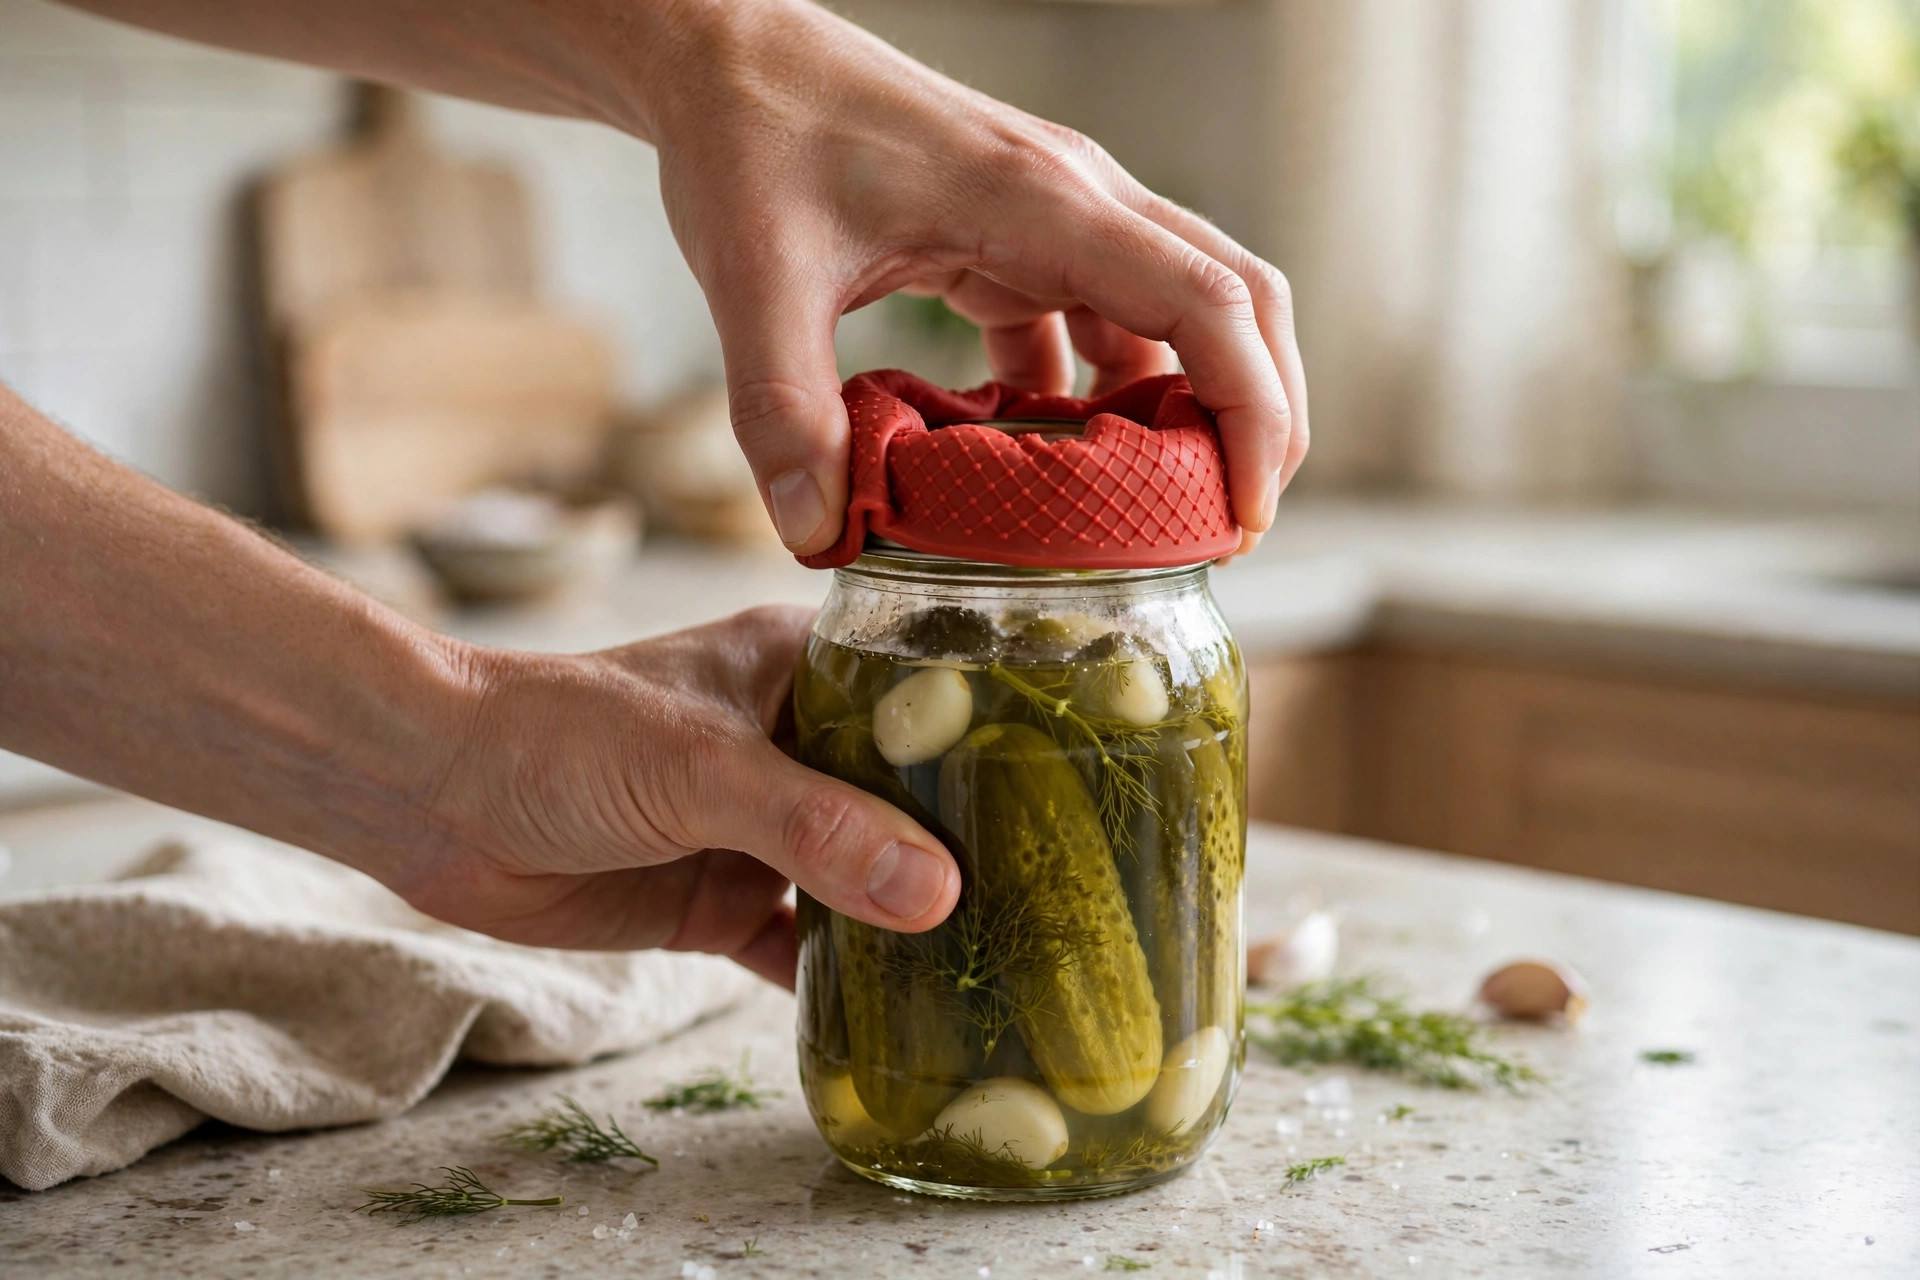
- Rubber grip. A rubber jar opener pad, a wide rubber band wrapped around the lid, or even a damp dish towel. Rubber multiplies your grip enormously. This solves it more often than anything else I have tried.
- Dry your hands. Sounds obvious, but wet or lotion-slick hands are the number one reason jars feel impossible. Dry hands, dry lid.
- Wear dishwashing gloves. The textured rubber gives you a grip like a superhero. My grandmother’s trick, and it still works.
Rung 2: Break the Vacuum Seal
If grip alone fails, attack the vacuum. These are the highest-success methods in the whole ladder.
- Tap the lid edge. Turn the jar upside down or hold it at an angle and tap the edge of the lid firmly against the counter edge — not the flat top, the edge. A few solid taps dent the lid microscopically and break the seal. You will often hear a little pop. This is my personal go-to.
- Slide a spoon under the lid. Work the tip of a sturdy spoon or butter knife under the rim of the lid and lever gently until you hear the hiss of air entering. Go easy — you are prying just enough to let air in, not bending the lid in half.
- Poke a tiny hole. For lids you do not need to reseal (a jar you will finish today), a bottle opener or the tip of a knife through the lid top releases the vacuum instantly. Obviously this ruins the seal for storage, so only for single-use jars.
Rung 3: Temperature Tricks
Metal lids expand with heat. Two reliable approaches:
- Hot water on the lid. Run hot tap water over just the lid (not the whole jar) for 30–60 seconds. The metal expands faster than the glass, loosening its grip. Dry it off, add your rubber grip, and twist.
- Hair dryer. Same principle, more targeted. A minute of hot air around the lid band works when you cannot get the jar near a tap.
Do the reverse for plastic lids stuck on glass — cold makes plastic contract, so the freezer trick is less reliable than heat for metal. When in doubt, heat the lid.
Rung 4: Tools (When Your Hands Are Done Negotiating)
- Jar opener gadgets. The mounted under-cabinet openers with V-shaped metal teeth are genuinely excellent — you slide the lid in and twist the jar. Handheld adjustable grippers work well too. If stuck jars are a weekly event in your house, spend the few dollars.
- Channel-lock pliers. Wrap the lid in a towel (to protect it and your hands) and grip with pliers. Enormous leverage. Just go gently — you can crush a thin lid.
- Strap wrench. A rubber strap wrench from the toolbox conforms to any lid size and gives serious torque without damage. This is the nuclear option that almost never fails.
Low-Grip and Arthritis-Friendly Options
This section matters to me personally, because I watched my mother go from opening everything herself to handing me every jar, and it bothered her more than she admitted. If grip strength is limited — arthritis, carpal tunnel, aging hands, an injury — skip the ladder and go straight to the tools:
- Under-cabinet mounted opener. This is the single best investment. It is always there, it requires almost no grip strength (you twist the jar body with both hands, which uses bigger muscles), and it handles nearly every lid size.
- Electric jar openers. Press a button, it does everything. More expensive, but for someone with severe arthritis they restore real independence.
- Ask for help without shame. Seriously. And when buying groceries, choose jars with easy-open or twist-off lids designed for low grip — many brands now label them.
- Transfer on first open. Once a vacuum-sealed jar is opened, decant what you will not use soon into an easy-open container. You only fight the seal once.
What NOT to Do
A few methods floating around the internet deserve a warning. Do not whack the lid with the heavy end of a knife — slipping means a deep cut. Do not use your teeth (dentists beg you). Do not run a knife blade around the seal toward your hand. And do not keep cranking with all your strength on a jar held between your knees — if the glass breaks, it breaks toward you. The ladder above gets you there safely; brute force is how people get hurt.
How to Open a Tight Jar Lid Easily When You Live Alone
Everything changes when there is nobody to hand the jar to. No stronger hands in the next room, no “can you get this?” — just you and the pickle jar at 10 p.m. If you live alone, the strategy shifts from methods to setup: arrange your kitchen so stuck jars are rare and solvable.
Build a jar station. Keep three things together in one drawer: a rubber grip pad, a sturdy spoon (for the under-the-rim lever), and a mounted or handheld jar opener. When a jar defeats your hands, you do not brainstorm — you walk to the drawer and work the ladder. Decision fatigue is the enemy; a fixed station removes it.
Mount the opener before you need it. The under-cabinet jar opener is the single best solo-living purchase in this entire guide, and it only works if it is installed. It takes five minutes with screws or heavy-duty adhesive. Do it on a Saturday, not at midnight when you are already frustrated. Once mounted, it opens nearly any lid with a simple twist of the jar body — no grip strength required, no counter-tapping, no drama.
Shop defensively. When you live alone, you get a vote at the store. Choose products in easy-open packaging where available — many brands now offer them. Prefer smaller jars over economy sizes: a small jar of pasta sauce you finish in two meals never needs resealing heroics, while the giant jar fights you three times. And transfer bulk items (flour, sugar, rice) into easy-open containers the day you bring them home, once, instead of fighting the original packaging weekly.
Know the hot-water trick cold. For the solo dweller, the hot-water-on-the-lid method deserves special emphasis because it requires zero tools and zero strength — just a tap. Run hot water over the metal lid for 30–60 seconds, dry it thoroughly, apply your rubber grip, and twist. The thermal expansion does the heavy lifting your hands cannot. It is the closest thing to a cheat code in this guide, and it works on the majority of vacuum-sealed jars.
Living alone means being your own backup for everything — the jar opener, the plunger, the flashlight. A mounted jar opener and a rubber grip pad cost less than one takeout dinner and end the problem permanently. Future-you, at 10 p.m. with the pickles, says thanks.
Frequently Asked Questions
Why are some jar lids so much tighter than others?
Commercial canning creates a strong vacuum seal for food safety — the tighter the seal, the safer the food. Pickles, jams, and sauces sealed at high heat have the fiercest vacuum. “Lug” lids (the ones with little tabs) are designed to vent with a pop; continuous-thread lids can feel tighter.
Does tapping the bottom of the jar work?
Slapping the bottom of the jar is folk wisdom with a grain of truth — the jolt can disturb the seal slightly — but tapping the lid edge against the counter is far more effective because it acts directly on the lid. If you are going to tap something, tap the lid.
How do I open a jar with a dented lid?
A dented lid may have a compromised seal already, so check the food for spoilage signs first (bulging, off smells, fizzing). If the food is fine, the spoon-under-the-rim method usually works since the dent has already weakened the vacuum.
Are electric jar openers worth it?
For most people, a three-dollar rubber grip pad solves the problem and an electric opener is overkill. For someone with arthritis or very low grip strength, an electric opener is absolutely worth it — it is the difference between independence and asking for help at every meal.
Can I re-seal a jar after breaking the vacuum?
You can close it tightly for short-term fridge storage, but you cannot recreate the factory vacuum seal at home. Treat an opened jar as refrigerated leftovers: use within the timeframe on the label, usually a few weeks for pickles and jams, less for low-acid foods.
What is the easiest jar opener for someone with weak hands?
The under-cabinet mounted opener, without contest. It uses the large muscles of your arms and body weight rather than grip strength — you hold the jar with both hands and twist the jar, not the lid. Electric one-touch openers are the other excellent option; you place the device on the lid and press a button. Both cost under $30 and permanently solve the problem, which is a better investment than any amount of technique refinement when grip is the limiting factor.
Start at the Top of the Ladder
Next time a jar defies you, remember the order: dry hands and rubber grip first, break the vacuum second, heat the lid third, tools last. Nine times out of ten you will never get past rung two. And if grip is a daily struggle rather than an occasional annoyance, get the under-cabinet opener — it is the rare gadget that earns its space. That is how to open a tight jar lid easily: not with more muscle, but with the right rung.