How to Remove Water Stains From Wood Table: Diagnose First, Then Fix

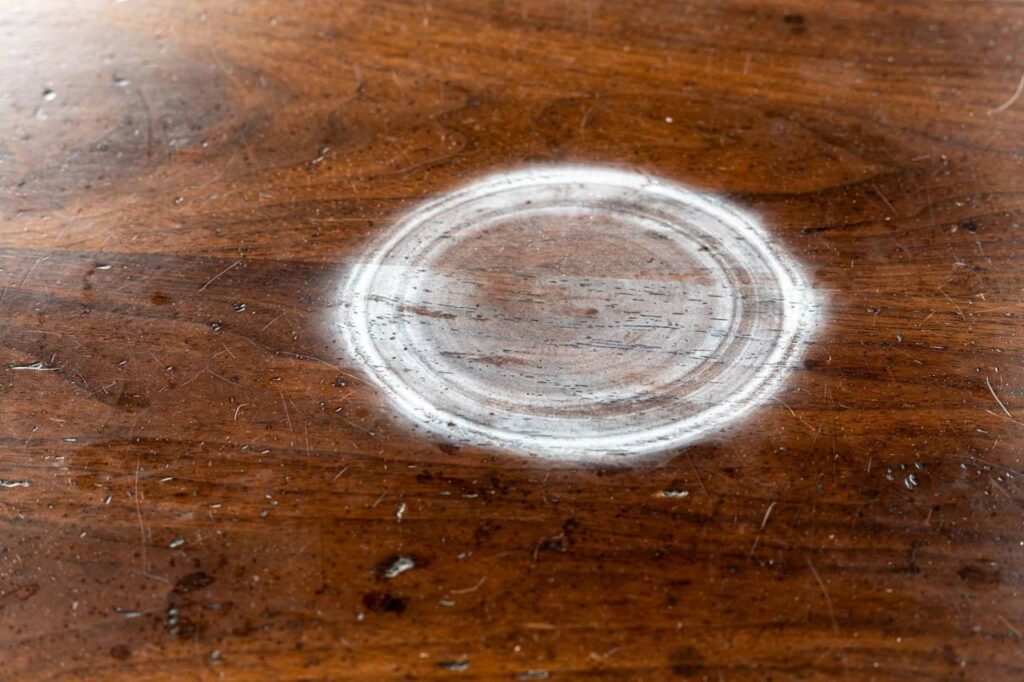
Learning how to remove water stains from wood table surfaces starts with a step almost every guide skips: diagnosis. Not all water stains are the same, and the fix that erases one type can make the other worse. I learned this the expensive way on my grandmother’s oak side table, so let me save you the lesson.
There are exactly two kinds of water stains on wood. White or light-colored rings mean the moisture is trapped in the finish — the varnish or lacquer above the wood. Dark or black stains mean the water reached the wood itself. White rings are a weekend fix. Dark stains are a project. Everything below follows from that one distinction, so diagnose before you touch anything.
The Diagnosis: White Ring vs Dark Stain
Look closely at the mark in good light:
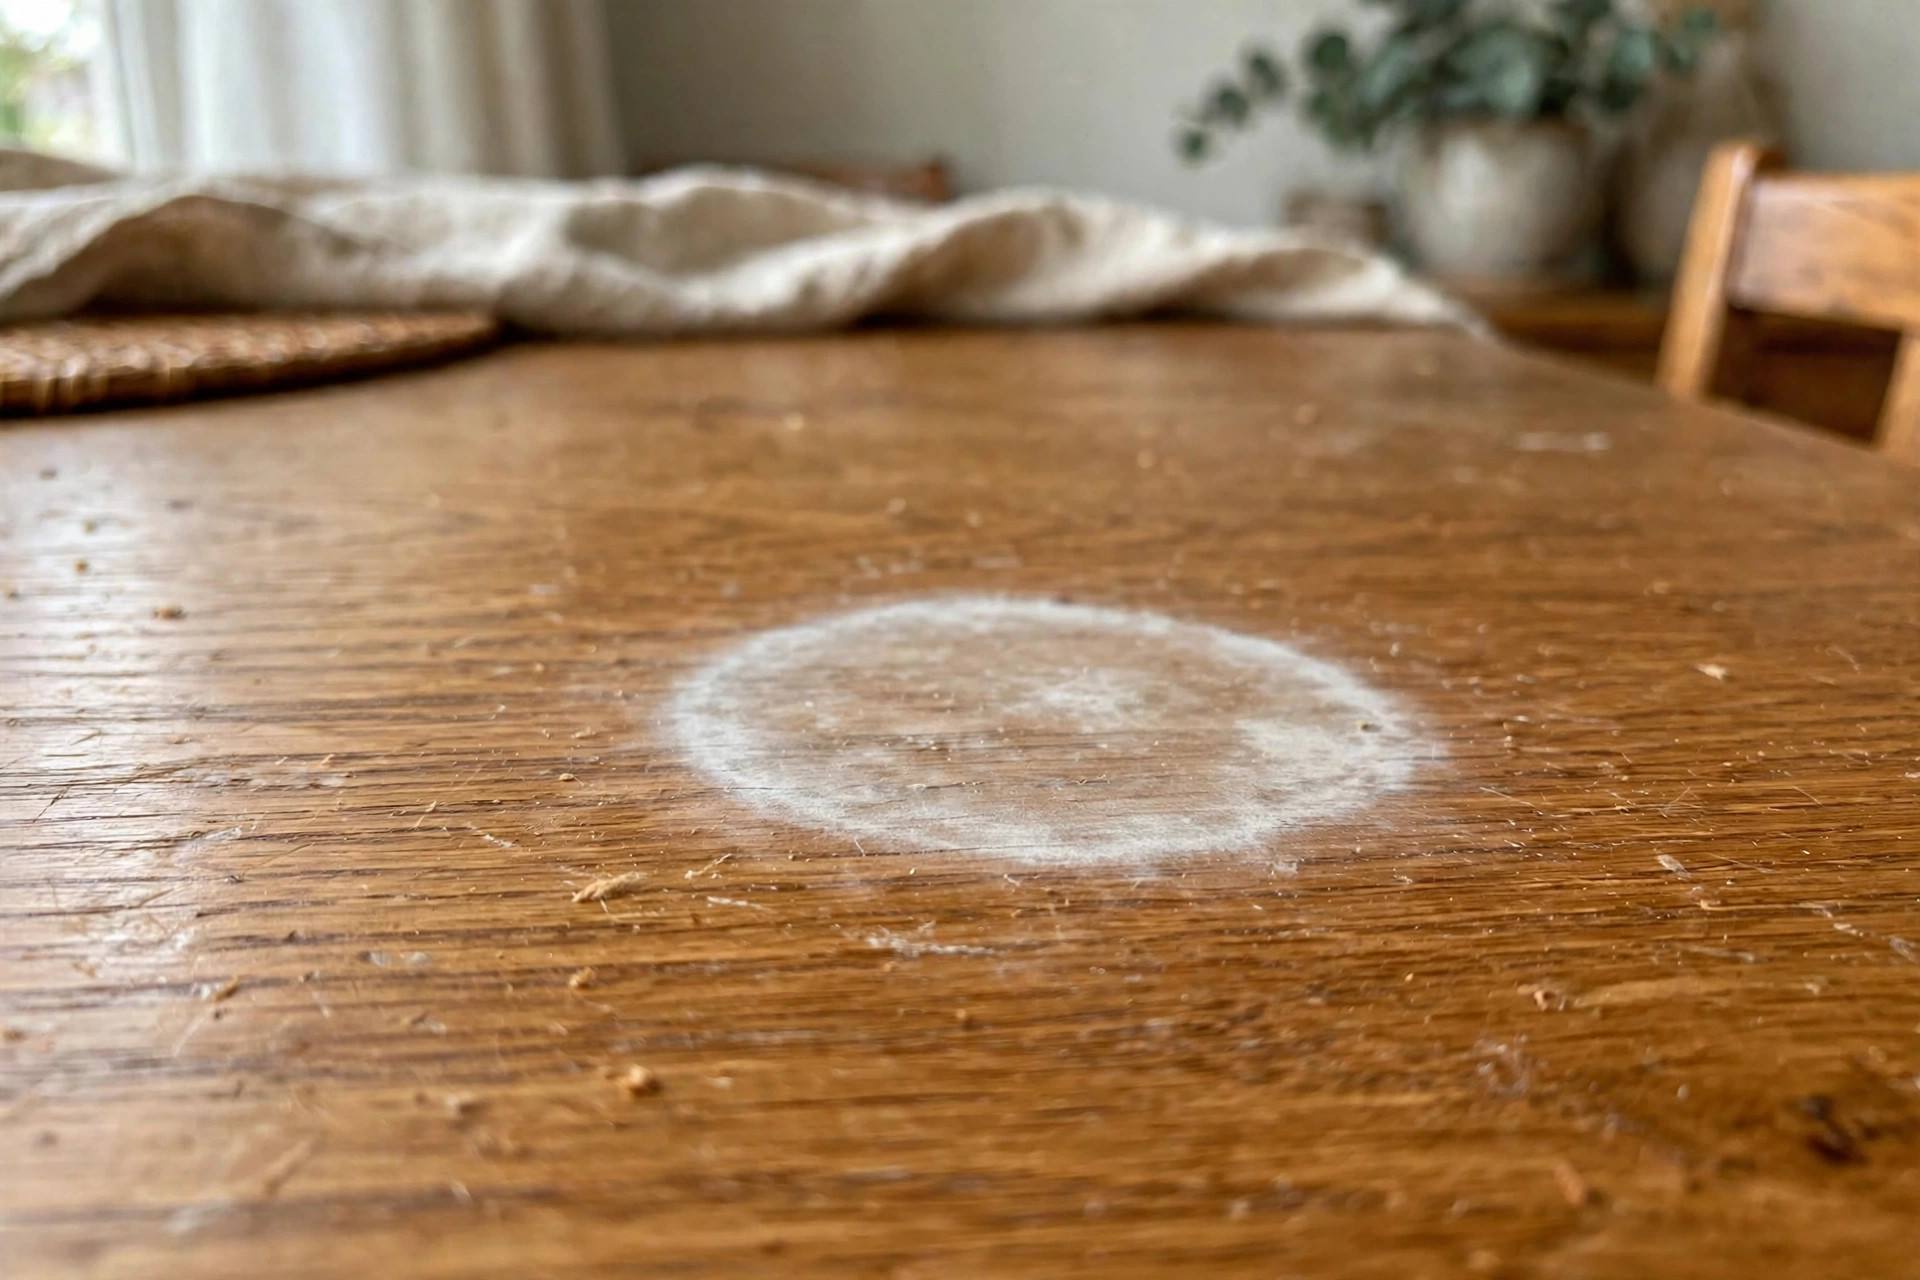
- White, cloudy, or light ring: the classic cold-glass ring. The moisture is sitting in the finish layer, clouding it. The wood underneath is fine. This is the good-news stain — very fixable with gentle methods.
- Dark brown, gray, or black stain: water penetrated through the finish into the wood fibers, and possibly mildew has set in. The wood itself is discolored. This needs aggressive treatment — bleaching or refinishing.
- Somewhere in between: a light gray haze usually means a white-ring stain that has been there a long time and started to sink deeper. Try the white-ring methods first; escalate only if they fail.
Run your finger over it too. If the finish feels intact and smooth over the mark, it is almost certainly a surface-level white ring. If the finish feels rough, cracked, or worn away at the stain, moisture got through and you are dealing with wood damage.
Fixing White Rings (Finish Damage)
White rings respond to gentle heat or mild abrasion — you are either evaporating the trapped moisture out of the finish or polishing the clouded layer away. Work from gentlest to strongest, and stop as soon as the ring clears.
Method 1: The iron and cloth
Set a clothes iron to low-medium heat with NO steam. Lay a clean cotton cloth or t-shirt over the ring and press the iron on it for a few seconds at a time, checking constantly. The gentle heat draws the trapped moisture out of the finish. This is the highest-success method I know for fresh white rings — I have watched rings vanish in under a minute. Keep the iron moving and never let it sit; you can scorch the finish if you get impatient.
Method 2: Hair dryer
Same principle, more control. Hold a hair dryer a few inches above the ring on medium heat, moving constantly, for a few minutes. Slower than the iron but nearly foolproof. Good for delicate or antique finishes where you want zero risk.
Method 3: Mayonnaise or petroleum jelly
This sounds like nonsense and it genuinely works on light rings. Dab plain mayonnaise (the oil is the active ingredient) or petroleum jelly over the ring, let it sit for several hours or overnight, then wipe clean. The oil displaces the trapped moisture in the finish. It will not fix a deep stain, but for a fresh glass ring it is weirdly effective.
Method 4: Baking soda paste or non-gel toothpaste
Mix baking soda with a few drops of water into a paste, or use plain white non-gel toothpaste. Rub gently along the grain with a soft cloth. The ultra-mild abrasive polishes the clouded finish layer away. The key word is gently — you are polishing, not sanding. Wipe clean and check; repeat once if needed, then stop.
Fixing Dark Stains (Wood Damage)
Dark stains mean the wood fibers themselves are discolored, so surface tricks will not reach them. You have three escalating options.
Option 1: Oxalic acid (wood bleach)
Oxalic acid is the woodworker’s choice for dark water stains — it bleaches the discoloration without bleaching the wood’s natural color the way chlorine bleach does. Dissolve the crystals in hot water per the package directions, apply to the stain (and feather out a bit beyond it to avoid a light spot), let it dry, then neutralize with a baking-soda-and-water wipe and rinse. Wear gloves and ventilate. This handles most dark rings that have not gone fully black.
Option 2: Sand and refinish the spot
For stains oxalic acid cannot lift, sanding is the honest answer. Sand the stained area with progressively finer grit (start around 120, finish at 220), always with the grain, feathering beyond the stain so you do not create a dip. Then restain to match and apply finish. The hard part is color matching — test your stain on the underside of the table first. On a table with sentimental value, this is where calling a professional starts to make sense.
Option 3: Refinish the whole top
If there are multiple dark stains, or the spot repair leaves an obvious patch, stripping and refinishing the entire tabletop gives the only truly uniform result. It is a weekend project: strip, sand, stain, seal with polyurethane. The result can look better than the original — but be honest with yourself about whether you will actually finish it before you start stripping.
Protecting the Table Afterward
Every water stain is a reminder that the finish is the table’s armor. After any repair:
- Apply a fresh coat of furniture wax or polish to reseal the area you worked on.
- Use coasters — not as decoration, as policy. Keep a stack on the table itself so there is no excuse.
- Wipe up spills promptly. A finish resists water for minutes, not hours. The ring forms when a wet glass sits through a whole dinner party.
- For dining tables, consider a table pad under a tablecloth for everyday use, or glass-top protectors cut to size.
How to Remove Water Stains From Wood Table Without Damaging the Finish
The methods in this guide are safe when done carefully — but “carefully” deserves specifics, because the most common way people worsen a water stain is by using the right method too aggressively. Here is how to protect the finish while you fix the stain.
Always test in a hidden spot first. The underside of the table edge, the back of a leg, inside the apron — find an inconspicuous square inch and run your full method there before touching the visible stain. This takes two minutes and has saved countless finishes. What you are checking: does the iron’s heat haze the finish? Does the baking soda paste dull the sheen? Does the oxalic acid lighten the surrounding wood? If the test spot looks worse, stop and reconsider — do not “push through” on the visible stain.
Know your finish, because it changes the rules. Most modern furniture wears polyurethane — tough, heat-tolerant, and forgiving of the iron method. Older or fine furniture may wear shellac or lacquer, which are more heat-sensitive: use the hair dryer on low instead of the iron, and skip abrasive methods entirely. Wax finishes (common on antiques) dissolve under both heat and oil — for waxed pieces, re-waxing the area after moisture removal is often the whole fix. If you do not know the finish, the hidden-spot test is your answer key.
The golden rules of gentleness: start with the mildest method that could work and escalate only if it fails — iron before paste, paste before chemicals, chemicals before sanding. Work in small increments with checking between rounds, not one marathon session. Rub with the grain, never across it — cross-grain abrasion leaves visible scratches that are harder to fix than the original stain. And keep everything dry except where the method requires moisture; you are fixing water damage, not auditioning for more of it.
When to stop and call a professional: if the test spot reacts badly, if the stain spans a large area, if the piece is genuinely valuable or antique, or if you have tried two methods with zero improvement. A furniture repair specialist fixes water stains weekly — what takes you a nervous weekend takes them an hour, and the result is guaranteed. There is no shame in it; knowing when a job exceeds your tools is its own skill.
Frequently Asked Questions
Will a white water ring go away on its own?
Sometimes, actually. Very light rings from brief moisture exposure can fade over days or weeks as the trapped moisture slowly evaporates. But do not count on it — rings that have been there more than a week or two are settled in and need one of the methods above.
Can I use vinegar on water stains?
I do not recommend it. Vinegar is acidic and can dull or damage many wood finishes, potentially turning a fixable white ring into a finish repair. Stick to the methods above — they are proven and finish-safe when done carefully.
Does the iron method work on all finishes?
It works on most modern finishes — polyurethane, lacquer, varnish. Be cautious with shellac and very old or French-polished finishes, which are heat-sensitive; use the hair dryer method on low instead. When in doubt, test on an inconspicuous spot first, like the underside of the table edge.
How do I match the stain color for a spot repair?
Take a drawer, leaf, or clear photo of the table to the paint store — staff can usually match it closely. Always test on a hidden area first and let it dry fully before judging, because stain darkens as it dries. Expect “close” rather than “invisible” on a spot repair.
When should I call a professional?
Call a furniture refinisher when the piece is valuable or antique, when dark stains cover a large area, or when your test repairs look worse than the stain. A professional refinish typically costs far less than replacing a quality table, and they match finishes for a living.
Diagnose, Then Treat
The whole guide in one sentence: white ring means the finish is cloudy — use heat or gentle polish; dark stain means the wood is damaged — use oxalic acid or refinishing. Get the diagnosis right and the fix is straightforward. My grandmother’s table? White ring, iron and a t-shirt, gone in forty seconds. I wish someone had told me to diagnose first before I spent a weekend panicking. Now you know.