How to Check Brake Fluid Level in 5 Minutes (With Photos in Mind)

Your brakes are the most important safety system on your car — full stop, no pun intended. And brake fluid is their lifeblood. The good news? Learning how to check brake fluid level takes about five minutes, requires zero tools, and is something every driver should know how to do.
I’m going to show you exactly where to look, what “normal” looks like, and — critically — what low brake fluid is trying to tell you. Because low fluid is never just low fluid. It’s a message. Let’s learn to read it.
Where Is the Brake Fluid Reservoir?
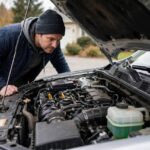
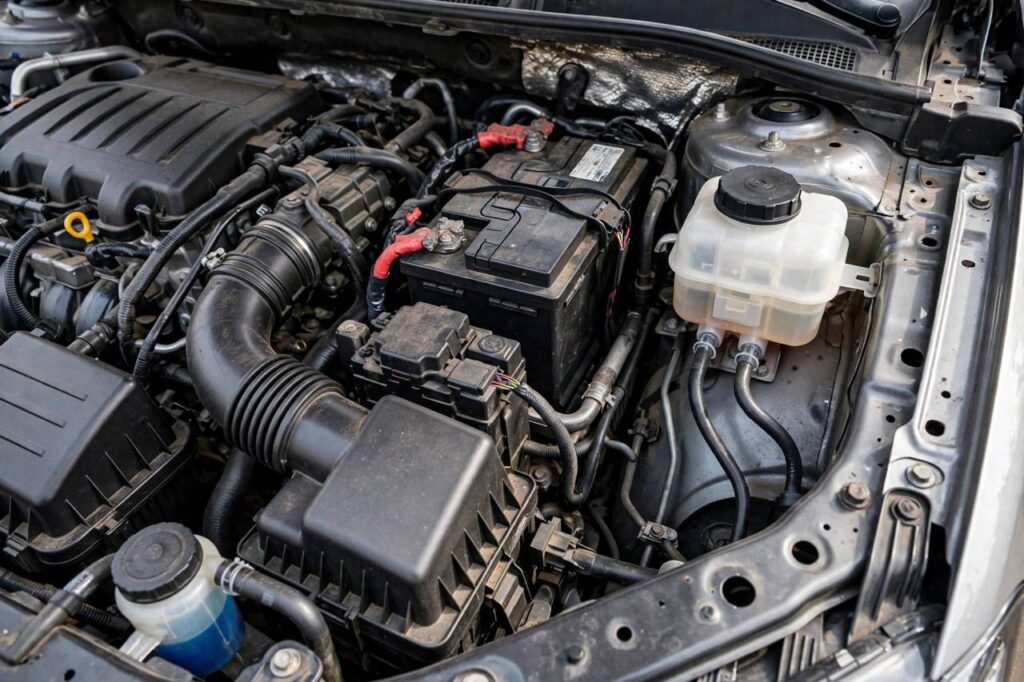
Pop the hood and look at the back of the engine bay, on the driver’s side — against the firewall (the wall between the engine and the cabin). You’re looking for a small, usually translucent plastic reservoir with a cap on top, mounted above a larger metal component (that’s the brake master cylinder and booster).
The reservoir is typically rectangular or round, a few inches across, and often has “DOT 3” or “DOT 4” marked on the cap — that’s the fluid specification. Most reservoirs are semi-transparent so you can see the fluid level without opening anything. If you can’t spot it, your owner’s manual has a diagram of the engine bay with everything labeled.
Can’t find it? On some vehicles it’s tucked under a plastic engine cover. Those covers usually pop off with a firm pull — no tools needed.
How to Check Brake Fluid Level: Step by Step
- Park on level ground. An incline tilts the fluid and gives a false reading. Flat driveway or parking spot.
- Engine off, car cool. You don’t need the engine running, and a cool engine bay is a comfortable engine bay.
- Locate the reservoir (see above) and wipe the cap area clean with a rag. You do NOT want dirt falling into the reservoir when you open it — contamination is brake fluid’s enemy.
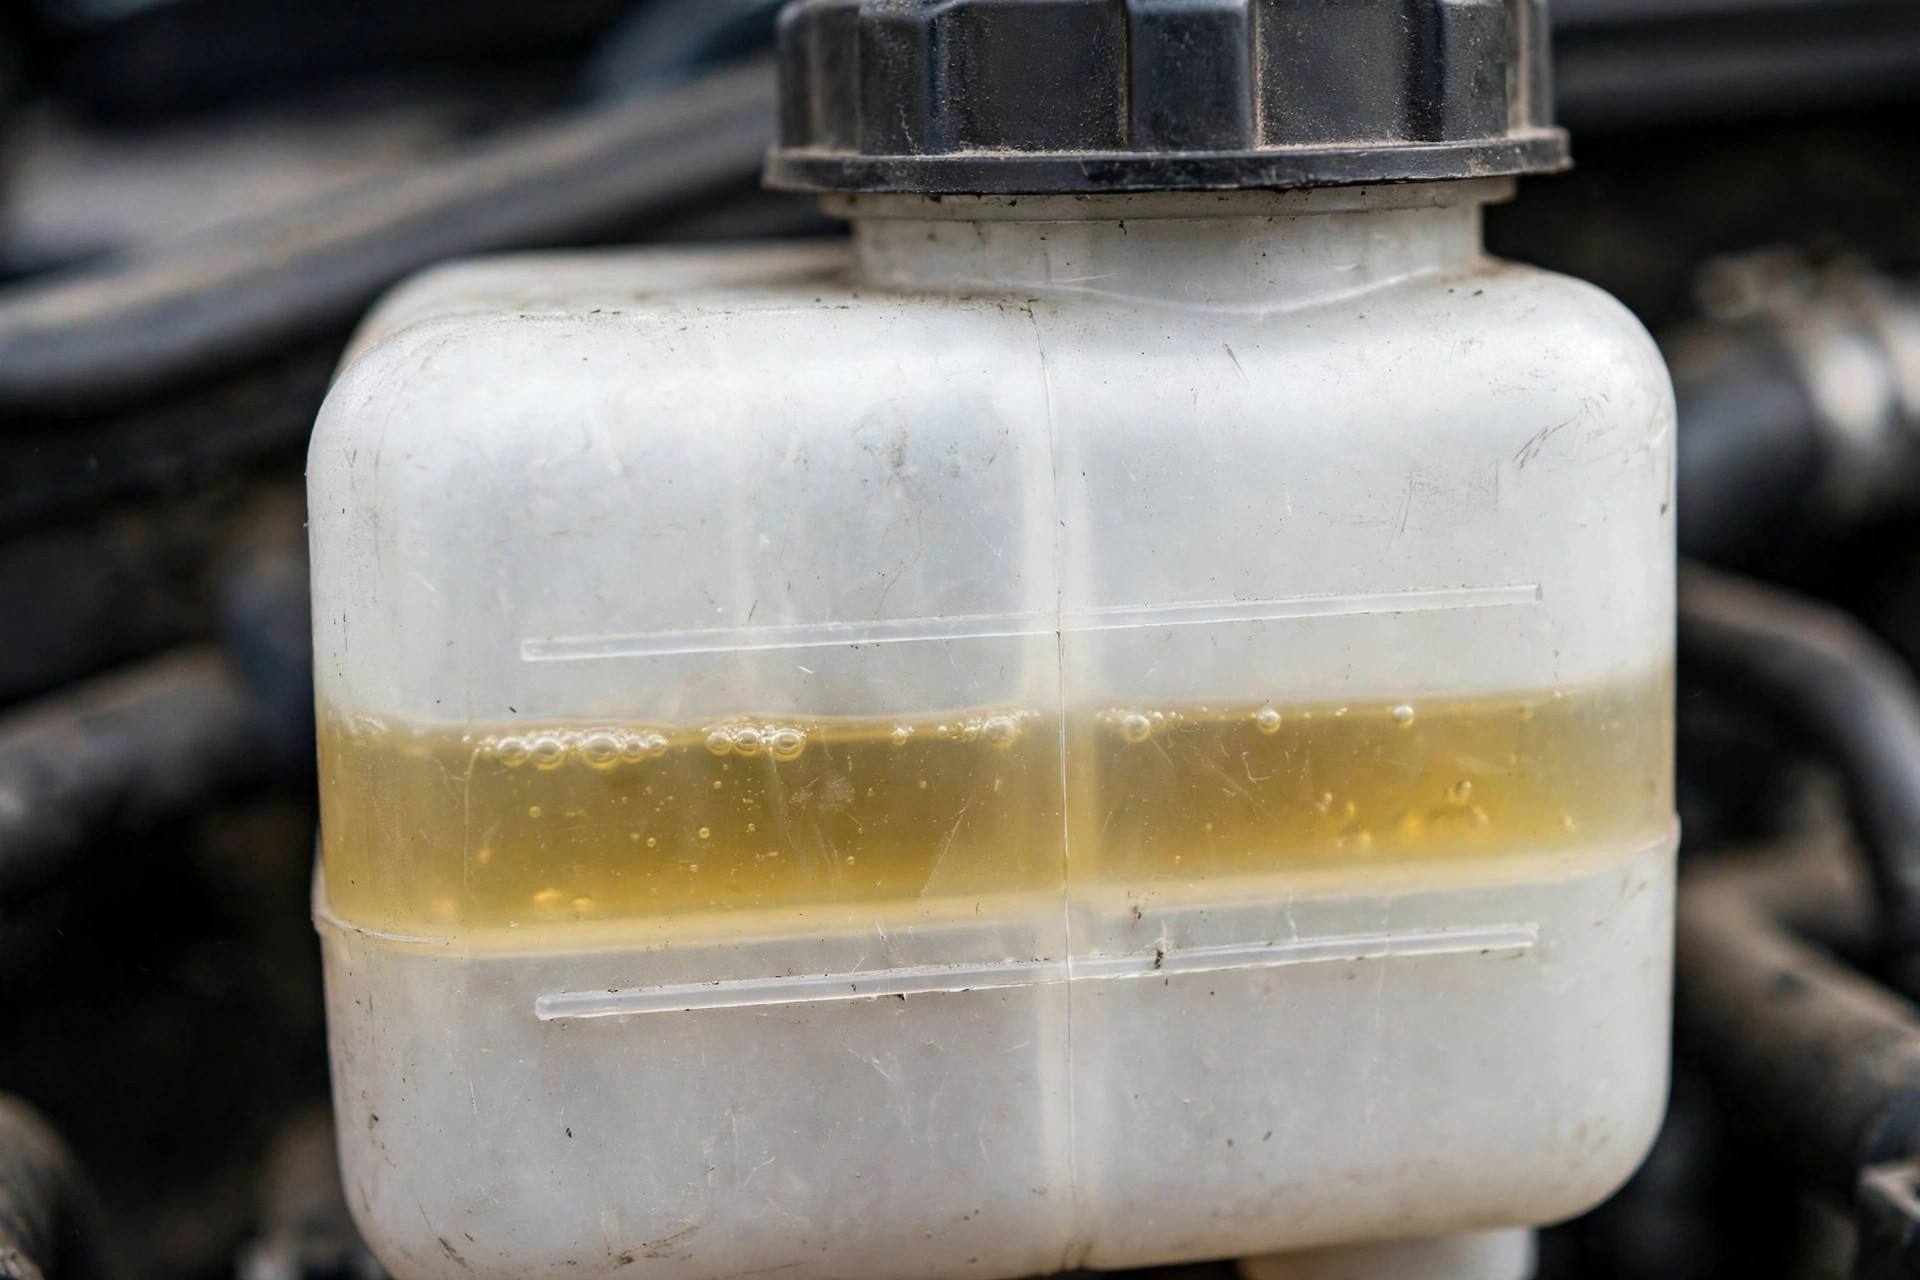
- Read the level through the reservoir wall. Most reservoirs have MIN and MAX lines molded into the plastic. The fluid level should sit between them, ideally closer to MAX.
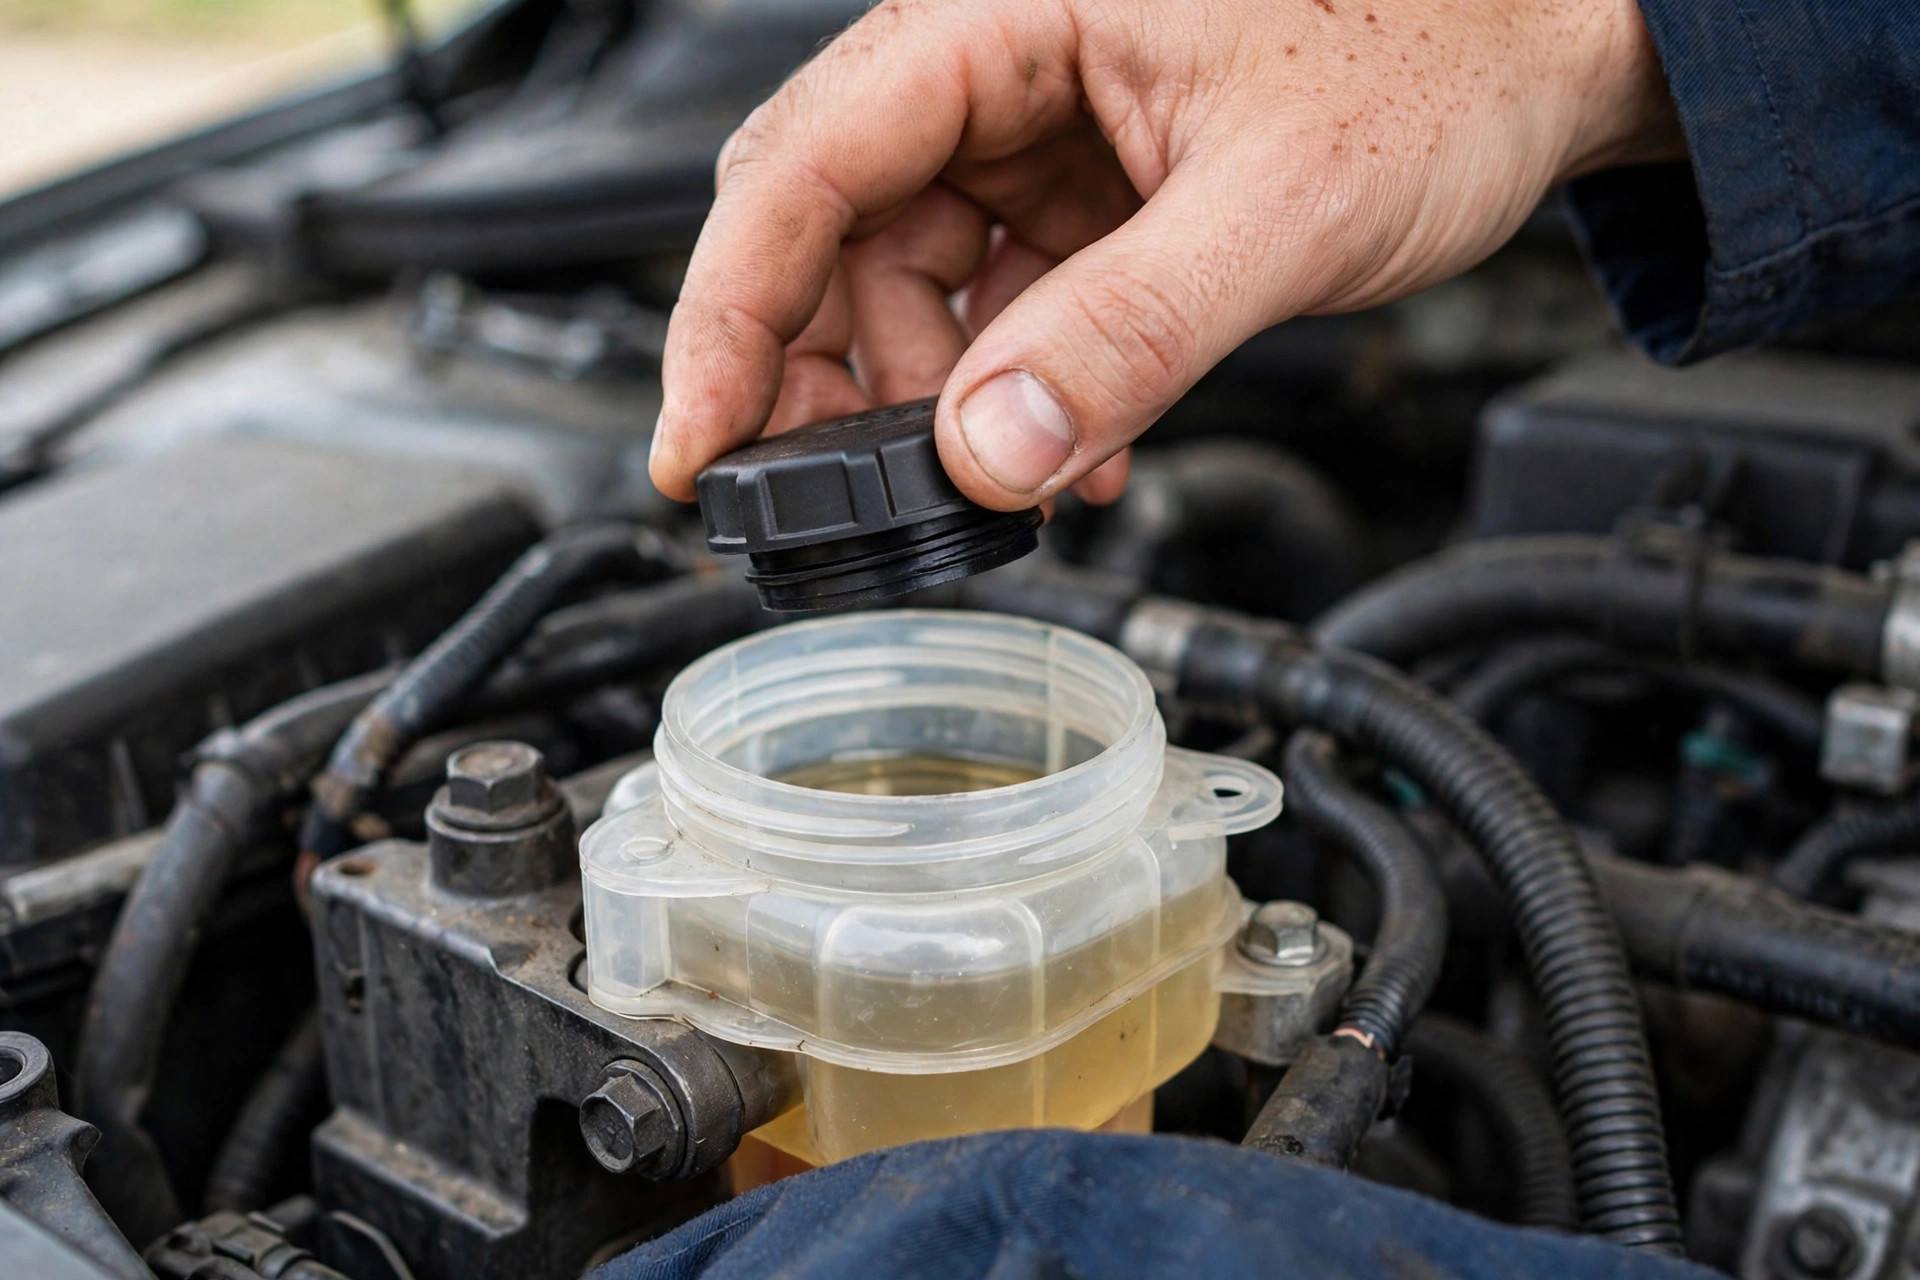
- If you can’t see through the plastic, remove the cap and look inside. Some caps have a dipstick attached; most you’ll just eyeball. Replace the cap promptly and make sure it seals.
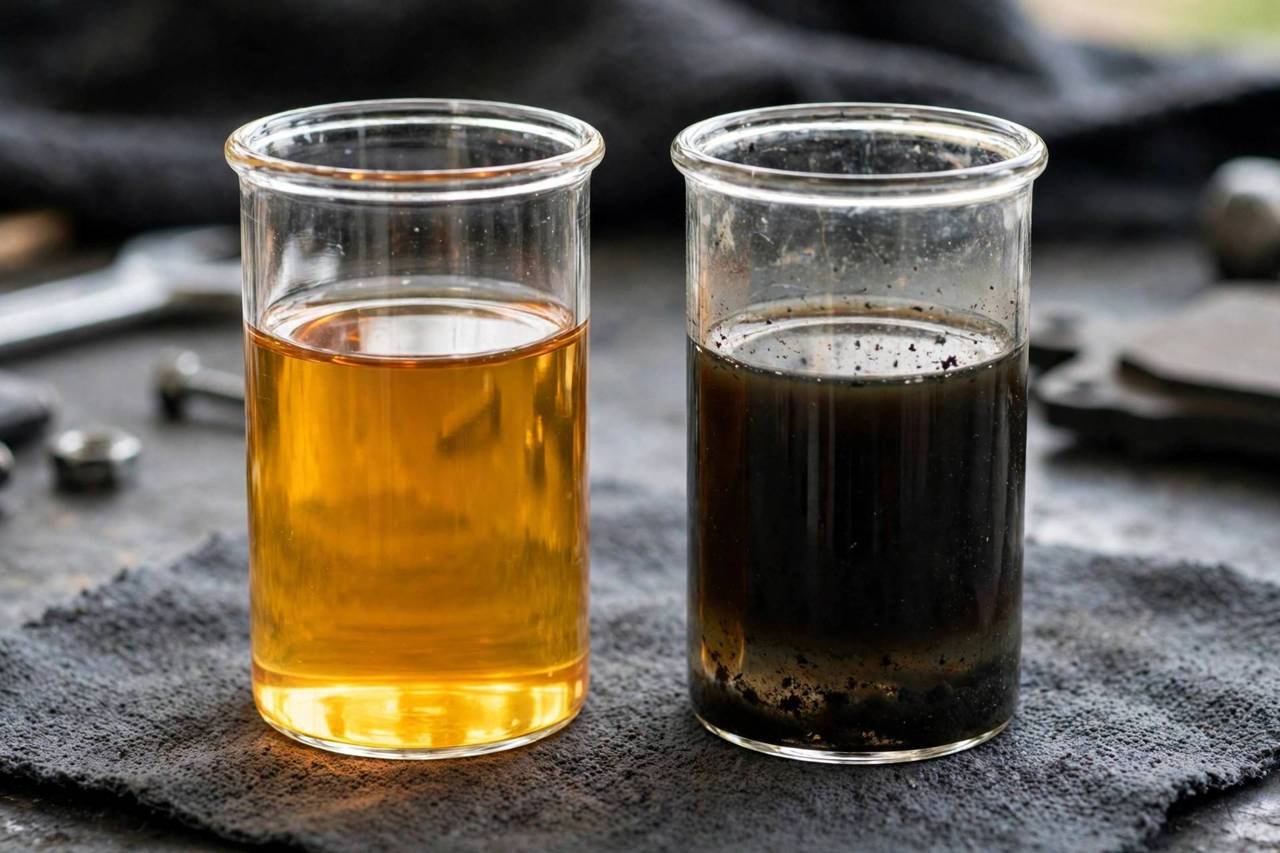
- Note the fluid color while you’re there. Fresh brake fluid is nearly clear with a slight amber tint. Dark, murky, or black fluid is old and contaminated — it needs changing regardless of level.
That’s the whole check. Five minutes, no tools, no mess. Make it part of your routine every few months — I check mine whenever I check my oil, and it has saved me from surprises more than once.
What the Level Tells You
Level between MIN and MAX: You’re good
This is normal. Brake fluid level drops very slowly over time as brake pads wear (the caliper pistons extend further, taking up more fluid). A level that’s drifted slightly below MAX over a year or two of driving is completely normal.
Level at or below MIN: Pay attention
Don’t just top it off and forget about it. Ask WHY it’s low. Gradual pad wear causes slow drops — that’s normal and expected. But a sudden drop, or a level that keeps falling after topping off, means fluid is going somewhere it shouldn’t. That’s a leak, and brake fluid leaks are serious.
Level dropping repeatedly: Get it inspected
If you top off the fluid and it’s low again in weeks, something is leaking — a brake line, a caliper seal, the master cylinder. This isn’t a “monitor it” situation; it’s a “get to a shop” situation. Brakes are not the system to gamble with.
Can You Top Off Brake Fluid Yourself?
Yes — it’s simple. But do it right:
- Use the correct DOT specification. Check the reservoir cap — it will say DOT 3, DOT 4, or DOT 5.1. Use exactly what’s specified. (DOT 5 is silicone-based and NOT interchangeable — but it’s rare in regular cars.) DOT 4 can usually replace DOT 3, but never go the other direction.
- Use fresh fluid from a sealed container. Brake fluid absorbs moisture from the air aggressively — an opened bottle that’s been sitting in your garage for a year is compromised. Buy a small fresh bottle.
- Keep it clean. Wipe the reservoir cap before opening, don’t let dirt in, and don’t overfill past MAX.
- Don’t spill it on paint. Brake fluid eats paint. If you drip, wipe immediately with a damp cloth.
And remember: topping off treats the symptom. If the level was low, figure out why before you consider the job done.
Brake Fluid Color: What It Means
While you’re checking the level, check the color — it tells you about fluid age and condition:
- Clear to light amber: Fresh and healthy. This is what you want to see.
- Medium amber to light brown: Aging but serviceable. Plan a fluid change at your next service.
- Dark brown to black: Contaminated and overdue for replacement. Old fluid absorbs moisture, which lowers its boiling point — under hard braking, it can literally boil, causing brake fade when you need brakes most.
Fluid color diagnosis isn’t unique to brakes, by the way — transmission fluid tells a similar story through its color. Here’s what color transmission fluid should be if you want to extend your fluid-reading skills.
How Often Should Brake Fluid Be Changed?
Most manufacturers recommend changing brake fluid every 2-3 years, regardless of mileage. This surprises people — “but I barely drive!” Moisture absorption happens with time, not miles. Old, moisture-contaminated fluid corrodes brake components from the inside and reduces braking performance.
A brake fluid change (or “flush”) replaces all the old fluid with fresh. It’s a straightforward shop service, and it’s cheap insurance for your most critical safety system. If your fluid is dark and you can’t remember the last change, you’re overdue.
Warning Signs Beyond the Reservoir
The fluid level is one check; your brakes talk to you in other ways too. Don’t ignore:
- Spongy or soft brake pedal. Air or moisture in the lines. Needs professional attention.
- Brake warning light on the dash. Often triggered by low fluid level — which brings us right back to finding out WHY it’s low.
- Pedal sinking to the floor. Possible master cylinder failure. Do not drive — get it towed.
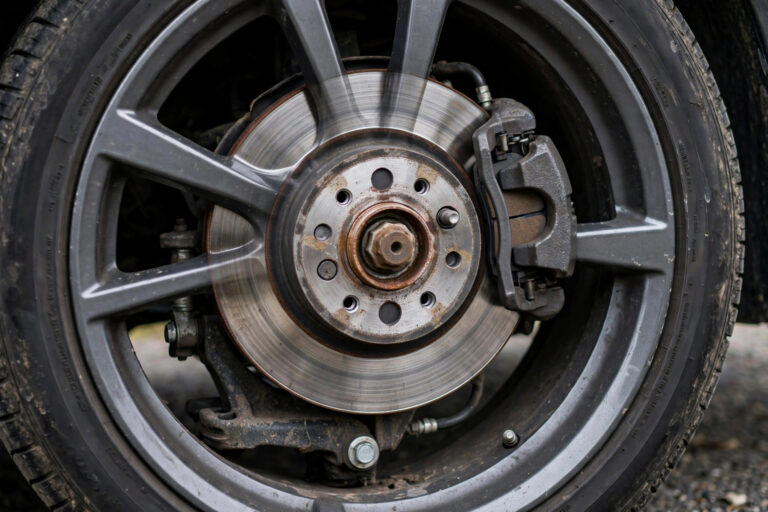
- Pulling to one side when braking. Uneven braking force — could be a stuck caliper, contaminated pads, or a hydraulic issue.
Low fluids across your car deserve the same respect — just as you wouldn’t ignore low brake fluid, don’t ignore other low-fluid warnings either. For context on how seriously to take fluid levels generally, read about driving with low transmission fluid — the principle is the same: low fluid is a symptom, not just a maintenance item.
DOT Ratings Explained Simply
Those “DOT 3” and “DOT 4” markings aren’t marketing — they’re Department of Transportation specifications defining the fluid’s boiling points and chemistry. Here’s what you need to know:
- DOT 3: The longtime standard. Glycol-based, perfectly good for most everyday cars. Lower boiling point than DOT 4.
- DOT 4: Higher boiling point, better for heavier vehicles and spirited driving. Glycol-based like DOT 3, so they’re compatible — DOT 4 can substitute for DOT 3, but not the reverse.
- DOT 5.1: Even higher performance, glycol-based, compatible with DOT 3/4 systems. Common in performance applications.
- DOT 5: The odd one out — silicone-based, NOT compatible with any of the above. Rare in regular passenger cars; don’t mix it in by mistake.
The practical rule: use exactly what your cap specifies. If it says DOT 3, DOT 3 or DOT 4 both work. If it says DOT 4, use DOT 4 or 5.1. Never introduce DOT 5 into a glycol system.
Brake Fluid Change: What to Expect at the Shop
A brake fluid flush is straightforward: the shop removes old fluid from the reservoir, then bleeds fresh fluid through each brake line starting from the wheel farthest from the master cylinder, until clean fluid flows at every corner. The whole service typically takes under an hour.
What should you watch for? A reputable shop will show you the old fluid’s color, use the correct DOT spec, and properly bleed the system afterward — air in brake lines causes a spongy pedal, so thorough bleeding is non-negotiable. If your pedal feels soft after a fluid service, take it straight back.
As for interval: every 2-3 years is the standard recommendation regardless of mileage, because moisture absorption is a function of time. If you live in a humid climate, lean toward the shorter end. It’s inexpensive preventive maintenance for the system that keeps you safe.
FAQ
How often should I check my brake fluid level?
Every few months, or whenever you’re under the hood for other checks. It takes five minutes. Also check immediately if your brake warning light comes on or the pedal feels different.
Can I drive with low brake fluid?
A slightly low level from normal pad wear isn’t an emergency, but you should top it off and investigate. A rapidly dropping level or a brake warning light means get it inspected promptly — don’t take chances with brakes.
What happens if brake fluid is too old?
Old fluid absorbs moisture, which lowers its boiling point and causes internal corrosion. Under hard or sustained braking, moisture-laden fluid can boil, creating vapor bubbles that compress — resulting in a spongy pedal or brake fade. Change it every 2-3 years.
Can I mix DOT 3 and DOT 4 brake fluid?
DOT 4 can generally be used where DOT 3 is specified (it’s a higher spec), but don’t put DOT 3 where DOT 4 is required. Never mix in DOT 5 (silicone-based) with DOT 3/4/5.1 (glycol-based). When in doubt, use exactly what the cap specifies.
Why is my brake fluid level dropping with no visible leak?
The most common “invisible” cause is normal brake pad wear — as pads thin, caliper pistons extend and the system holds more fluid, lowering the reservoir level. If the drop is faster than gradual pad wear would explain, have the system pressure-tested for internal leaks (like a failing master cylinder seal).