How to Check Coolant Level in Your Car (The Right Way)

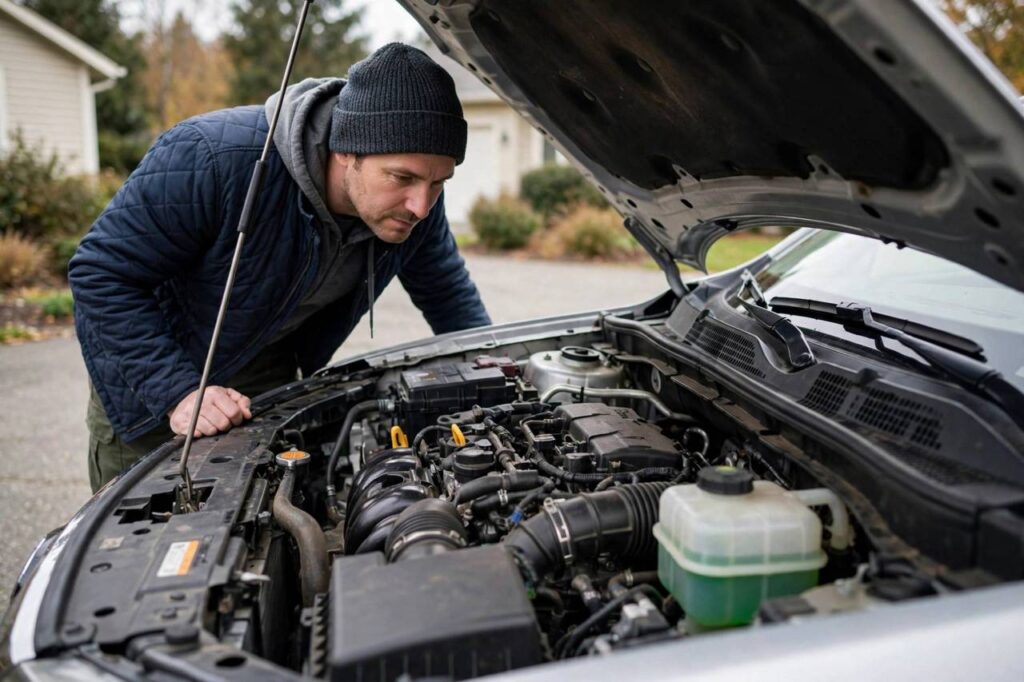
Here’s the thing about coolant: nobody thinks about it until the temperature gauge starts climbing and that little warning light ruins your morning. I get it — popping the hood feels like a mechanic’s job, but knowing how to check coolant level is genuinely one of the easiest maintenance checks you can do. It takes about two minutes, requires zero tools, and can save you from an overheated engine and a repair bill that’ll make your eyes water. Let me walk you through it the way I’d show a neighbor standing in my driveway.
Why Checking Your Coolant Level Actually Matters
Your engine generates an enormous amount of heat every time you drive — we’re talking temperatures that would melt metal if left unchecked. Coolant (also called antifreeze) circulates through the engine, absorbs that heat, and releases it through the radiator. It’s a simple system, but it only works if there’s enough fluid in it.
When the coolant level drops too low, a few bad things start happening in sequence. First, air pockets form in the cooling system, which means hot spots develop on engine components. Then the temperature gauge starts creeping upward. Ignore it long enough and you’re looking at a warped cylinder head, a blown head gasket, or in the worst case, a seized engine. I’ve seen a $20 jug of coolant turn into a $2,000 repair because someone kept driving with the warning light on. Don’t be that person.
Low coolant usually means one of two things: normal evaporation over time, or a leak somewhere in the system. Either way, catching it early during a routine check is the whole point. Most manufacturers recommend checking your coolant level every time you check your oil — roughly once a month or before any long road trip.
What You’ll Need Before You Start
The good news: almost nothing. Here’s the short list:
- A cool engine (this is non-negotiable — more on that below)
- A rag or paper towel
- Good lighting, or your phone’s flashlight
- The correct coolant for your car if you need to top up (check your owner’s manual)
That’s it. No jack, no tools, no crawling under the car. If you’re buying coolant for a top-up, grab the type specified in your owner’s manual — coolants come in different formulas (often color-coded green, orange, pink, or blue), and mixing the wrong types can cause gelling or corrosion. When in doubt, the owner’s manual wins.
Step-by-Step: How to Check Coolant Level
Follow these steps in order and you’ll have it nailed on the first try.
Step 1: Make sure the engine is completely cool
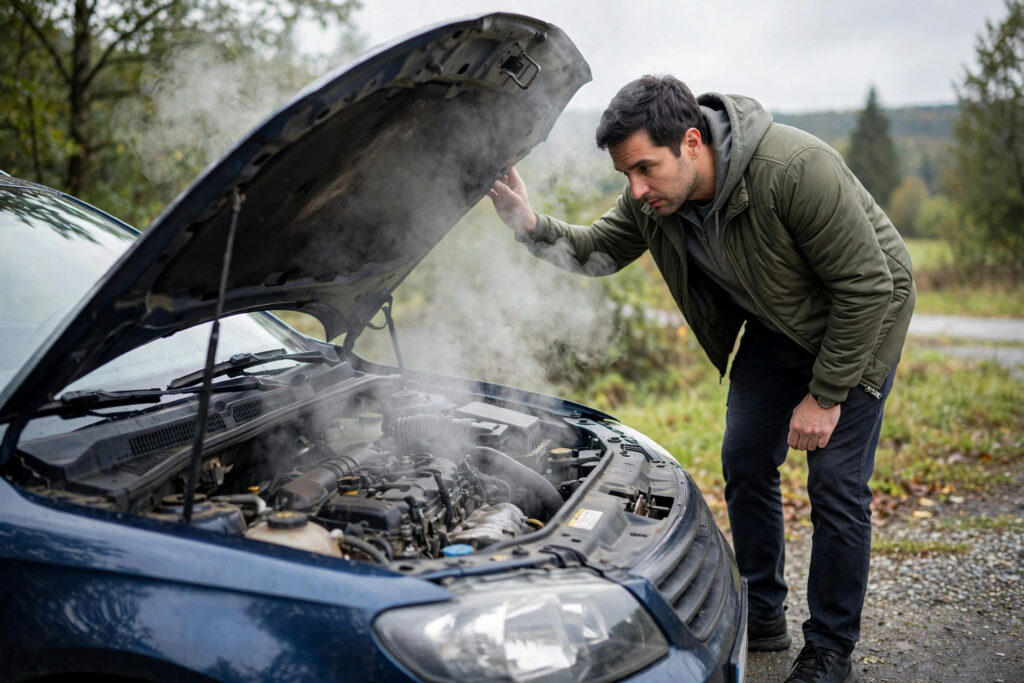
This is the most important step, so I’m saying it twice. Never, ever open the cooling system when the engine is hot or even warm. The system is pressurized, and hot coolant can spray out and cause serious burns. Wait at least 30 minutes after driving — an hour is better. The engine should be cool to the touch.
Step 2: Pop the hood and find the coolant reservoir
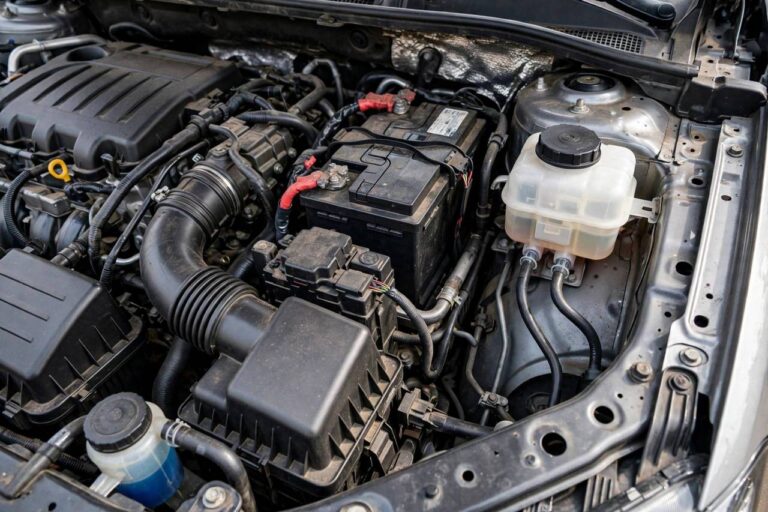
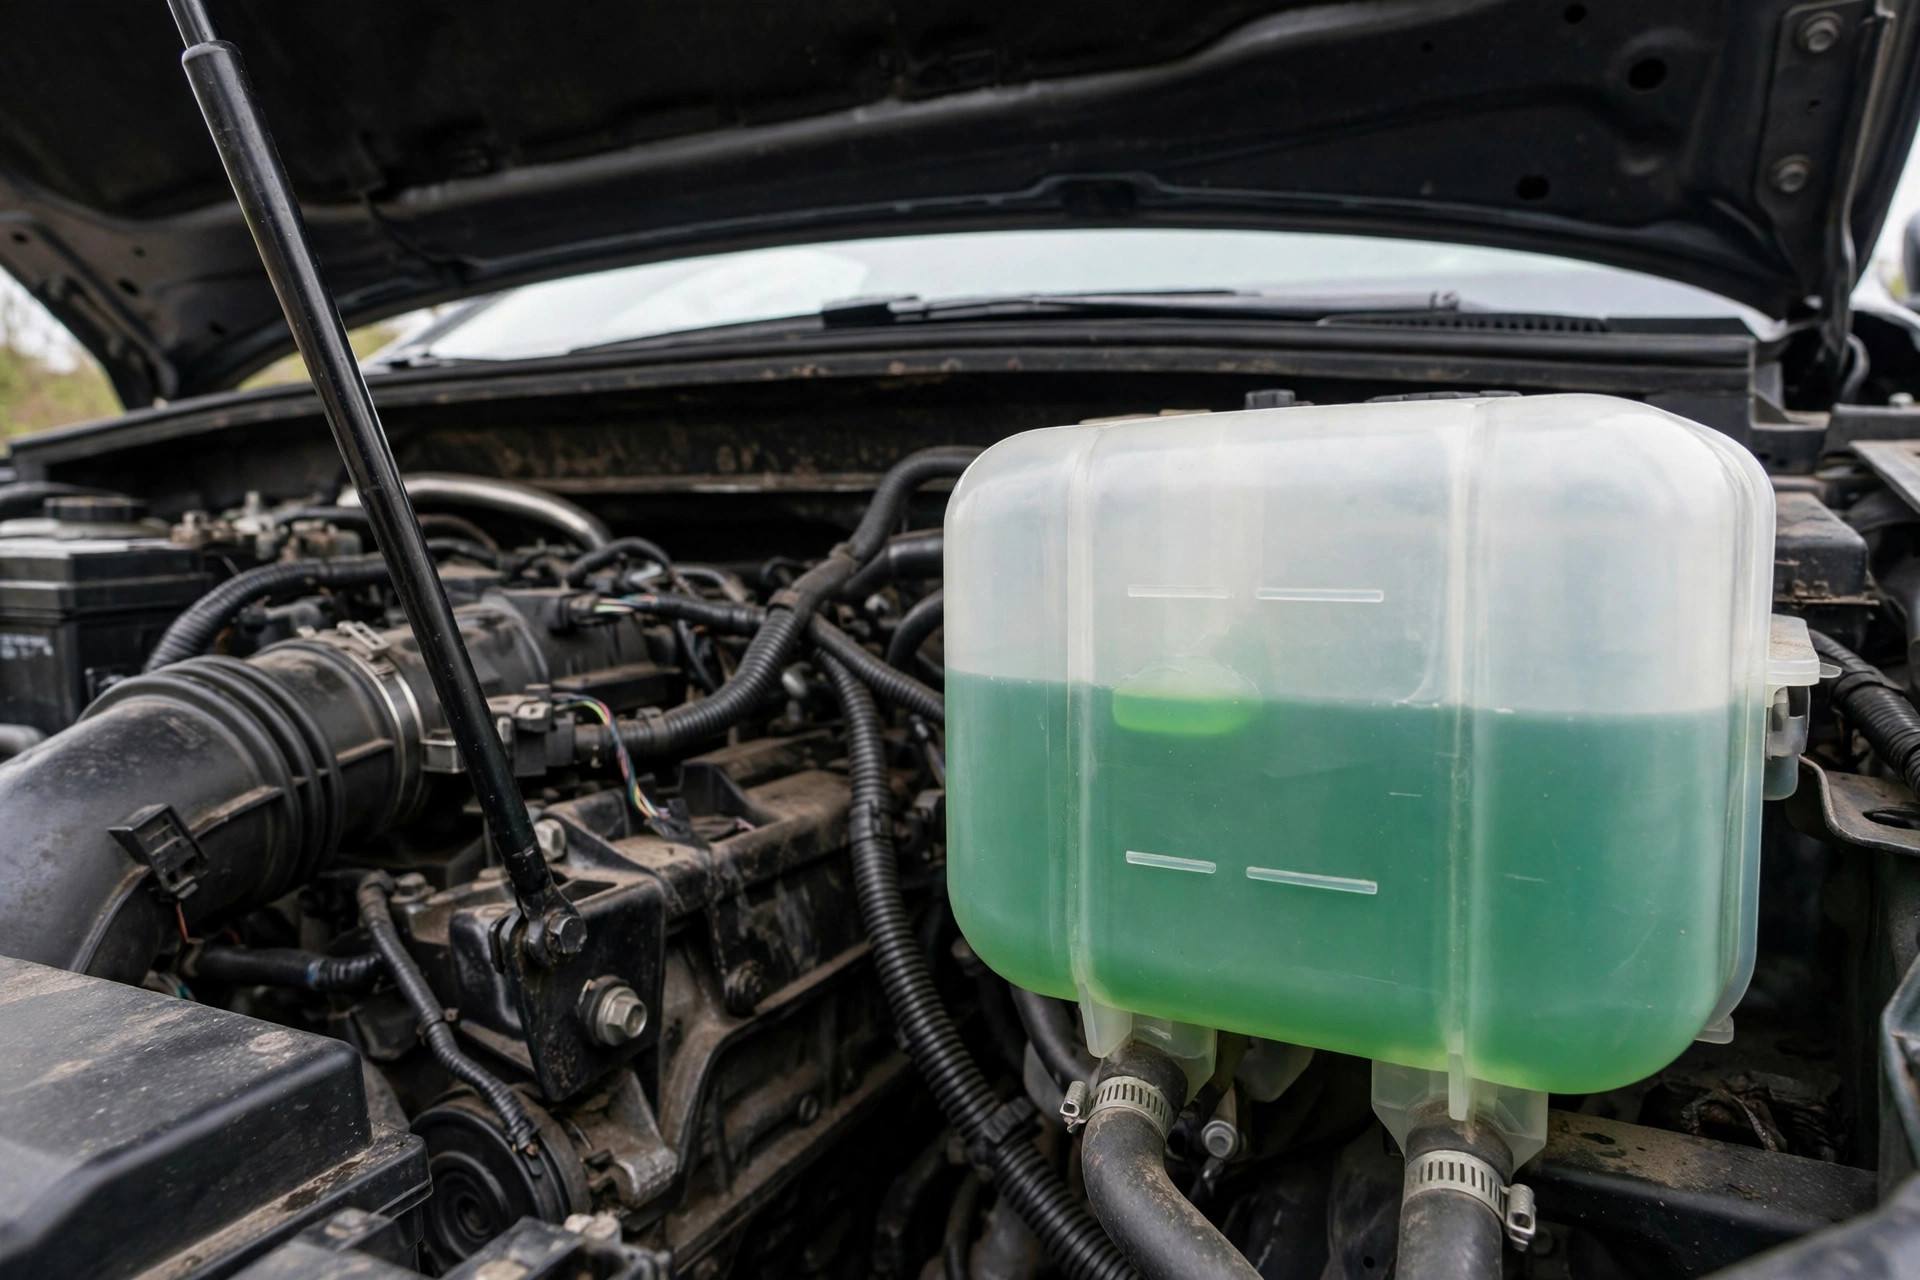
Look for a translucent plastic tank mounted near the radiator or on the side of the engine bay. It’s usually labeled with a thermometer-in-liquid symbol, and the coolant inside is brightly colored — green, orange, pink, or blue depending on the formula. If you’re having trouble finding it, your owner’s manual has a diagram of the engine bay with everything labeled.
Step 3: Check the level against the MIN and MAX marks
The reservoir will have LOW/MIN and FULL/MAX lines molded into the plastic. The coolant level should sit between these two marks. If it’s at or below MIN, you need to add coolant. If it’s between the marks, you’re good — close the hood and go enjoy your day.
Step 4: Inspect the condition of the coolant
While you’re looking, take a second to notice the color and clarity. Healthy coolant looks like its original bright color — clear and vibrant. If it looks brown, rusty, murky, or has floating particles, that’s a sign it’s old or contaminated, and the system is due for a flush. Clean coolant, correct level — that’s the combination you want.
Step 5: Check the radiator hoses (bonus step)
Since you’re already under the hood, give the radiator hoses a quick squeeze. They should feel firm but flexible. If a hose feels mushy, cracked, or swollen, make a note to have it replaced — a blown hose dumps all your coolant at once and strands you on the side of the road.
What to Do If Your Coolant Level Is Low
Found the level below the MIN mark? Don’t panic, but don’t ignore it either. Here’s the playbook:
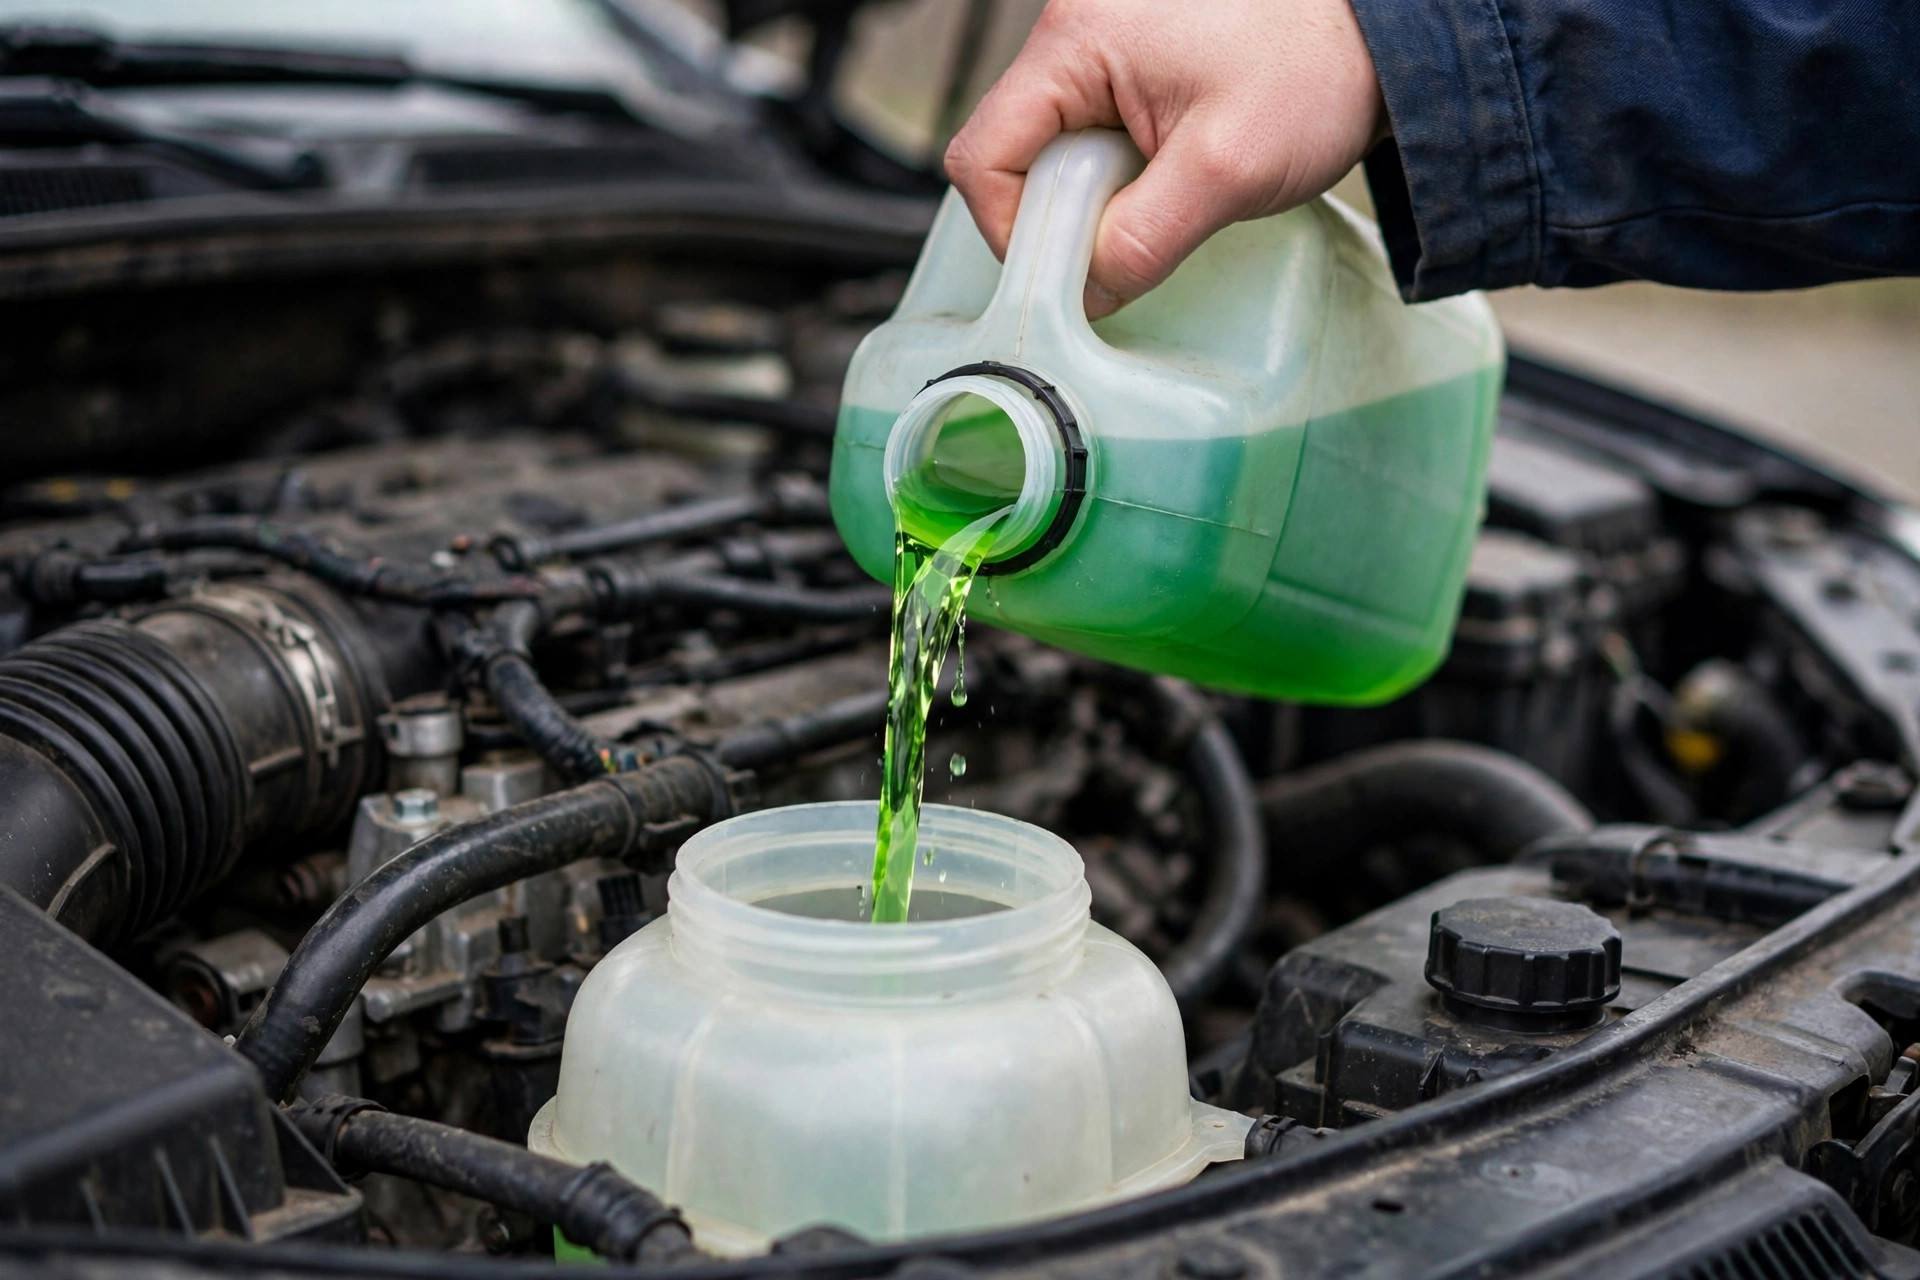
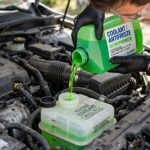
- Top it up. Unscrew the reservoir cap (only on a cool engine), and pour in the correct coolant until the level reaches the FULL/MAX line. Don’t overfill — the fluid needs room to expand when it heats up.
- Check for leaks. Look under the car for puddles or drips, and inspect the hoses and radiator for wet spots or white/pink crusty residue (dried coolant). A sweet smell after driving is another classic sign of a coolant leak.
- Monitor it. If you top it up and the level drops again within a few days or weeks, you’ve got a leak that needs attention. Slow leaks often show up at hose clamps, the water pump, or the radiator itself.
- See a mechanic if needed. If you can’t find the source of the loss, or if the coolant looks contaminated, get it checked. A pressure test of the cooling system will find leaks fast.
If you want to understand what coolant actually does inside your engine beyond the basics, my guide on what coolant does in a car goes deeper into the whole system.
Common Mistakes People Make When Checking Coolant
After years of helping friends with their cars, I’ve seen the same handful of mistakes over and over. Learn from their pain:
- Opening the radiator cap instead of the reservoir cap. Modern cars have a pressurized overflow reservoir — that’s where you check and top up. The radiator cap itself is a separate component and should generally be left alone unless you’re doing a full service.
- Checking on a warm engine. I keep repeating this because people keep doing it. Hot coolant under pressure is genuinely dangerous. Cool engine only.
- Mixing coolant types. That half-empty jug of green coolant from 2019 might not belong in your car that takes pink. Different formulas have different additive packages, and mixing them can reduce protection or cause sludge. Match what’s in the manual.
- Using plain water as a permanent fix. Topping up with distilled water in an emergency is fine, but water alone doesn’t protect against freezing or corrosion, and it dilutes the antifreeze concentration. Get the proper mix in there as soon as you can.
- Ignoring repeated low levels. Topping up once and forgetting about it is human nature. But coolant doesn’t just disappear — if it’s low again soon, something is wrong. Track it.
How Often Should You Check Your Coolant Level?
Once a month is the sweet spot for most drivers, and always before a long trip. It pairs naturally with your oil check — do them together and it becomes a two-minute habit. A full coolant flush and replacement is a separate job, typically every 30,000 to 60,000 miles or every few years depending on your car and coolant type, but that’s a different maintenance item from this simple level check.
Speaking of routine checks, if you’re building a regular under-the-hood habit, pairing this with knowing how often to change your engine oil covers the two fluids that matter most for engine health.
Coolant Level vs. Coolant Condition: Why Both Matter
Here’s something a lot of drivers miss: the level being fine doesn’t mean the coolant is doing its job. Coolant’s protective additives break down over time. After a few years, the fluid that once prevented freezing down to minus thirty and boiling past the normal limit has lost much of that ability. The pH shifts, corrosion inhibitors wear out, and the inside of your engine, radiator, and water pump start taking damage you can’t see.
This is why the level check I just walked you through and a proper coolant flush are two different jobs. The level check is your monthly two-minute habit. The flush is a bigger service — draining the old fluid, cleaning out deposits, and refilling with fresh coolant — typically done every 30,000 to 60,000 miles depending on your car and the coolant type. Check your maintenance schedule in the owner’s manual for the exact interval.
A quick smell test is a decent field check: fresh coolant has a mildly sweet smell, while badly degraded coolant smells burnt or sour. It’s not a scientific test, but combined with the visual check — clean color, correct level — it gives you a solid read on whether your cooling system is in good shape or overdue for service.
FAQ
Can I check coolant level when the engine is warm?
No — wait until the engine is completely cool. The cooling system is pressurized when hot, and opening it can release scalding coolant. Give it at least 30 minutes after driving, or check it first thing in the morning before starting the car.
What color should my coolant be?
It depends on the formula your car uses — green, orange, pink, blue, or yellow are all normal. What matters is that it looks clean and matches its original color. Brown, rusty, or murky coolant means it’s degraded and the system needs a flush.
Is it safe to drive with low coolant?
Not for long. A slightly low level might get you to the auto parts store for a top-up, but driving with the coolant warning light on or an overheating engine risks serious damage like a blown head gasket. Top it up first, then drive.
Can I just use water instead of coolant?
Only as a temporary emergency measure. Water doesn’t prevent freezing in winter, doesn’t raise the boiling point in summer, and doesn’t protect against corrosion. Refill with the proper coolant mixture as soon as possible.
Why does my coolant keep getting low?
The most common causes are a leak in a hose, the radiator, the water pump, or the heater core — or, in more serious cases, an internal leak like a failing head gasket. If you’re topping up more than once between services, have the cooling system pressure-tested to find the source.