How to Change a Flat Tire Safely: Step-by-Step Guide


Knowing how to change a flat tire safely is one of those skills you hope you never need and deeply regret not having at 11 p.m. on a dark shoulder. I spent ten years around cars — first turning wrenches in a repair shop, now writing about them — and I have changed more tires than I can count, in driveways, parking lots, and on the side of highways where eighteen-wheelers were close enough to rattle my teeth. The mechanical part is simple. The safety part is what most guides rush past, and it is the part that actually matters. A tire change done wrong can drop a two-ton car on you. Done right, it is a twenty-minute job.
This guide covers the full sequence the way I teach it: where to stop, how to set up so the car cannot move or fall, the lug nut order, jack placement, spare limitations, and the mistakes I have watched people make. Read it once now, in your driveway, and you will be calm instead of panicked when it counts.
How to Change a Flat Tire Safely: Before You Touch Anything
Safety starts before the jack comes out. Where you stop and how you secure the car matters more than anything you do with the wrench.
Where to stop
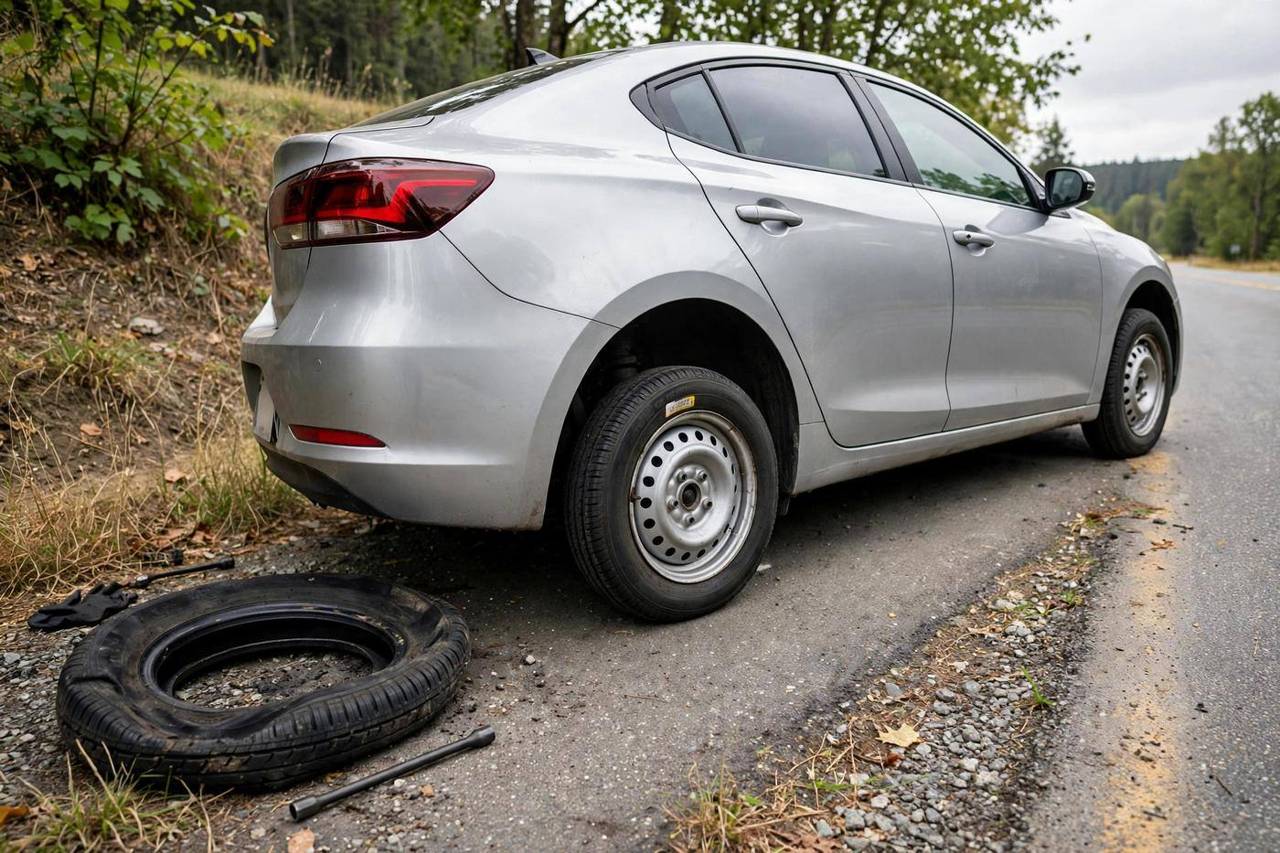
Get as far off the road as physically possible — a parking lot, a wide shoulder, a side street. Never change a tire on a narrow shoulder with traffic whipping past if you can limp another quarter mile to somewhere safer; a flat tire driven slowly for a short distance costs you a tire, but a car clipped by traffic costs much more. Park on flat, solid, level ground. A jack on soft dirt, gravel, or a slope is an accident waiting to happen — the car can shift and slide right off it.
Turn the hazard lights on immediately and keep them on the whole time. If you have reflective triangles or flares, put them out behind the car. At night, keep your headlights on if the battery allows — visibility is survival.
Secure the car
Put the car in Park (automatic) or first gear (manual) and engage the parking brake hard. Then wedge something behind the wheels — a rock, a chunk of wood, even a shoe — on the opposite side of the car from the flat, both in front of and behind a good tire. This is called chocking, and it is the step everyone skips and nobody should. A car in Park on a slight grade can still roll.
Get every passenger out of the car and well away from the road — behind a guardrail if there is one. No one sits in a car that is about to go up on a jack.
Find your gear
Your spare, jack, and lug wrench live in the trunk — usually under the floor panel, sometimes mounted on the side or underneath the vehicle on trucks and SUVs. Check now, in your driveway, not on the shoulder: is the spare inflated? Is the jack actually there? Is there a wheel lock key if your car uses locking lug nuts? Finding out the lock key is missing at midnight is a special kind of misery. While you are at it, confirm what kind of spare you have — a full-size spare, a compact “donut,” or, on some newer cars, no spare at all, just an inflator kit. That changes everything below.
The Step-by-Step Tire Change
Step 1: Loosen the lug nuts — before you jack. This is the order people get backwards. With the car still on the ground, fit the lug wrench on a nut and loosen each one about a half turn counterclockwise. Do not remove them yet — just break them free. The ground holds the wheel still; once the car is in the air, the wheel will just spin.
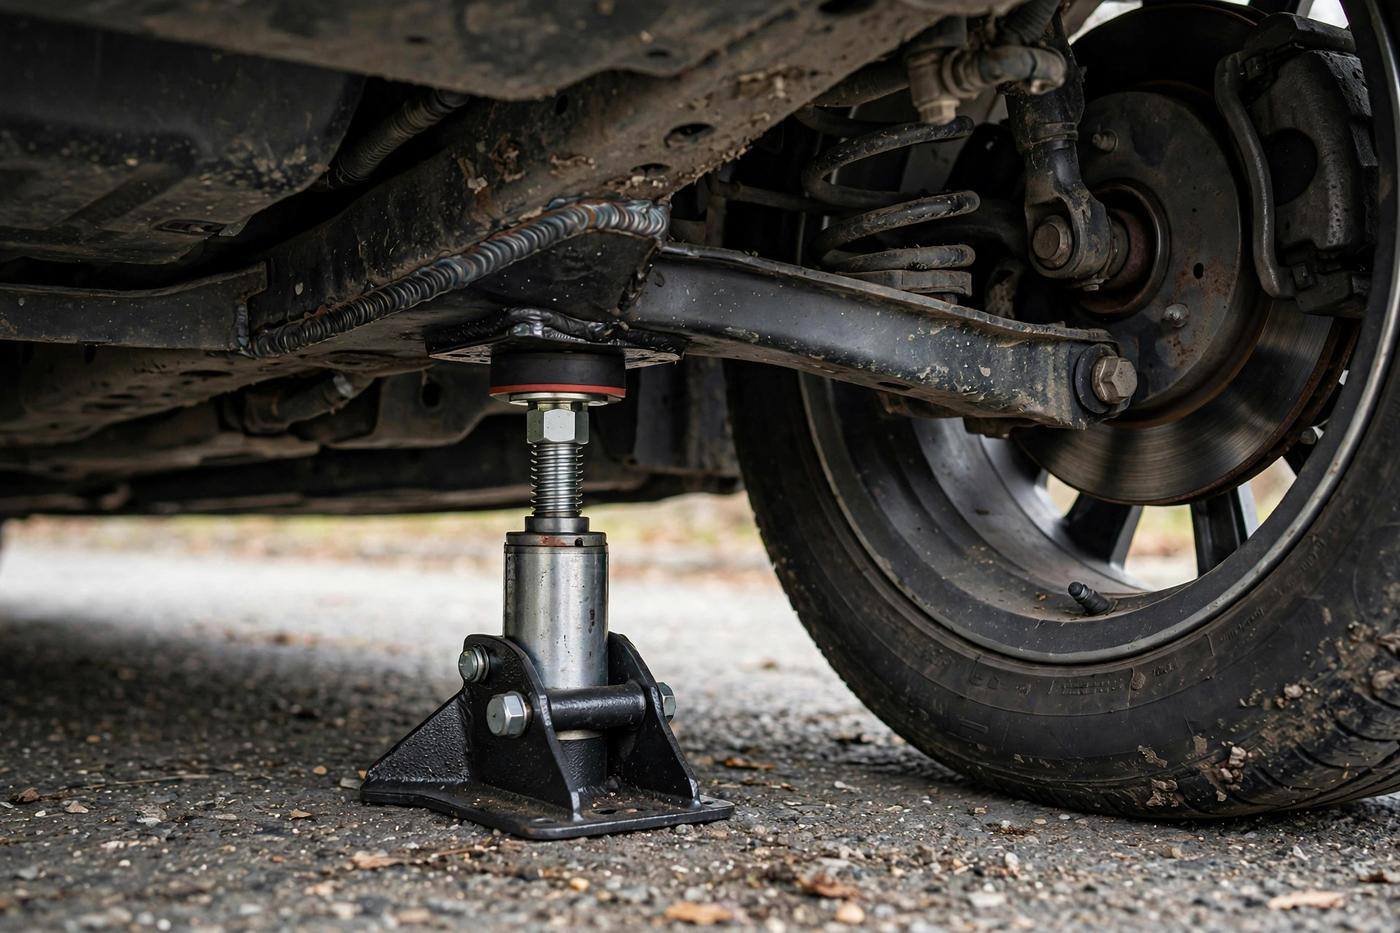
Step 2: Position the jack correctly. Your owner’s manual shows the exact jack points — reinforced spots on the frame or pinch welds, usually just behind the front wheels or ahead of the rear wheels. This matters enormously: jacking on the wrong spot can punch through the floor pan or damage the rocker panel. Place the jack, and raise the car slowly until the flat tire is just off the ground — no higher than necessary. The higher the car, the less stable it is.
Step 3: Remove the lug nuts and the wheel. Finish unscrewing the nuts by hand and put them somewhere they cannot roll away — a hubcap, your pocket, the trunk floor. Grip the tire with both hands and pull it straight toward you. Wheels can be heavy and sometimes stuck to the hub with corrosion; a firm kick to the tire’s sidewall (never the rim) usually breaks it free.
Step 4: Mount the spare. Line up the spare’s holes with the wheel studs and push it on. Thread the lug nuts back on by hand — hand-tight only at this stage, and make sure they go on straight. Cross-threaded lug nuts are a nightmare; if a nut resists, back it off and try again.
Step 5: Lower the car, then tighten in a star pattern. Lower the jack until the spare just touches the ground with some weight on it — enough to stop the wheel spinning. Now tighten the nuts in a star (crisscross) pattern, not in a circle: tighten one, skip one, tighten the next. This seats the wheel evenly against the hub. Then lower the car fully, remove the jack, and give each nut a final firm tighten in the same star pattern. If your nuts have specific torque specs and you own a torque wrench, use it — proper lug nut torque is what keeps wheels attached at highway speed. Otherwise, firm and even with the car’s wrench is fine for getting you to a shop.
Step 6: Stow everything and check. Put the flat, jack, and wrench back in the trunk. Double-check the spare’s pressure if you have a gauge. Drive carefully to the nearest tire shop — and I mean carefully, because of what comes next.
Spare Tire Limits: What Your Spare Can and Cannot Do
A compact donut spare is a temporary solution, and the limits are real: typically 50 mph maximum and 50 to 70 miles of range. It is narrower, lighter, and handles nothing like your real tire — braking distances grow, cornering grip drops, and in rain it is genuinely sketchy. The donut exists to get you to a tire shop, not to get you through the week. Full-size spares have no such limits, but check their age: a spare that has baked in a trunk for eight years may look fine and be dangerously degraded. Rubber ages even when it is not rolling.
No spare at all? Many newer cars ship with only a tire inflator and sealant kit. Those work for simple punctures in the tread — they do not work for sidewall damage, blowouts, or large gashes. Know which situation you are in before you waste twenty minutes on sealant that cannot help. And if the damage is a small tread puncture, a tire plug kit can be a legitimate roadside fix — but it is still a get-to-the-shop fix, not a permanent repair.
The Mistakes That Get People Hurt
Jacking on soft or sloped ground. The number-one danger. If the ground is soft, put a wide flat board under the jack to spread the load. If the ground slopes, do not jack there — call for help instead.
Getting under the car. Never, ever put any part of your body under a car supported only by the emergency jack. Those jacks are for tire changes, not for crawling underneath. If you need to be under the car, that is a jack-stands-in-a-garage job.
Forgetting the parking brake. I have watched a car roll off a jack because someone skipped this. Park, brake, chocks — every time, no exceptions.
Over-tightening or under-tightening lug nuts. Under-tightened nuts can work loose; over-tightened ones can snap studs or warp brake rotors. Star pattern, firm and even.
Driving on the flat to “just get home.” A few hundred yards at walking pace to reach safety is one thing. Miles at speed destroys the tire, the wheel, and possibly the suspension — and a shredded tire at speed is how blowouts happen.
After the Change: What to Do Next
Get to a tire shop promptly — today, not next week. Have the spare’s pressure checked and the lug nuts re-torqued after about 50 miles of driving; nuts can settle and loosen slightly. Get the flat inspected: many punctures in the tread area are repairable, which is far cheaper than a new tire. And make this a habit: check your tire pressure monthly with a gauge. Under-inflation is the leading cause of blowouts, and it is also silently costing you fuel and tire life. Five minutes a month prevents the whole roadside drama.
Frequently Asked Questions
How long does it take to change a flat tire?
About 15 to 30 minutes once you know the process — longer the first time, faster with practice. Most of that time is setup and safety: securing the car, finding the jack points, and tightening properly. Rushing is how mistakes happen, so do not time yourself against anything.
Can I drive on a donut spare on the highway?
Only cautiously and briefly. Donut spares are typically limited to 50 mph and 50 to 70 miles. They handle poorly compared to a full tire — longer braking, less grip, worse in rain. Use the donut to reach the nearest tire shop, stay in the right lane, and avoid sudden maneuvers.
What is the star pattern for lug nuts?
Instead of tightening lug nuts in a circle, tighten them in a crisscross sequence: tighten one nut, skip the next, tighten the following one, and continue around until all are snug, then repeat for the final tighten. This seats the wheel evenly against the hub and prevents warping. On a 5-lug wheel the pattern looks like a star.
Where is the jack point on my car?
Jack points are reinforced spots on the vehicle’s frame, usually on the pinch weld just behind the front wheels or just ahead of the rear wheels. The exact locations are shown in your owner’s manual with diagrams. Never jack on the floor pan, plastic panels, or suspension components — the jack can punch through or slip.
Should I call roadside assistance instead of changing it myself?
Call for help if you are on a dangerous stretch of road with no safe place to stop, if the ground is soft or sloped, if you lack the tools or a usable spare, or if you are ever unsure. There is no shame in it — roadside assistance exists precisely for situations where a DIY change would be unsafe.