How to Back Up Google Photos: Never Lose a Memory Again

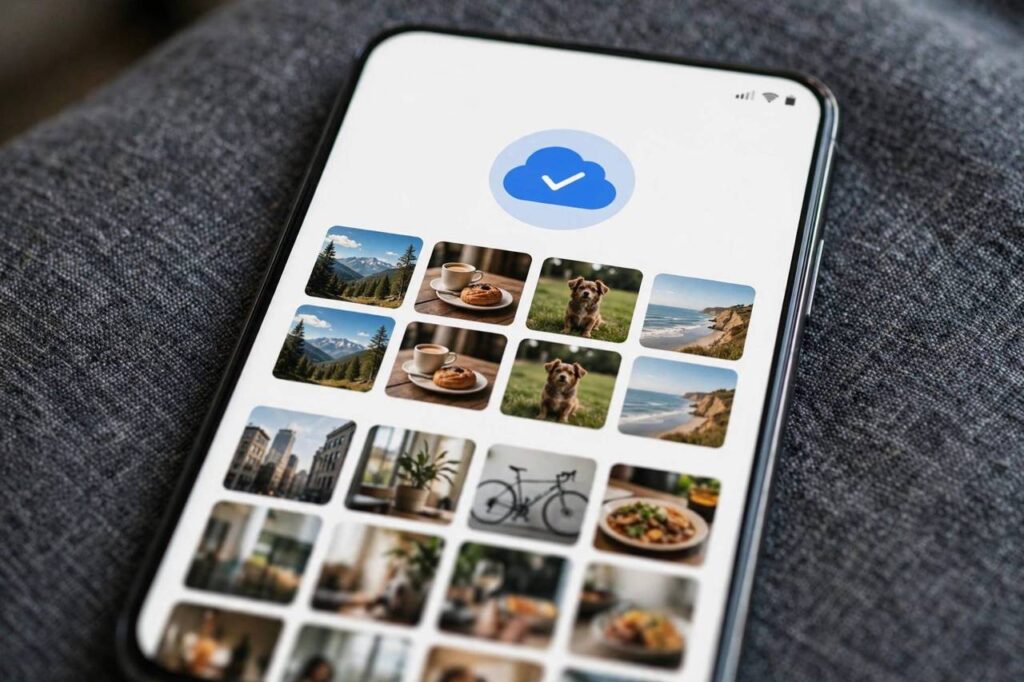
Your photos are probably the most irreplaceable data you own — which is why learning how to back up Google Photos matters so much. Documents can be re-downloaded, apps reinstalled — but the photo of your kid’s first steps, that sunset from the trip, your grandmother’s smile? Those exist in exactly one place unless you’ve backed them up. Let’s make sure they’re safe.
Google Photos is one of the easiest backup systems ever made — when it’s set up correctly. I’m going to walk you through exactly how to back up Google Photos on every device, explain the storage situation honestly, and show you how to verify your memories are actually protected. No tech expertise required.
What Google Photos Backup Actually Does
When backup is enabled, every photo and video you take is automatically uploaded to your Google account’s cloud storage. It’s set-and-forget: snap a photo, and within minutes (on Wi-Fi), a copy lives safely on Google’s servers — even if your phone is lost, stolen, or dropped in a lake the next day.
The backup also unlocks the good stuff: your photos become searchable (“show me beach photos from 2023”), organized into albums and memories automatically, and accessible from any device — phone, tablet, computer — just by signing into your Google account.
Important distinction: Google Photos backup copies your photos to the cloud. It doesn’t remove them from your phone (though it can, with a feature called “Free up space” — more on that below).

How to Back Up Google Photos on Android
- Install Google Photos if it’s not already on your phone (most Android phones include it).
- Open the app and sign in with your Google account.
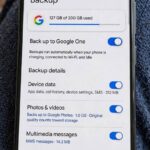
- Tap your profile picture (top right) → Photos settings → Backup.
- Toggle “Backup” ON. That’s the big one — this single switch starts automatic backup.
- Choose your backup quality:
- Storage saver: Slightly compressed photos (still excellent quality for viewing and printing normal sizes), videos at 1080p. Uses much less storage.
- Original quality: Full resolution, untouched. Uses significantly more storage — worth it for photographers and anyone who prints large.
- Set upload preferences: Choose “Wi-Fi only” to avoid mobile data usage, or allow cellular if you want instant backup everywhere. Enable “Back up while roaming” only if you understand the data costs.
- Select device folders to back up: By default, only the camera folder backs up. If you want screenshots, WhatsApp images, or downloads backed up too, enable those folders individually in Backup settings.
How to Back Up Google Photos on iPhone
iPhone users: Google Photos works beautifully on iOS as a complement to (or replacement for) iCloud Photos.
- Install Google Photos from the App Store and sign in.
- Grant photo access: When prompted, allow access to all photos. (Settings → Privacy → Photos → Google Photos → Full Access, if you need to adjust later.)
- Enable backup: Tap your profile picture → Photos settings → Backup → toggle ON.
- Keep the app open initially. iOS restricts background activity more aggressively than Android — for the first big backup, leave Google Photos open and your phone unlocked and charging. Subsequent incremental backups happen much more smoothly in the background.
- Same quality and folder choices as Android above.
Using both iCloud and Google Photos? That’s actually a solid belt-and-suspenders strategy — two independent cloud copies. Here’s how to back up an iPhone fully, covering the whole device beyond just photos.
How to Back Up Google Photos from a Computer
For photos living on your computer — from cameras, scanners, old phones:
- Use the web uploader: Go to photos.google.com, sign in, and drag-and-drop files or folders directly into the browser. Simple, no software needed.
- Use Google Drive for Desktop: Install it, and you can sync specific computer folders to Google Photos automatically. Good for ongoing camera imports.
- Organize as you upload: Create albums during or after upload — “2024 Family Trip,” “Scanned Old Photos,” whatever makes sense. Future you will be grateful.
Understanding Google Storage (The Honest Version)
Here’s what surprises people: Google Photos backup uses your shared Google storage — the same 15 GB free pool shared across Gmail, Google Drive, and Google Photos. Photos aren’t a separate free bucket anymore.
- 15 GB free covers a casual photo collection for a while, especially on Storage saver quality.
- When you run out, backup simply stops — silently, which is dangerous. Check your storage periodically at one.google.com/storage.
- Google One plans add storage cheaply (100 GB is typically a couple of dollars a month). For most families, this is the simplest answer.
- Storage saver vs. Original: This choice dramatically affects how far your storage goes. Storage saver compresses intelligently — for viewing on screens and standard prints, most people genuinely can’t tell the difference.
My practical advice: start with Storage saver quality and the free 15 GB. When you approach the limit, decide between the small monthly plan (simplest) or a cleanup (freeing up space by deleting duplicates, screenshots, and blurry shots).
Verify Your Backup Is Actually Working
Setting up backup and ASSUMING it works are different things. Verify:
- Check the backup status in the app: profile picture → it shows “Backup complete” or “Backing up X items.” If it says backup is off or stuck, investigate.
- Spot-check from another device: Take a photo on your phone, wait a few minutes (on Wi-Fi), then check photos.google.com on your computer. See the photo? Backup works.
- Watch for the silent killers: Battery optimization killing the app in the background, “Wi-Fi only” upload with no Wi-Fi for days, full Google storage, or revoked photo permissions after an OS update. Any of these stops backup without obvious warnings.
- Do this check quarterly. Put a recurring reminder on your calendar. Five minutes, four times a year, total peace of mind.
“Free Up Space”: Reclaiming Phone Storage Safely
Once your photos are safely backed up, Google Photos offers “Free up space” — it deletes the local copies from your phone, keeping only the cloud versions. This can reclaim gigabytes.
It’s safe IF your backup is verified complete first. Check that backup status shows complete, spot-check a few recent photos on the web, THEN free up space. The cloud copies remain fully accessible in the app — they just download on demand when you view them.
One caution: if you ever leave Google’s ecosystem, download your library first via Google Takeout. Your photos are yours — but they’re easiest to manage while you’re actively in the system.
Backing Up Beyond Google Photos
Google Photos is excellent, but the 3-2-1 backup rule applies to memories too: three copies, two different media types, one offsite. Consider:
- Your phone’s native backup (iCloud or Android backup) as a second cloud copy. Here’s how to back up an Android phone completely.
- An annual external drive archive: Once a year, download your full library via Google Takeout to an external hard drive stored somewhere safe. It’s your offline insurance policy.
- Print the irreplaceable ones. The ultimate backup is physical. A printed photo survives dead accounts, forgotten passwords, and obsolete formats. Print your favorites yearly — future generations will thank you.
Organizing Years of Photos (Without Losing Your Mind)
Backup is step one; finding photos later is step two. Google Photos does a lot automatically, but a little human organization goes a long way:
- Let search do the heavy lifting. Google’s image recognition is remarkable — search “dog,” “birthday,” “beach,” or a person’s name (after confirming face groupings) and watch it work. Before manually organizing thousands of photos, try searching.
- Create albums for the big stuff. Trips, holidays, major events — albums you curate deliberately. Don’t try to album everything; album the highlights.
- Confirm face groups. In the People section, label the faces Google has grouped. This turns “show me photos of Mom” from impossible to instant — and it’s the feature grandparents appreciate most.
- Archive the clutter. Screenshots, receipts, memes — they don’t need to be deleted, but archiving them keeps your main timeline clean. Swipe or use the Archive option liberally.
- Delete ruthlessly once a year. Blurry shots, accidental pocket photos, 47 near-identical attempts at the perfect sunset — an annual 20-minute purge keeps your library meaningful instead of overwhelming.
Sharing Photos and Albums
Backup protects your photos; sharing spreads the joy:
- Shared albums: Create an album, invite family members, and everyone can add their photos from the same event. The days of “can you send me those pictures?” are over — wedding and holiday albums practically build themselves.
- Partner sharing: Automatically share all photos (or photos of specific people) with a partner. Set it once; every photo of the kids appears in both libraries forever.
- Share via link: For one-off sharing, generate a link to an album or selection. Anyone with the link can view — no Google account required.
- Privacy check: Review what’s shared periodically. Shared albums persist until you stop sharing — that album from 2019 might still be accessible. Manage sharing in the Sharing tab.
What Google Photos Can’t Do (Know the Limits)
- It’s not unlimited anymore. The free unlimited era ended — everything counts against your 15 GB. Plan accordingly.
- RAW and professional formats: Supported, but they eat storage fast. Photographers should consider whether Original quality is worth the storage cost or whether a dedicated photo service fits better.
- It’s not a full device backup. Google Photos handles photos and videos beautifully, but app data, settings, and messages need your phone’s native backup system too.
- Account access is everything. Your photos are only as safe as your Google account. Strong password, two-factor authentication enabled, recovery options current. Losing account access means losing photo access — protect the account like the memories depend on it, because they do.
FAQ
How to back up Google Photos automatically?
Open Google Photos → profile picture → Photos settings → Backup → toggle ON. Choose your quality (Storage saver or Original) and upload preferences (Wi-Fi only recommended). From then on, new photos and videos upload automatically whenever you’re connected.
Is Google Photos backup free?
The app and backup feature are free, but uploads count against your 15 GB of shared free Google storage (shared with Gmail and Drive). When that’s full, backup stops until you free space or upgrade to a paid Google One storage plan.
What’s the difference between Storage saver and Original quality?
Storage saver slightly compresses photos and limits video to 1080p — quality remains excellent for viewing and normal printing while using much less storage. Original quality keeps every pixel untouched — best for photographers and large prints, but consumes storage much faster.
How do I know my Google Photos backup is complete?
Tap your profile picture in the app — it displays “Backup complete” or shows remaining items. For certainty, take a test photo and confirm it appears at photos.google.com on another device within a few minutes on Wi-Fi.
Does deleting photos from my phone delete them from Google Photos?
It depends on how you delete. Deleting within the Google Photos app removes the photo everywhere (phone + cloud, with 60 days in trash for recovery). Deleting via your phone’s native gallery/files may only remove the local copy. When in doubt, manage deletions inside the Google Photos app so you know exactly what’s happening.