Studio Apartment Layout Ideas for Every Square Foot

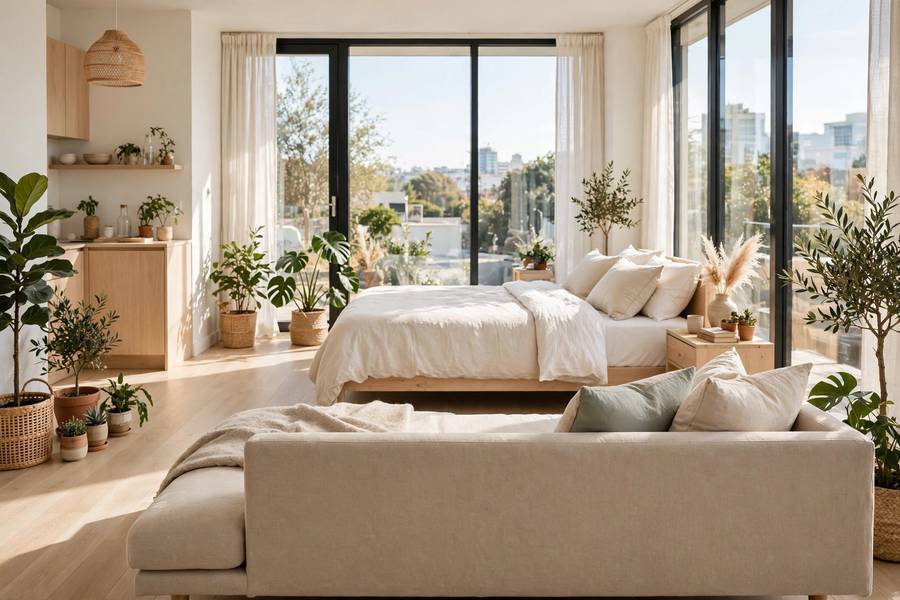
I lived in a 380-square-foot studio for four years, and the first six months were rough. My bed was also my office, my office was also my dining room, and I ate cereal while staring at my unmade bed every single morning. It felt less like an apartment and more like a very expensive hotel room I couldn’t check out of. The turning point wasn’t buying more stuff — it was learning to divide one room into zones that each had a single job.
A studio layout isn’t about square footage. I’ve seen 500-square-foot studios that felt chaotic and 300-square-foot ones that felt calm, and the difference was always zoning: using furniture, rugs, lighting — and once your zones are set, these small apartment decorating ideas make each one look intentional, and a few clever dividers to tell your brain “this corner is for sleeping, that corner is for working.” When every zone has a purpose, the whole place feels bigger, because your mind stops processing it as one crowded room.
Below are the layout ideas that actually worked in my studio and in the dozen or so friends’ studios I’ve helped arrange since. No renovation, mostly renter-friendly, and ordered from the highest-impact changes to the nice-to-have finishing touches.
In this guide:
- The Golden Rule: Zones, Not Walls
- The Sleeping Zone (Protect It Fiercely)
- The Work Zone (Even If You Work From a Laptop)
- The Living Zone (Your ‘Real’ Room)
- Dividers That Don’t Eat Light
- Layouts for Awkward Studio Shapes
- Fitting Storage Into the Layout
The Golden Rule: Zones, Not Walls
Every good studio layout starts with the same exercise: list what you actually do at home, then assign each activity a spot. Most people need four zones — sleep, work, relax, eat — and the classic studio mistake is letting them all bleed together. When your laptop lives on your bed, your brain never fully rests and never fully works. I know because I did it for half a year.
Draw your floor plan on paper (or just pace it out) and block the zones before moving anything. Put the sleeping zone in the darkest, quietest corner — usually farthest from the front door. Put the work zone near the best natural light if you work days. The living zone gets whatever’s left in the middle, and eating happens wherever the kitchen is, even if that’s a two-foot counter with a bar stool.
Then connect the zones with consistent flooring or a clear walking path. You need at least 24 inches of clearance for main walkways, 30 if you can manage it. Nothing kills a studio layout faster than squeezing sideways between your bed and your desk every morning. Measure your furniture, tape the outlines on the floor with painter’s tape, and walk the paths before you commit. Your shins will thank you. Then read this guide to how to organize a small apartment before you buy a single storage bin.
The Sleeping Zone (Protect It Fiercely)
Your bed is the biggest thing in a studio, so where it goes decides everything else. The best spot is usually against the farthest wall from the entrance, ideally in a corner or alcove. Corner placement saves roughly 15 square feet of circulation space compared to floating the bed in the middle of the room, and in a studio, 15 square feet is a luxury.
If your studio has an alcove or L-shaped nook, congratulations — that’s your bedroom. Even a shallow 7-foot-deep alcove fits a queen bed with room to walk around one side. Hang a curtain across the opening and you have a genuine separate bedroom feel for the price of a tension rod. I did this in year two and it changed my sleep: seeing the bed disappear behind a curtain at night told my brain the day was over.
When there’s no alcove, create the feeling of one. A headboard — even a simple upholstered panel — visually anchors the bed as its own zone. Add a rug that extends under the bed and a bedside lamp instead of the overhead light, and your sleeping corner starts reading as “bedroom” rather than “bed in a room.” Keep work stuff out of this zone entirely. No laptop on the nightstand, no mail pile on the dresser. This boundary matters more than any furniture choice.
Murphy beds and daybeds: worth it?
A daybed with a trundle or a decent sofa bed earns its place if you host guests often. A Murphy bed is the nuclear option — amazing space savings, but the good ones cost real money and most rentals won’t let you bolt one to the wall. Freestanding Murphy-style cabinets exist and need no wall mounting. For most renters, I’d say: a proper bed you sleep well in beats a clever bed you tolerate. Sleep quality is the one thing a studio layout must never sacrifice.
The Work Zone (Even If You Work From a Laptop)
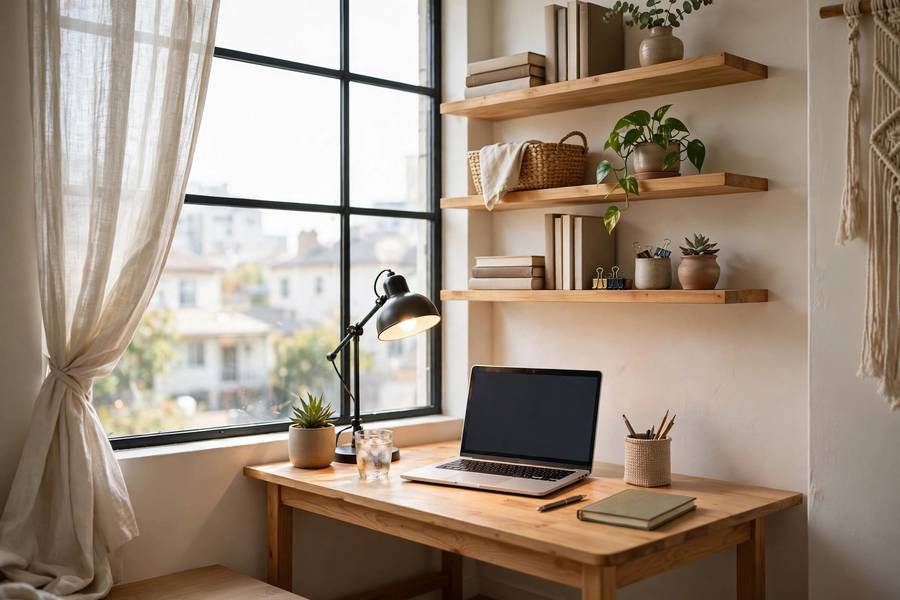
Remote work from a studio lives or dies on one decision: does your work setup have a dedicated spot that isn’t your bed or your dining chair? It doesn’t need to be big. A 32-inch wall-mounted drop-leaf table, a narrow console desk behind the sofa, or even a well-organized rolling cart can be a legitimate workstation if it’s always set up and always in the same place.
My setup for three years was a 40-inch desk facing the window with a monitor arm, tucked into the corner between the kitchen and the living zone. Total footprint: about six square feet. Because it faced the window, video calls had great light, and because it was a real desk, I could close the laptop at 6 p.m. and physically leave work. That “leaving” — walking six feet to the sofa — sounds silly until you try working from bed for a month.
Light matters more than size for a work zone. Natural light first, then a proper task lamp — overhead apartment lighting is universally terrible for focused work. If your desk must face a wall, put something pleasant on that wall: a small piece of art, a pinboard, anything better than blank beige. And get a chair you can sit in for eight hours. In a studio, your desk chair is often also a dining chair and a spare seat for guests, so choose comfort over looks.
The Living Zone (Your “Real” Room)
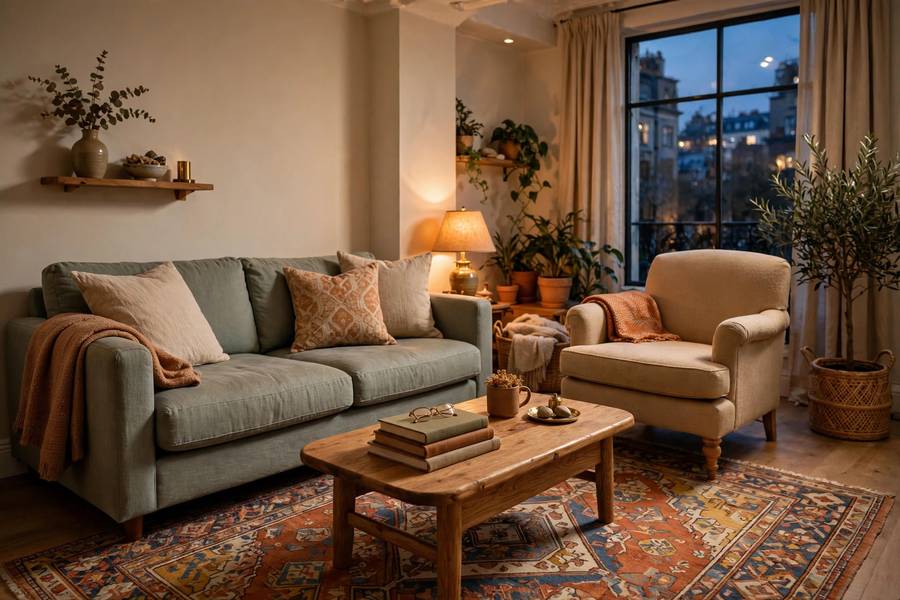
The living zone is where your studio gets to feel like a home rather than a dorm room, so give it the best remaining real estate — usually the area near the windows. A loveseat or apartment-size sofa (under 72 inches) plus a small coffee table and one comfortable chair is plenty. Resist the full-size sectional; in a studio it eats the room and dictates everything around it.
Float the sofa if you can. Pushing every piece of furniture against the walls is the instinct, but floating the sofa with its back to the sleeping zone creates a natural divider — suddenly you have a “living room” with a back wall made of sofa. Put a narrow console table behind it for lamps, books, and keys, and the division reads clearly from every angle.
The rug does heavy lifting here. A rug that fits under the front legs of the sofa and extends into the seating area defines the living zone’s borders without a single wall. Go as large as the space allows — a too-small rug chops the room into fragments, while a generous one pulls everything together. In my studio, an 8-by-10 rug under the living zone made the whole apartment feel intentional.
Dividers That Don’t Eat Light
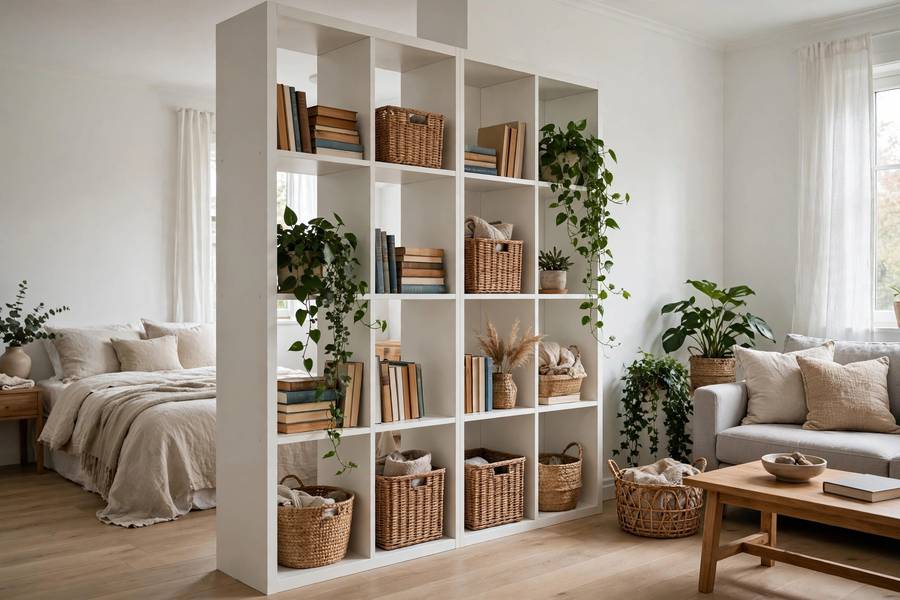
Open shelving units are the studio dweller’s best friend — pair them with these studio apartment decorating ideas for the full look: a 3-by-6-foot cube shelf placed perpendicular to the wall divides zones while displaying books and storing baskets on both sides. IKEA’s famous cube unit has separated approximately one million studio bedrooms from studio living rooms, and for good reason. Leave some cubes empty or use them for plants so light still passes through.
Curtains are the cheapest divider per square foot. A ceiling-mounted track or tension rod with floor-length curtains can hide the sleeping zone, conceal an open closet, or soften a kitchenette. Choose something light and airy — heavy curtains in a studio feel like a theater set. I used linen-look panels, and with them drawn, my “bedroom” felt genuinely private.
Other options worth knowing: a tall plant (a fiddle-leaf fig or olive tree in a big pot marks a boundary beautifully), a folding screen (the classic for a reason, and it folds flat when you want openness), or a half-height bookcase that divides without blocking sightlines. What I’d skip: anything solid and tall that blocks window light. A studio’s light is its most precious resource — never wall it off.
Layouts for Awkward Studio Shapes
Not all studios are neat rectangles. The long railroad studio — where you walk through one zone to reach the next — works best with a linear arrangement: entry/kitchen, then living, then sleeping at the far end, like train cars. Keep the path along one side clear and let each zone open off it. The mistake here is putting the bed near the door because “it’s out of the way” — then every guest walks past your unmade bed.
The square studio (roughly 20 by 20 feet) is actually harder: everything competes for the center. The fix is to push the bed into one corner, the desk into another, and let the living zone float in the middle anchored by a rug. Think of it as four quadrants with the center kept open for circulation. It feels counterintuitive to leave the middle empty, but that breathing room is what keeps a square studio from feeling like a storage unit.
The L-shaped studio is a gift: the short leg of the L is a ready-made bedroom or office nook. Put the sleeping zone there, curtain it off, and the long leg becomes a surprisingly normal living room. If your L is reversed (kitchen in the nook), use it as a dining/office area instead. Work with the shape instead of fighting it.
The galley kitchen problem
Many studios have a kitchen that’s really just a wall. If you have even 24 inches of counter, add a slim rolling island or bar cart — it doubles as prep space, a dining spot for one, and extra storage. Two counter-height stools tuck underneath. Eating standing over the sink is a studio rite of passage, but it doesn’t have to be a permanent lifestyle.
Fitting Storage Into the Layout
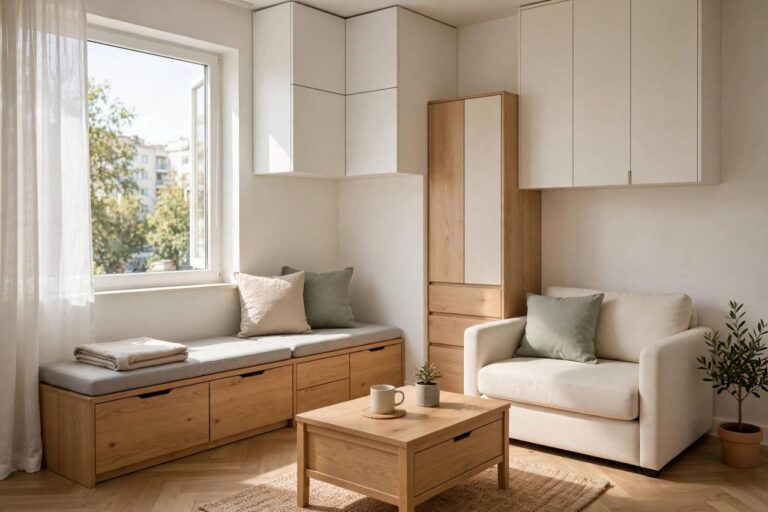
Storage in a studio isn’t a separate problem from layout — it’s part of it. Every zone should contain its own storage so clutter doesn’t migrate. The sleeping zone gets under-bed bins and a dresser that doubles as a nightstand. The work zone gets a filing box and a cable organizer. The living zone gets a coffee table with storage or an ottoman that opens. When everything has a zone-home, tidying takes ten minutes.
Go vertical everywhere the lease allows. The wall above the desk, the six inches above door frames, the sides of wardrobes — dead space is storage waiting to happen. I kept my rarely-used kitchen appliances on top of my wardrobe in matching bins, which looked intentional instead of chaotic because the bins matched. Consistency is the whole trick: mismatched storage looks like clutter even when it’s organized.
And be honest about the storage unit question. If you’re paying for off-site storage for things you haven’t touched in a year, the studio isn’t the problem. The best studio layout in the world can’t fix owning more than fits. I say this as someone who finally sold the kayak. I had not kayaked in three years. The apartment felt 50 square feet bigger the day it left.
A studio done well is not a compromise — it’s an efficiency masterclass. It also rewards routine — a daily routine that structures small-space living keeps the whole system running. Every piece earns its place, every zone has a purpose, and cleaning the entire apartment takes twenty minutes. My friends with three-bedroom houses spend longer than that on one bathroom. There’s a real freedom in needing less space, as long as the space you have is laid out with intention.
The most effective methods are an open cube shelving unit placed perpendicular to the wall, floor-length curtains on a tension rod or ceiling track, or floating your sofa with its back to the bed to create a visual wall. An alcove or L-shaped nook makes a natural bedroom — curtain it off and add a rug and bedside lamp to complete the separation.
Put the bed in the darkest, quietest corner, farthest from the front door — never right by the entrance where every guest walks past it. Corner placement against two walls saves the most floor space. Keep the work setup completely out of the sleeping zone so your brain can associate the bed with rest.
Give your work setup a dedicated spot that isn’t your bed — even a 32-inch wall-mounted table counts if it’s always set up in the same place. Face it toward a window for natural light, use a proper task lamp, and choose a genuinely comfortable chair. The physical act of leaving the desk at day’s end protects your evenings.
Avoid full-size sectionals, oversized coffee tables, and anything that only serves one purpose in a single spot. Skip tall solid dividers that block window light, and think twice about a dining table for six when a drop-leaf or bar-height table seats two daily and expands for guests.
Zone the room so each area has one clear purpose, use a large rug to anchor the living area, hang a mirror opposite the window to double light, keep walkways 24-30 inches clear, and store vertically. The single biggest factor is editing possessions — a studio with less stuff always feels larger than the same studio crammed full.