How to Screen Record on iPhone: The Complete Guide

Learning how to screen record on iPhone is one of those skills that pays you back constantly. I use it to capture a bug to send to a developer friend, to record a quick how-to for my mom, to save a gameplay highlight, and to document a recipe video before it disappears from my feed. Apple built the tool right into iOS, so you do not need any third-party app, any subscription, or any complicated setup.
The catch is that Apple hides the screen recording button by default. The first time I needed it, I swiped down from the top-right corner and stared at my Control Center like it had personally betrayed me. Nothing. So if you are wondering how to screen record on iPhone and cannot find the button anywhere, you are not missing anything — you just have not added it yet. Let me walk you through the whole thing, from setup to recording with microphone audio, to trimming and sharing your clip.
How to Screen Record on iPhone: The Quick Answer
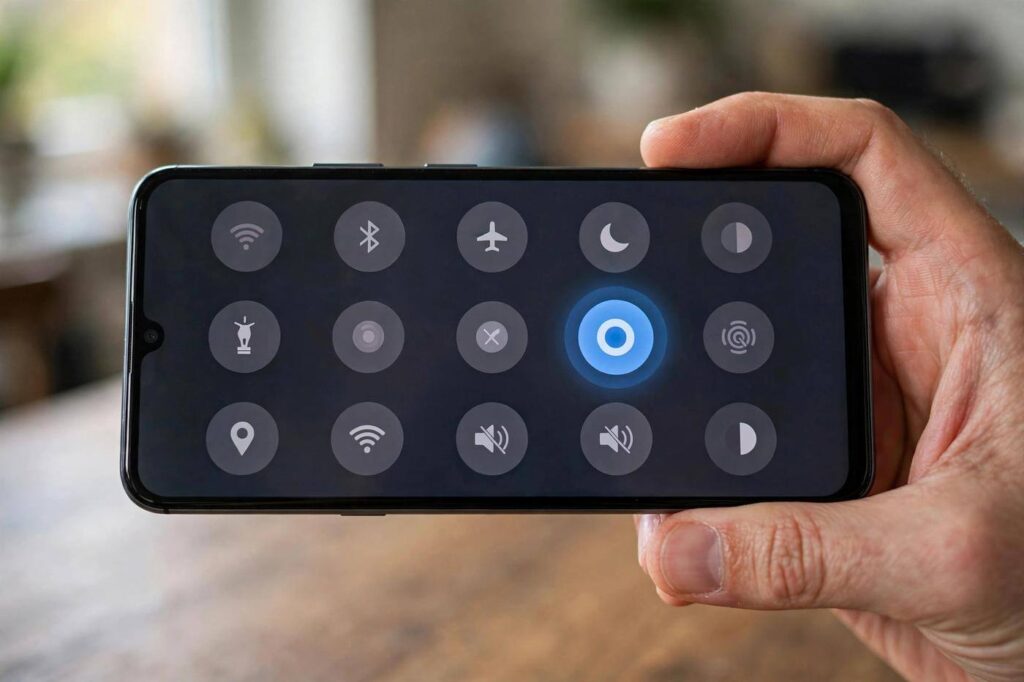
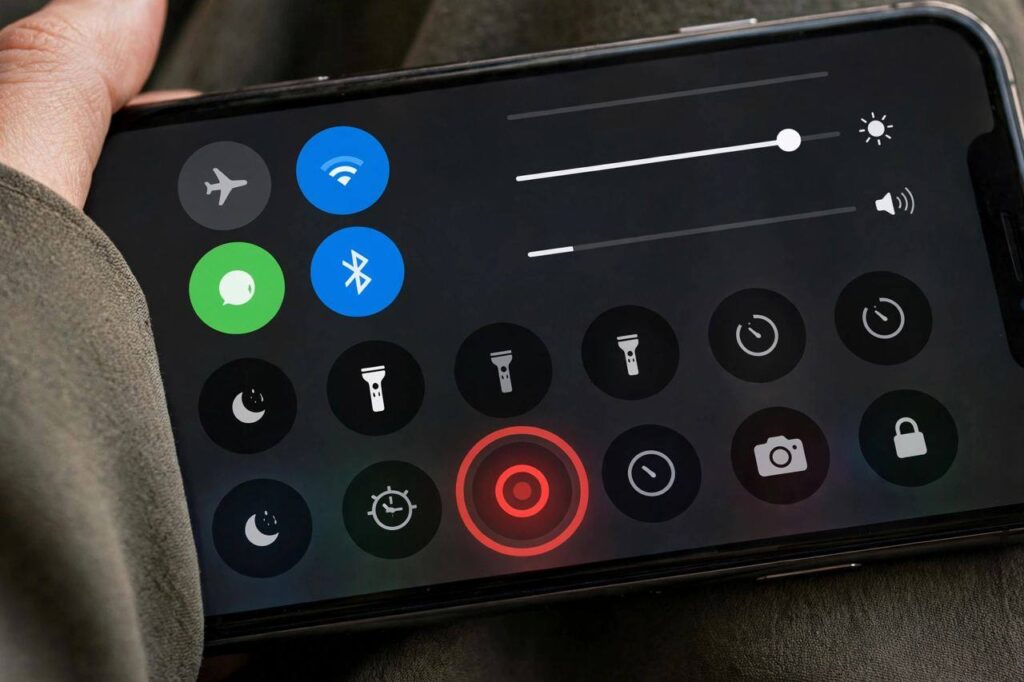
Here is the short version for those of you who are in a hurry. Open Settings, tap Control Center, and tap the green plus next to Screen Recording to add it. Then swipe down from the top-right corner of your screen (or swipe up from the bottom edge on iPhones with a Home button) to open Control Center, tap the record button — it is the circle with a dot inside — and your screen starts recording after a three-second countdown. Tap the red status bar or the red clock at the top of your screen and choose Stop to finish. Your video saves automatically to the Photos app.
That is genuinely all there is to it. The rest of this guide covers the parts that trip people up: recording with your microphone, where your videos go, how to trim them, and what to do when things do not work.
Step 1: Add Screen Recording to Control Center
Before you can record anything, the button needs to live in your Control Center. Here is how to put it there:
- Open the Settings app on your iPhone.
- Tap Control Center.
- Scroll down to the section called More Controls.
- Find Screen Recording and tap the green plus icon next to it.
- It moves up into the Included Controls section. You can drag the three-line handle to rearrange where it sits.
I like to keep the screen recording button in the first row of my Control Center so I never have to hunt for it. You do this once, and it stays there through iOS updates — I have had mine for years and it has survived every major upgrade. If you are setting up a new iPhone, adding this during your initial setup is a smart move.
Step 2: Start Your Screen Recording
Once the button is in place, recording takes about five seconds:
- Open Control Center by swiping down from the top-right corner (iPhones with Face ID) or swiping up from the bottom edge (iPhones with a Home button).
- Tap the screen recording button — the circle with a dot in the middle.
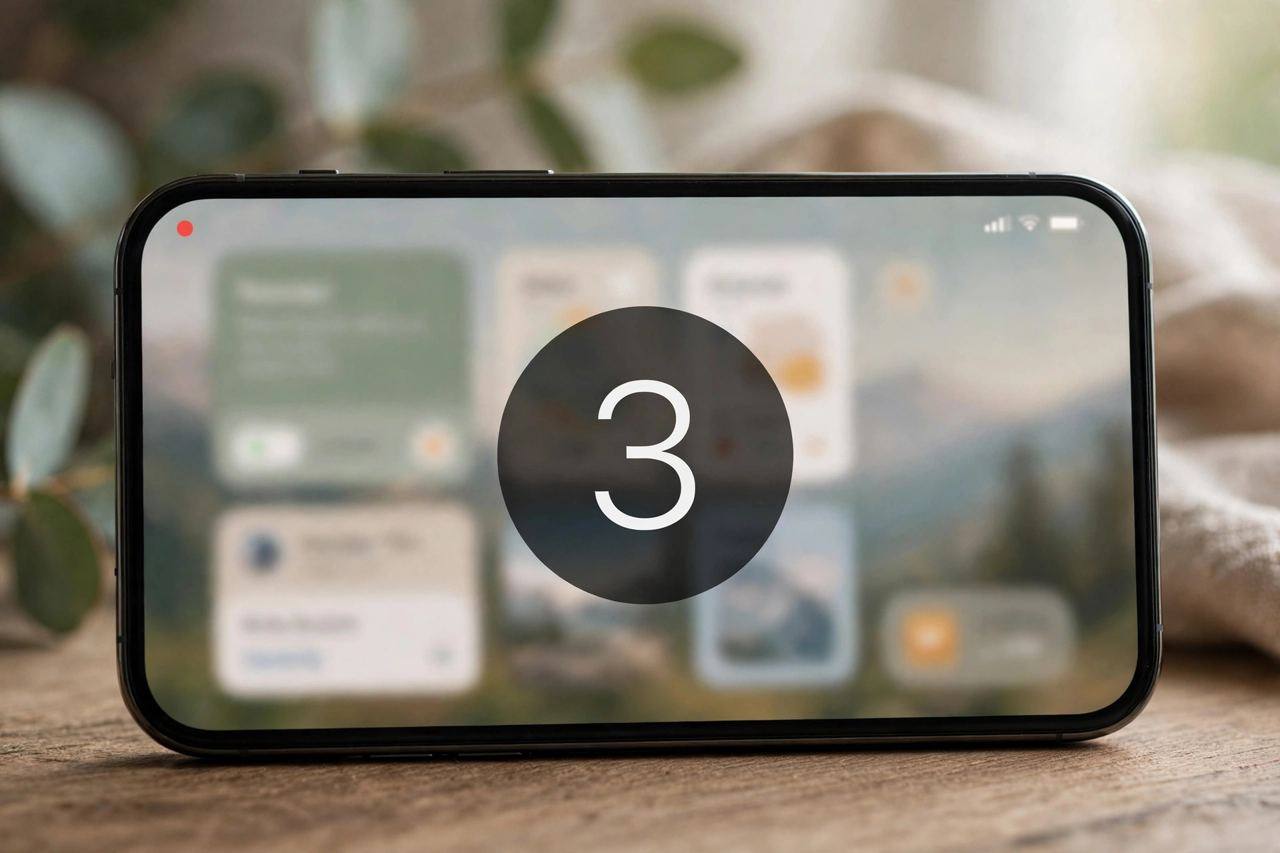
- A three-second countdown begins. The status bar or the area around the clock turns red while you are recording.
- Do whatever you want to capture. Swipe back up to close Control Center and record normally.
To stop, tap the red status bar or red clock at the top of your screen, then tap Stop in the popup. Your iPhone shows a notification saying the screen recording video was saved to Photos.
How to Screen Record on iPhone With Microphone Audio
By default, screen recordings capture system audio only — the sounds your iPhone itself plays. If you want to narrate what you are doing, which is what most tutorials need, you have to turn the microphone on. This is the step almost everyone misses, and then they wonder why their recording is silent.
Here is how to enable the mic:
- Open Control Center and press and hold the screen recording button (do not just tap it).
- A panel pops up with a big record button and a Microphone toggle below it.
- Tap the microphone so it turns red and says Microphone On.
- Tap Start Recording.
Your iPhone remembers this setting, so if you turn the mic on once, it stays on for future recordings until you turn it off again. That is worth knowing in both directions: I once narrated half a recording before realizing the mic had been on from a previous session, and my entire thought process became part of the soundtrack. It was not my finest content.
One practical note about quality: the built-in mic picks up room noise, so record somewhere reasonably quiet if you are narrating. You do not need a studio — just avoid the kitchen when the dishwasher is running.
Where Do Screen Recordings Go?
Every screen recording saves automatically to the Photos app, in the same place as your camera photos and videos. You can find them in the Recents album, or open the Library tab and scroll to the date you recorded. iOS also has a dedicated Screen Recordings album under Media Types if you want them all in one place.
Recordings save as video files at your screen resolution, which means they can get large — a few minutes of recording can easily be hundreds of megabytes. If you are planning a long capture, back up your iPhone and check your available storage first. I have watched more than one person lose the last two minutes of a recording because the phone ran out of space mid-capture.
How to Trim and Edit a Screen Recording
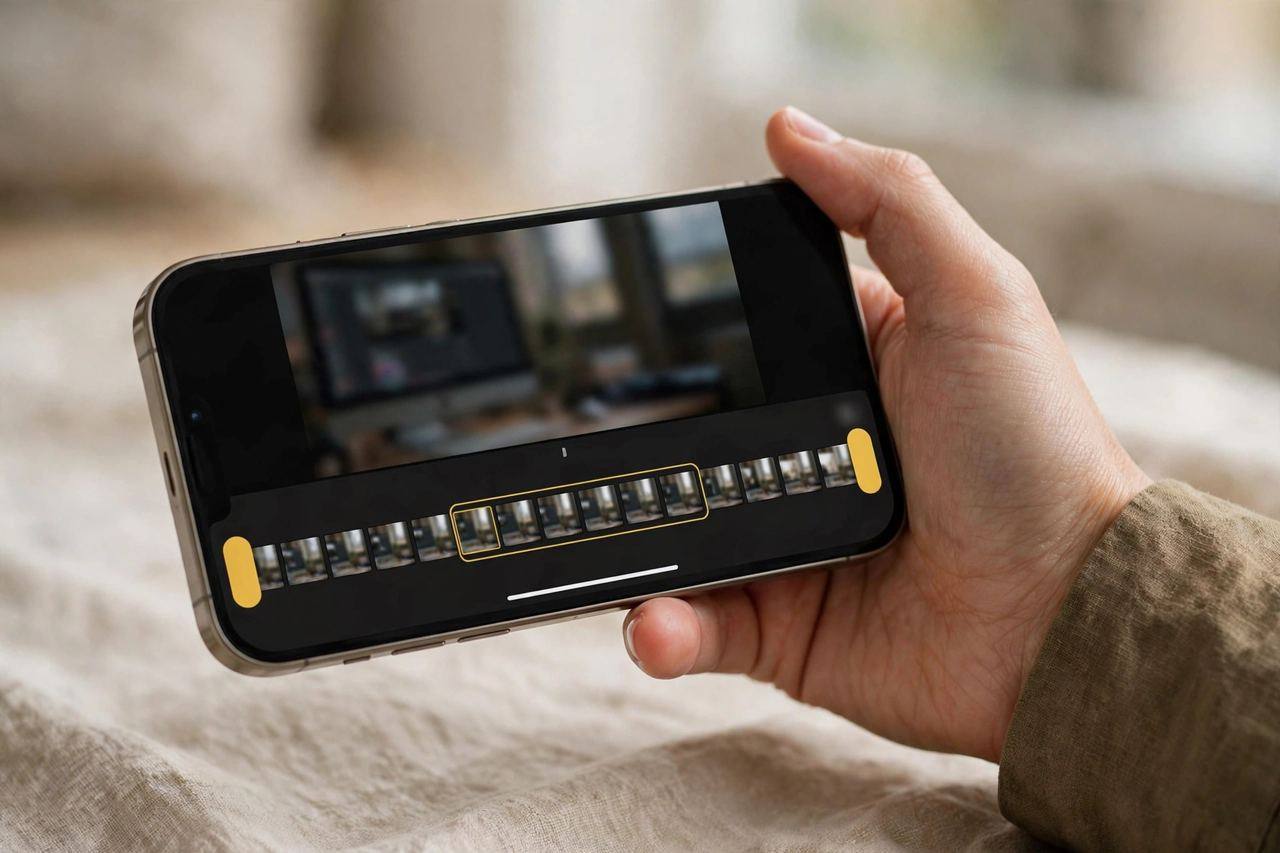
Most screen recordings have awkward bookends — the moment you were swiping into the right app, and the moment you fumbled for the stop button. Trimming takes about twenty seconds:
- Open the recording in the Photos app and tap Edit.
- At the bottom of the screen you will see a filmstrip timeline with yellow handles on each end.
- Drag the handles inward to cut off the parts you do not want.
- Tap Done, then choose Save Video as New Clip if you want to keep the original, or Save Video to overwrite it.
For anything fancier — adding text overlays, captions, or splicing multiple clips together — I use iMovie, which is free on iPhone and handles screen recordings perfectly well. CapCut is another solid free option if you want ready-made captions and transitions.
How to Share a Screen Recording
From Photos, tap the share button (the square with the arrow) and pick your destination: AirDrop to your Mac, Messages, Mail, WhatsApp, or save to the Files app. If the video is too large to send — iMessage chokes on big files — use AirDrop, upload it to iCloud Drive or Google Drive, or share a link from there.
One tip for work: if you are sending a screen recording to a colleague or to tech support, add a sentence describing what you want them to look at. A two-minute recording of your whole phone with no context will get watched exactly zero times.
Troubleshooting: Common Screen Recording Problems
Screen recording is reliable, but a few issues come up often enough that they deserve their own section.
The record button is greyed out
If the button looks dim and will not respond, check Settings, then Screen Time, then Content and Privacy Restrictions. If Screen Recording is listed as not allowed there, that is your culprit. This is common on work-managed phones and kids’ devices. You will need the Screen Time passcode or your IT admin to change it.
There is no sound in my recording
Nine times out of ten, this is the microphone toggle issue I covered above — long-press the record button and turn the mic on. If you wanted system audio (game sounds, app sounds) and got silence instead, check that your phone was not on silent mode and that the volume was turned up during recording. Also note that some apps — Netflix, Disney+, banking apps — block audio capture for DRM and privacy reasons. That is intentional and there is no setting that overrides it.
The recording stops by itself
This is almost always storage. Long recordings fill up space fast. Free up a few gigabytes and try again. Low Power Mode does not block screen recording, but a dying battery combined with a processor-heavy app can cause the recording to quit.
My screen recording looks blurry
Screen recordings capture at your display resolution, so blurriness usually means the video was compressed after the fact — by a messaging app, for example. Share the original file from Photos or Files instead of letting WhatsApp or iMessage re-encode it.
I cannot record in certain apps
Some apps prevent screen recording entirely: streaming services with DRM protection will record a black screen, and some banking and password-manager apps block it for security. This is the app’s doing, not your phone’s. You cannot work around it, and I would not trust any app that claims it can.
Screen Recording Tips Worth Knowing
A few things I have learned from a few years of heavy use:
- Enable Do Not Disturb before recording. Nothing ruins a clean tutorial like a group chat notification sliding down mid-sentence. Do Not Disturb silences them so they never appear in the recording.
- Record in landscape for YouTube. Rotate your phone before you start if the final destination is YouTube — cropping a portrait recording later always looks worse.
- Narrate as you go, not after. Talking while you tap is ten times faster than recording silently and doing a voiceover later, and it sounds more natural.
- Keep recordings short. Edit ruthlessly. The difference between a useful 45-second clip and a rambling 4-minute one is everything.
- Check privacy before sharing. Screen recordings capture everything visible — notifications, open tabs, your photo library if you scroll through it. Do a quick scan of the clip before you send it anywhere.
That last one is worth repeating. I once almost sent a client a screen recording that showed a very personal text message preview at the top. Do Not Disturb would have saved me. Learn from my near-miss.
Screen Recording on Older iPhones
The process is the same on older models going back years — Apple introduced screen recording in iOS 11, so nearly every iPhone still in use supports it. The only difference is how you open Control Center: swipe up from the bottom edge on iPhones with a Home button (iPhone 8 and earlier, iPhone SE), instead of swiping down from the top-right corner.
On older hardware, recording can be slightly less smooth in demanding apps, but for everyday use — apps, settings, web pages — it works fine.
Frequently Asked Questions
How long can you screen record on iPhone?
There is no built-in time limit. You can record for as long as you have storage space and battery. In practice, recordings get very large after 15 to 20 minutes, so long sessions are better done in chunks.
Does screen recording capture sound from calls?
No. iOS does not capture the audio of phone calls or FaceTime calls in screen recordings, for privacy reasons. You will get the video of the call screen but not the conversation audio.
Can the person on the other end tell I am screen recording a video call?
iOS does not notify other participants when you screen record a FaceTime call. However, recording someone without their knowledge can violate privacy laws depending on where you live, so always ask first.
Why does my screen recording have no audio?
You probably recorded without the microphone enabled. Long-press the screen recording button in Control Center before starting and turn the microphone on. Note that some apps block audio capture entirely for copyright reasons.
Can I screen record on iPhone with the screen off?
No. The screen has to be on and unlocked for recording to work. If your phone locks, the recording stops.
Do screen recordings use a lot of storage?
Yes — they are full-resolution video files. A few minutes of recording can take up several hundred megabytes. Check your available storage before recording anything long, and back up or delete old recordings you no longer need.
Once you have the button in your Control Center, screen recording becomes one of those features you wonder how you lived without. Set it up now, while you are thinking about it — future you, mid-tutorial and mid-frustration, will be grateful.