How to Screen Record on Android: Every Method Explained

Figuring out how to screen record on Android used to mean downloading a sketchy app full of ads and watermarks. Not anymore. Nearly every Android phone sold in the last five years has a screen recorder built right into the system — it is just hiding in the Quick Settings panel where most people never look. I have tested the built-in recorders on Samsung, Pixel, OnePlus, Xiaomi, and Motorola, and the honest answer is: the built-in one is all most people need. This guide shows you where it lives on your phone, how to get the audio right, and what to do if your phone is too old to have one.
No spec-sheet worship, no marketing speak — just the steps, the settings that actually matter, and the free apps worth your time if your phone needs one.
How to Screen Record on Android With the Built-In Recorder
Android has included a native screen recorder since Android 11, and every major manufacturer adds its own version on top. The steps are nearly identical everywhere:
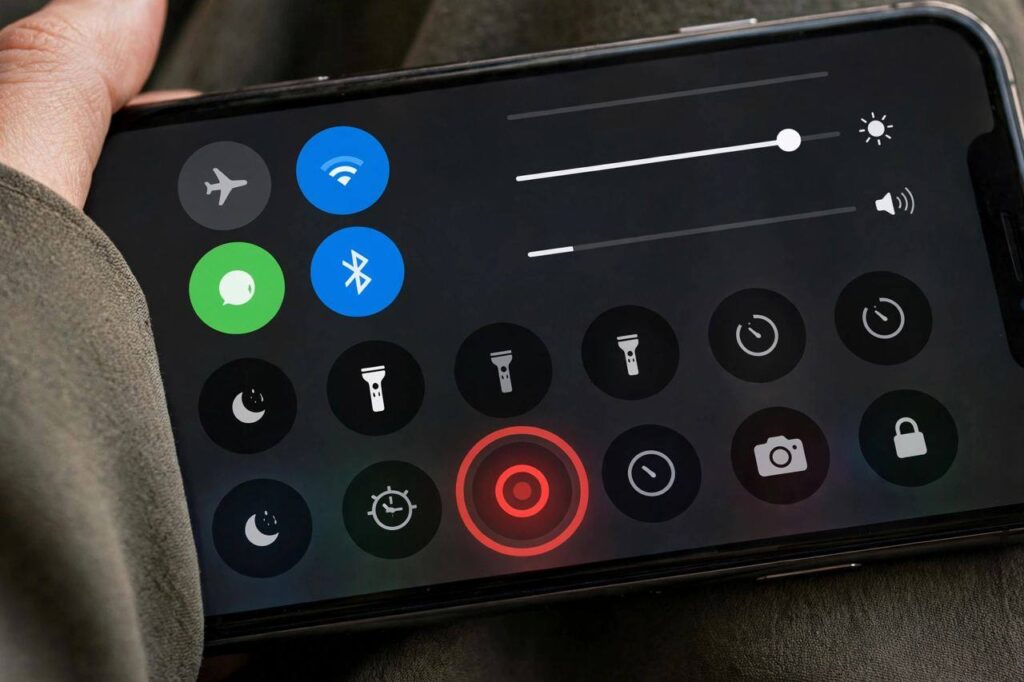
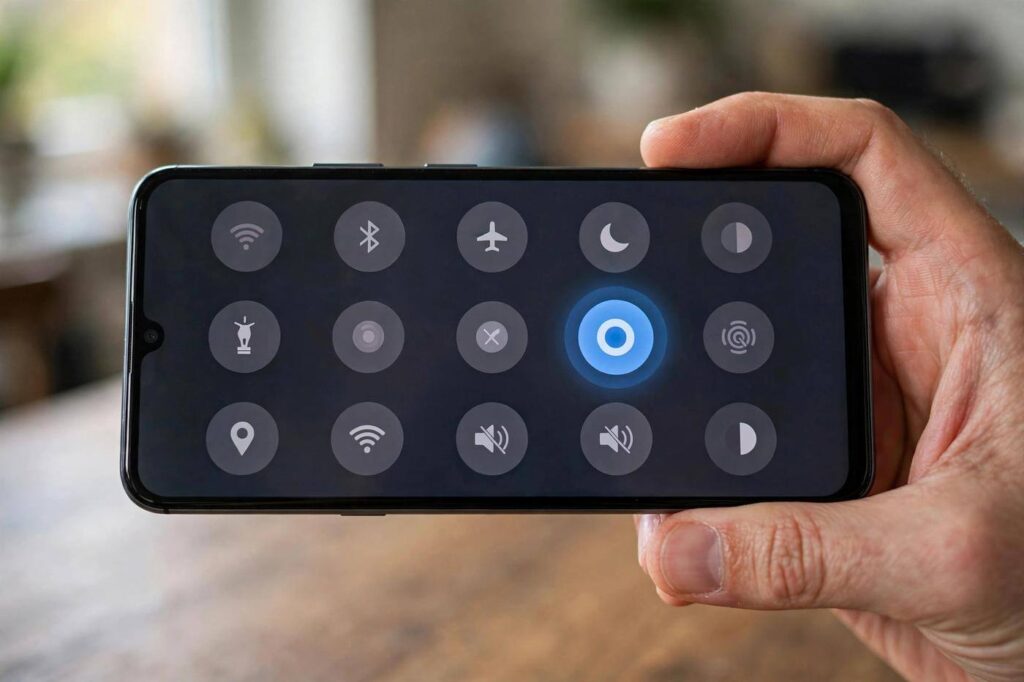
1. Open Quick Settings. Swipe down from the top of the screen once for notifications, then swipe down again (or swipe down with two fingers) to open the full Quick Settings panel.
2. Find the Screen Record tile. It is usually labeled “Screen record” or “Screen recorder.” If you do not see it, tap the edit or pencil icon and drag it into your active tiles — manufacturers love hiding it in the inactive pile.
3. Tap it and choose your options. Before recording starts, you will get a small dialog. This is the part most people rush past, and it is where the quality lives: pick whether to record audio, and whether to show screen touches (little dots where your finger taps — genuinely useful for tutorials).
4. Tap Start. You get a three-second countdown. Record whatever you need, then pull down the notification shade and tap Stop — or tap the floating stop button if your phone shows one. The video saves to your gallery or Photos app automatically.
That is the whole thing. It works for app demos, gameplay, video calls you want to keep, and those “let me just show you” tech-support moments with family.
Where the Recorder Lives on Each Brand
The steps above are the same everywhere, but each brand puts its own spin on it. Here is what I found testing them hands-on:
Samsung (One UI). Samsung’s recorder is the most polished of the bunch. You get quality settings up to 1080p at 60fps on most models, plus a genuinely useful feature: selfie video overlay, which puts a little front-camera bubble in the corner. Great for reaction videos and tutorial narration. Find it in Quick Settings under “Screen recorder.”
Google Pixel. Pixel’s version is the simplest — record, stop, done. No quality settings to fuss with, which is either elegant or limiting depending on your mood. Audio options are clean and clear. If you like things that just work, you will like this.
OnePlus (OxygenOS). Similar to Pixel with a few extra toggles for resolution and frame rate. The floating toolbar with pause is handy — yes, you can pause mid-recording, which Samsung and Pixel do not always offer.
Xiaomi (MIUI/HyperOS). Xiaomi’s recorder is buried a layer deeper on some models — check Quick Settings first, then the Tools folder or the built-in Screen Recorder app. It offers the most granular settings of any brand I tested, including frame rate control. Overkill for most people, heaven for tinkerers.
Motorola. Stock-ish Android, so the standard Android 11+ recorder applies. Simple, reliable, no surprises. Exactly what you would expect.
Getting the Audio Right: The Setting Everyone Gets Wrong
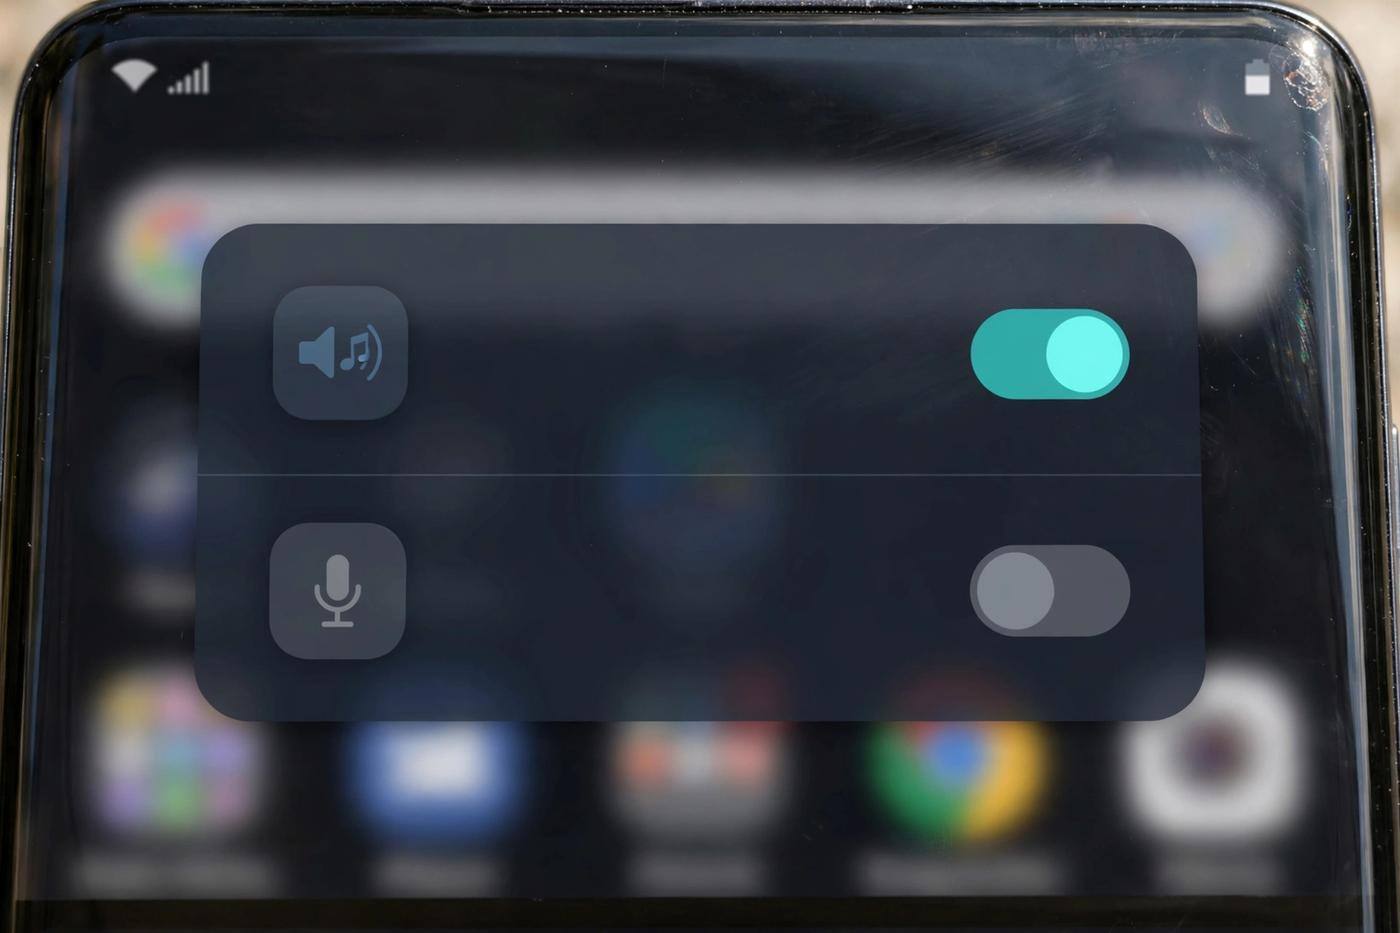
Here is where recordings go wrong. When you tap the Screen Record tile, Android asks what audio to capture, and the options are confusingly named. Here is what they actually mean:
Media audio (internal audio). Records the sound the phone itself is playing — game sounds, video audio, music. This is what you want for gameplay clips and app demos. Note that some apps block internal audio capture for copyright reasons (looking at you, certain streaming apps), and on those the recording will be silent no matter what you pick.
Microphone. Records your voice through the mic, plus whatever the room sounds like. Use this for tutorials where you are narrating, bug reports where you are explaining, and reaction content.
Media + microphone. Both at once. This is the tutorial sweet spot — viewers hear the app and your voiceover. Watch out for echo if you are recording a video call, though; you will capture both sides plus your room.
No audio. Silent recording. Useful for visual demos where you will add narration later, and it keeps file sizes down.
My rule of thumb: internal audio for showing, microphone for teaching, both for tutorials. And always do a five-second test recording first — discovering your audio was wrong after a twenty-minute tutorial is a special kind of pain.
Recording Quality Settings Worth Changing
Most people never touch these, but two settings matter. Resolution: 1080p is the sweet spot — sharp enough for YouTube and social, small enough to share. Higher resolutions exist on some phones but mostly just inflate file size. Frame rate: 30fps is fine for app demos and tutorials; switch to 60fps only for fast gameplay where smooth motion matters.
One more: some recorders let you choose whether to record in the phone’s orientation or lock it. If your video will live on YouTube, record in landscape. If it is headed for TikTok, Reels, or Shorts, record in portrait. Deciding this before you hit record saves you from the dreaded sideways-video crop later.
What If Your Phone Has No Built-In Recorder?
Phones running Android 10 or older — and a few budget models that stripped the feature — do not have a native recorder. You need a third-party app, and this is where you should be picky, because the Play Store is full of recorders stuffed with ads, watermarks, and “premium” upsells.
The one I recommend is XRecorder — free, no watermark, no root required, no time limits. It handles internal audio on supported devices, offers floating controls, and the free tier is genuinely usable rather than a demo for the paid version. AZ Screen Recorder is the long-standing alternative with a similar feature set and a clean interface; its free version is solid, though some features sit behind a paywall.
Whatever you choose, check two things before committing: that it does not watermark your videos (a dealbreaker for anything you will share), and that its permissions are sane — a screen recorder needs display and audio access, not your contacts. If an app asks for more than that, delete it and move on.
Troubleshooting: When Recording Misbehaves
Recording is laggy or stutters. Your phone is running out of headroom. Close background apps, and if your recorder offers quality settings, drop to 720p. Clearing the app cache can also free up resources before a long recording session — it is a quick win I do before any important capture. A quick cache clear on Android takes thirty seconds and often smooths things out.
The screen goes black in some apps. That is DRM protection, not a bug. Netflix, Disney+, banking apps, and some others deliberately block screen capture. No setting fixes this — it is the app protecting its content, and no legitimate recorder will bypass it.
Audio is missing. Nine times out of ten, the wrong audio source was selected. Check the recording dialog before you start. If internal audio is silent in a specific app, that app is blocking capture.
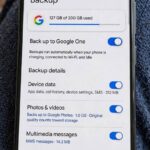
Storage fills up fast. Screen recordings are big — several hundred megabytes for a few minutes at 1080p. Before a long session, check your free space and back up your camera roll. I back up my Android phone before any recording project longer than ten minutes, because nothing kills a good take like a “storage full” popup.
Notifications keep popping into the recording. Turn on Do Not Disturb before you hit record. Your viewers do not need to see your group chat, and you do not need your mom’s text message immortalized in a tutorial.
Quick Tips for Better Recordings
Do a test clip first — five seconds, check video and audio, then record for real. Enable “show touches” for tutorials so viewers can follow your taps. Wipe your screen; fingerprints are shockingly visible in recordings. And if you are narrating, record somewhere quiet — phone mics pick up everything, including the refrigerator hum you stopped noticing years ago.
Editing and Sharing Your Recording
A raw screen recording is rarely the finished product. For quick shares, the built-in gallery editor on most phones handles trims — cut the fumbling at the start and the “okay, stopping now” at the end, and the clip instantly looks twice as professional. For tutorials, free editors like CapCut or VN let you add captions, zoom highlights, and voiceover on the phone itself, no desktop needed.
When sharing, remember that recordings of other people’s content have limits: gameplay clips are generally fine on YouTube and social, but re-uploading someone’s paid course or a full movie is a copyright problem, not a tech problem. And compress before sending — a two-minute 1080p clip can be 300MB, which will choke most messaging apps. Your gallery’s “save as” or share options usually offer a smaller size.
Frequently Asked Questions
Does Android have a built-in screen recorder?
Yes — Android 11 and later include a native screen recorder, and Samsung, Pixel, OnePlus, Xiaomi, and Motorola all ship their own versions. Open Quick Settings (swipe down twice from the top), tap the Screen Record tile, choose your audio options, and tap Start. Phones on Android 10 or older need a third-party app like XRecorder.
How do I screen record with internal audio on Android?
When you tap the Screen Record tile, select “Media audio” or “Device audio” in the recording dialog instead of the microphone. This captures the phone’s own sound — game audio, video sound, app noises. Note that some apps with DRM protection (Netflix, banking apps) block internal audio capture entirely.
Why is my Android screen recording laggy?
Lag usually means the phone is struggling with the recording load. Close background apps, lower the recording resolution to 720p, and clear cached data before long sessions. Older or budget phones may simply not have the processing headroom for 1080p/60fps recording.
Where do screen recordings save on Android?
Built-in recordings save automatically to your gallery or Google Photos app, usually in a “Screen recordings” album or the main camera folder. Third-party apps typically save to their own folder, which you can find in your file manager or change in the app’s settings.
Can I screen record a video call on Android?
Yes, the built-in recorder captures video calls, but be careful with audio — use the microphone option to capture both sides of the conversation, and be aware that recording calls without the other person’s knowledge may violate wiretapping laws depending on where you live. When in doubt, ask first.