How to Install a Dimmer Switch: Wiring & Safety Guide

Learning how to install a dimmer switch is one of the best bang-for-buck upgrades in a home. Twenty minutes, one inexpensive device, and a room goes from interrogation-room bright to dinner-party moody. I have swapped dozens of these over twenty years of DIY, and I will tell you the two things that matter most up front: turn the breaker off and actually verify it is off, and buy a dimmer that matches your bulbs — because nine out of ten “my dimmer does not work right” complaints are a compatibility problem, not a wiring problem. Get those two right and the rest is just connecting three wires.
This guide covers the full job: safety steps, single-pole versus 3-way wiring, the LED compatibility chart, the actual installation sequence, and troubleshooting the flicker and buzz that plague bad installations. My projects use tools you already own and materials from a normal store — no specialty equipment, no electrician required for this one.
How to Install a Dimmer Switch: Safety First, No Exceptions
Electricity does not give second chances, so we do this by the book. Every single time.
Step 1: Kill the breaker. Find your breaker panel and flip the breaker for the light circuit you are working on. If the breakers are not labeled — and in half the houses I have worked in, they are not — have someone watch the light while you flip breakers one at a time, then label the panel with a marker while you are at it. Future you says thanks.
Step 2: Verify with a non-contact voltage tester. This is the step that separates careful DIYers from lucky ones. A non-contact voltage tester costs about fifteen dollars at any hardware store. Hold it near each wire in the box — it should stay silent. Test the tester on a known-live outlet first so you know it works. Breakers get mislabeled, panels get confusing, and “I thought it was off” is how people get hurt.
Step 3: Keep it off. Put a piece of tape over the breaker with “DO NOT TOUCH” written on it if anyone else is home. It sounds paranoid until someone flips it back on “to check something” while your hands are in the box.
One more safety note: if you open the box and find aluminum wiring (silver-colored instead of copper), knob-and-tube, or a box crammed so full you cannot see the wires — stop. Those are electrician situations, not DIY situations. Knowing where your skills end is the most valuable DIY skill there is.
Single-Pole vs. 3-Way: Buy the Right Dimmer
Before you buy anything, determine which type you need. This is the most common purchasing mistake.
Single-pole means one switch controls the light. One switch on the wall, one light (or set of lights). This covers most rooms. A single-pole dimmer has two main terminals plus ground.
3-way means two switches control the same light — think staircases, long hallways, rooms with two entrances. A 3-way dimmer has three terminals plus ground, and here is the critical detail: in most 3-way setups, you replace only ONE of the two switches with a dimmer. The other stays a standard 3-way switch. Dimming from both locations requires special companion dimmers designed to work as a pair — a standard dimmer on both ends will fight itself and misbehave.
How to tell which you have: if two different wall switches operate the same light, it is 3-way. Buy accordingly. And take a photo of the existing wiring before you disconnect anything — it costs nothing and has saved more DIYers than any other single habit.
LED Compatibility: The Chart That Prevents Headaches
Old dimmers were designed for incandescent bulbs, which dim by simply getting less power. LEDs are electronic devices with drivers, and they need dimmers that speak their language. Mismatches cause the classic symptoms: flickering at low levels, buzzing, lights that will not go below 30 percent, or bulbs that strobe like a haunted house.
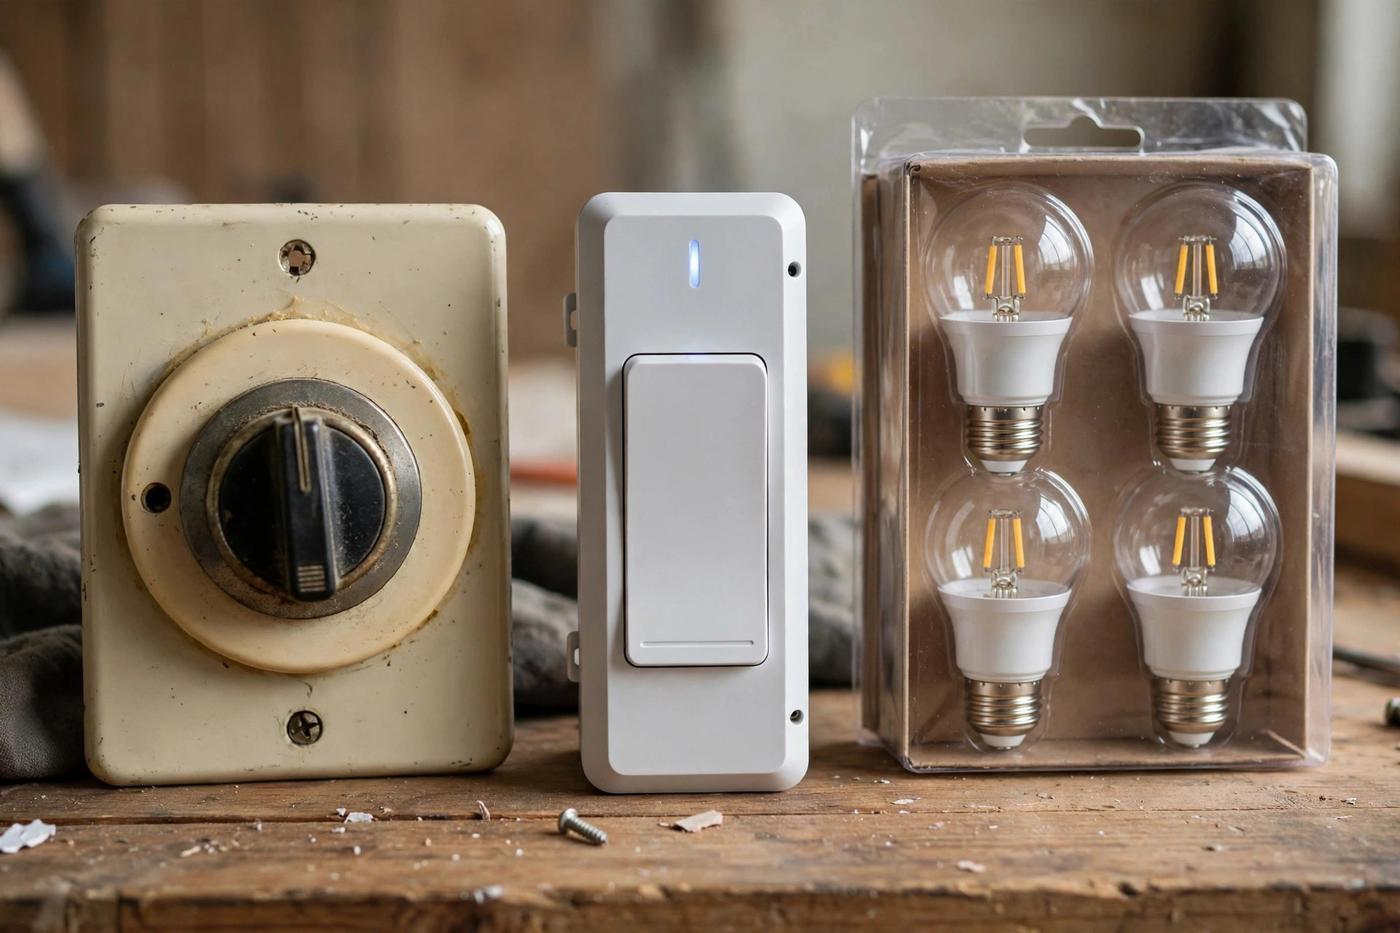
The rule: buy a dimmer labeled LED-compatible (often marked “CL” for CFL/LED), and use bulbs labeled “dimmable.” Both sides matter — a dimmable bulb on an old incandescent dimmer will still misbehave, and a non-dimmable LED on a perfect dimmer will flicker or fail early.
Match the dimmer type to the bulb: most household LEDs work with standard “leading-edge” (TRIAC) LED dimmers. Some LED fixtures — especially low-voltage or smart bulbs — need “trailing-edge” (ELV) dimmers. Check the bulb manufacturer’s compatibility list; the good brands publish exactly which dimmers they have tested with their bulbs. When in doubt, buy the bulb and dimmer as a tested pair rather than mixing brands blindly.
Wattage math: add up the wattage of all bulbs on the circuit. LEDs sip power — ten 9-watt LEDs total 90 watts — so overload is rare, but also check the dimmer’s minimum load. Some older dimmers need at least 40–60 watts to function; a single 9-watt LED on such a dimmer will flicker no matter what. Modern LED dimmers handle low loads fine, which is another reason to buy current hardware.
Smart bulbs: if your bulbs are smart bulbs controlled by app or voice, you generally should NOT put them on a dimmer switch at all — dim the bulb through its own controls and leave the wall switch fully on. A dimmer chopping power to a smart bulb causes exactly the erratic behavior people complain about.
The Installation: Step by Step
Tools: screwdriver, wire strippers, non-contact voltage tester, wire nuts (usually included with the dimmer). Breaker off and verified — we covered that, and I am not covering it again because you already did it. Right?
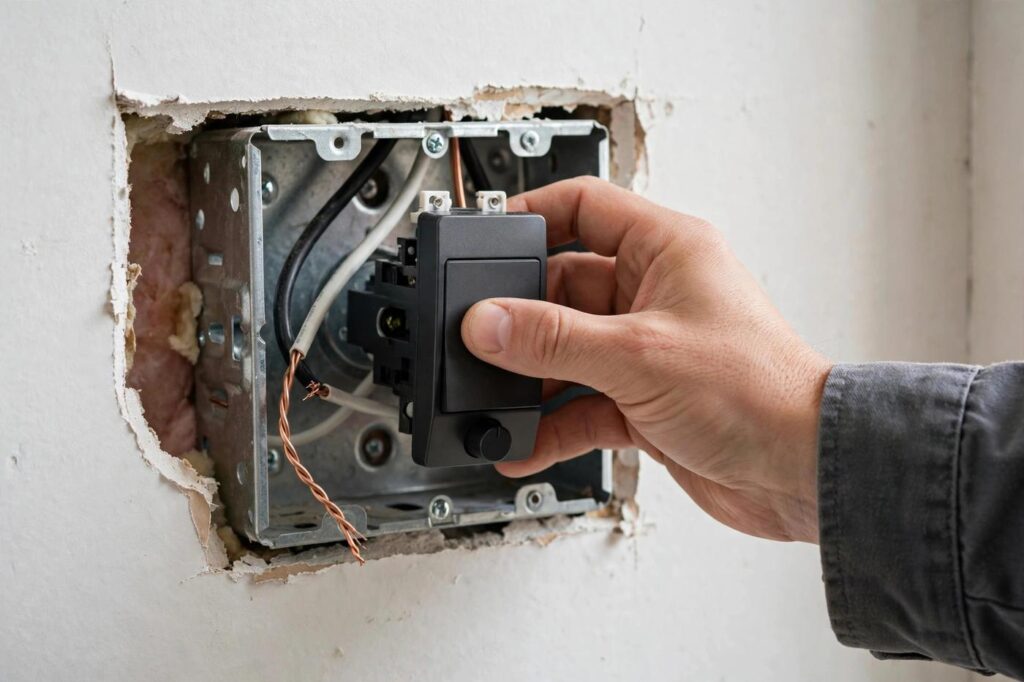
Step 1: Remove the old switch. Unscrew the cover plate, then the two mounting screws holding the switch. Gently pull the switch out of the box, keeping the wires attached for reference. Take your photo now if you have not already.
Step 2: Identify the wires. In a standard single-pole box you will find: a black “hot” wire bringing power in, a black (or sometimes red) wire going to the light, a bare copper or green ground wire, and white neutral wires that are typically wire-nutted together in the back of the box — you usually do not touch the neutrals for a basic dimmer. In a 3-way box you will find an additional traveler wire (often red). If wire colors look wrong or there are more wires than expected, stop and consult an electrician — unusual wiring is information, not an obstacle to push through.
Step 3: Disconnect the old switch. Loosen the terminal screws or release the backstab connections and free the wires. If wires were backstabbed (pushed into holes in the back of the old switch), cut and re-strip the ends — backstab connections are unreliable, and you want fresh copper under your new terminals.
Step 4: Connect the dimmer. Most modern dimmers come with pigtail wires: connect black to black (hot), the dimmer’s other wire (often red, or black with a stripe — check the included diagram) to the wire going to the light, and green to the bare copper ground. Twist firmly and cap each joint with a wire nut: twist the nut clockwise until tight, then tug each wire to confirm it holds. For 3-way, follow the dimmer’s diagram for the traveler connections exactly — this is where the photo of the old wiring earns its keep.
Step 5: Fold, mount, and finish. Gently fold the wires back into the box in neat accordion folds — do not cram or force. Screw the dimmer to the box, attach the cover plate, and restore the breaker. Test through the full dimming range, watching for flicker or dead zones at the low end.
Troubleshooting: Flicker, Buzz, and Dead Zones
Flickering at low brightness. The number-one complaint, and almost always compatibility: non-dimmable bulbs, an old incandescent-era dimmer, or total wattage below the dimmer’s minimum load. Fix the pairing first. Many LED dimmers also have a small adjustment dial (under the cover plate) to set the low-end trim — raising the minimum dimming level slightly eliminates flicker on finicky bulbs.
Buzzing or humming. A faint buzz from the dimmer itself is normal for older designs; a loud buzz is not. From the bulbs, buzzing usually means incompatible dimming — again, the pairing. Some buzz is also just cheap bulbs; a better bulb on the same dimmer often goes silent.
Lights will not dim below a certain point. Normal for many LED/dimmer combinations — the low-end trim adjustment usually fixes it. If the range is still poor after adjusting, the bulb and dimmer are a bad match; consult the bulb maker’s compatibility list.
Dimmer is warm to the touch. Dimmers dissipate a little heat normally — warm is fine. Hot is not. If the dimmer is too hot to touch comfortably, or if multiple dimmers are ganged in one box (which derates their capacity), have an electrician verify the load calculations.

When to Call an Electrician Instead
I am all for DIY, but electricity has a hard line. Call a professional if: the box has aluminum wiring or knob-and-tube; there is no ground wire and you are unsure how to handle it; the box is overcrowded or damaged; you need a new circuit run or a box installed where none exists; or anything smells like burning or looks scorched. A dimmer swap on existing wiring is a homeowner job. Rewiring is not. The service call costs less than the alternative, every time.
Frequently Asked Questions
Can I install a dimmer switch myself?
Yes — replacing an existing switch with a dimmer on the same wiring is a standard homeowner DIY job that takes about 20 minutes. Turn the breaker off, verify with a non-contact voltage tester, and connect the new dimmer wire-for-wire following its diagram. If the wiring looks unusual (aluminum wire, no ground, knob-and-tube), call an electrician instead.
Do I need a special dimmer for LED lights?
Yes. Use a dimmer labeled LED-compatible and pair it with bulbs labeled dimmable — both sides matter. Old incandescent dimmers cause LED flickering, buzzing, and poor dimming range. Check the bulb manufacturer’s compatibility list for tested dimmer pairings, and watch the dimmer’s minimum load rating with low-wattage LED setups.
What is the difference between single-pole and 3-way dimmers?
Single-pole dimmers control a light from one switch location; 3-way dimmers work in setups where two switches control the same light. In a 3-way setup you typically replace only one switch with a dimmer — dimming from both locations requires special companion dimmers designed to work as a pair.
Why do my LED lights flicker on a dimmer?
Almost always a compatibility issue: non-dimmable bulbs, an old dimmer designed for incandescents, or total wattage below the dimmer’s minimum load. Fix it by pairing an LED-rated dimmer with dimmable bulbs from the manufacturer’s compatibility list, and use the dimmer’s low-end trim adjustment to eliminate remaining flicker.
Can you put smart bulbs on a dimmer switch?
Generally no — smart bulbs should be dimmed through their own app or voice controls with the wall switch left fully on. A dimmer switch chopping power to a smart bulb causes flickering, dropouts, and erratic behavior. If you want both, use a smart dimmer switch designed to work with your smart bulb ecosystem.