How to Replace a Toilet Fill Valve

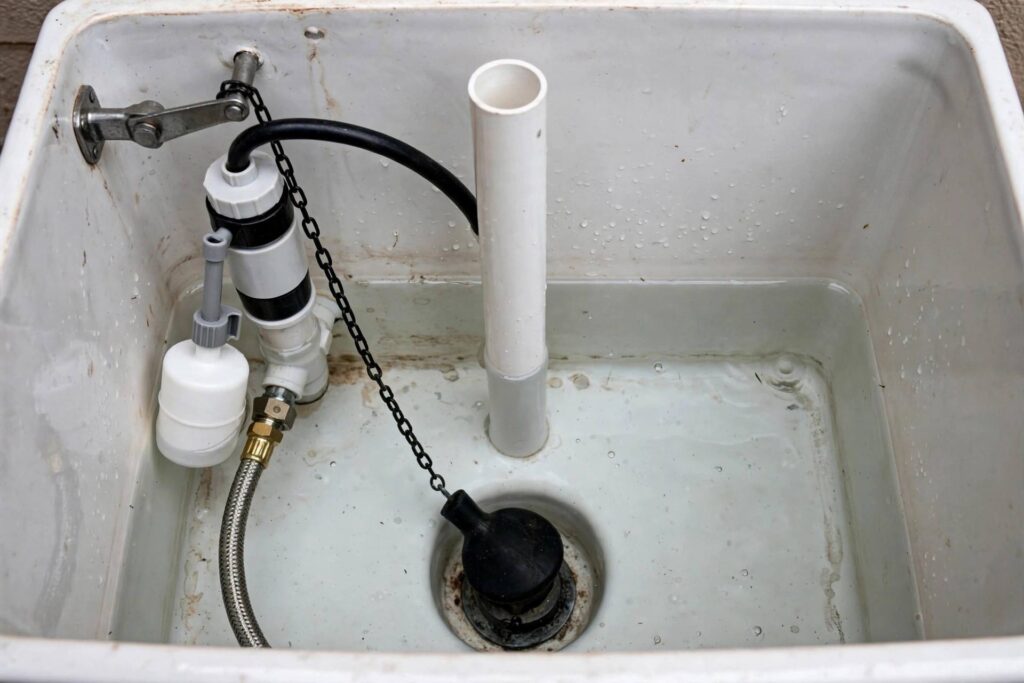
Learning how to replace a toilet fill valve is one of those DIY skills that pays for itself the first time you use it. A running toilet — that endless hissing, the phantom refills at 3 a.m. — is almost always a fill valve problem, and it can waste an astonishing amount of water while slowly driving you mad. I have been fixing plumbing for twenty years, and I can tell you this is a genuine 15-minute job with basic tools. A plumber will charge you for a service call; the part itself costs less than a pizza. Let us get it done.
This guide covers diagnosing the problem, identifying your valve type, the complete replacement procedure with water shutoff safety, and the adjustments that make the new valve work perfectly. Read the safety section first — water and haste do not mix.
Safety First: Water Shutoff and What to Know
Before you touch anything, find your toilet’s water supply valve — the small valve on the wall or floor behind the toilet, where the supply line connects. Turn it clockwise to shut off the water. Then flush the toilet to empty the tank. If the shutoff valve is stuck, corroded, or missing (common in older homes), you need to know where your home’s main water shutoff is before proceeding — that is typically near where the water line enters the house, in a basement, crawl space, or utility closet. Never force a stuck valve with excessive leverage; a snapped supply valve turns a 15-minute job into an emergency plumber call.
Keep towels and a small bucket or container handy. Even with the tank drained, residual water lives in the supply line and the bottom of the tank. Work deliberately, not quickly — most DIY plumbing floods happen because someone rushed the reconnection, not because the job was hard.
Diagnose First: Is the Fill Valve Really the Problem?
A running toilet has a few possible causes, and replacing the fill valve only fixes one of them. Two minutes of diagnosis saves you from fixing the wrong thing:
- Constant hissing or trickling into the bowl: classic fill valve failure. The valve is not shutting off fully, so water keeps flowing. Also check the water level — if it is above the overflow tube, the valve is overfilling.
- Phantom flushes (tank refills on its own periodically): usually the flapper, not the fill valve. Water is leaking from tank to bowl, the level drops, and the fill valve correctly refills. Test with food coloring: put a few drops in the tank, wait 20 minutes without flushing. Color in the bowl means the flapper leaks.
- Slow tank refill: often a clogged fill valve — sediment in the valve’s filter screen or mechanism. Sometimes cleaning fixes it; often replacement is easier.
- Water running into the overflow tube constantly: the fill valve’s float is set too high or the valve is stuck open. Try adjusting the float level first (see below) — if adjustment does not hold, replace.
If the diagnosis points to the fill valve, proceed. If it points to the flapper, that is an even easier fix — but a different one.
Identify Your Valve Type
Most modern toilets use one of a few fill valve designs, and knowing yours helps you buy the right replacement:
- Float cup (the common one): a cylindrical float slides up and down the valve body itself. Found in most toilets made in the last 25 years. The universal replacement kits at any hardware store fit these.
- Float ball (older): a ball on a long metal or plastic arm. Common in older toilets. These are obsolete designs — replace with a modern float-cup valve, which is more reliable and adjustable.
- Internal float / tower style: compact valves where the float is hidden inside the valve body. Common in newer low-flow and dual-flush toilets. Replacements exist but match the brand if possible.
- Pressure-assisted or specialty: some commercial-style and high-efficiency toilets use proprietary valves. If yours looks unusual, note the toilet’s brand and model (stamped inside the tank) before shopping.
For the vast majority of residential toilets, a universal fill valve kit — the kind sold everywhere for under $15 — fits and works fine. Bring your old valve to the store if you are unsure; matching it visually is foolproof.
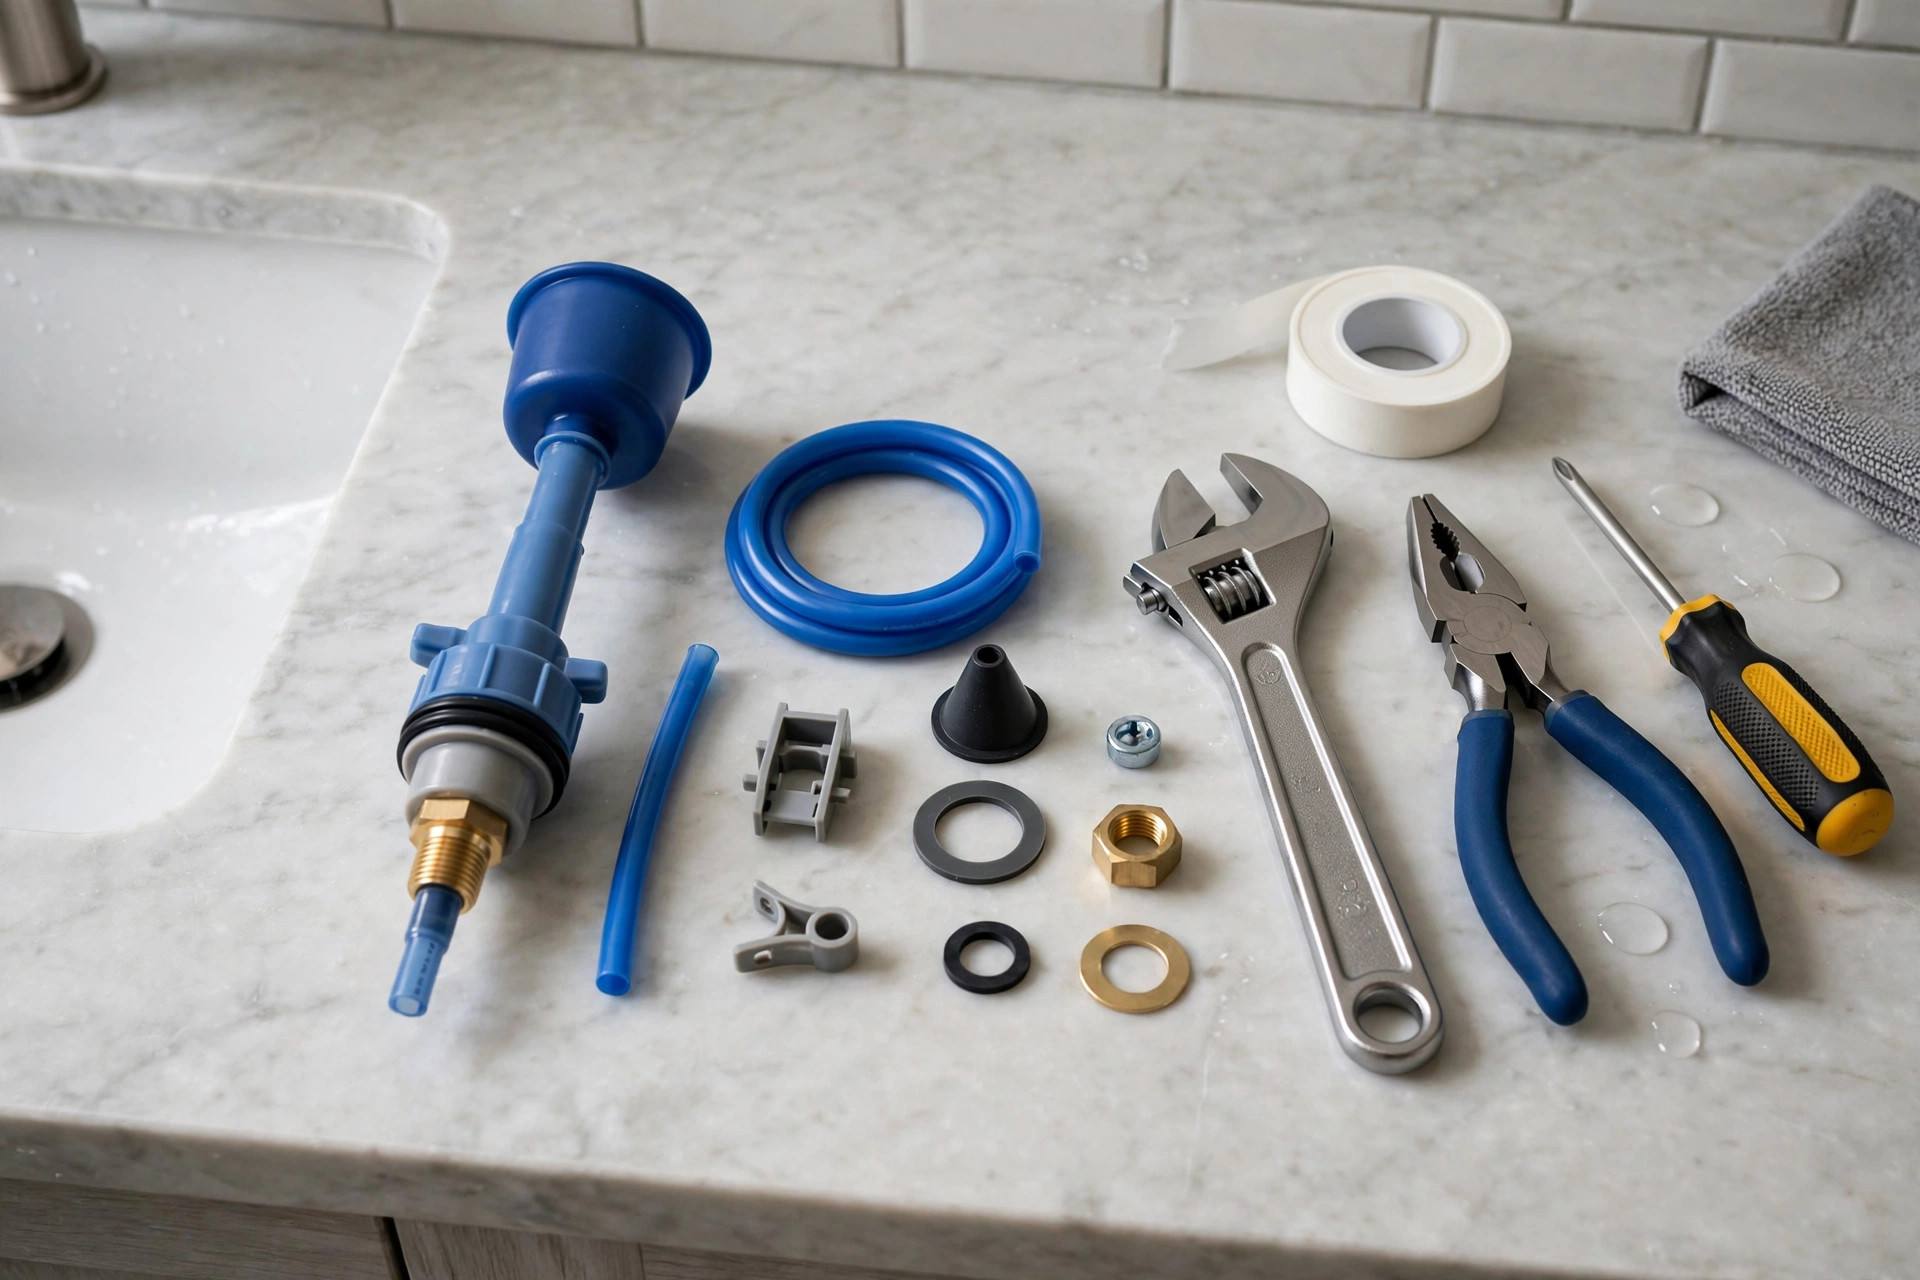
How to Replace a Toilet Fill Valve: Step by Step
Step 1: Shut off the water and drain the tank
Turn the supply valve behind the toilet clockwise until it stops. Flush the toilet and hold the handle down to drain as much as possible. Sponge or towel out the remaining water in the tank — you want it as dry as you can get it, because you will be reaching in there.
Step 2: Disconnect the supply line
Place your bucket under the connection. Unscrew the supply line from the bottom of the fill valve (under the tank) — this is usually a hand-tight plastic nut, though older metal ones may need an adjustable wrench. Have the bucket ready; residual water will drain out. If the supply line looks corroded, brittle, or ancient, replace it too — braided stainless supply lines are cheap insurance and far more reliable than old plastic or corroded metal ones.
Step 3: Remove the old valve
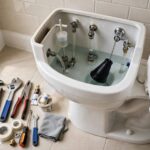
Inside the tank, unscrew the mounting nut holding the fill valve to the tank bottom. Lift the old valve straight out. Note how the refill tube was routed — it clips to the overflow tube and sends water into the bowl during refill. You will replicate this with the new valve.
Step 4: Set the new valve’s height
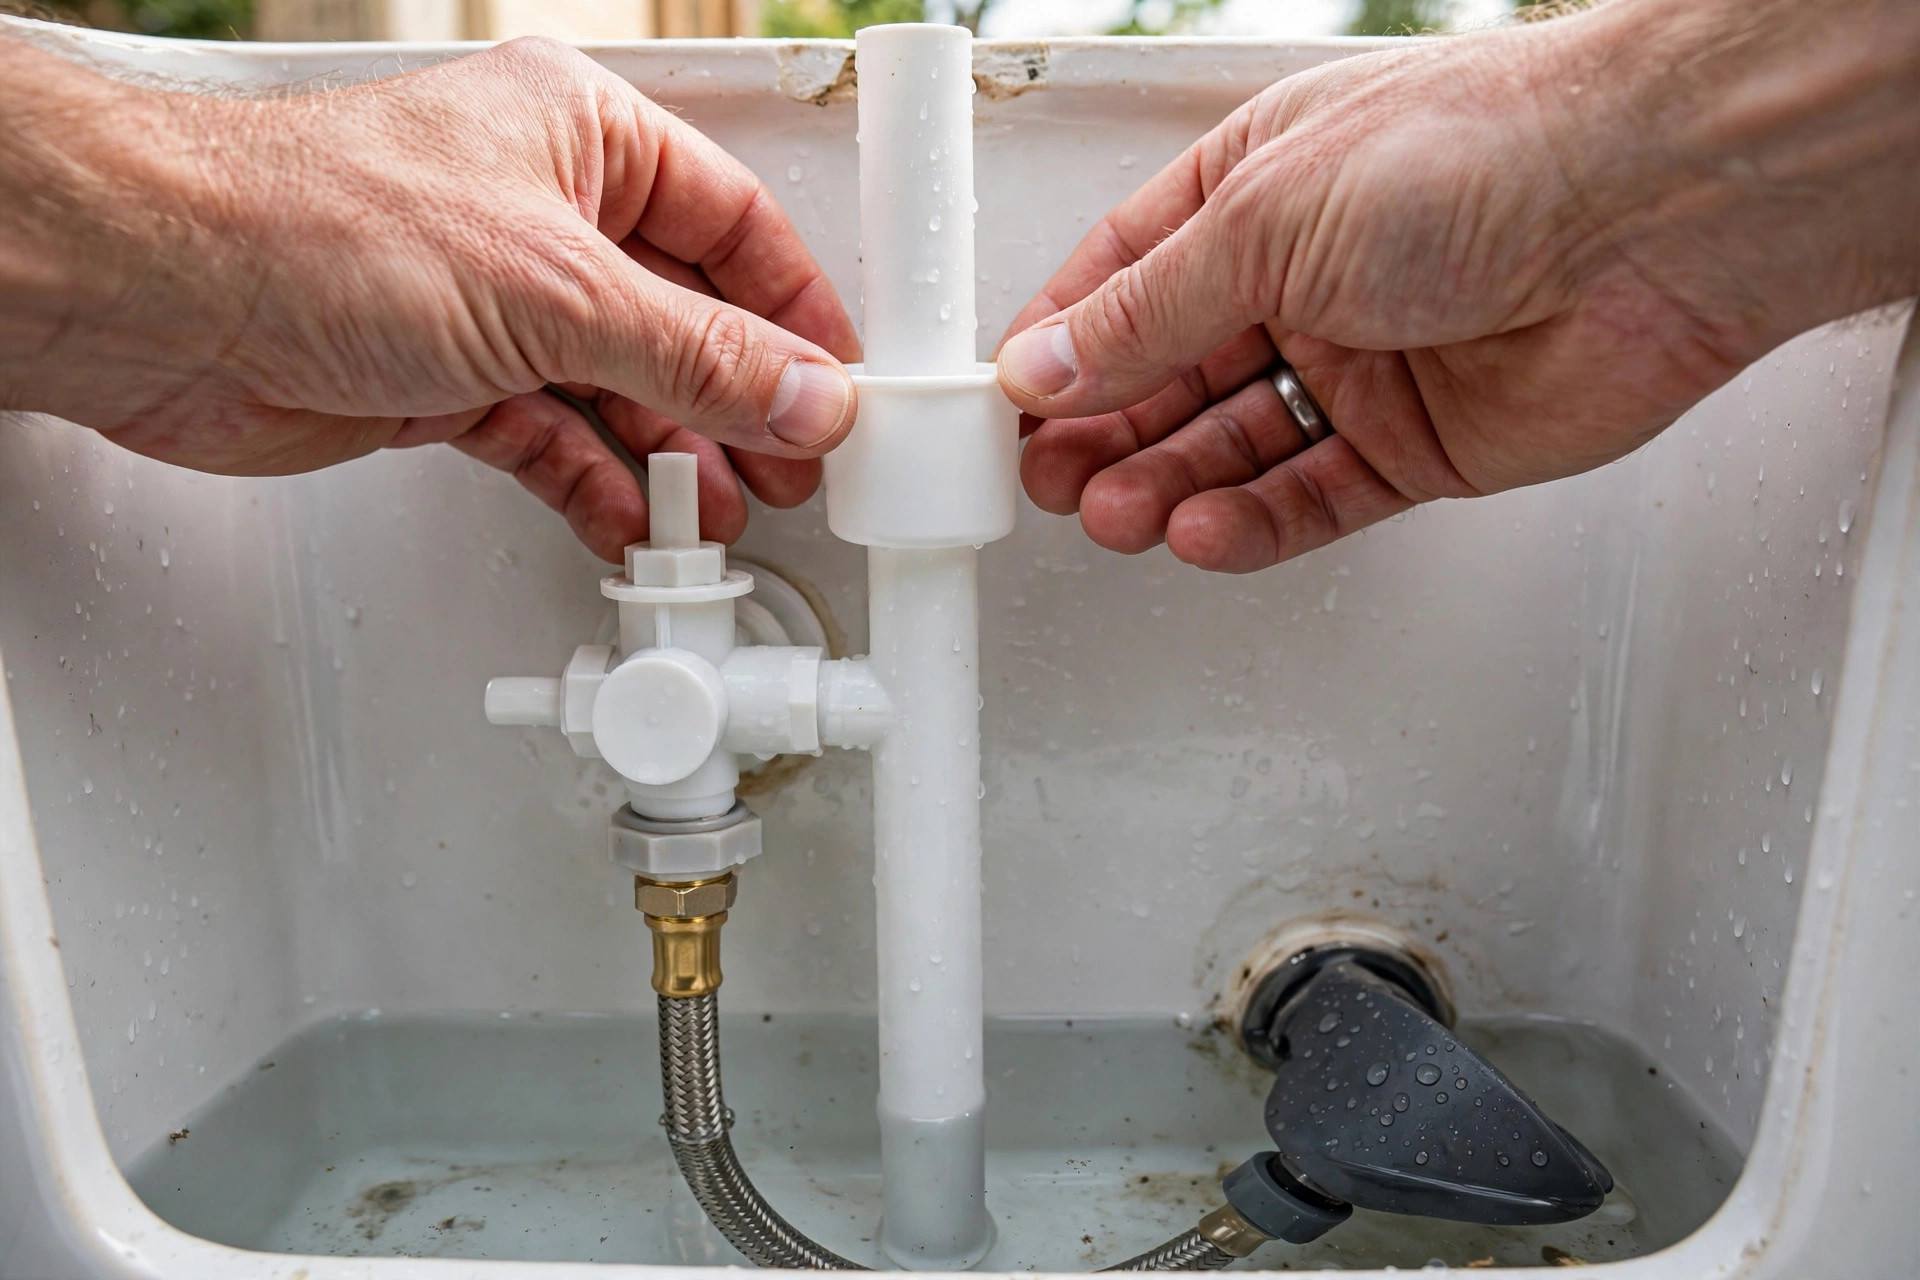
Universal valves adjust by twisting and sliding. The critical measurement: the top of the valve (the “critical level” mark, usually indicated on the valve body) must sit at least one inch above the top of the overflow tube. Too low and you risk back-siphonage; too high and the tank lid will not fit. Adjust before installing — it is much easier on the countertop than inside the tank.
Step 5: Install the new valve
Drop the new valve into the tank hole, making sure the base washer or gasket seats flat against the tank bottom. Thread the mounting nut on from underneath and tighten by hand, then a quarter-turn with a wrench — snug, not gorilla-tight. Overtightening cracks the porcelain, and a cracked tank is a far bigger problem than a fill valve. Attach the refill tube to the overflow tube with the provided clip, aiming it down into the tube.
Step 6: Reconnect the water and test
Reconnect the supply line — hand-tight plus a quarter turn. Turn the supply valve back on slowly and watch every connection for drips as the tank fills. Check the water level: it should stop about an inch below the top of the overflow tube. If it does not, adjust the float (see next section). Flush twice and watch a full cycle. No hissing after the fill stops, no water in the overflow tube, no drips underneath — you are done. Put the lid back on.
Adjusting the Water Level
A new valve usually needs a small adjustment to hit the perfect water level. On float-cup valves, pinch the adjustment clip on the float and slide it up or down the valve body — up raises the water level, down lowers it. On older float-ball valves, bend the arm gently or turn the adjustment screw. The target: water stops roughly one inch below the top of the overflow tube, and well below the tank’s waterline mark if one is stamped inside.
Why does this matter? Too high wastes water down the overflow and can cause constant running. Too low gives weak flushes. Take the extra minute to dial it in — it is the difference between a repair and a proper repair.
Troubleshooting After Installation
- Valve will not shut off / keeps running: the float is set too high, or debris got into the valve during installation. Lower the float; if that fails, shut off the water, remove the valve cap, and rinse the seal and filter screen.
- Drip at the supply connection: usually the supply line nut needs another quarter-turn, or the washer is mis-seated. Do not overtighten — disassemble, check the washer, and reseat.
- Slow fill: check that the supply valve behind the toilet is fully open, and check the new valve’s inlet screen for sediment dislodged during the work.
- Toilet runs briefly every few minutes: that is the flapper, not your new valve — run the food coloring test described above.
- Hammering or banging when the valve shuts off: water hammer. It often settles, but persistent hammering may mean high water pressure — worth checking with a gauge, since chronic high pressure damages valves and appliances.
When to Call a Plumber Instead
This job is firmly DIY for most people, but know your limits. Call a professional if the shutoff valve is frozen or broken, if the tank itself is cracked, if you discover the toilet rocks on its base (that is a wax ring and flange issue, a bigger job), or if multiple fixtures have problems suggesting a systemic issue. There is no shame in it — a good DIYer knows which jobs are theirs and which are not.
Frequently Asked Questions
How do I know if my toilet fill valve is bad?
The classic signs: constant hissing, water trickling into the bowl nonstop, the tank taking forever to refill, or water flowing into the overflow tube. The food coloring test distinguishes fill valve problems from flapper problems — if color appears in the bowl without flushing, the flapper is leaking; if the tank overfills or never stops, suspect the fill valve.
How long does it take to replace a toilet fill valve?
About 15 minutes for the replacement itself, plus a few minutes of diagnosis and testing. Budget 30 minutes total if it is your first time — most of that is being careful with the water connections, which is time well spent.
Are toilet fill valves universal?
For most residential toilets, yes — universal float-cup kits fit the standard tank hole and work across brands. Exceptions are some proprietary low-flow, dual-flush, and pressure-assisted models, where matching the manufacturer’s part is safer. When in doubt, bring the old valve to the store.
How much does it cost to replace a toilet fill valve?
The part typically costs under $15 at any hardware store; a braided stainless supply line, if you replace that too, adds a few dollars more. A plumber would charge for a service call on top of the part — which is exactly why this is one of the highest-ROI DIY repairs in the house.
Can I replace a fill valve without turning off the water?
No — do not try. You must shut off the toilet’s supply valve (or the house main if the supply valve is broken) before disconnecting anything. Working on a pressurized supply line will flood your bathroom in seconds. This is the one non-negotiable safety rule of the job.
Why does my new fill valve keep running?
Almost always the float level is set too high — lower it so the water stops an inch below the overflow tube. If adjustment does not fix it, debris may be stuck in the valve seal from installation; shut off the water, pop the cap, and rinse the seal and screen.
Done — Enjoy the Silence
There is a particular satisfaction in fixing a running toilet: the bathroom goes quiet, the water bill stops bleeding, and you did it yourself in less time than a plumber would spend parking. Keep the old valve’s model info somewhere in case you need it again in a decade — and next time you hear that phantom hiss at 3 a.m., you will know exactly what to do.