How to Fix Squeaky Floorboards: Quick Fixes and Proper Repairs


Learning how to fix squeaky floorboards starts with a diagnosis, not a toolbox — and that is where most people go wrong. They hear a squeak, grab the nearest fix they read about online, and are annoyed when it does nothing. I have fixed hundreds of squeaky floors over the years, and I can tell you the repair is usually simple. The hard part is finding exactly where the noise comes from and understanding why it squeaks, because the right fix depends entirely on the cause. Get the diagnosis right and the fix takes twenty minutes. Get it wrong and you will be chasing squeaks all weekend.
This guide covers the full process: locating the squeak precisely, the quick fixes that work for minor cases, the proper structural fix for the rest, and the mistakes that make things worse. No special skills required — just patience and the right approach.
Why Floorboards Squeak (the 60-Second Explanation)
A squeak is friction — two surfaces rubbing that should not be moving against each other. In almost every case, it is one of three things: a floorboard rubbing against a neighboring board, a board rubbing against a nail or screw that has worked loose, or the subfloor moving against a floor joist. Wood expands and contracts with humidity and seasons, nails loosen over decades, and the tiny movements that result produce that familiar complaint underfoot.
This is why squeaks are often seasonal: winter’s dry air shrinks wood and opens tiny gaps; summer humidity swells it shut. A floor that squeaks in January and goes quiet in July is telling you the truth about its construction. Understanding the mechanism matters because each cause has its own fix — lubricating a board that is actually moving against a joist is like putting a bandage on a loose tooth.

How to Fix Squeaky Floorboards: Find the Squeak First
Do not skip this. Have someone walk the floor slowly while you listen from below if you have basement or crawlspace access — the squeak is dramatically easier to pinpoint from underneath, and you can watch the movement happen. No below access? Walk it yourself, slowly, shifting your weight, and mark each squeak with painter’s tape. Be precise: mark the exact board and the spot along its length.
Then characterize the squeak. A high, short squeak when you step on one spot usually means board-on-board friction at a joint. A deeper groan or pop suggests subfloor movement against a joist — the bigger structural issue. Squeaks along a line often trace a joist, meaning several fasteners have loosened along one run. Write down what you find; the pattern tells you which fix to use and how many spots need attention. Most floors have three to five real squeak points, not the twenty you imagine while lying awake listening to them.
Quick Fixes: Powder, Graphite, and Lubricants
For board-on-board friction squeaks — the minor, high-pitched kind — quick fixes genuinely work. Talcum powder or powdered graphite: work it into the joints between the squeaking boards, then walk on the area to grind it in. The powder lubricates the friction surfaces. Graphite is the better choice (talc absorbs moisture over time), and a puffer bottle gives the best application. Dry silicone spray in the joint works similarly and lasts longer. Wax: rub a candle or paraffin block along the joint for a quick friction fix.
Be honest about what these do: they treat the symptom (friction) without addressing any structural movement. For a mildly squeaky joint in an otherwise solid floor, that is completely fine — the fix can last years. For a board that is genuinely loose and moving, powder is a temporary quieting at best. Use quick fixes for quick problems; do not expect them to solve structural ones.
The Proper Fix: Screws Into the Joist
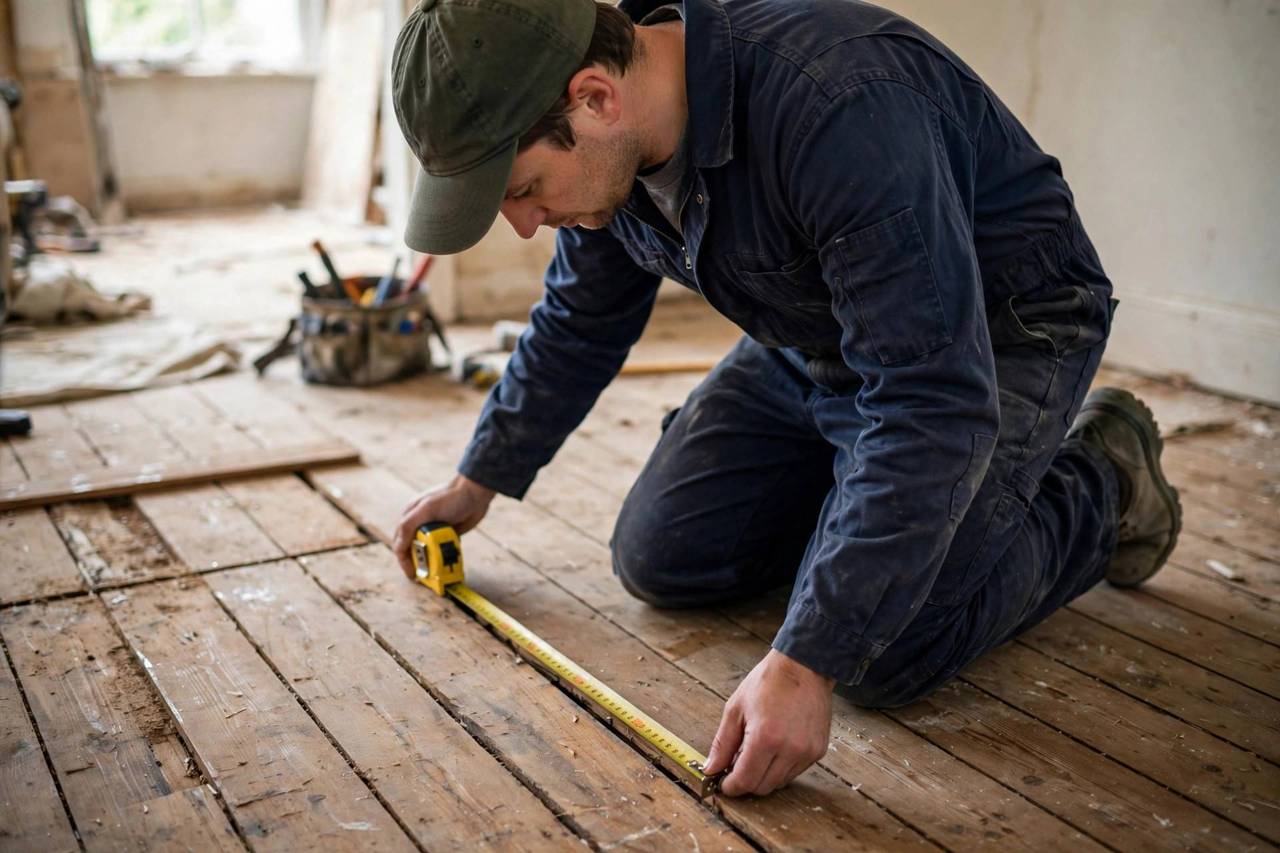
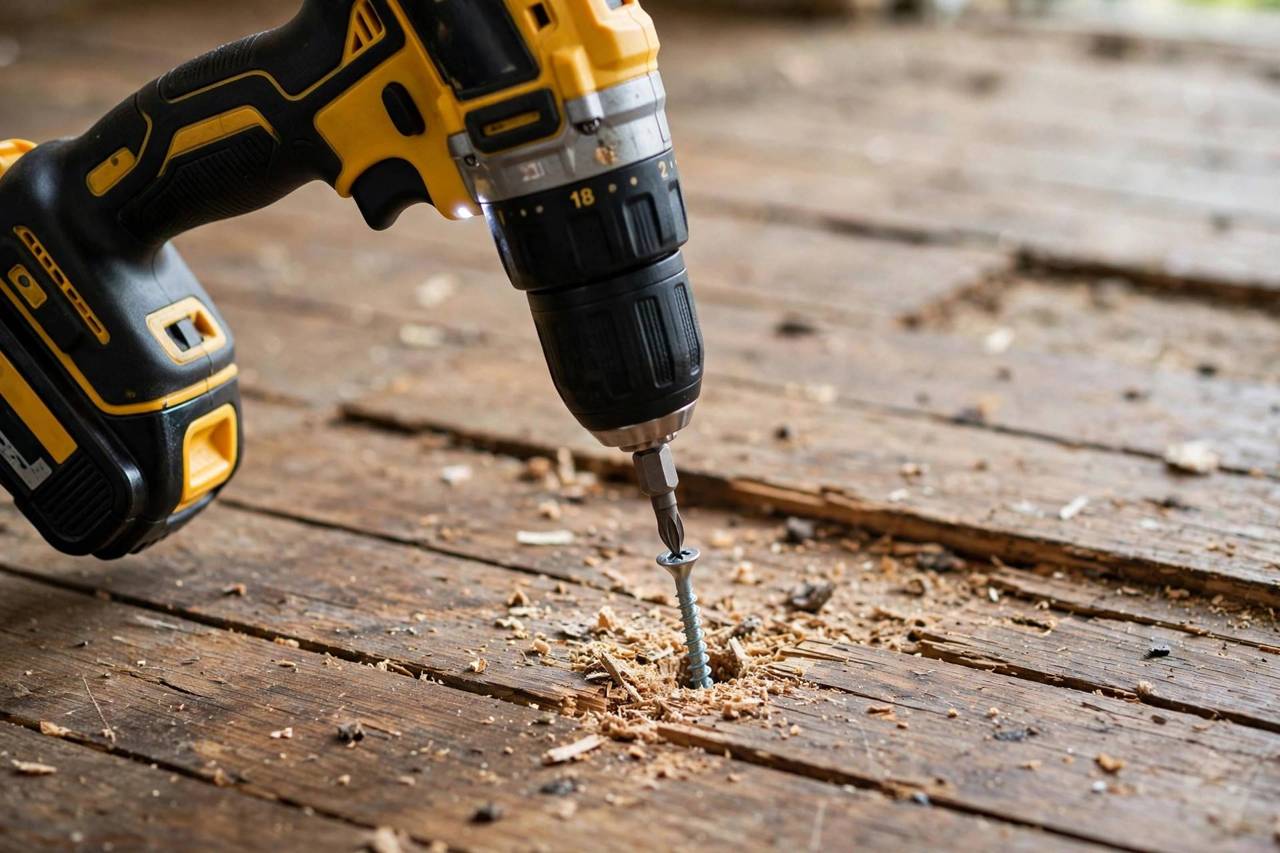
For subfloor-on-joist movement — the deep groans and the squeaks that quick fixes cannot touch — the proper repair is driving screws through the flooring into the joist below, pulling everything tight. Here is the process: Step 1: Locate the joist. From above, joists typically run perpendicular to the floorboards at 40 cm (16 inch) intervals; a stud finder confirms the position. Step 2: Pre-drill through the floorboard with a bit slightly smaller than your screw — this prevents splitting, which would be worse than the squeak. Step 3: Drive a #8 wood screw (5–6 cm / 2–2.5 inches, long enough to bite solidly into the joist) until the head sits just below the surface. Step 4: Fill the hole with matching wood filler, let dry, sand flush, and touch up the finish.
Two critical details: drive the screw next to the old nail, not through it — hitting the old fastener will deflect the screw and accomplish nothing. And do not overtighten; snug is the goal, and cracking the board creates a new problem. For hardwood floors you care about cosmetically, use breakaway screws designed for this purpose — they snap off below the surface, leaving a tiny hole that filler makes nearly invisible.
Fixing From Below: The Basement Advantage
If you have access from underneath, you have the best repair options. With a helper walking above to pinpoint the spot, you can shim the gap: apply construction adhesive to a thin wooden shim and tap it gently into the gap between the joist and subfloor — gently is the operative word; forcing a shim can lift the floor and create a hump. Or sister the joist: screw a short block of wood alongside the joist under the squeak, bridging the gap and stiffening the assembly.
From-below repairs are invisible from above — no holes in your finished floor at all — which makes them the premium option whenever access exists. The tradeoff is working overhead in a cramped space, which is uncomfortable but straightforward. Wear eye protection; gravity and sawdust are not your friends down there.
Special Cases: Carpet, Stairs, and Engineered Floors
Carpeted floors: you can fix squeaks without pulling the carpet. Use a stud finder to locate the joist through the carpet, then drive a scored breakaway screw through the carpet into the joist — the scored shaft snaps off below the surface, and the carpet hides the evidence. Special kits exist for exactly this. Stairs: stair squeaks are usually the tread rubbing the riser; from underneath, glue and screw a small triangular block into the tread-riser joint. From above, the options are limited — this is one case where below-access really matters. Engineered and laminate floors: these float rather than being nailed down, so squeaks usually mean an uneven subfloor or missing expansion gap; the fix may involve lifting sections, which is a bigger job — diagnose carefully before committing.
Mistakes That Make Squeaks Worse
Nailing instead of screwing: nails work loose again — it is why you have a squeak in the first place. Screws hold. WD-40 as a “fix”: it quiets the squeak for a week and leaves an oily residue that prevents proper adhesives from bonding later. Overtightening: cracking a board turns a squeak into a repair. Fixing the wrong spot: sound travels through framing, and the squeak you hear is often a board or two from the actual movement — verify by having someone stand on the exact marked spot while you listen. Ignoring humidity: if your whole house squeaks every winter, a humidifier addressing the 30–50% relative humidity range may quiet the entire floor at once — sometimes the fix is environmental, not mechanical.
When to Call a Professional
DIY covers most squeaks, but some situations deserve a pro. Widespread structural movement — entire rooms that bounce or sag — suggests joist problems beyond loose fasteners: rot, insect damage, or undersized joists. If the floor visibly deflects underfoot, stop and get a structural assessment; driving screws into compromised joists masks a problem that needs real repair. Water damage around the squeak (staining, softness, mustiness) means the subfloor itself may be failing. Post-renovation squeaks across a newly installed floor usually indicate an installation issue the installer should fix under warranty — document it and call them before you start drilling.
A flooring contractor will typically diagnose the issue in one visit and quote per squeak-point or per room. For a handful of spots, expect a few hundred dollars; for whole-house structural work, get multiple quotes. There is no shame in calling for the hard cases — knowing which squeaks are DIY and which are not is itself the skill.
Preventing Future Squeaks
If you are installing new flooring, prevention is straightforward: use screws (not nails) for the subfloor, apply construction adhesive between subfloor and joists, and leave proper expansion gaps at the walls. For existing floors, the best prevention is humidity control — keeping indoor relative humidity between 30% and 50% year-round minimizes the wood movement that loosens fasteners in the first place. A $50 hygrometer tells you where you stand; a humidifier or dehumidifier closes the gap. Floors, like people, complain less when they are comfortable.
FAQ
What causes squeaky floorboards?
Friction from movement — usually a board rubbing a neighbor, a loose nail, or the subfloor shifting against a joist. Seasonal humidity changes make it worse by shrinking and swelling the wood.
Can you fix squeaky floors without removing floorboards?
Yes — most fixes work from above (powder in joints, screws into joists) or from below (shims, sistering). Removing boards is rarely necessary.
Does baby powder stop floor squeaks?
It can quiet minor board-on-board friction squeaks temporarily. Powdered graphite or dry silicone lubricant works better and lasts longer. Neither fixes structural movement.
Should I use nails or screws for squeaky floors?
Screws, always. Nails loosen over time — that is usually why the floor squeaks now. Screws grip and hold the assembly tight permanently.
How much does it cost to fix squeaky floors?
DIY: the cost of screws, wood filler, and maybe a stud finder — typically under $30. Professional repair runs a few hundred dollars depending on the number of spots and access.
Why do floors squeak more in winter?
Dry winter air shrinks wood, opening tiny gaps between boards and fasteners. Summer humidity swells the wood shut. Maintaining indoor humidity around 30–50% reduces seasonal squeaking.
Conclusion
Find the exact squeak, match the fix to the cause — powder for friction, screws into the joist for movement — and avoid the shortcuts that make things worse. Most squeaky floors are a Saturday morning’s work, not a flooring contractor’s invoice. Your quiet house is closer than you think.