What Is the Best Caulk for Bathrooms? Pro Guide

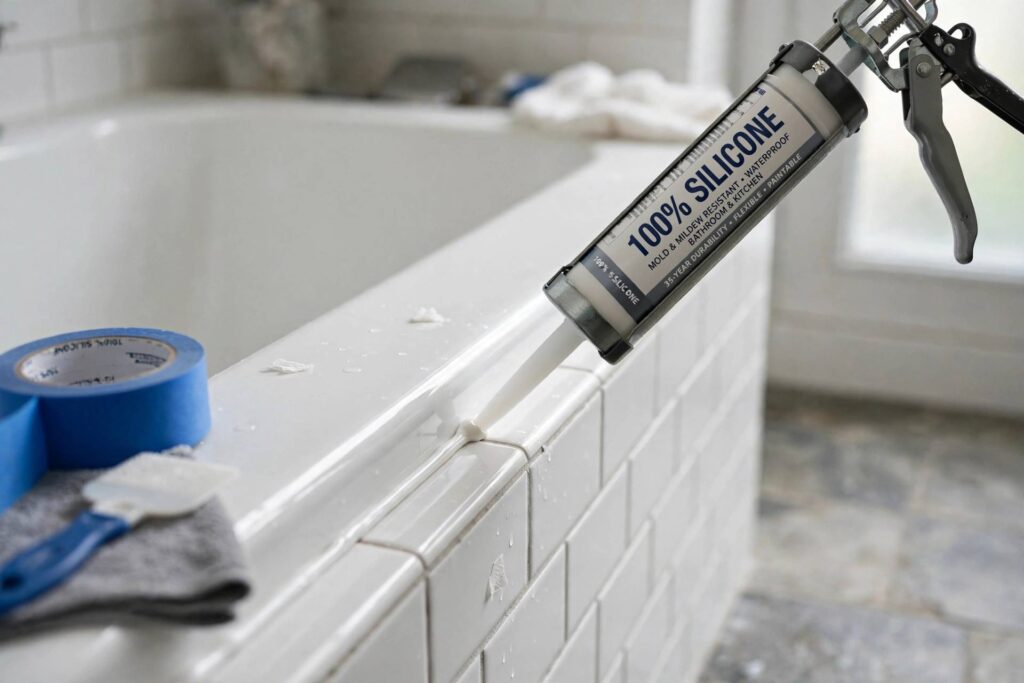
Walk into any hardware aisle and you will face a wall of tubes that all claim to be the answer. Silicone, latex, siliconized, kitchen and bath, mold-free: the labels blur together fast. So what is the best caulk for bathrooms? For most bathroom jobs, 100% silicone caulk is the best choice: it stays flexible, shrugs off water, and resists mold far longer than latex alternatives.
I have recaulked more tubs and showers than I can count, and I will save you the trial and error. The right tube matters, but the prep work matters more. Get both right and your caulk lines will look clean and stay sealed for years.
What Is the Best Caulk for Bathrooms? The Short Answer
One hundred percent silicone caulk, preferably one labeled for kitchen and bath use with mold and mildew resistance. Silicone remains permanently flexible, which matters because tubs, showers, and sinks shift microscopically with temperature changes and weight. Rigid caulk cracks; silicone moves with the joint.
Silicone is also inherently water-resistant once cured, and quality bathroom formulas include biocides that inhibit mold growth on the caulk surface. In a room that spends half its life humid, that resistance is the difference between caulk that lasts a decade and caulk that looks grimy in eighteen months.
The trade-off: silicone cannot be painted, it is harder to tool smoothly than latex, and removing it later is genuinely unpleasant. But for wet areas, those downsides are worth it. Use latex or siliconized acrylic where you need paintability, like trim and baseboards, and silicone where water lives.
Silicone vs Latex vs Hybrid: The Full Comparison
100% silicone: Best waterproofing, best flexibility, best longevity in wet areas. Difficult to apply neatly, cannot be painted, strong vinegar smell while curing. The pick for tubs, showers, and sinks.
Siliconized acrylic latex: Easier to apply and tool, paintable, cleans up with water. Less flexible and less water-resistant than pure silicone. Fine for bathroom trim, baseboards, and areas that get splashed but not soaked.
Polyurethane/hybrid: Extremely durable and paintable, excellent adhesion. Overkill for most bathroom interiors and harder to work with. More common in exterior and commercial work.
For the classic bathroom jobs, sealing the tub to the tile, the shower base, around the toilet base, and behind faucets, pure silicone wins every time. Keep a tube of siliconized latex for the cosmetic spots.
What to Look for on the Label
First, “100% silicone” rather than “siliconized.” The words sound similar and mean very different things. Second, mold and mildew resistance: look for explicit kitchen-and-bath labeling. Third, check the cure time and the joint-movement rating. A 25-year or lifetime warranty means little if the application is poor, but it signals the manufacturer’s confidence.
Color matters too. White is standard, clear works where you want the seal invisible, and almond or biscuit tones match older fixtures. Some brands offer color-matched options for popular grout colors. Pick the color before you buy, because you cannot paint over silicone afterward.
Buy fresh tubes. Caulk has a shelf life, and old tubes cure in the nozzle or never fully set. Check the date code if the store prints one, and do not stockpile more than you will use within a year.
Prep: The Step Everyone Skips
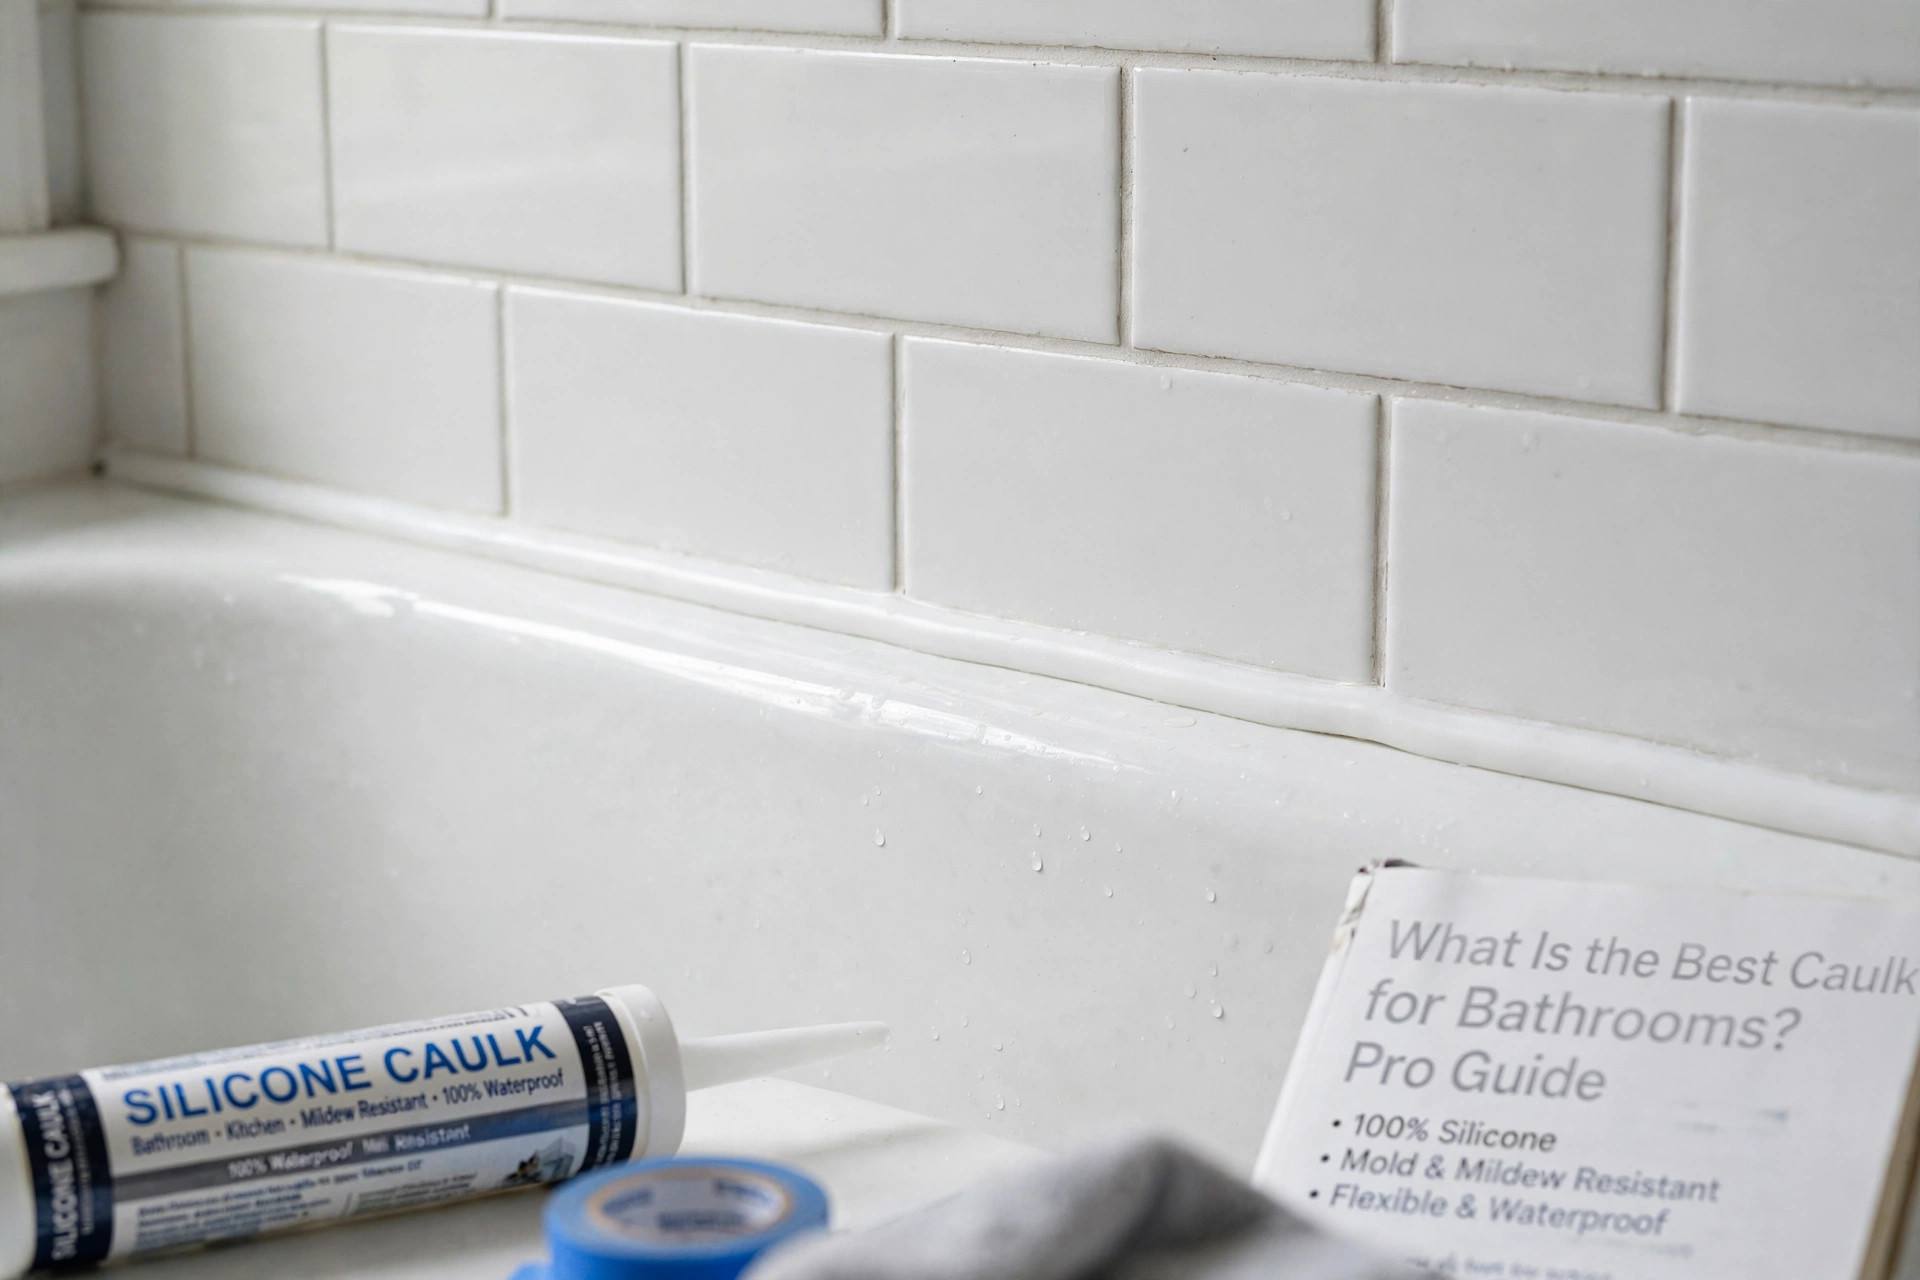
Here is the truth contractors learn early: caulk fails because of bad prep, not bad caulk. Old caulk must come out completely. Score it with a utility knife, pull it away, and remove every residue with a caulk remover or mineral spirits. New silicone does not bond well to old silicone, so “caulking over” is a temporary fix at best.
Clean the joint thoroughly and let it dry completely. In a bathroom, “dry” means really dry: run the exhaust fan, wait hours after the last shower, and wipe the joint with rubbing alcohol to remove soap film. Moisture trapped under fresh caulk becomes mold food.
Tape both sides of the joint with painter’s tape for crisp lines, cut the nozzle at a 45-degree angle with a small opening, and keep a cup of soapy water and rags nearby. You get one smooth pass per section, so work in short stretches and tool the bead immediately with a wet finger or a caulk tool.
Where to Caulk (and Where Not To)
Caulk where two different materials meet and water might intrude: tub to tile, shower base to wall, sink to countertop, toilet base to floor, and around faucet escutcheons. These joints move, which is exactly why flexible silicone belongs there.
Do not caulk the weep holes at the bottom of a shower door track; they are drainage by design. Leave the back of the toilet base uncaulked or caulk only the front and sides, so a leak reveals itself instead of hiding under the fixture. And never caulk over grout as a substitute for regrouting: it is a bandage, not a repair.
Inside the shower, the vertical corners where walls meet are caulk joints, not grout joints, in proper installations. Grout cracks in corners because walls move independently; silicone flexes. If your shower corners are grouted and cracking, that is the likely reason.
How to Remove Old Caulk Without Damaging Tile
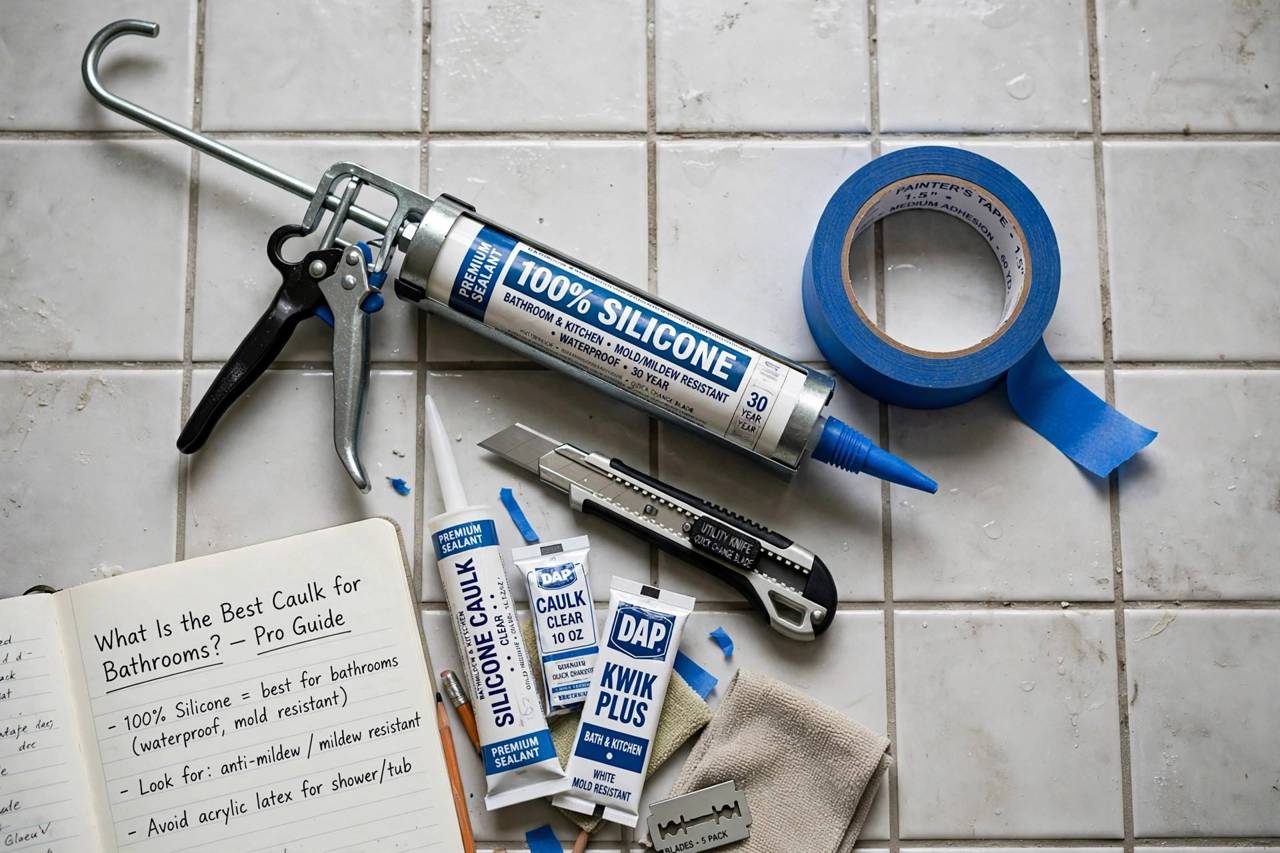
Removal is the job everyone dreads, but the right approach makes it manageable. Start with a sharp utility knife or a dedicated caulk removal tool, and score along both edges of the old bead. Pull away the bulk in strips; silicone often comes out in satisfying long pieces if you get under an edge.
For residue, a caulk remover gel softens what the blade leaves behind. Apply it, wait the recommended time, and scrape gently with a plastic razor blade, which will not scratch tile or fiberglass. Mineral spirits on a rag handle the final film. On natural stone, skip harsh chemicals and stick to mechanical removal to avoid staining.
Patience is the real tool. Rushing this step gouges grout lines and scratches fixtures. An hour of careful removal buys you years of adhesion. The new caulk can only bond as well as the surface you give it.
Tools That Make Caulking Easier
A dripless caulk gun is the single best upgrade over the cheap ratchet-style guns that come free with nothing. It stops the flow the instant you release the trigger, which means no more caulk continuing to ooze while you reposition. For a few dollars more, it transforms the experience.
Painter’s tape is non-negotiable for crisp lines: tape both sides of the joint, caulk, tool, and pull the tape immediately while the caulk is wet. A set of silicone caulk finishing tools, small plastic profiles in various radii, gives you consistent beads without the fingertip guesswork.
Keep rubbing alcohol, rags, and a small bowl of soapy water within arm’s reach before you start. Once caulk is on the surface, the clock is ticking; hunting for supplies mid-bead is how messy lines happen.
How Long to Wait Before Using the Shower
Cure times are the most ignored instruction on the tube. Most silicone caulks are touch-dry in about 30 minutes but need 24 hours to cure fully, and some need up to 48. Water exposure before curing can ruin the seal and invite mold under the bead.
Plan the job accordingly: caulk in the evening, let it cure overnight, and keep the shower dry for a full day. If you only have one bathroom, this takes coordination, but a failed seal costs far more time than a day of Navy-style shower scheduling.
Temperature and humidity affect curing. Cold bathrooms cure slower; good ventilation helps. If your bathroom runs cold, give it extra time rather than trusting the optimistic number on the label.
Caulk vs Grout: Knowing Which to Use
This confusion causes half of all bathroom seal failures. Grout fills the joints between tiles on a stable surface. Caulk seals joints where different materials meet or where movement happens. Corners, tub-to-tile transitions, and fixture edges get caulk; the flat field of wall tile gets grout.
The reason is flexibility. Buildings move: houses settle, tubs flex under weight, temperature swings expand materials. Grout is rigid and cracks under movement; caulk stretches. Every cracked shower corner you have ever seen was grout doing a caulk job.
When regrouting a shower, rake out failed grout, regrout the flat areas, and caulk the corners and transitions with 100% silicone. The two materials work as a system, each doing what the other cannot.
Color-matched caulk exists for popular grout colors, so the transition can look seamless. Ask at the tile aisle; the match is usually close enough that no one notices where grout ends and caulk begins.
Frequently Asked Questions
What is the best caulk for bathrooms?
100% silicone caulk labeled for kitchen and bath use with mold resistance. It stays flexible, waterproof, and resists mildew far longer than latex options.
Can I use regular caulk in the shower?
Standard latex caulk is a poor choice for showers. It absorbs moisture, grows mold, and cracks as the joint moves. Use 100% silicone in any area with direct water exposure.
How long does bathroom caulk last?
Properly applied silicone caulk typically lasts 5 to 10 years or more in a bathroom. Poor prep or constant harsh cleaners shorten its life considerably.
Can you caulk over old caulk?
You can, but you should not. New silicone bonds poorly to old silicone, so overlaying usually fails within months. Remove the old caulk completely first.
Why does my bathroom caulk keep getting moldy?
Usually a combination of poor ventilation, soap residue feeding the mold, and caulk without mildew resistance. Improve exhaust fan use, squeegee after showers, and use a mold-resistant silicone.
How do I get a smooth caulk line as a beginner?
Tape both sides of the joint with painter’s tape, cut the nozzle small at a 45-degree angle, and apply steady pressure while moving at an even speed. Immediately smooth the bead with a wet finger or a caulk finishing tool in one continuous pass, then pull the tape off while the caulk is still wet. Work in short sections, about two feet at a time, and keep rags handy. Your third joint will look dramatically better than your first.
What color caulk should I choose for my bathroom?
Match the fixture, not the tile grout, in most cases: white caulk against a white tub looks seamless even if the grout is gray. Clear silicone disappears against any background and is forgiving for beginners. Almond or biscuit tones suit older colored fixtures. Whatever you choose, buy it before you start, since silicone cannot be painted over later.