How to Paint a Room Like a Professional: Step by Step

Here is the open secret of the painting trade: the difference between a DIY paint job and a professional one is about 20 percent painting and 80 percent everything else. Prep, patience, and technique — that is the whole formula. Learning how to paint a room like a professional does not require talent. It requires doing the boring steps that most people skip, in the right order. This is the full process, start to finish.
Step 1: Prep the Room (The Step Everyone Skips)
Move furniture to the center and cover it with drop cloths — canvas, not plastic, because plastic gets slippery underfoot. Remove outlet covers, switch plates, curtain rods, and anything screwed to the walls. Lay drop cloths on the floor with the edges taped down. This takes an hour. It saves three hours of cleanup and touch-ups later, and it is the single biggest difference between amateur and professional results.
Step 2: Prep the Walls
Paint does not hide problems; it highlights them. Fill nail holes and dents with spackle, let it dry, and sand it flush — run your hand over it; if you can feel the edge, you will see it through the paint. Scuff glossy surfaces lightly with fine sandpaper so the new paint grips. Wash the walls with a damp sponge and mild cleaner, especially in kitchens (grease) and bathrooms (moisture residue). Let everything dry completely.
Caulk the gaps where trim meets the wall if they have opened up — a five-minute job that makes edges look razor sharp. Pros do this reflexively; DIYers almost never do, and it shows.
Step 3: Tape — But Know Its Limits
Tape the trim, baseboards, and ceiling line with quality painter’s tape, pressing the edge down firmly with a putty knife. Here is what pros know: tape is a guide, not a guarantee. Paint can bleed under tape, especially on textured walls. The real skill is cutting in — painting a straight freehand line along edges with an angled brush — and tape is the training wheels while you learn it.
Step 4: Prime When It Matters
You do not always need primer, but you need it when: painting over a dark color with a light one, painting new drywall, covering stains or patched areas, or switching from oil-based to latex paint. Spot-prime patches at minimum — unprimed spackle absorbs paint differently and flashes through as dull spots. Tinting the primer toward your finish color helps coverage on dramatic color changes.
Step 5: Cut In the Edges
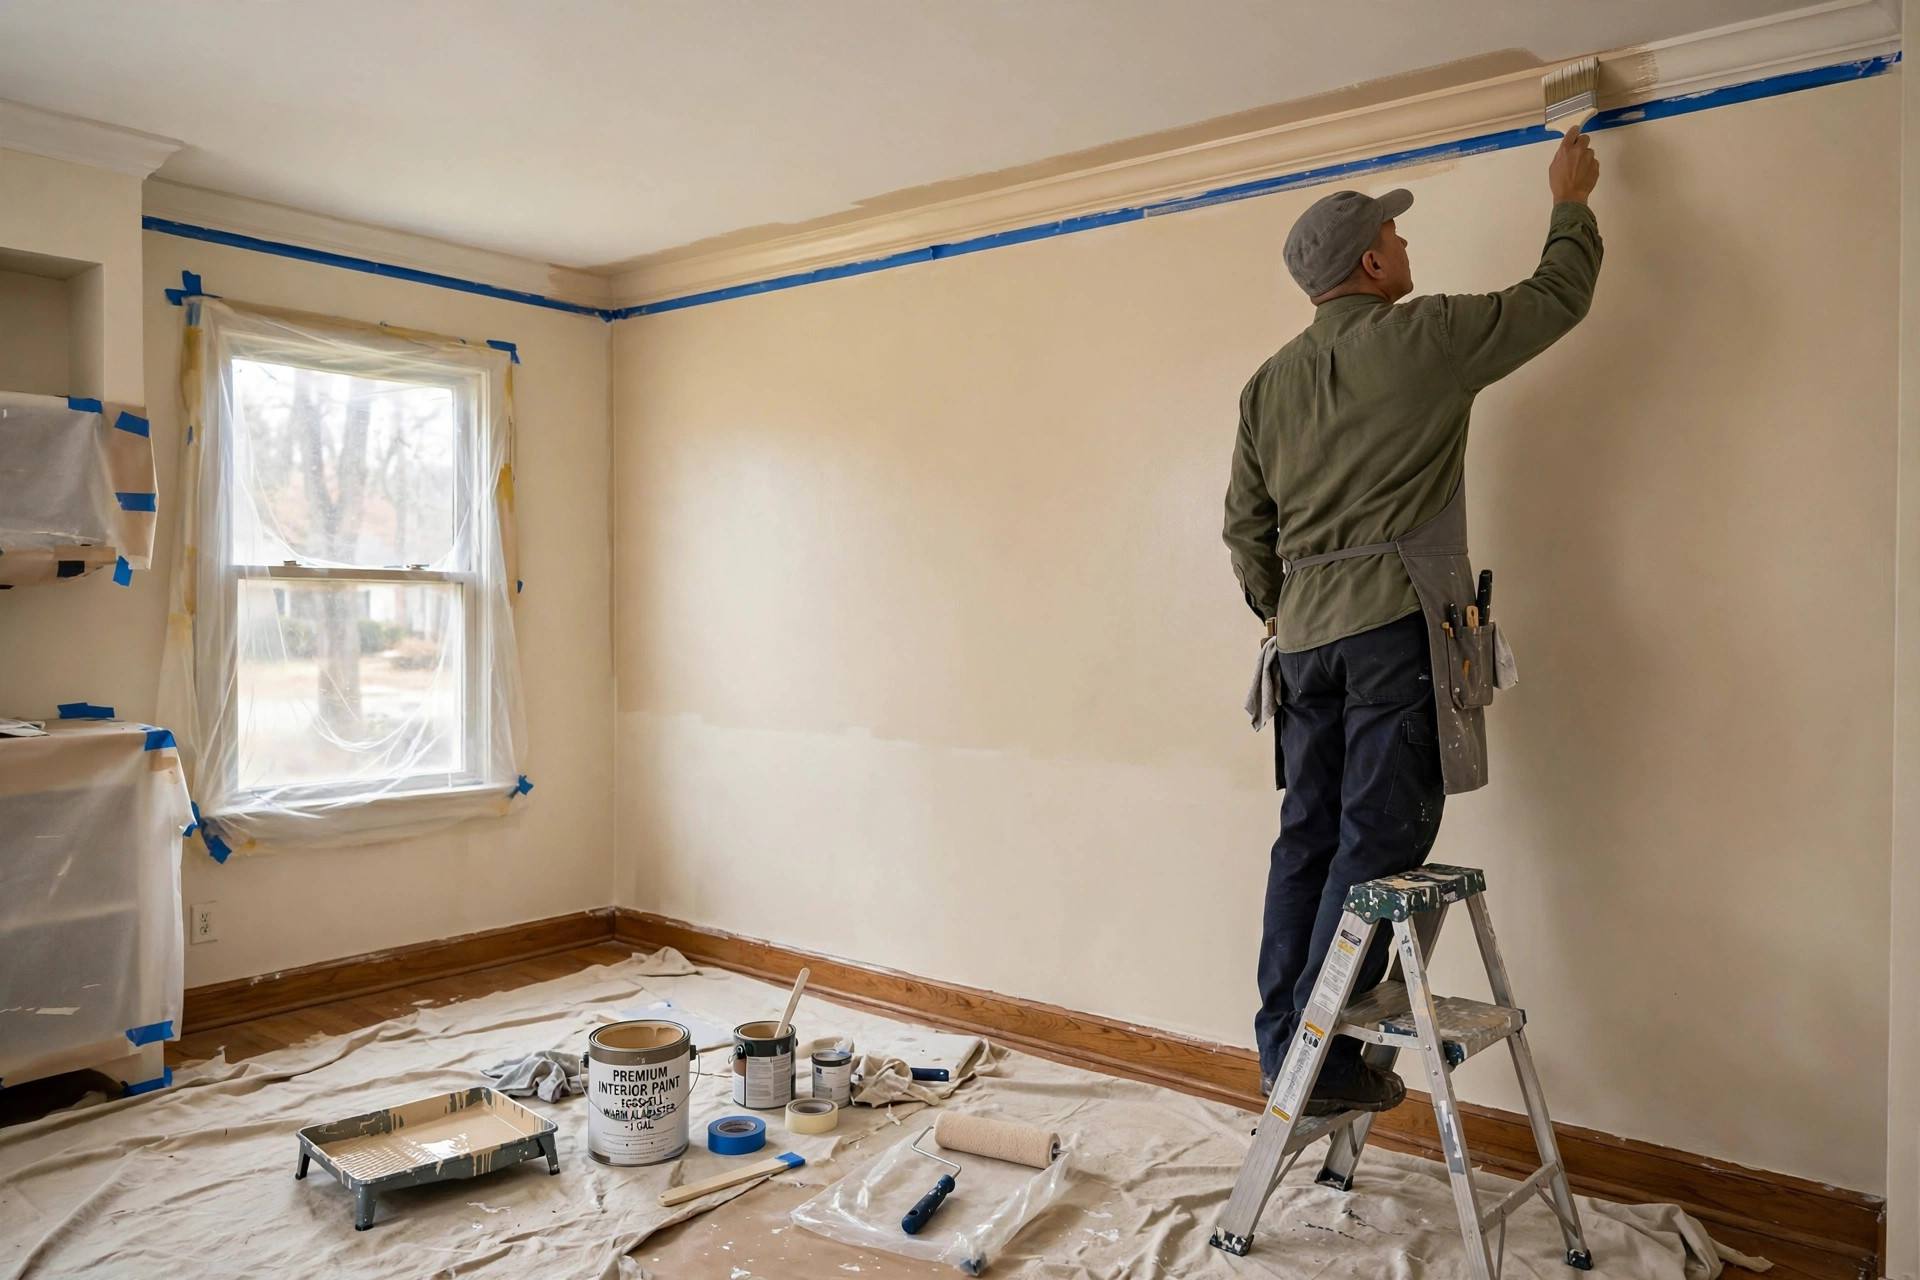
Using a 2.5-inch angled sash brush, paint a 2–3 inch band along every edge: ceiling line, corners, trim, baseboards. Load the brush moderately — too much paint causes drips, too little causes streaks. Work in sections, and keep a wet edge: cut in one wall, then roll that wall before the cut-in band dries, so the two blend invisibly.
The pro technique for a straight line: rest the brush’s bristle tips lightly against the surface and let the paint flow, guiding with your whole arm rather than your wrist. It feels wrong the first time and natural by the second wall.
Step 6: Roll the Walls
Use a 9-inch roller with the right nap — 3/8 inch for smooth walls, 1/2 inch for light texture. Load the roller fully in the tray, roll off the excess, and apply paint in a “W” or “M” pattern about 3 feet wide, then fill it in without lifting the roller. Work top to bottom, maintaining a wet edge so each stroke blends into the last.
Two thin coats beat one thick coat every time. Thick coats drip, sag, and take forever to cure. Let the first coat dry fully — check the can, usually 2–4 hours — then apply the second. The second coat is where the color gets its depth and uniformity; skipping it is the most common reason DIY jobs look thin.
Step 7: The Finish Work
Pull painter’s tape while the final coat is still slightly tacky — waiting until it is fully dry risks peeling paint off with the tape. Score the tape edge with a utility knife first if the paint has bridged over it. Reinstall outlet covers and hardware only after the paint has cured, not just dried to the touch; curing takes days to weeks depending on the paint, and early hardware installation leaves marks.
Do a final walkthrough in daylight and with the room’s lights on — different lighting reveals different flaws. Keep a small jar of the paint for touch-ups, labeled with the room, color name, and finish. Future you will be grateful.
Pro Tips That Make the Real Difference
Buy good brushes and rollers. Cheap tools shed bristles into your finish and hold paint unevenly. A quality brush costs more once and paints better every time you use it.
Don’t paint in extreme conditions. High humidity slows drying and can cause adhesion problems; very hot rooms make paint dry too fast to level properly. Moderate temperature, moderate humidity, good ventilation.
Box your paint. If you are using multiple gallons of the same color, mix them together in a 5-gallon bucket first. Tiny color variations between cans disappear this way — pros never skip this on large jobs.
Work efficiently. Pros paint a standard bedroom in a day because the sequence is automatic: prep, walls, edges, roll, second coat, cleanup. Follow the same order and you will be surprised how fast it goes.
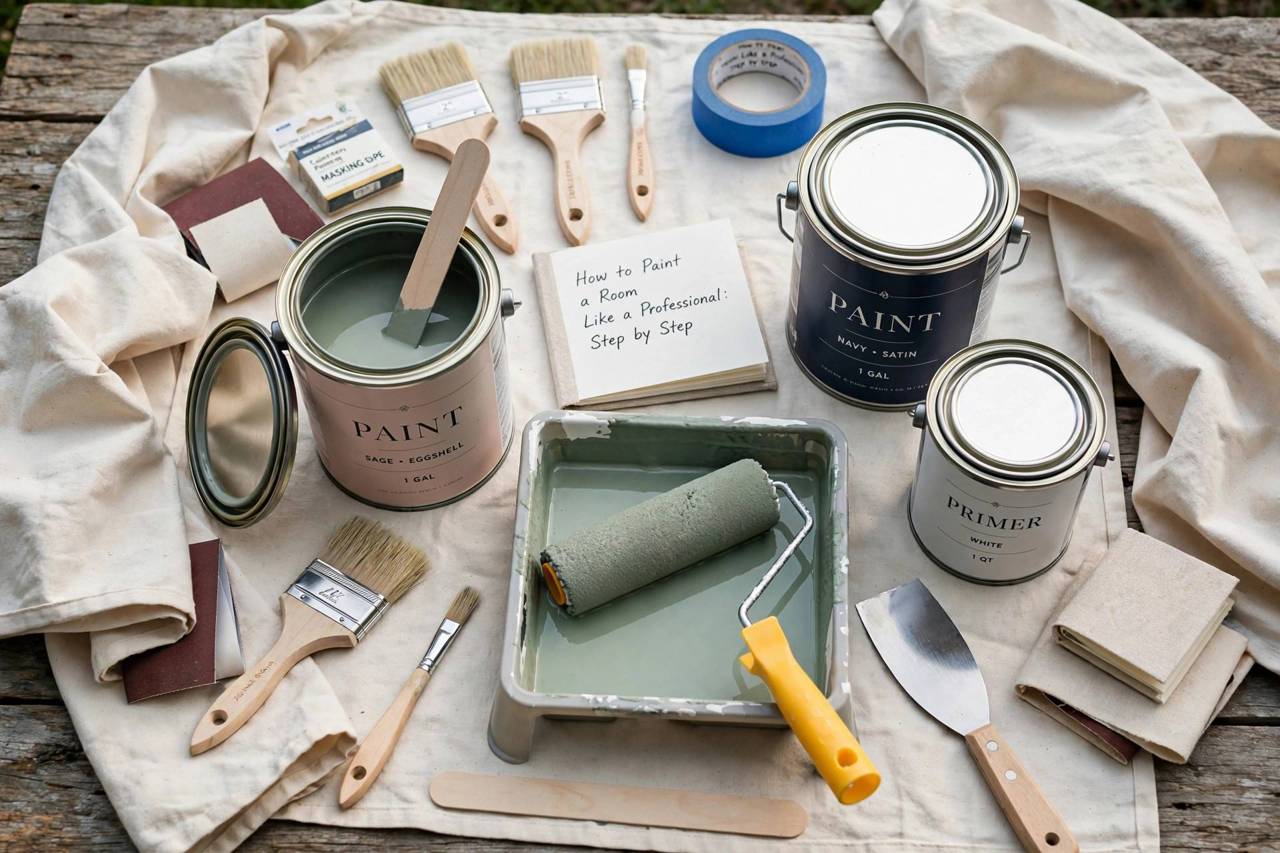
How to Paint a Room Like a Professional: The Condensed Checklist
For those who want the whole method on one screen: clear and cover the room; fill, sand, and clean the walls; caulk trim gaps; tape edges; prime where needed (dark colors, new drywall, stains, patches); cut in edges with an angled brush; roll walls in W-patterns keeping a wet edge; apply two thin coats; pull tape while tacky; reinstall hardware after curing; keep labeled touch-up paint. That is the entire professional process. Everything else is refinement.
Choosing the Right Paint
Paint choice matters more than brand loyalty. Finish first: flat/matte hides wall imperfections but scuffs easily — good for ceilings and low-traffic bedrooms. Eggshell and satin are the workhorses for living areas: washable with a soft sheen. Semi-gloss stands up to moisture and scrubbing — the standard for trim, doors, kitchens, and bathrooms. Higher sheen shows more flaws, so reserve gloss for surfaces that are smooth and worth highlighting.
Quality second: premium paints cover better (often in fewer coats), level smoother, and resist fading and scrubbing longer. The price difference per gallon is real, but spread across a room it is one of the cheapest upgrades in the project. Cheap paint that needs three coats costs more in time than good paint costs in dollars.
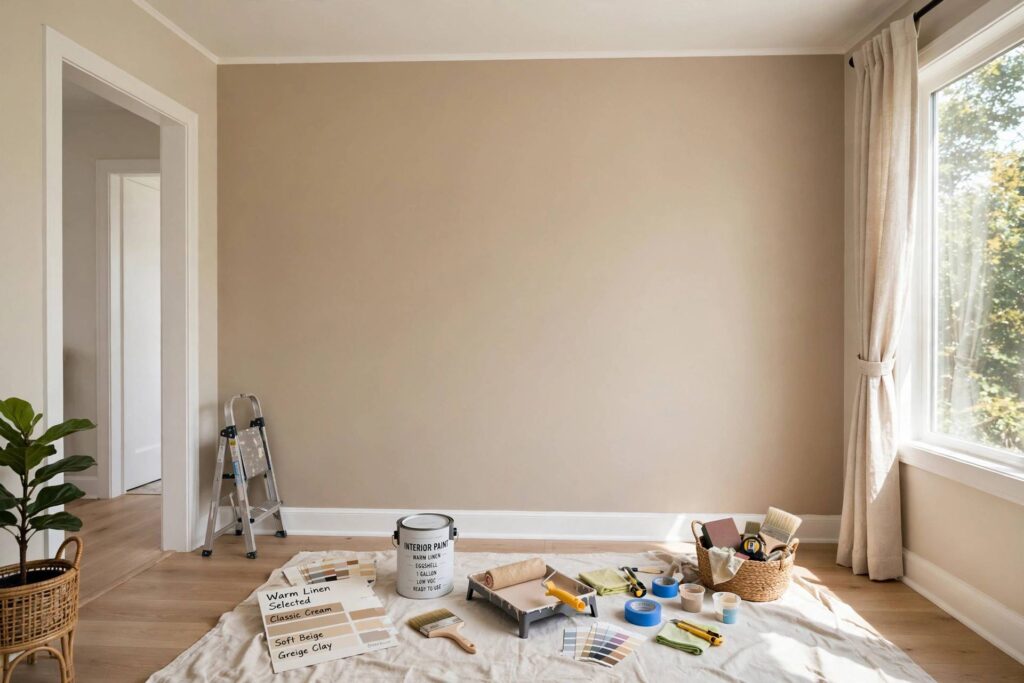
Color third: test before committing. Paint large swatches on the wall and live with them for two days, checking in morning, afternoon, and artificial light — colors shift dramatically. The little chip from the store lies; the swatch on your wall tells the truth.
Cleanup, Storage, and Touch-Ups
Clean brushes and rollers promptly — latex paint washes out with soap and water, but only before it cures. For multi-day projects, wrap brushes and roller covers tightly in plastic bags or wrap instead of washing them nightly; sealed from air, they stay usable for days. Wipe the paint can rim before sealing the lid so it closes properly, and store cans upside down briefly to create an airtight seal (then store upright, in a temperate spot — freezing ruins latex paint).
Label everything: painter’s tape on the can lid with the room, color name and code, finish, and date. Touch-ups with the original paint blend invisibly; touch-ups with a “close enough” new can often do not, because colors drift between batches. Six months from now, that labeled can is the difference between a five-minute fix and repainting a wall.
Painting Tricky Spots: Ceilings, Trim, and Small Rooms
Ceilings are the hardest surface in the room — you’re working overhead, drips fall on you, and mistakes are backlit. Use flat ceiling paint (it hides imperfections), a roller with an extension pole, and work in small sections away from the light source so you can see wet edges. Trim and doors want a different approach: a high-quality angled brush, semi-gloss paint, long smooth strokes, and patience — trim is where brush marks show, so don’t overwork the paint. Small rooms and dark colors: dark paint in a small room can look stunning, but it shows every flaw — prep twice as carefully, and know that deep colors often need an extra coat for uniformity. Textured walls need a thicker roller nap and more paint; the texture that hides flaws also drinks coverage.
How Long Does a DIY Paint Job Last?
A properly prepped and painted interior wall lasts five to ten years in living areas — longer in low-traffic bedrooms, shorter in hallways, kitchens, and kids’ rooms. The prep determines the lifespan more than the paint: paint over clean, sound surfaces lasts; paint over grease, flaking old paint, or unprimed patches fails early regardless of quality. When repainting eventually comes due, the job is dramatically easier the second time — the prep from the first job mostly holds, and you’re just refreshing color. That’s the quiet payoff of doing it right once.
Frequently Asked Questions
How many coats of paint does a room need?
Two coats over proper prep is the professional standard. One coat looks thin and uneven; the second coat provides full color depth and durability. Primer counts separately when the surface needs it.
Should I paint the trim or the walls first?
Pros usually paint trim first, then tape it and paint the walls — it is easier to get a clean wall edge over trim than the reverse. Either order works if you tape carefully.
How long should I wait between coats of paint?
Follow the can’s recoat time, typically 2–4 hours for latex paint. The surface should be dry to the touch and no longer tacky. Rushing the second coat causes lifting and uneven texture.
Do I need to sand walls before painting?
Light sanding is recommended: sand spackled patches flush, scuff glossy paint so the new coat adheres, and knock down any rough spots. You do not need to sand intact, flat latex paint aggressively.
What is the best roller nap for interior walls?
3/8-inch nap for smooth walls, 1/2-inch for lightly textured walls. Thicker naps hold more paint but leave more texture; match the nap to your wall surface.