How to Fix a Leaking Shower Head in 20 Minutes

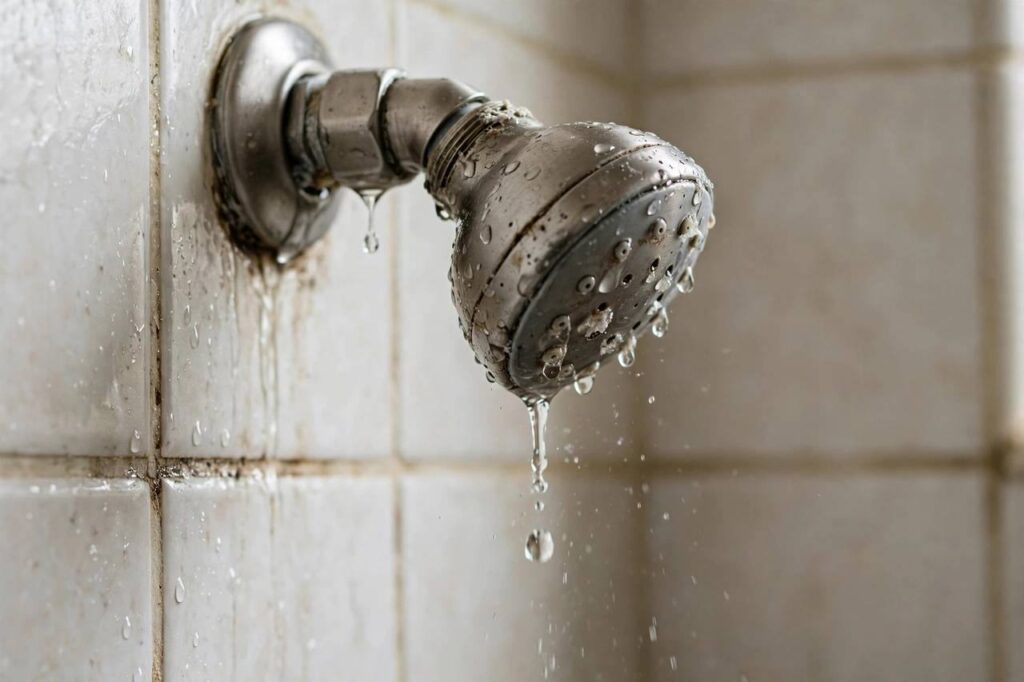
Drip. Drip. Drip. It starts as background noise and ends as a personal vendetta — not to mention the water bill quietly climbing while you pretend not to hear it. If you need to know how to fix a leaking shower head, here is the encouraging part: most shower head leaks are caused by one of a handful of simple problems, and most of them can be fixed in under thirty minutes with tools you probably already own. I have fixed hundreds of these, and I can count on one hand the times the actual shower head was the real villain.
The key to a fast fix is diagnosing which kind of leak you have before you touch a wrench. A leak at the connection and a leak from the face of the shower head are different problems with different fixes. Get the diagnosis right and the repair is usually trivial. Get it wrong and you will replace parts that were never broken.
How to Fix a Leaking Shower Head: Diagnose First
Run the shower, then turn it off, and watch carefully. There are two main scenarios:
- Scenario A: water leaks from the connection — where the shower head screws onto the shower arm (the pipe coming out of the wall). You will see dripping or seeping at that threaded joint, sometimes running down the arm. This is a seal problem.
- Scenario B: water drips from the shower head face — out of the nozzles themselves, continuing after the shower is off. A few drips for a minute after shutoff are normal (it is just residual water draining). But if it drips persistently for many minutes or never fully stops, the valve is not closing completely.
Scenario A is a DIY repair in the vast majority of cases. Scenario B sometimes is too — but it can also point to a worn shower valve cartridge behind the wall, which is a bigger job. Let us take them in order.
Fixing a Leak at the Connection (Scenario A)
Nine times out of ten, a connection leak means the threaded seal has failed. The fix is one of the most satisfying in all of home repair: cheap, fast, and permanent.
What you will need
An adjustable wrench, Teflon tape (also called plumber’s tape — a few dollars at any hardware store), a cloth or rag, and optionally a toothbrush and white vinegar. That is the whole toolkit.
The repair, step by step
- Unscrew the shower head. Turn it counterclockwise by hand if you can. If it is stuck, wrap the cloth around the connector nut (to protect the finish) and use the adjustable wrench. Lefty-loosey.
- Clean the threads. You will see the shower arm’s male threads coming out of the wall. Scrub off old Teflon tape, mineral buildup, and grime with the toothbrush. If there is heavy limescale, soak a vinegar-dampened cloth around the threads for 15 minutes first.
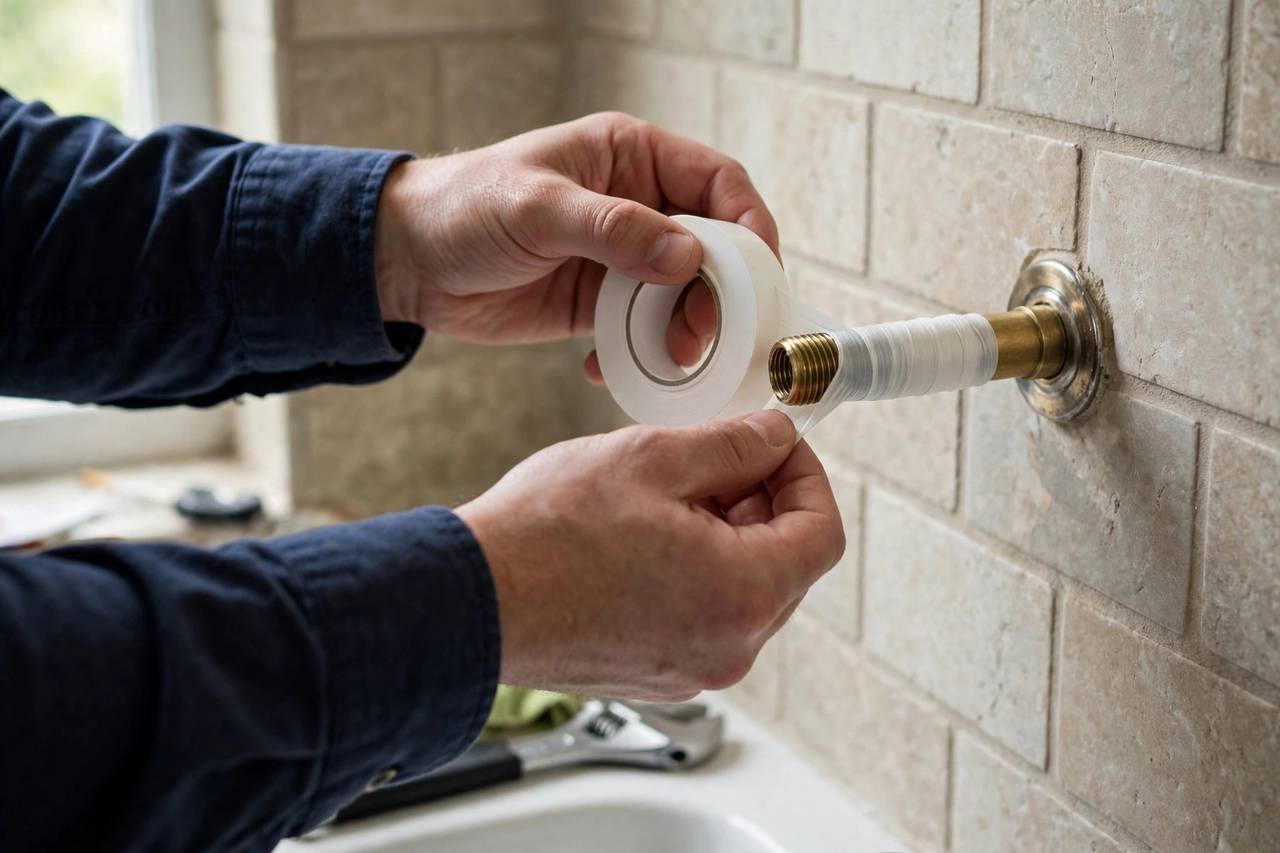
- Apply new Teflon tape. This is the actual fix. Wrap the tape clockwise around the threads (as viewed looking at the end of the pipe) — 4 to 6 wraps, stretching it slightly so it seats into the threads. Wrapping in the direction of tightening means the tape tightens rather than unraveling as you screw the head on. This single detail is where most DIY tape jobs fail.
- Screw the shower head back on. Hand-tighten first, then give it a final snug with the wrench through the cloth — firm, not gorilla-tight. Over-tightening cracks plastic nuts and deforms the washer, creating new leaks.
- Check the washer. Inside the shower head’s connector nut there is usually a small rubber washer. If it is cracked, flattened, or missing, replace it — washers cost pennies and cause a surprising share of leaks. Take the old one to the store to match the size.
- Test. Run the shower and check the joint. Dry? Done. Still seeping? Add another couple wraps of tape or replace the washer.
Total time: 15-20 minutes. Total cost: under five dollars. This fix resolves the large majority of connection leaks permanently.
Fixing a Shower Head That Drips When Off (Scenario B)
If the nozzles keep dripping long after shutoff, work through these causes in order:
1. Mineral-clogged nozzles
In hard-water areas, limescale builds up inside the nozzles, preventing clean shutoff and distorting the spray pattern. The fix: fill a plastic bag with white vinegar, rubber-band it over the shower head so the face is submerged, and leave it for 30-60 minutes (or overnight for heavy buildup). Remove, scrub the nozzles with an old toothbrush, and run the shower hot for a minute. If the spray pattern improves and the dripping stops, you are done — and you have just added a maintenance task to do every few months.
2. A worn-out shower head
Shower heads do not last forever. Internal seals and flow restrictors degrade, especially in cheap models. If the head is many years old, visibly corroded, or has survived multiple rounds of the vinegar treatment without improving, replacement is the rational move. A decent new shower head costs $20-50, installs with the same Teflon-tape method above, and takes ten minutes.
3. A faulty shower valve cartridge
If a new (or descaled) shower head still drips, the problem is upstream: the shower valve cartridge behind the handle is not sealing fully. This is the part that actually turns the water off, and when its seals wear out, water seeps through continuously. Replacing a cartridge is a moderate DIY job — shut off the water supply, remove the handle and trim, pull the old cartridge, and install a matching replacement — but it varies hugely by valve brand and model. If you are not comfortable opening up the valve, this is the point where calling a plumber makes sense. It is a routine job for them, usually well under an hour.
When to Call a Plumber Instead
I am a big believer in DIY, and I am also a big believer in knowing where DIY ends. Call a professional if:
- The leak is coming from inside the wall (water staining on the wall or ceiling below, damp drywall around the shower arm). That is a pipe problem, not a shower head problem.
- The shower arm itself is corroded, cracked, or spins freely in the wall.
- You need to replace a valve cartridge and cannot identify the brand/model, or the valve is old enough that parts are scarce.
- You have tried the connection fix properly and it still leaks — there may be a cracked fitting you cannot see.
- Water pressure dropped suddenly along with the leak starting — that combination can signal a bigger plumbing issue.
There is no shame in any of this. The plumber’s hourly rate is cheaper than the water damage from a wall leak you chased for three weekends.

Preventing the Next Leak
A few habits that keep shower heads drip-free for years:
- Do not over-tighten. I mention it twice because it causes half the problems I see. Hand-tight plus a quarter-turn with a wrench is enough.
- Descale on a schedule. In hard-water areas, the vinegar-bag treatment every 3-6 months prevents the buildup that causes drips and weak spray.
- Replace washers proactively. When you remove a shower head for any reason, inspect the washer and replace it if it looks tired. Pennies now versus a leak later.
- Fix drips promptly. A small drip is a warning, not background noise. A shower head dripping once per second wastes a surprising amount of water over weeks — and the constant moisture accelerates corrosion that turns a washer job into a replacement job.
A Note on Water Pressure Changes
Sometimes a “leak” arrives with a change in water pressure — the spray weakens at the same time the dripping starts. That combination usually points to mineral buildup rather than a failed seal: scale narrows the nozzles, pressure drops at the face, and water finds the path of least resistance around the seals. The vinegar-bag descale described above fixes both symptoms at once, which is why it is always worth trying before you buy parts.
If pressure dropped suddenly throughout the whole bathroom (sink included), the problem is upstream of the shower head — possibly a partially closed shutoff valve, a pressure regulator issue, or sediment in the supply lines. That is a different diagnosis from a shower head leak, and worth investigating on its own rather than blaming the fixture.
Frequently Asked Questions
How to fix a leaking shower head at the connection?
Unscrew the shower head, clean the shower arm threads, wrap 4-6 layers of Teflon tape clockwise around the threads, check or replace the rubber washer inside the connector nut, and screw the head back on snugly (not over-tight). This resolves the vast majority of connection leaks in about 15 minutes.
Why does my shower head drip when the shower is off?
Brief dripping for a minute after shutoff is normal residual drainage. Persistent dripping usually means mineral-clogged nozzles (fix with a vinegar soak), a worn-out shower head (replace it), or a faulty shower valve cartridge behind the wall that is not sealing fully (may need a plumber).
Can I use plumber’s tape on a shower head?
Yes — Teflon (plumber’s) tape is exactly what shower head threads are designed for. Wrap it clockwise 4-6 times around the clean male threads of the shower arm, stretching slightly. The most common mistake is wrapping counterclockwise, which causes the tape to unravel as you tighten the head.
How much water does a leaking shower head waste?
More than you would guess. A shower head dripping at one drip per second can waste well over a hundred gallons per month — water you pay for twice, once coming in and once going out as wastewater. Fixing a drip promptly is one of the highest-ROI repairs in the house.
Should I repair or replace a leaking shower head?
Repair if the head is in good condition and the leak is at the connection (tape and washer fix) or from mineral buildup (vinegar descale). Replace if the head is old, corroded, has internal damage, or keeps dripping after descaling. Decent replacements cost $20-50 and install in ten minutes with the same tape method.
How to fix a leaking shower head is, for most people, a twenty-minute errand: diagnose the leak type, re-tape the connection or descale the nozzles, and test. The drip that has been narrating your mornings can be gone before lunch — and your water bill will notice the silence too.