How to Install a Ceiling Fan: A Step-by-Step Guide for DIYers


Learning how to install a ceiling fan is one of those projects that looks intimidating but is absolutely doable for a careful DIYer. I’ve put in dozens over the years, and I’ll tell you the truth: the job is 20% wiring and 80% not rushing. If you can turn off a breaker, follow a diagram, and hold a screwdriver steady, you can do this.
That said, electricity deserves respect. This guide walks you through how to install a ceiling fan safely, step by step — including the one critical check most DIY guides gloss over: whether your electrical box can actually hold a fan.
Before You Start: Safety and the Box Check
Let’s get the serious stuff out of the way first, because this is the part that actually matters.
- Turn off the power at the breaker. Not just the wall switch — the breaker. Switches can be miswired; breakers don’t lie. Test with a non-contact voltage tester before touching anything.
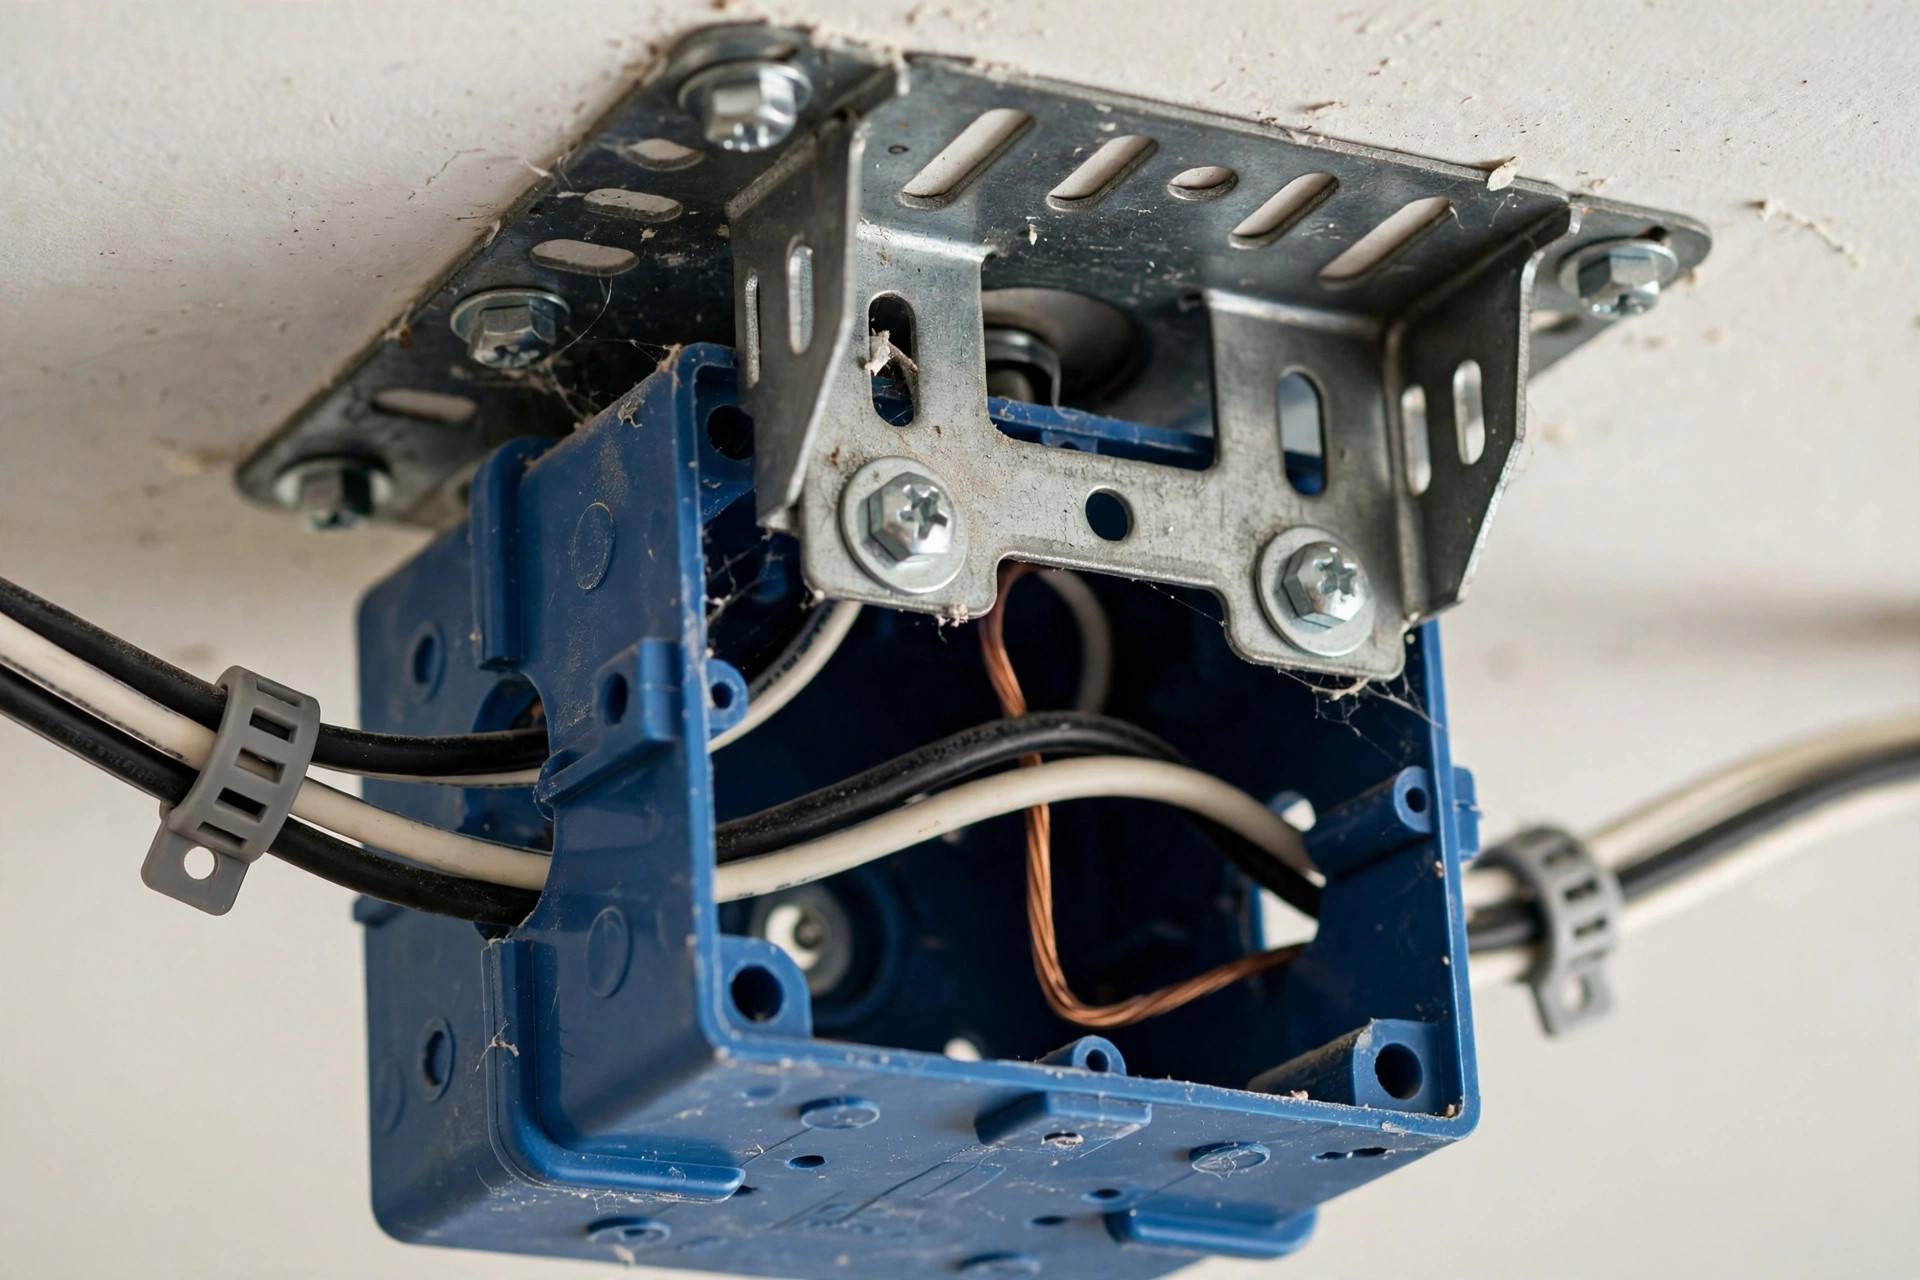
- Check your electrical box. This is the big one. A standard light-fixture box is NOT rated to support a ceiling fan’s weight and vibration. You need a fan-rated box, marked as such, secured to a joist or with a brace bar. If your existing box isn’t fan-rated, you must replace it or install a retrofit brace — no exceptions. A fan falling from the ceiling is not a “whoops” situation.
- Know your ceiling height. Building codes generally require fan blades at least 7 feet above the floor. For 8-foot ceilings, use a flush-mount or low-profile fan. For higher ceilings, use a downrod to bring the fan to the right height — ideally with blades 8 to 9 feet off the floor for best airflow.
- Check the weight rating. Most fan-rated boxes support up to 70 pounds; most residential fans weigh 15 to 30 pounds. You’re fine, but verify.
If your home has old wiring (knob-and-tube, or cloth-insulated wire), or if anything about the existing setup looks sketchy, call an electrician. Knowing when NOT to DIY is part of being handy.
Tools and Materials You’ll Need
Gather everything before you start. Nothing kills momentum like a mid-project hardware store run.
- Ceiling fan kit (fan, mounting bracket, downrod, blades, light kit if included)
- Fan-rated electrical box or retrofit brace kit (if needed)
- Non-contact voltage tester
- Screwdrivers (flathead and Phillips)
- Wire strippers
- Wire nuts (usually included with the fan, but grab extras)
- Adjustable wrench or pliers
- Ladder (sturdy — you’ll be working overhead)
- Electrical tape
Read the fan’s instruction manual fully before starting. I know, nobody reads manuals. Read this one — every fan has small quirks in its mounting system, and five minutes with the manual saves thirty minutes of head-scratching.
Step 1: Remove the Old Fixture
With the breaker OFF and verified with your voltage tester, remove the existing light fixture. Unscrew the mounting screws, lower the fixture, and disconnect the wires by unscrewing the wire nuts. Note which wires connect where — take a photo with your phone. You’ll thank yourself later.
Now inspect the box. Look for a stamp or label indicating it’s fan-rated. If it’s a standard octagon box held by a couple of screws into drywall — that’s a no-go. Install a fan-rated retrofit brace, which expands between joists through the existing hole. These kits are widely available and designed exactly for this situation.
Step 2: Install the Mounting Bracket
Attach the fan’s mounting bracket to the fan-rated box using the provided screws. The bracket is what the fan motor hangs from, so it needs to be rock solid. Tighten everything firmly — then tighten it a little more. A loose bracket is the number one cause of wobbly fans.
Thread the fan’s wires (and the downrod, if using one) through the bracket before hanging the motor. Forgetting this step means taking the whole thing back down, and yes, I’ve done it. Learn from my mistakes.
Step 3: Hang the Fan Motor
Most fans hang from the bracket via a ball-and-socket joint — you lift the motor assembly and seat the downrod ball into the bracket cradle. It’s awkward and the motor is heavier than it looks. If you can get a second pair of hands for this step, do it.
Once the motor is hanging, let it rest in the bracket while you wire. Don’t try to wire with one hand while holding the motor with the other. That’s how wires get crossed and tempers get lost.
Step 4: Wire the Fan
Here’s where people get nervous, but it’s straightforward. Standard residential wiring uses color coding:
- Black to black: Hot wire to the fan motor.
- Blue to red (or black): The blue wire powers the light kit. If your ceiling box has a separate red wire (common when the fan and light are on separate switches), connect blue to red. If not, connect blue to black along with the fan wire.
- White to white: Neutral to neutral.
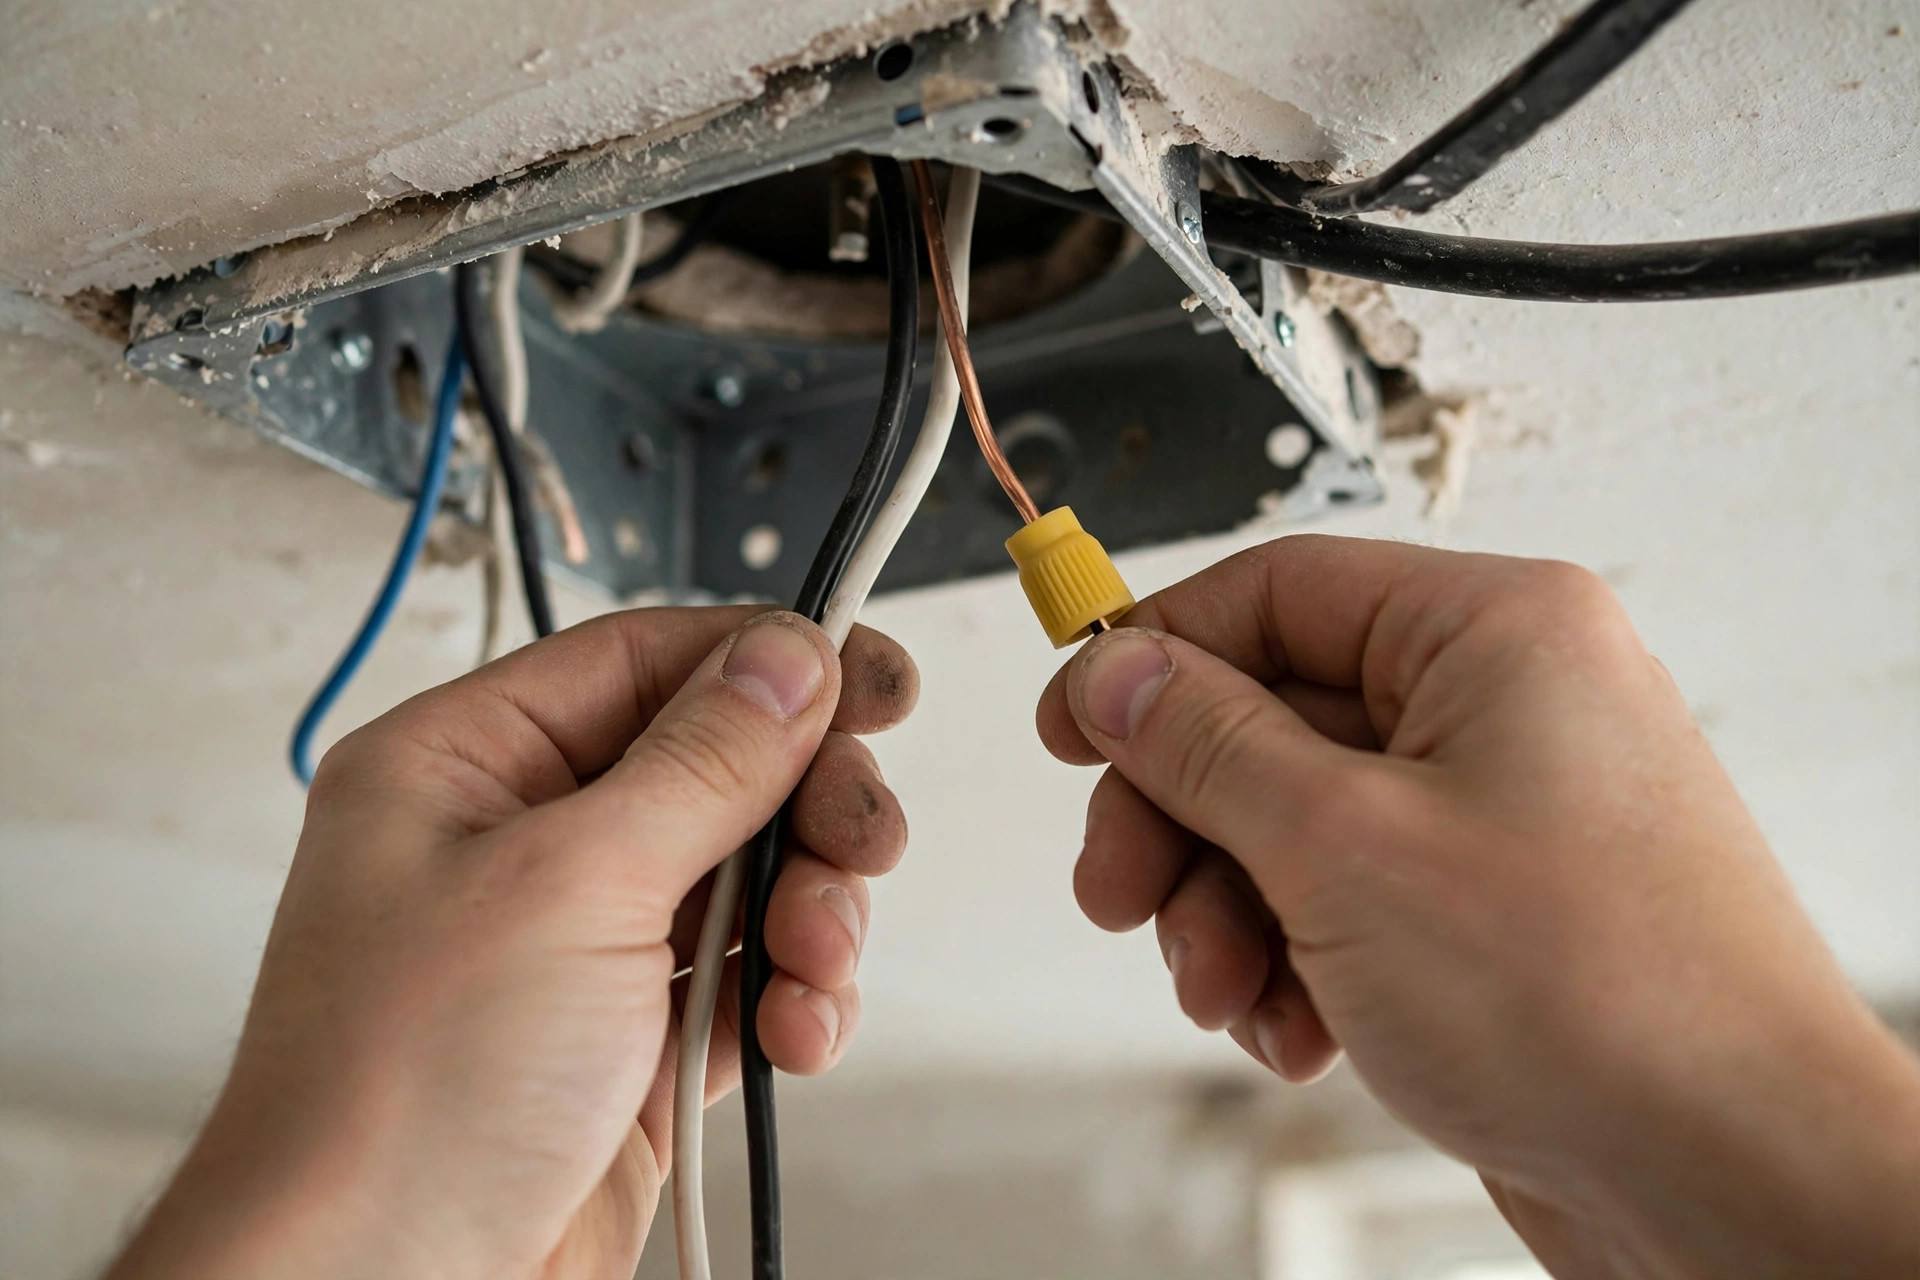
- Green/bare copper to green/bare copper: Ground to ground. Always connect the ground — it’s your safety net.
Twist wire nuts on firmly — give each wire a gentle tug to confirm it’s secure. Wrap a turn of electrical tape around each wire nut for insurance. Tuck the wires neatly into the box; don’t cram them. Pinched wires cause problems down the road.
If your wiring colors don’t match this scheme, or there are extra wires you don’t understand, stop and call an electrician. Guessing with electricity is never the right move.
Step 5: Attach the Blades and Light Kit
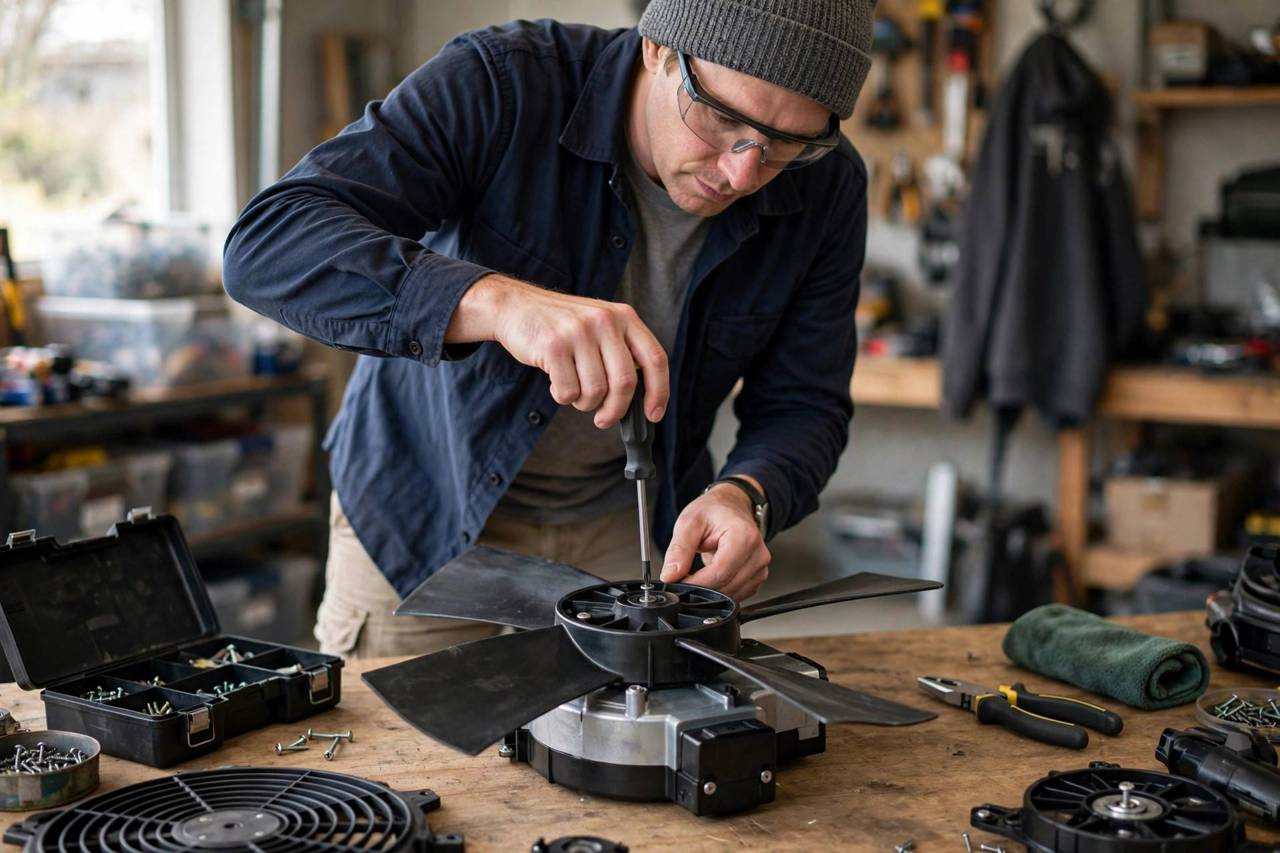
With the motor wired and the canopy (the decorative cover) slid up over the bracket, it’s time for blades. Most modern fans use quick-connect blade arms — slide them in and tighten. Attach blades in a star pattern (opposite sides alternately) to keep things balanced.
Install the light kit according to the manual — usually a few screws and a plug-in wiring harness. Add bulbs, attach any glass shades or covers.
Step 6: Test, Balance, and Enjoy
Turn the breaker back on and test the fan at every speed, plus the light. Then watch for wobble. A tiny bit of movement is normal; visible shaking is not.
If it wobbles:
- Check that all blade screws are tight — the most common cause.
- Measure blade height: each blade tip should be the same distance from the ceiling. Bend blade arms gently to even them out.
- Use the balancing kit included with most fans — small clip-on weights that you reposition until the wobble stops.
- Verify the downrod ball is seated properly in the bracket.
Don’t forget the reverse switch! In summer, blades should spin counterclockwise (looking up) to push air down. In winter, reverse to clockwise at low speed to pull warm air down from the ceiling without creating a draft. That little switch saves real money on heating and cooling.
How to Install a Ceiling Fan: Common Mistakes to Avoid
- Skipping the fan-rated box. Worth repeating because it’s the most dangerous mistake. Standard light boxes are not designed for a vibrating 20-pound fan.
- Working with the power on. “I’ll just be careful” are famous last words. Breaker off, tester verified, every time.
- Overtightening blade screws. Snug is good; gorilla-tight cracks the blade arms, especially on cheaper fans.
- Wrong downrod length. Too short on a high ceiling means poor airflow where you actually feel it. Too long on a low ceiling means a head injury waiting to happen.
- Ignoring the wobble. A wobbling fan loosens its mounting over time. Fix it now, not later.
A ceiling fan is one of the best comfort upgrades you can DIY — especially in bedrooms, where moving air makes warm nights bearable. Pair it with the tips in this guide on how to make your bedroom cozy and you’ve got a genuinely better place to sleep.
Picking the Right Fan Size for Your Room
Size matters with ceiling fans — too small and it just stirs the air politely without cooling anyone. Here’s the rule of thumb electricians and fan manufacturers agree on: measure your room’s square footage and match the blade span. For rooms up to 75 square feet, a 29 to 36-inch fan works. For 76 to 144 square feet, go 36 to 44 inches. For 144 to 225 square feet, choose 44 to 50 inches. For great rooms over 225 square feet, look at 50 to 72 inches — or better yet, install two smaller fans for more even coverage.
Blade pitch matters too. Look for a blade pitch of 12 to 15 degrees — that’s the angle of the blades, and steeper pitch moves more air. Cheap flat-bladed fans look fine but barely push air. And check the CFM rating (cubic feet per minute) on the box; higher CFM means more airflow. For a bedroom, 4,000+ CFM is comfortable. For a living room, aim higher.
FAQ
How long does it take to install a ceiling fan?
For a straightforward replacement where the box is already fan-rated, plan on 1 to 2 hours. If you need to install a retrofit brace or run new wiring, add another hour or two. First-timers should budget a relaxed afternoon rather than rushing.
Can I install a ceiling fan where there was only a light?
Yes — this is the most common scenario. The critical step is verifying or upgrading the electrical box to a fan-rated one. The wiring for a basic light is sufficient for a fan; you just need the structural support.
Do I need an electrician to install a ceiling fan?
Not necessarily. If the box is fan-rated (or you’re comfortable installing a retrofit brace) and the wiring is standard, it’s a solid DIY project. Call an electrician if the wiring is old or confusing, there’s no existing fixture box, or you need a new circuit run.
How do I know if my electrical box is fan-rated?
Look for a stamp or label on the box indicating fan rating and weight capacity. Fan-rated boxes are typically metal, mounted directly to a joist or a brace bar, and noticeably sturdier than standard plastic or thin-metal light boxes. When in doubt, assume it’s not rated and upgrade.
Why is my new ceiling fan wobbling?
Almost always: loose blade screws, uneven blade heights, or an improperly seated downrod ball. Tighten everything, measure blade-tip height from the ceiling, and use the included balancing kit. Persistent wobble after all that may indicate a bent blade arm or a loose mounting bracket.