How to Unclog a Garbage Disposal: Reset & Wrench Method

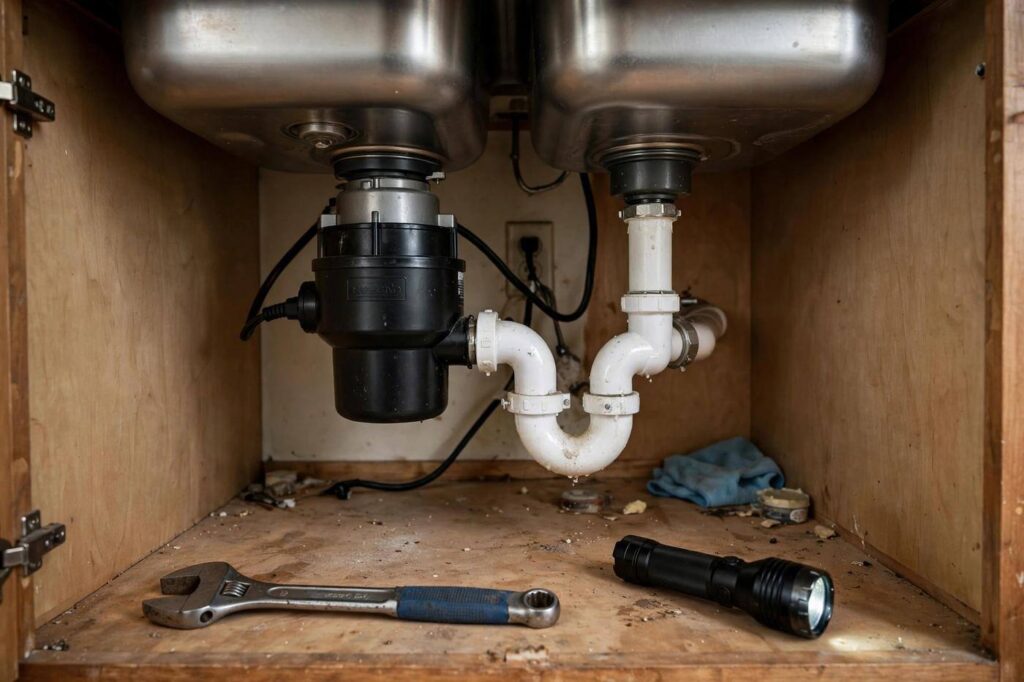
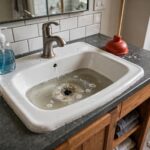
Learning how to unclog a garbage disposal is one of those homeowner rites of passage nobody warns you about. One minute you are rinsing plates, the next the sink is full of grey water, the switch does nothing but hum, and you are staring at a machine that looks like it wants to eat your hand. Take a breath. I have fixed dozens of these over twenty years, and most jams clear in under fifteen minutes with two tools you probably already own. And no, you never put your hand down the drain — not even a little, not even “just to feel around.” We will do this right.
This guide walks you through the exact sequence I use on every jammed disposal: diagnose the symptom, hit the reset button, free the flywheel with an Allen wrench, clear the drain side, and test safely. Then I will show you what to stop putting down the disposal so this does not happen again, and the signs that mean it is time to stop and call a plumber.
How to Unclog a Garbage Disposal: The Safe Order of Operations
Before you touch anything, read this part. A disposal that hums but does not spin has a jammed flywheel — the little metal plate inside with the grinding impellers. Your job is to un-jam it from the outside, never from the top. Here is the order that works.
Step 1: Figure out what kind of “broken” you have
Flip the wall switch and listen for two seconds. Three outcomes tell you everything:
It hums but nothing spins. This is the classic jam — food wedged between the flywheel and the grind ring. Good news: this is the easiest fix, and the reset-plus-wrench method below clears it almost every time.
Nothing happens at all — no hum, no click, dead silence. This is usually electrical: a tripped reset button, a blown breaker, or a disconnected power cord. Start at step 3.
It spins but the sink will not drain. The disposal itself is fine; the clog is in the drain pipe past it, usually in the trap or the branch drain. Skip to the drain-side section below.
One more check before you start: shine a flashlight down the drain and look for obvious foreign objects — a bottle cap, a spoon, a twist tie. If you can see something that is clearly not food, pull it out with tongs or needle-nose pliers. Not your fingers. Tongs.
Step 2: Turn the power off — actually off
The wall switch is not enough for the hands-in-cabinet parts of this job. Unplug the disposal from the outlet under the sink if it has a cord, or flip the breaker for the disposal circuit. I know it adds two minutes. Do it anyway. The one time I skipped this step early in my career, the unit kicked on while my wrench was still in it, and I spent the next week buying my wife flowers. Electricity plus a motor plus metal tools is a combination you do not negotiate with.
The Reset Button Method: Your First Move
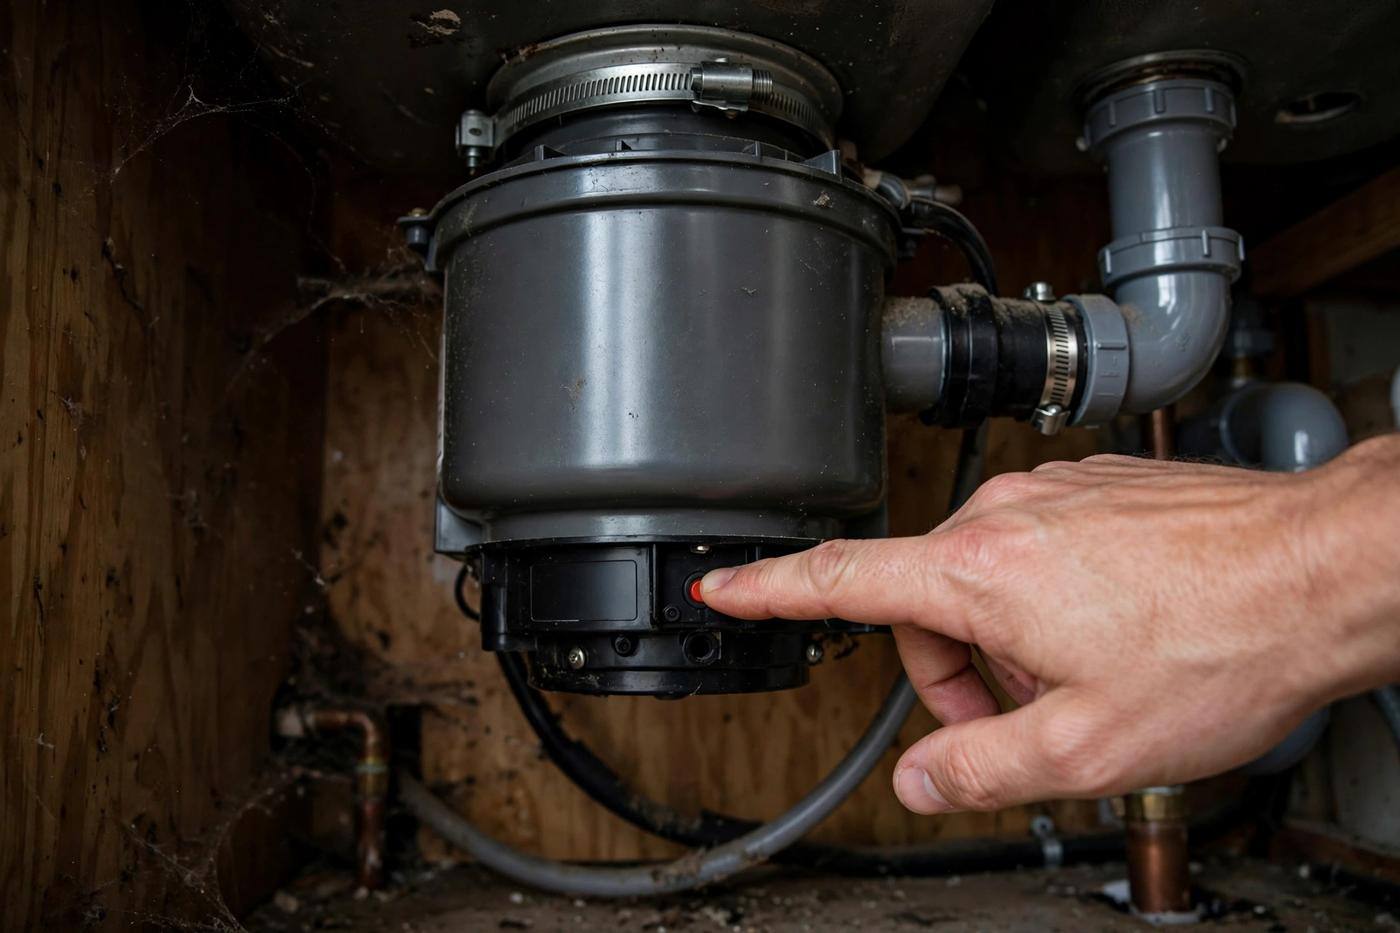
Every garbage disposal made in the last thirty years has a thermal overload reset button — usually a small red or black square button on the bottom of the unit, sometimes recessed. When the motor overheats from a jam, it trips itself off to avoid burning out. Pressing that button is always step one.
Crawl under the sink with your flashlight. Find the button on the underside of the disposal canister. If it has popped out, push it firmly back in until it clicks. If it is already in, it did not trip, and you can move on.
Now restore power (plug it back in or flip the breaker), run cold water from the tap — cold, always cold — and flip the wall switch. If it roars to life and grinds, run the water for thirty seconds and congratulate yourself. If it hums and nothing happens, leave it on for no more than a few seconds and go to the wrench method. Do not let it hum for a minute straight; you will burn the motor out.
Quick note: if the reset button trips again the moment you run the disposal, the jam is still in there. The button is doing its job. Do not keep resetting it — free the flywheel first.
The Allen Wrench Method: Freeing a Jammed Flywheel
Here is the fix that handles about eight out of ten disposal jams. On the very bottom of the disposal, in the center, there is a hex-shaped socket — it takes a 1/4-inch Allen wrench (hex key). Most disposals shipped with one taped to the side of the unit when new; if yours is long gone, a standard hex key set from any hardware store works.
Power off again — unplug or breaker off, same as before. Slide the Allen wrench up into the bottom socket and work it back and forth, a quarter turn each way. You are manually rotating the flywheel from underneath, which walks the jammed food loose from either direction. You will feel resistance, then a sudden give as the obstruction breaks free. Keep working it until the wrench turns freely in both directions with no grinding or catching.
That resistance you felt is normal. That is the jam. The free spinning afterward is what you want.
Restore power, run cold water, flip the switch. Nine times out of ten, the disposal spins up and chews through whatever was stuck. Run it with cold water for a full thirty seconds to flush everything into the drain. If it still hums, the object may be wedged too tightly — try the wrench once more, then move on to pulling the visible debris with tongs from above.
And here is what not to do: do not reach in and try to turn the flywheel by hand, even with the power off. The grind ring is sharp by design. Tongs and pliers only.
When the Problem Is Past the Disposal: Clearing the Drain Side
Sometimes the disposal runs fine but water backs up into the sink or the dishwasher side. That means the clog is downstream — in the P-trap (the curved pipe under the sink) or the branch drain in the wall.
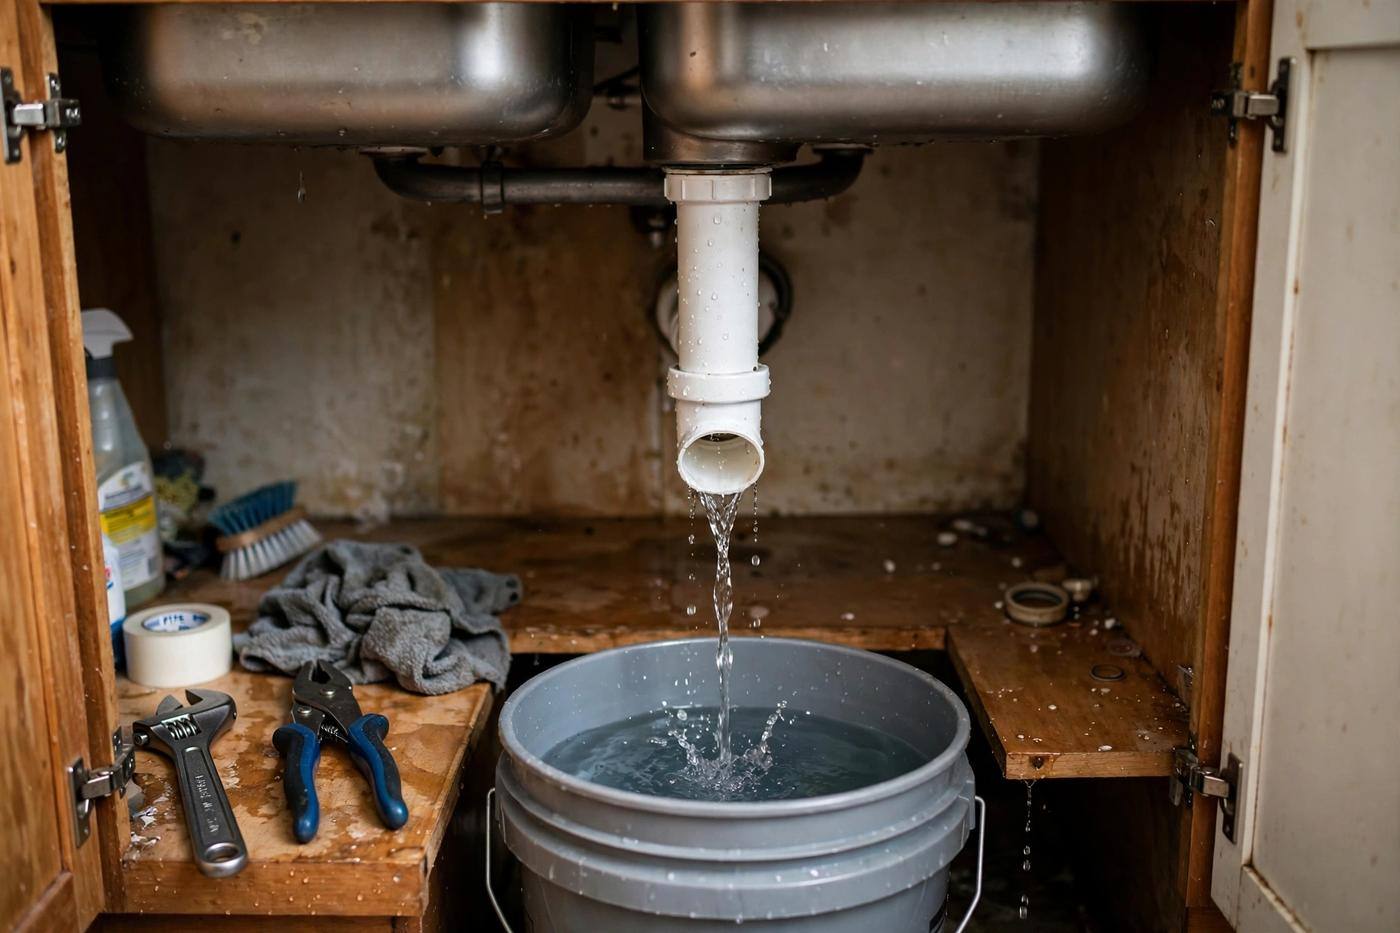
First, check the dishwasher knockout plug if this is a new installation — but for an existing unit that suddenly stopped draining, start with the trap. Put a bucket under the P-trap, loosen the slip nuts by hand (channel-lock pliers if they are stubborn), and pull the trap off. Clear out whatever is in it — usually a gray paste of grease and food — rinse it in another sink, and reinstall. Hand-tighten the slip nuts, then give them a quarter turn with pliers. No pipe dope needed on slip-nut connections; they seal with the washer.
If the trap is clear, the clog is deeper in the branch drain. This is where most homeowners should stop and call a plumber, because the next step is a drain snake through the wall pipe. If you own a small hand auger and you are comfortable, you can try it — but chemical drain cleaners are a hard no with disposals. They sit in the unit, corrode the seals, and the next person who opens the trap gets a face full of caustic water. That person might be you.
What Never to Put Down a Garbage Disposal
Half of disposal jams are caused by things that should never have gone down in the first place. The disposal is not a trash can; it is a small grinder designed for small amounts of soft food scraps. Tattoo this list on the inside of your eyelids:
Grease, oil, and fat. The number-one killer. Hot grease goes down liquid and sets up like concrete in the pipes. Wipe pans with a paper towel and bin it.
Fibrous vegetables. Celery, asparagus, artichokes, corn husks, onion skins. The fibers wrap around the flywheel and impellers like rope and seize the motor. This is the jam I see most.
Starchy foods in bulk. Pasta, rice, potatoes, oatmeal. They absorb water and expand into a paste that clogs the drain line past the disposal. Small amounts are fine; a whole pot of leftover pasta is not.
Coffee grounds. They do not sharpen anything — that is a myth — and packed grounds form a dense sludge in pipes. Compost them or bin them.
Eggshells. Another myth victim. The membrane wraps around parts and the ground shell packs into sediment.
Bones, pits, and shells. Anything the impellers cannot crush will jam them. Fruit pits, chicken bones, oyster shells — all trash-can items.
Non-food anything. Twist ties, bottle caps, rubber bands, bits of sponge. If it is not food, it does not go in the disposal. Full stop.
Daily Habits That Keep Your Disposal Happy
A disposal that gets used correctly almost never jams. Feed food in gradually, not in one big dump. Always run cold water before, during, and for fifteen to thirty seconds after grinding — the water carries the ground waste down and keeps fat from setting up. Grind small citrus peels occasionally to freshen the smell (the acid helps, and they are soft enough). And every few weeks, toss in a tray of ice cubes and run it — the ice knocks buildup off the grind ring without any chemicals.
What about those disposal cleaning pods and foams? They are fine for odor, but they do not prevent jams. The habits above do.
When to Stop and Call a Plumber
I am all for DIY, but there is a line, and it is an honest one. Call a professional if any of these are true:
Water is leaking from the disposal body itself — from the bottom or the side seams, not from a pipe connection. Internal seals have failed, and the unit needs replacing, not repairing.
The reset button trips repeatedly even after the flywheel turns freely. That points to a dying motor or an electrical fault, and motors are not a homeowner repair.
The unit is more than ten to twelve years old and jamming constantly. Disposals wear out — the impellers dull, the bearings go. A replacement unit runs less than you think, and swapping one is a straightforward job if the plumbing matches up.
You smell burning or see smoke. Kill the breaker immediately and do not run it again. A seized motor can overheat fast.
The clog is deep in the wall drain and you do not own or know how to run a drain auger. Snaking a branch drain wrong can damage pipes or push the clog somewhere worse.
None of this is failure. Knowing where your skills end is the most valuable DIY skill there is.
Frequently Asked Questions
Why does my garbage disposal hum but not spin?
A humming disposal with no spinning means the flywheel is jammed — something is wedged between the flywheel and the grind ring. Turn the power off, use a 1/4-inch Allen wrench in the bottom socket to work the flywheel free in both directions, press the reset button, and try again. This fixes the large majority of humming disposals.
Where is the reset button on a garbage disposal?
The reset button is a small red or black button on the bottom of the disposal unit, under the sink. If the motor overheated from a jam, the button pops out. Push it firmly back in until it clicks, restore power, and run the disposal with cold water running.
Can I use drain cleaner in a garbage disposal?
No — chemical drain cleaners are a bad idea with disposals. They sit inside the unit and corrode seals and gaskets, and they create a hazardous surprise for anyone who later opens the drain trap. Use the Allen wrench method for jams and manually clear the P-trap for drain-side clogs instead.
Why does my garbage disposal keep tripping the reset button?
A reset button that trips repeatedly usually means the jam is still in place or the motor is failing. Free the flywheel completely with the Allen wrench first. If the button still trips with a freely spinning flywheel, the motor is likely dying — especially on units over ten years old — and it is time to replace the disposal or call a plumber.
Is it safe to put my hand in a garbage disposal?
Never put your hand in a garbage disposal, even with the power off — the grind ring is sharp by design. Always use tongs or needle-nose pliers to remove visible objects from the drain opening, and free jams from underneath with the Allen wrench socket instead.
How long should a garbage disposal last?
Most garbage disposals last eight to twelve years with normal use. If yours is in that range and jamming frequently, tripping the reset often, or leaking from the unit body, replacement is usually smarter than another repair.