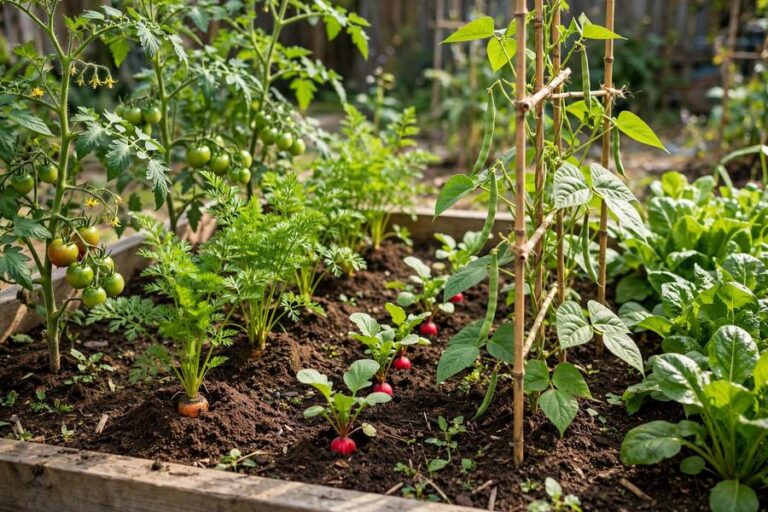
Beginner Vegetable Garden Layout: My Simple 4×8 Plan That Actually Works

When I planned my first vegetable garden, I did what most beginners do: I sketched rows of everything I wanted to eat, from watermelon to corn, in a plot about the size of a parking space. By August, half of it was shaded out, the tomatoes had swallowed the carrots, and I had learned more about plant bullying than I’d ever wanted to know. A good beginner vegetable garden layout is not about cramming in more plants. It is about giving each plant the room, sun, and company it needs so you actually get a harvest instead of a tangle. In this guide, I will walk you through the simple 4×8 bed layout I use to this day, explain why north-south orientation matters, and share the spacing rules that save every beginner from my watermelon-in-a-box mistake. If you have not yet dug anything at all, read my guide on how to start a garden first, then come back here to plan where everything goes.
Why a 4×8 Raised Bed Is the Perfect Starter Garden
If you are starting from nothing, here is my honest recommendation: build or buy one raised bed that is four feet wide and eight feet long. I have gardened in ground-level rows, in containers, and in beds of every shape, and I always come back to the 4×8. The reason is simple. Four feet wide means you can reach the center from either side without ever stepping on the soil, and compacted soil is one of the quietest harvest-killers there is. Eight feet long gives you about 32 square feet, which sounds small but is genuinely enough to grow a serious amount of food for a beginner. My first 4×8 bed produced more tomatoes, peppers, and greens than my family of three could eat, and I made every layout mistake in the book that year.
The width also forces a discipline that beginners need: you cannot plant in the middle and forget about it. Everything stays within arm’s reach, which means you will actually notice the aphids, pull the weeds, and water the corners. People ask me whether two 4×4 beds are better, and honestly they work fine too, but an 8-foot length lets you plant proper rows of things like carrots and bush beans, which feel awkward squeezed into a square. One bed, one season, and you will learn more than any book can teach you.
Depth matters as well. Aim for at least ten inches of soil, twelve if you can manage it. Shallow beds dry out faster and restrict root growth, which is exactly the kind of slow-motion problem that makes beginners think they have a black thumb when they just have a shallow bed.
Step One: Watch Your Sun Before You Dig Anything
Here is the step almost every beginner skips, and it is the one I preach about the most. Before you build anything, spend three days watching where the sun falls on your chosen spot. Take a photo in the morning, one at midday, and one in the late afternoon. I do this with every new bed I plan, even now, because trees grow, fences cast longer shadows than you think, and your memory of ‘sunny all day’ is almost always wrong.
Vegetables need six to eight hours of direct sun, minimum, with eight being the sweet spot for fruiting crops like tomatoes and peppers. Leafy greens will tolerate a bit of afternoon shade, which is a useful trick: if your only spot gets shade after 3 p.m., plant your lettuce and spinach on the shady side and keep the sun-lovers in the brightest zone. Once you have your sun map, orient the bed’s long axis north to south if you can. This way, tall plants at the north end will not shade the shorter plants behind them as the sun moves across the sky. I learned this the hard way when a row of trellised cucumbers at the west end of my first bed shaded my peppers every single afternoon.
The Layout: Where Every Plant Goes in Your 4×8 Bed
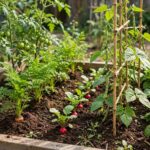
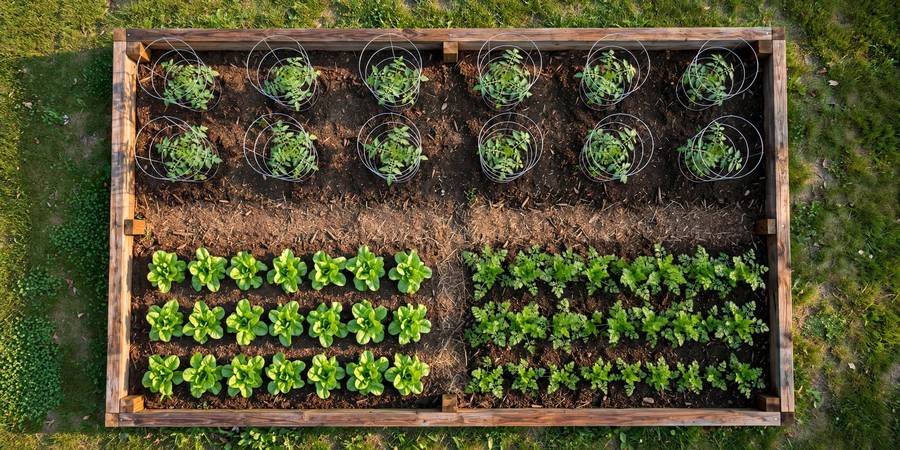
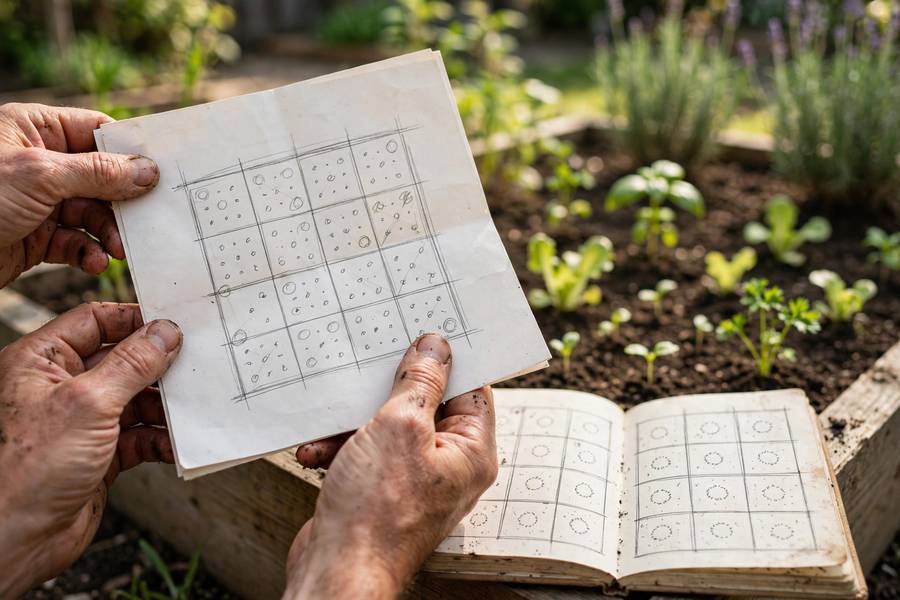
Here is the layout I recommend to every beginner, drawn from years of trial and error. Think of your 4×8 bed as divided into a grid of one-foot squares. The north end (the top of your mental map) holds your tall crops: two tomato plants, spaced two feet apart, each with a sturdy stake or cage. Next to them, on the north-west or north-east corner, a small trellis for cucumbers or pole beans. These climbers grow upward instead of outward, which is the single best space-saving trick a beginner can use.
The middle of the bed is for medium-height plants: two or three pepper plants, a couple of bush bean plants, and maybe an eggplant if your season is long enough. The south end, the front of the bed where nothing towers over it, belongs to the short crops: a row of carrots, a row of radishes, and a generous patch of lettuce or spinach. The fast growers like radishes and lettuce go at the very front edge where you will harvest them most often, which keeps you from trampling the rest of the bed.
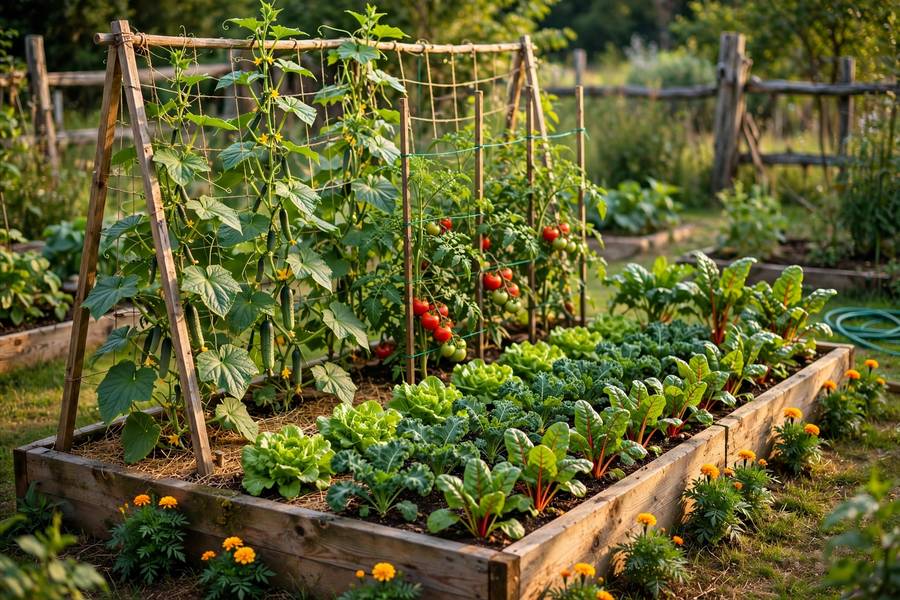
Leave the corners slightly open rather than packing them tight. Those little breathing gaps become your access points for watering and harvesting, and they make the whole bed feel manageable instead of overwhelming. A layout that is easy to reach is a layout you will actually maintain.
Spacing Rules That Save Beginners From Heartbreak
Seed packets tell you spacing, but beginners routinely plant at half the recommended distance because a garden bed looks so empty in May. I still remember staring at my first bed and thinking there was no way those tiny tomato seedlings would fill all that space. By July they had merged into a jungle. Trust the packet. Tomatoes need 18 to 24 inches between plants. Peppers want 12 to 18 inches. Carrots get thinned to two inches apart, and yes, thinning feels like murder the first time, but unthinned carrots grow into twisted, stunted little nubs.
Here is my rule of thumb that has never failed me: when in doubt, give the plant more room than you think it needs. An underplanted bed still produces food and looks calm and tended. An overplanted bed produces mildew, stunted fruit, and a gardener who quietly gives up by August. If you want to learn more about growing in tight footprints, my guide on what container gardening is covers how the same spacing logic applies to pots on a balcony. And once you have spacing sorted, feeding your soil is the next skill; I explain my simple approach in how to compost at home, because homemade compost is the cheapest spacing insurance there is.
Companion Planting Basics: Good Neighbors, Bad Neighbors
You do not need a degree in companion planting to get this right. A few pairings genuinely help beginners. Basil planted near tomatoes is the classic for a reason: in my experience it does seem to confuse some tomato pests, and even if the science is debated, you get fresh basil for your tomatoes, which is its own reward. Marigolds scattered around the bed edges attract pollinators and, I have found, genuinely reduce aphid pressure on my peppers. Lettuce planted in the light shade under tomato plants stays sweet weeks longer into summer heat.
The pairings to avoid are simpler than most charts make them seem. Do not plant onions or garlic near your beans and peas; alliums seem to stunt legumes, and I have watched this happen in my own beds. Keep fennel away from everything, because it is a bully that suppresses nearby plants. And do not plant potatoes and tomatoes right next to each other, since they share blight and pass it back and forth. Beyond that, most vegetables are perfectly happy neighbors. Do not let companion planting charts paralyze you; a simple, well-spaced layout beats a theoretically perfect one that never gets planted.
My First-Year Mistakes (So You Can Skip Them)
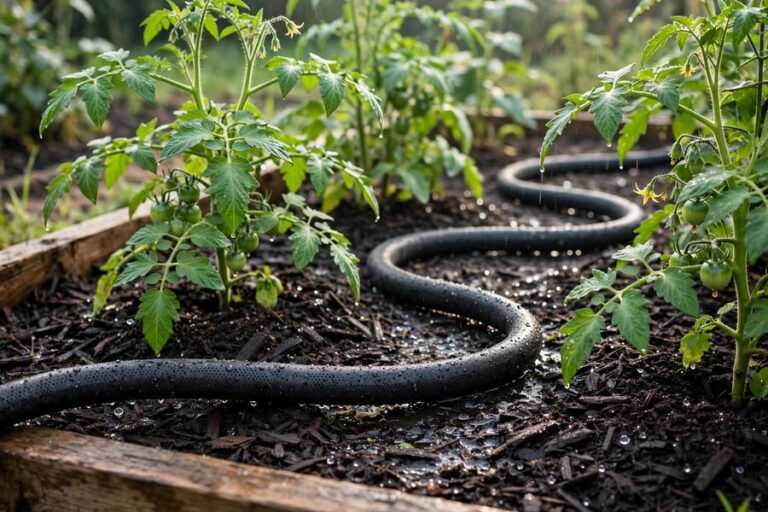
Mistake one: I planted corn. Corn needs a block of at least nine plants to pollinate properly, and three lonely stalks in a 4×8 produce sad, half-filled ears. Skip corn in year one. Mistake two: I planted mint in the bed. Mint is a thug that will take over the entire bed within two seasons. If you want mint, and you should, it lives in a pot, forever. Mistake three: I watered the leaves instead of the soil, every evening, and then wondered why my tomatoes got blight. Water the soil at the base of the plant, in the morning, and your disease problems will drop dramatically.
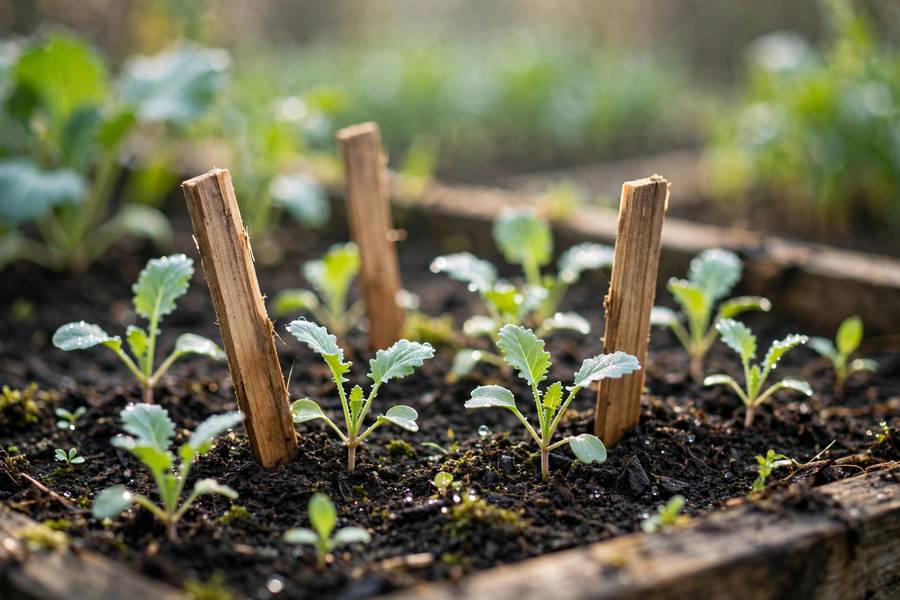
Mistake four, the biggest one: I planted everything on the same weekend. Then everything needed attention at once, and everything ripened at once. Now I stagger my planting: lettuce and radishes early, tomatoes and peppers after the last frost, beans a few weeks later, and a second round of lettuce in late summer. Staggered planting spreads the work and the harvest across the season, which is the difference between a garden that feeds you and a garden that buries you. If this is truly your first season, go read how to start a garden for the full timeline, then lay out your bed with the plan above and get planting. Your future self, eating a sun-warmed tomato in July, will thank you.
One 4×8 foot raised bed (32 square feet) is the ideal beginner size. It is large enough to grow a meaningful harvest of tomatoes, peppers, beans, and greens, but small enough to manage in a few hours a week. You can always add a second bed next season once you know what you love growing.
Follow your seed packet, and when in doubt, space wider. Tomatoes need 18-24 inches, peppers 12-18 inches, bush beans 4-6 inches, and carrots get thinned to about 2 inches apart. Overcrowding is the most common beginner mistake and causes disease, stunted growth, and tiny harvests.
Orient the long side of your bed north to south so tall plants at the north end do not shade shorter ones. The bed itself should get 6-8 hours of direct sun daily. Watch your spot for three days at different times before building to confirm the sun exposure.
Keep onions and garlic away from beans and peas, keep fennel away from everything, and do not plant tomatoes right next to potatoes since they share blight. Most other common vegetables are fine neighbors, so do not let companion planting charts stop you from planting.
A one-foot grid (square-foot style) works best for beginners in a raised bed. It makes spacing visual and simple, uses space efficiently, and keeps everything within arm’s reach. Traditional long rows suit large in-ground gardens better than a starter 4×8 bed.