How to Start Seeds Indoors: Strong Seedlings, Zero Fuss

My first attempt at starting seeds indoors produced a tray of pale, leggy tomato seedlings that flopped over like wet noodles and died within a week of transplanting. I had given them a sunny windowsill and plenty of love, which turned out to be exactly the wrong prescription. How to start seeds indoors is one of those skills that looks technical but is really about three things: enough light, the right timing, and toughening seedlings up before they go outside. Get those right and you will grow transplants sturdier than most garden-center plants, for pennies. In this guide, I will walk you through my simple setup (no greenhouse, no fancy gear), the timing math that prevents leggy seedlings, and the hardening-off routine that makes transplanting shock-free. Once your seedlings are ready, my guide on how to start a garden takes over for the outdoor chapters.
Why Bother? The Real Benefits of Indoor Seed Starting
Let me be honest first: you do not have to start seeds indoors. Buying transplants is perfectly fine, and in year one I recommend it for tomatoes and peppers. But indoor seed starting earns its place for three reasons. It saves real money: a packet of seeds costs less than two transplants and grows dozens of plants. It gives you varieties you will never find as transplants, the interesting heirlooms and regional favorites. And it extends your season by giving long-season crops a head start while it is still too cold outside.
There is also a less practical benefit that matters more than people admit: watching a seed you planted become a sturdy transplant is deeply satisfying, and it teaches you how plants grow in a way buying never does. Start with easy wins like tomatoes, which germinate readily and grow fast, and save fussy seeds like peppers for once you have the routine down.
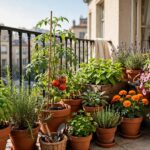
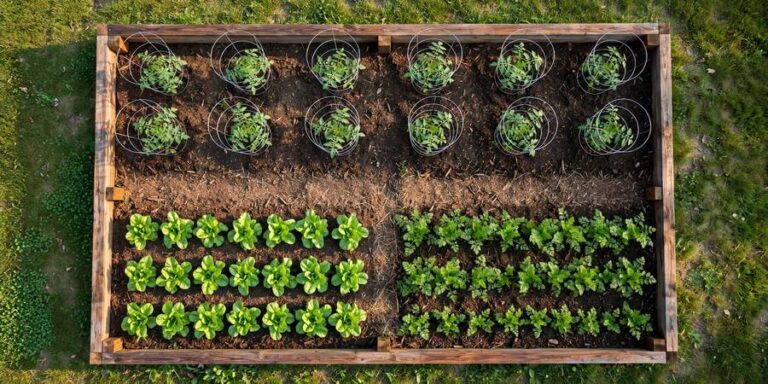
Seed starting also pairs beautifully with container gardening: a windowsill of seedlings in spring becomes a balcony of pots by summer, no yard required. Many of my seed-started tomatoes have lived their whole lives in five-gallon pots and produced just as well as their in-ground cousins.
Timing: The Math That Prevents Leggy Seedlings
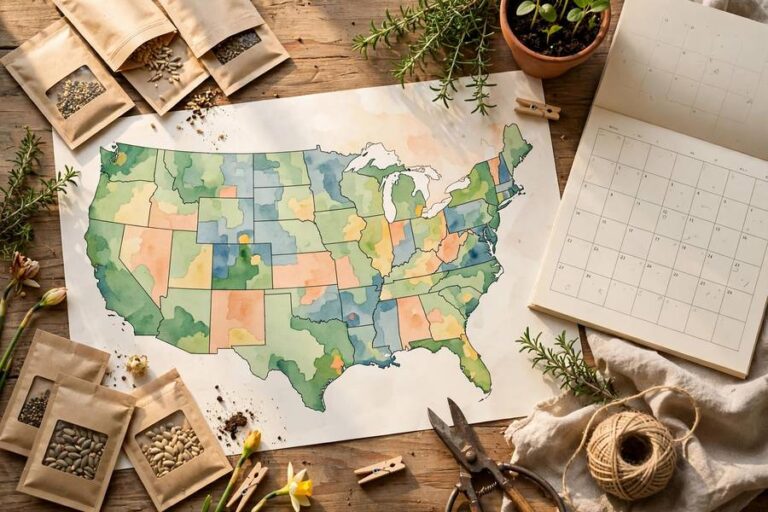
The number one indoor seed-starting mistake is starting too early. Those leggy, floppy seedlings of my first year? Started six weeks too early on a windowsill, starved for light, with nowhere to go. Seed packets tell you how many weeks before the last frost to sow indoors. Tomatoes: six to eight weeks. Peppers: eight to ten. Count backward from your last frost date and write the sow date on a calendar. Starting on time beats starting early every single time.
Here is the timing logic: seedlings started at the right time grow fast in improving spring light and go outside as stocky, vigorous young plants. Seedlings started too early stall in weak winter light, stretch toward the window, and exhaust themselves before transplant day. If you miss your window, it is genuinely better to buy a transplant than to start late indoors; a late indoor start produces a weak plant that never catches up.
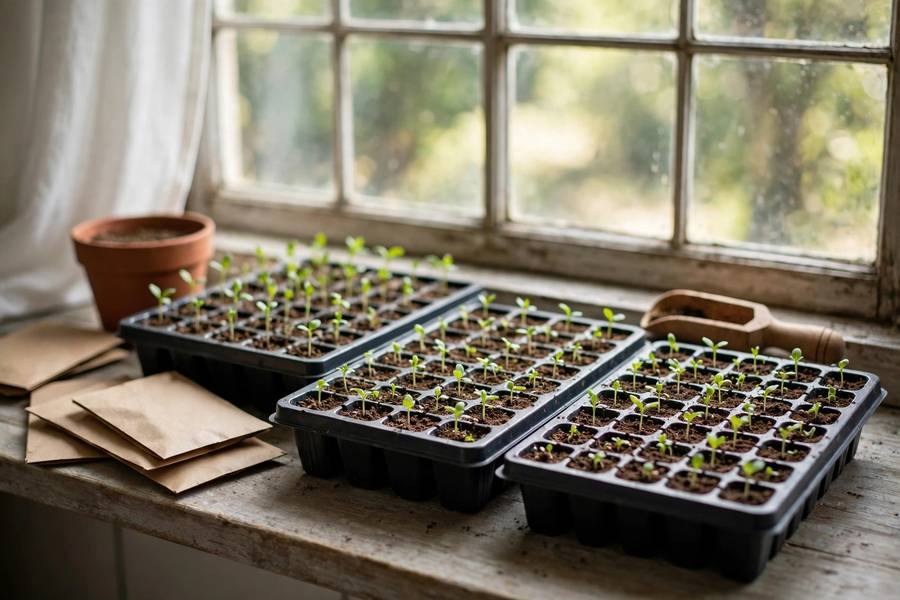
Keep a simple sowing calendar on the fridge. I write each variety, its indoor sow date, and its transplant date on masking tape stuck to the tray. Future you, juggling spring chaos, will be grateful.
The Simple Setup: Trays, Mix & Light
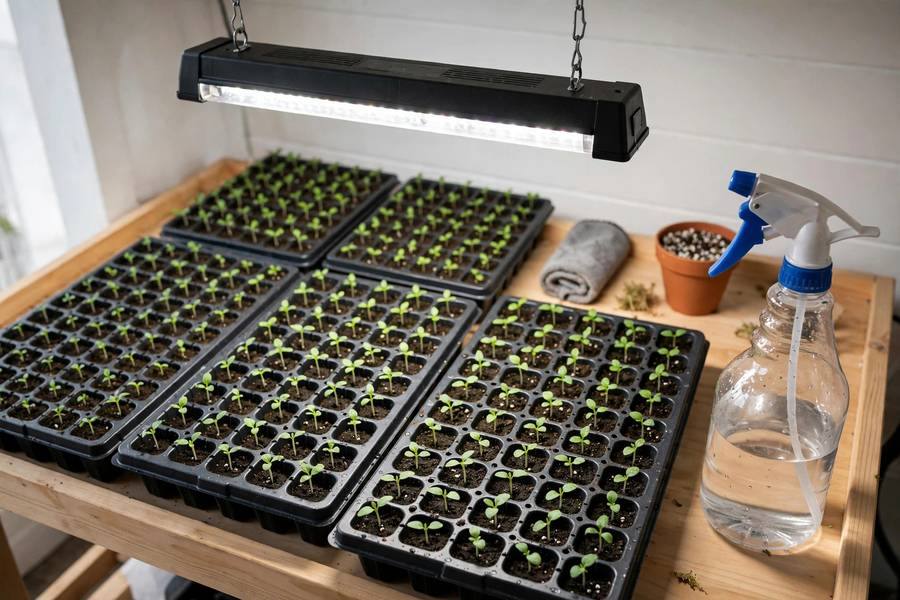
You need less gear than the catalogs suggest. Containers: anything that holds soil and drains works. I use standard cell trays, but yogurt cups with holes punched in the bottom are just as good. The critical supply is seed-starting mix, not potting soil and definitely not garden soil. Seed-starting mix is fine-textured and sterile, which gives tiny seeds the contact and disease-free start they need.
Sow seeds at the depth the packet says, usually two to three times the seed’s diameter, and water gently from below by setting trays in a shallow pan of water. Cover with a humidity dome or plastic wrap until germination, then remove it immediately; trapped humidity after sprouting invites damping-off disease. Label everything, because all seedlings look identical and you will not remember which tray is which. Trust me on this one.
Light: The Make-or-Break Factor
Here is the truth about windowsills: even a south-facing window usually is not enough light for strong seedlings, especially in late winter. Weak light is what makes seedlings stretch tall, pale, and floppy. The fix is simple and cheap: a basic shop light with daylight bulbs hung on chains so you can adjust the height. Keep the lights two to three inches above the seedlings, raising them as plants grow, and run them fourteen to sixteen hours a day on a timer.
This one change transformed my seed starting more than everything else combined. Stocky, deep-green seedlings with thick stems replaced the leggy ghosts of my windowsill years. You do not need expensive grow lights; a forty-dollar shop light setup grows excellent transplants. If you must use a window, choose the brightest south-facing one, rotate trays daily, and accept that results will be modest. For most beginners, the shop light is the best forty dollars in gardening.
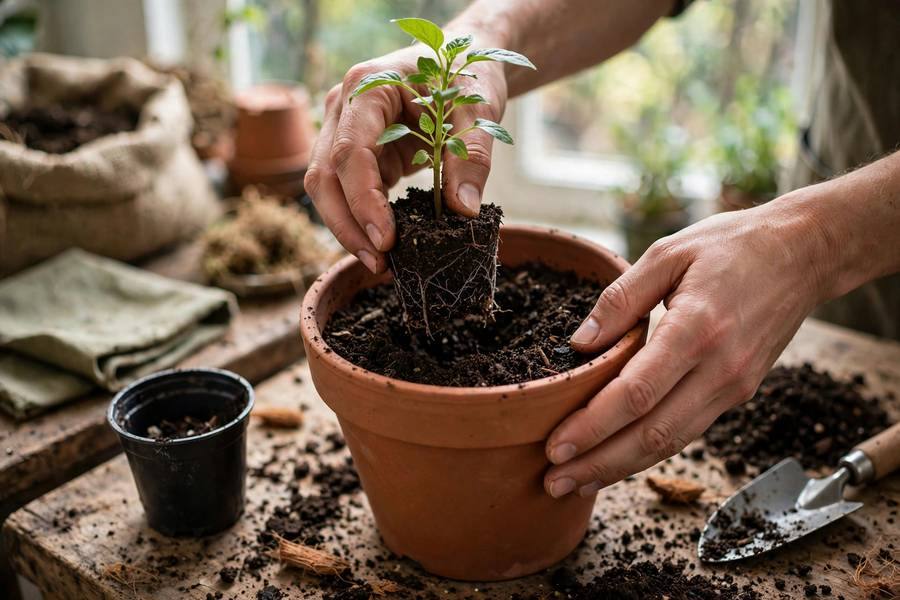
Add a small fan blowing gently across the seedlings for a few hours a day. The breeze simulates outdoor wind and triggers seedlings to grow thicker, sturdier stems. It looks fussy; it works remarkably well.
Watering, Feeding & Potting Up
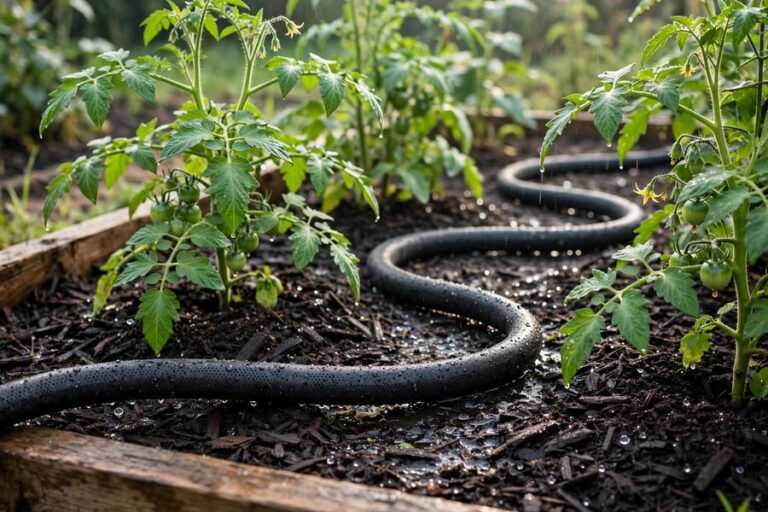
Seedlings want consistent moisture, not swamp conditions. Water from below when the mix surface looks dry, and let excess drain fully. Overwatering kills more seedlings than underwatering; soggy mix causes damping-off, the fungal disease that fells seedlings at the soil line overnight. Good air circulation from that small fan helps enormously.
Seed-starting mix has almost no nutrients, so once seedlings have two sets of true leaves, feed weekly with quarter-strength liquid fertilizer. When roots fill their cells or plants outgrow their containers, pot up into larger pots rather than letting them stall. A tomato seedling moved from a cell to a four-inch pot, planted deep so the buried stem grows extra roots, will explode with growth. Potting up at the right time is the difference between a transplant that takes off and one that sits sulking for weeks.
Hardening Off: Don’t Skip This Step
Hardening off is the process of acclimating indoor seedlings to outdoor life, and skipping it is the second most common seed-starting failure. Indoor seedlings are soft: they have never felt real wind, direct sun, or cool nights. Planted straight outside, they go into shock, stall for weeks, or simply die.
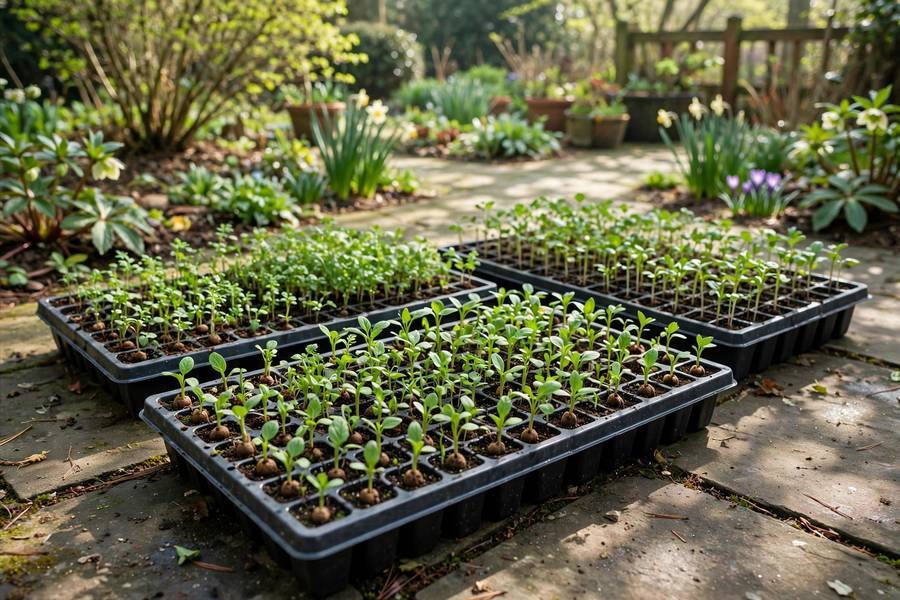
The routine takes seven to ten days. Days one to three: set trays outside in sheltered shade for a few hours, bringing them in at night. Days four to six: increase to half-day with some morning sun. Days seven to ten: full days outside, nights outside if temperatures stay above 50°F. Then transplant on a cloudy afternoon, water deeply, and mulch. Seedlings hardened off properly barely pause before growing, and that smooth transition is the payoff for all your indoor work. For what happens next in the ground, my guide on how to start a garden covers transplanting and aftercare in detail.
Troubleshooting Common Seed-Starting Problems
Even experienced gardeners run into trouble with indoor seed starting, and most problems come down to three things: light, water, and temperature. If your seedlings are tall, pale, and floppy, they are not getting enough light — move the grow light closer, ideally two to three inches above the tops of the plants, and keep it on for fourteen to sixteen hours a day. A simple outlet timer takes the guesswork out of this. If seeds are rotting before they sprout, the mix is too wet or too cold; let the surface dry slightly between waterings and check that your heat mat is actually warming the tray. Damping off, the fungal disease that pinches stems at soil level and topples seedlings overnight, is the most heartbreaking issue, but good air circulation from a small fan and watering from the bottom go a long way toward preventing it. I keep a little notebook by my seed station each spring and jot down what worked, because the varieties and timing that succeed in my house might need tweaking in yours.
Count backward from your average last frost date using the packet’s ‘weeks before last frost’ guidance: tomatoes 6-8 weeks, peppers 8-10 weeks. Starting too early in weak light causes leggy seedlings; on-time starts grow fast and transplant as sturdy plants.
You can, but results are usually leggy and weak because windowsills rarely provide enough light in late winter. A basic shop light with daylight bulbs hung 2-3 inches above seedlings for 14-16 hours daily grows dramatically stronger transplants for about $40.
Insufficient light is the cause 90% of the time, usually combined with starting too early or keeping the humidity dome on after germination. Move lights closer (2-3 inches above plants), add a gentle fan for stem strength, and sow at the right time next round.
Hardening off acclimates indoor seedlings to outdoor sun, wind, and temperature swings over 7-10 days of gradually increasing exposure. Skipping it causes transplant shock: stalled growth or dead seedlings. Properly hardened seedlings transplant with barely a pause.
Buy transplants for tomatoes, peppers, and herbs in year one, and direct-sow easy crops like beans and lettuce outdoors. Try indoor seed starting with tomatoes once you have the basics down; they are forgiving and teach the whole process quickly.