How to Screenshot on Windows 11: Every Method, Explained Simply

You need to capture what’s on your screen — an error message for tech support, a receipt for your records, a funny moment to share with a friend — and you realize you’ve never actually learned how to take a screenshot on Windows 11. Don’t worry: Windows 11 gives you at least five different ways to do it, from instant full-screen captures to precise selections, and one of them will become second nature within a day. Let me walk you through every method, plus where your screenshots go and how to level up your screenshot game. Here’s how to screenshot on Windows 11 five different ways.
How to Screenshot on Windows 11: The Snipping Tool
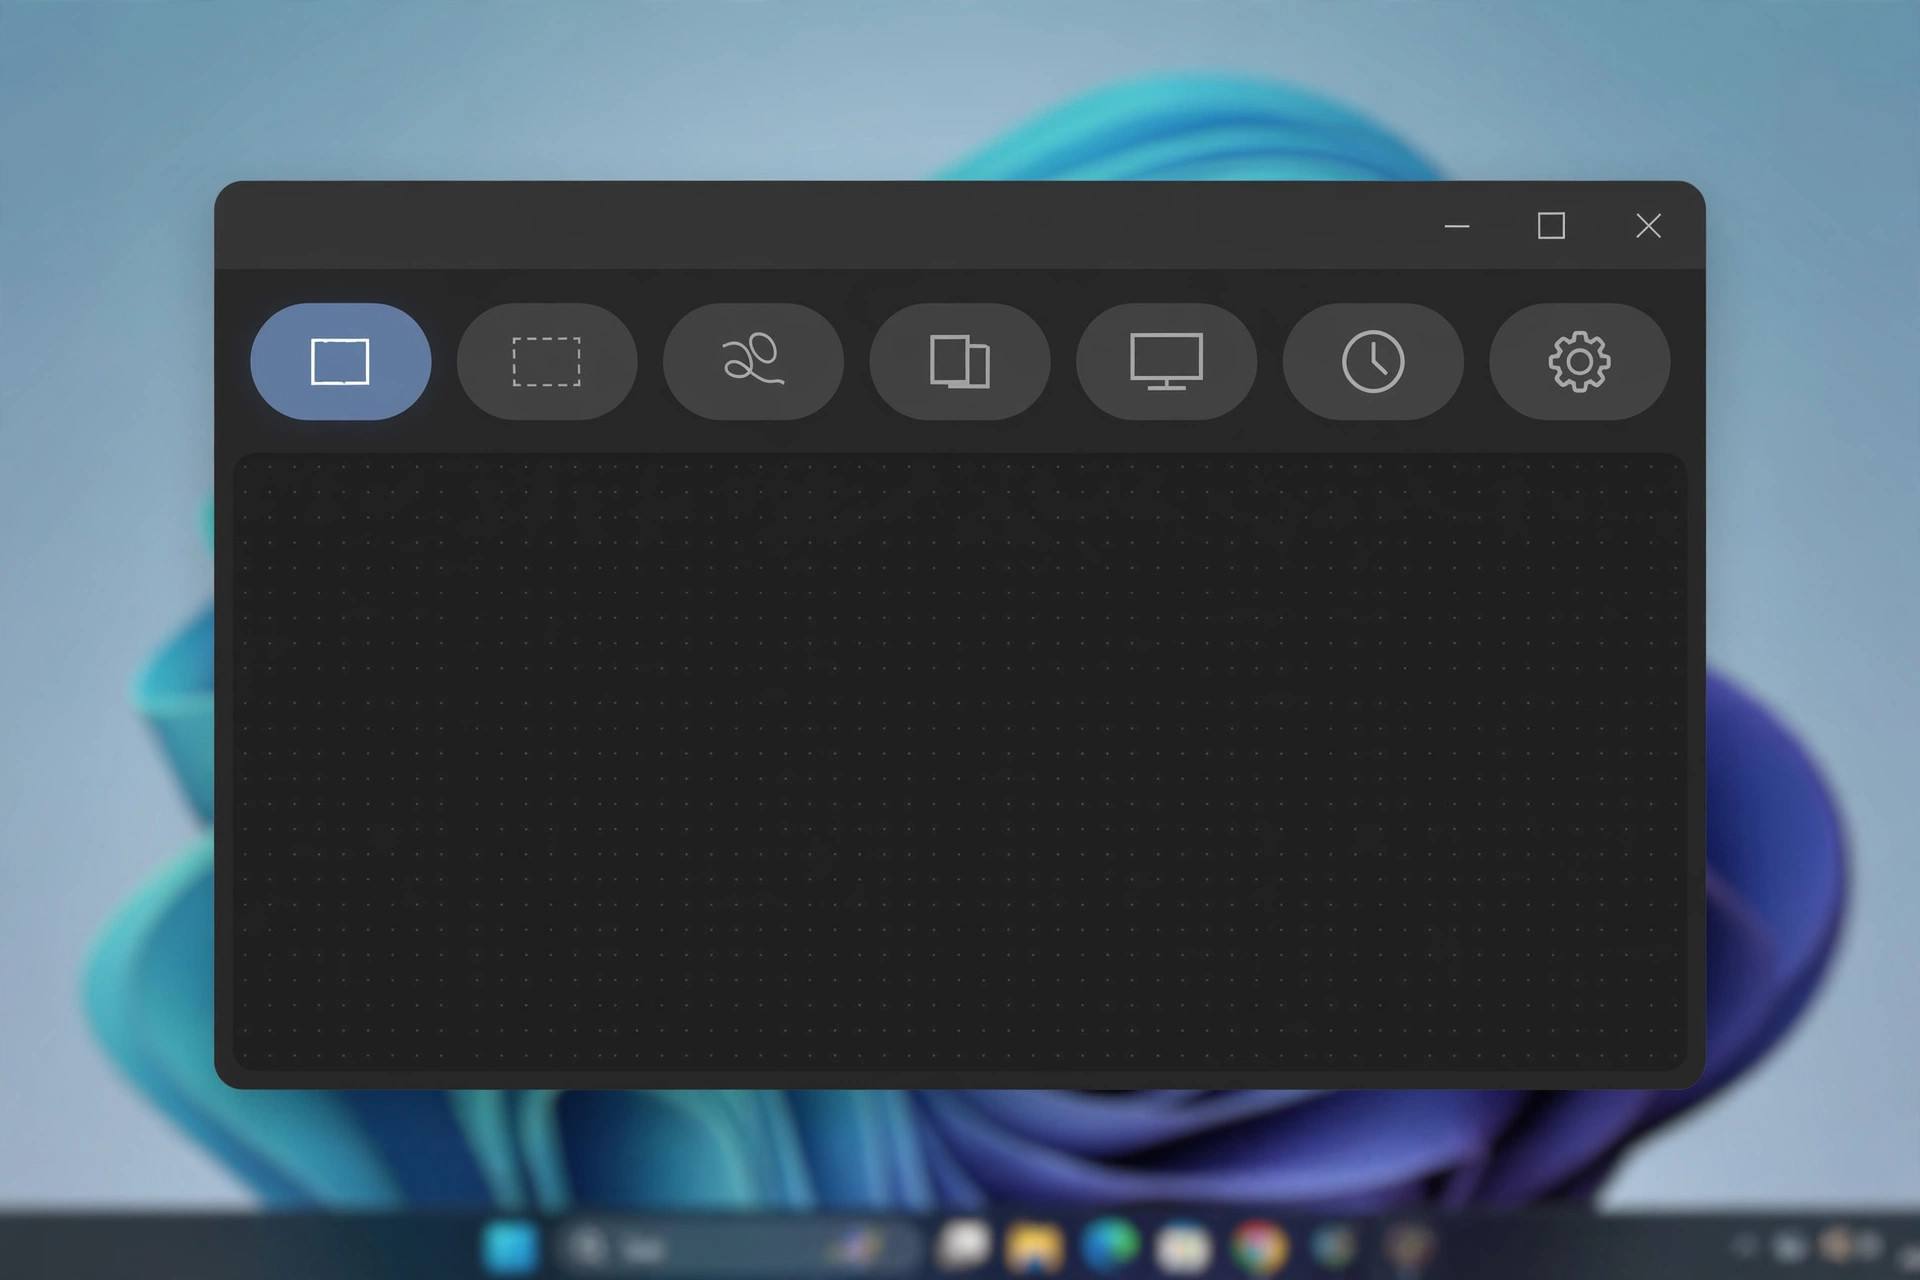
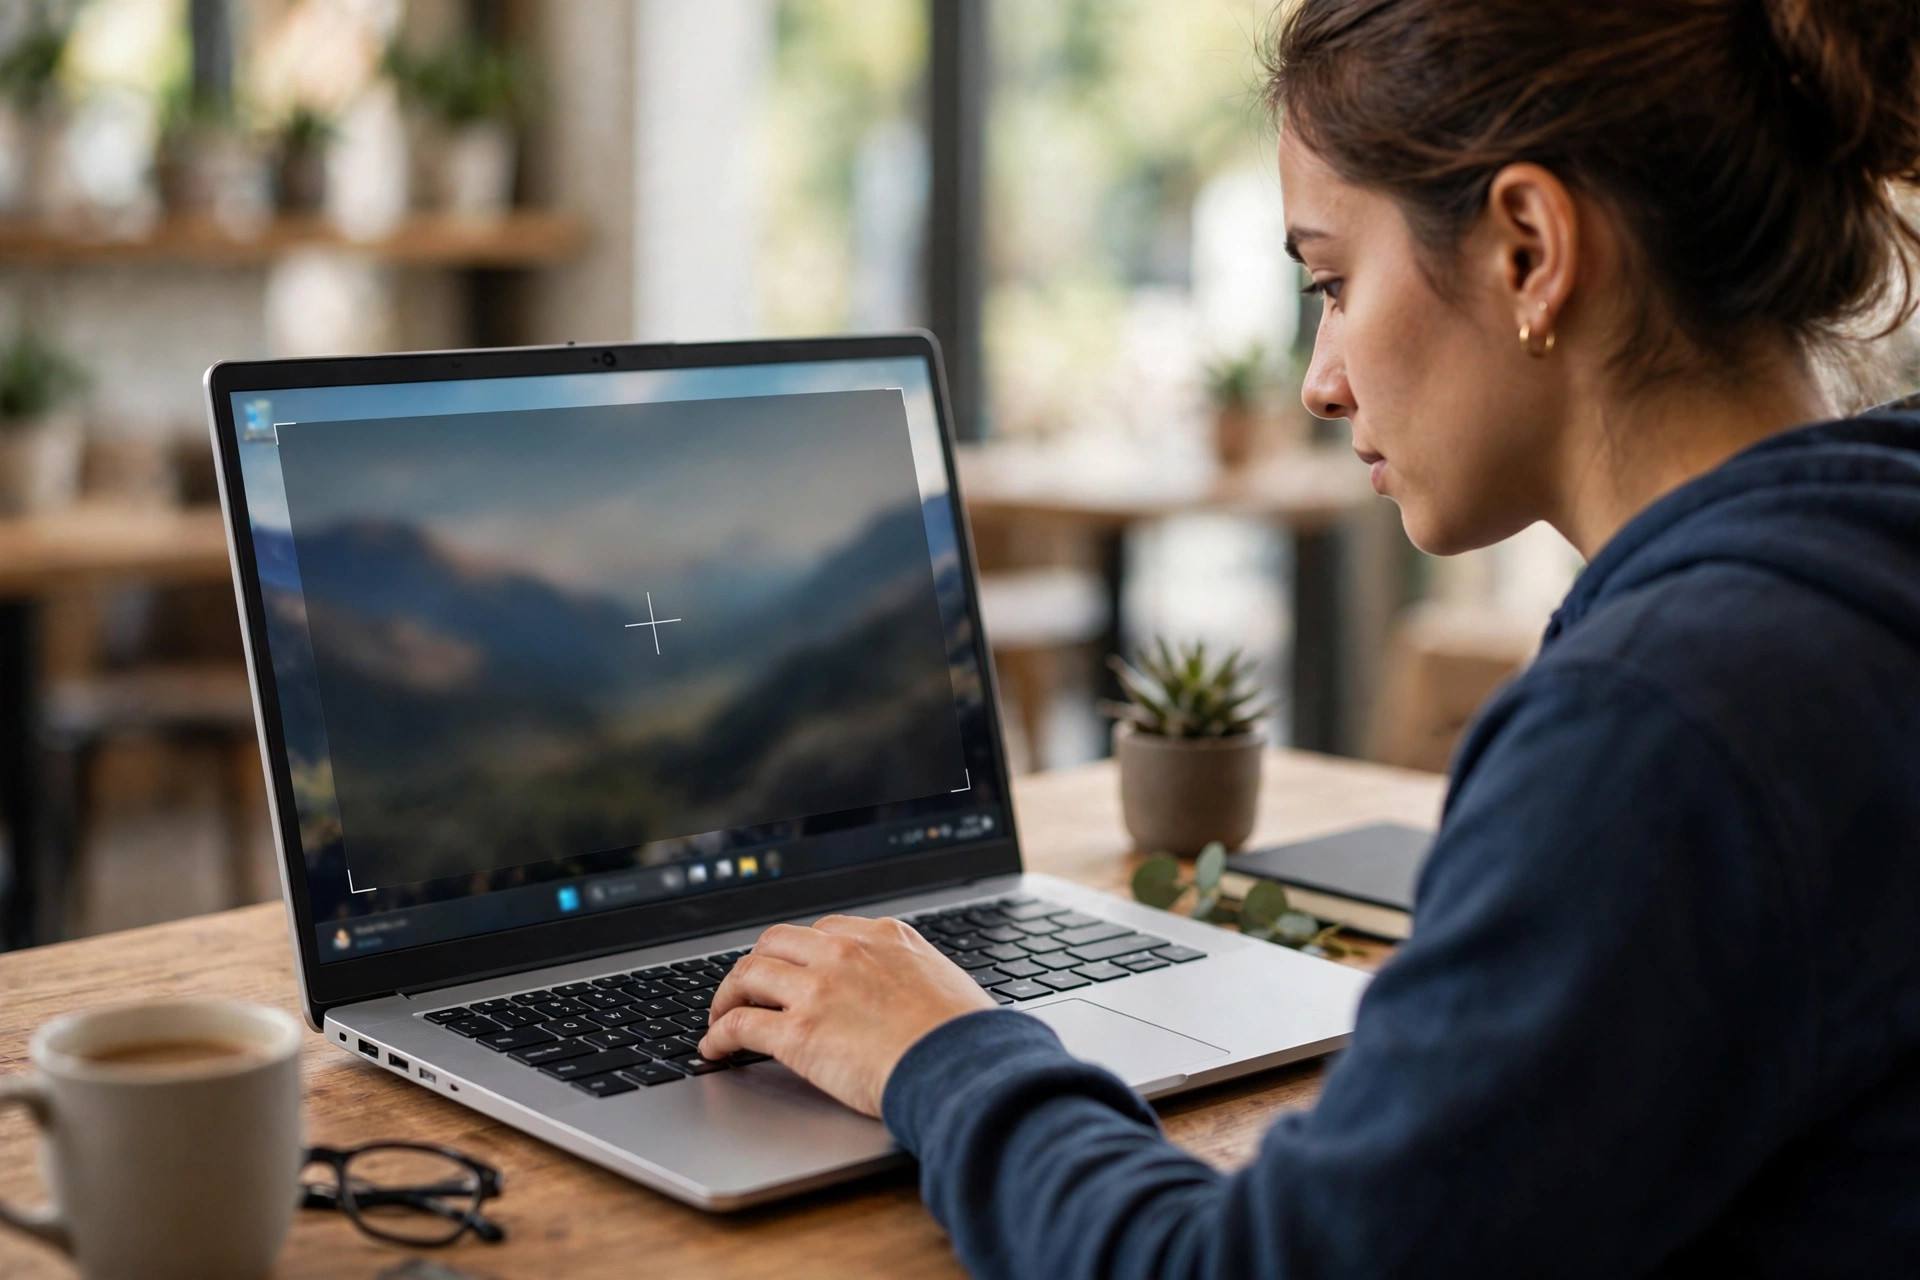
The Snipping Tool is Windows 11’s dedicated screenshot app, and it’s the method I recommend to everyone. Press Windows key + Shift + S — your screen dims, a small toolbar appears at the top, and you can capture exactly what you need:
- Rectangle mode: drag a box around any area. This is the one you’ll use 90% of the time.
- Freeform mode: draw any shape freehand — great for irregular areas.
- Window mode: click any window to capture just that window, cleanly, with no background clutter.
- Fullscreen mode: captures the entire screen in one click.
After capturing, the screenshot copies to your clipboard automatically, and a notification appears — click it to open the Snipping Tool editor, where you can annotate with a pen or highlighter, crop, and save. You can also set a delay (3, 5, or 10 seconds) in the full Snipping Tool app — perfect for capturing menus or tooltips that disappear when you press keys.
Pro tip: after pressing Windows + Shift + S, your most recently used mode is remembered, so repeated screenshots get faster. This one shortcut genuinely covers nearly every screenshot need.
Method 2: Print Screen Key (The Classic)
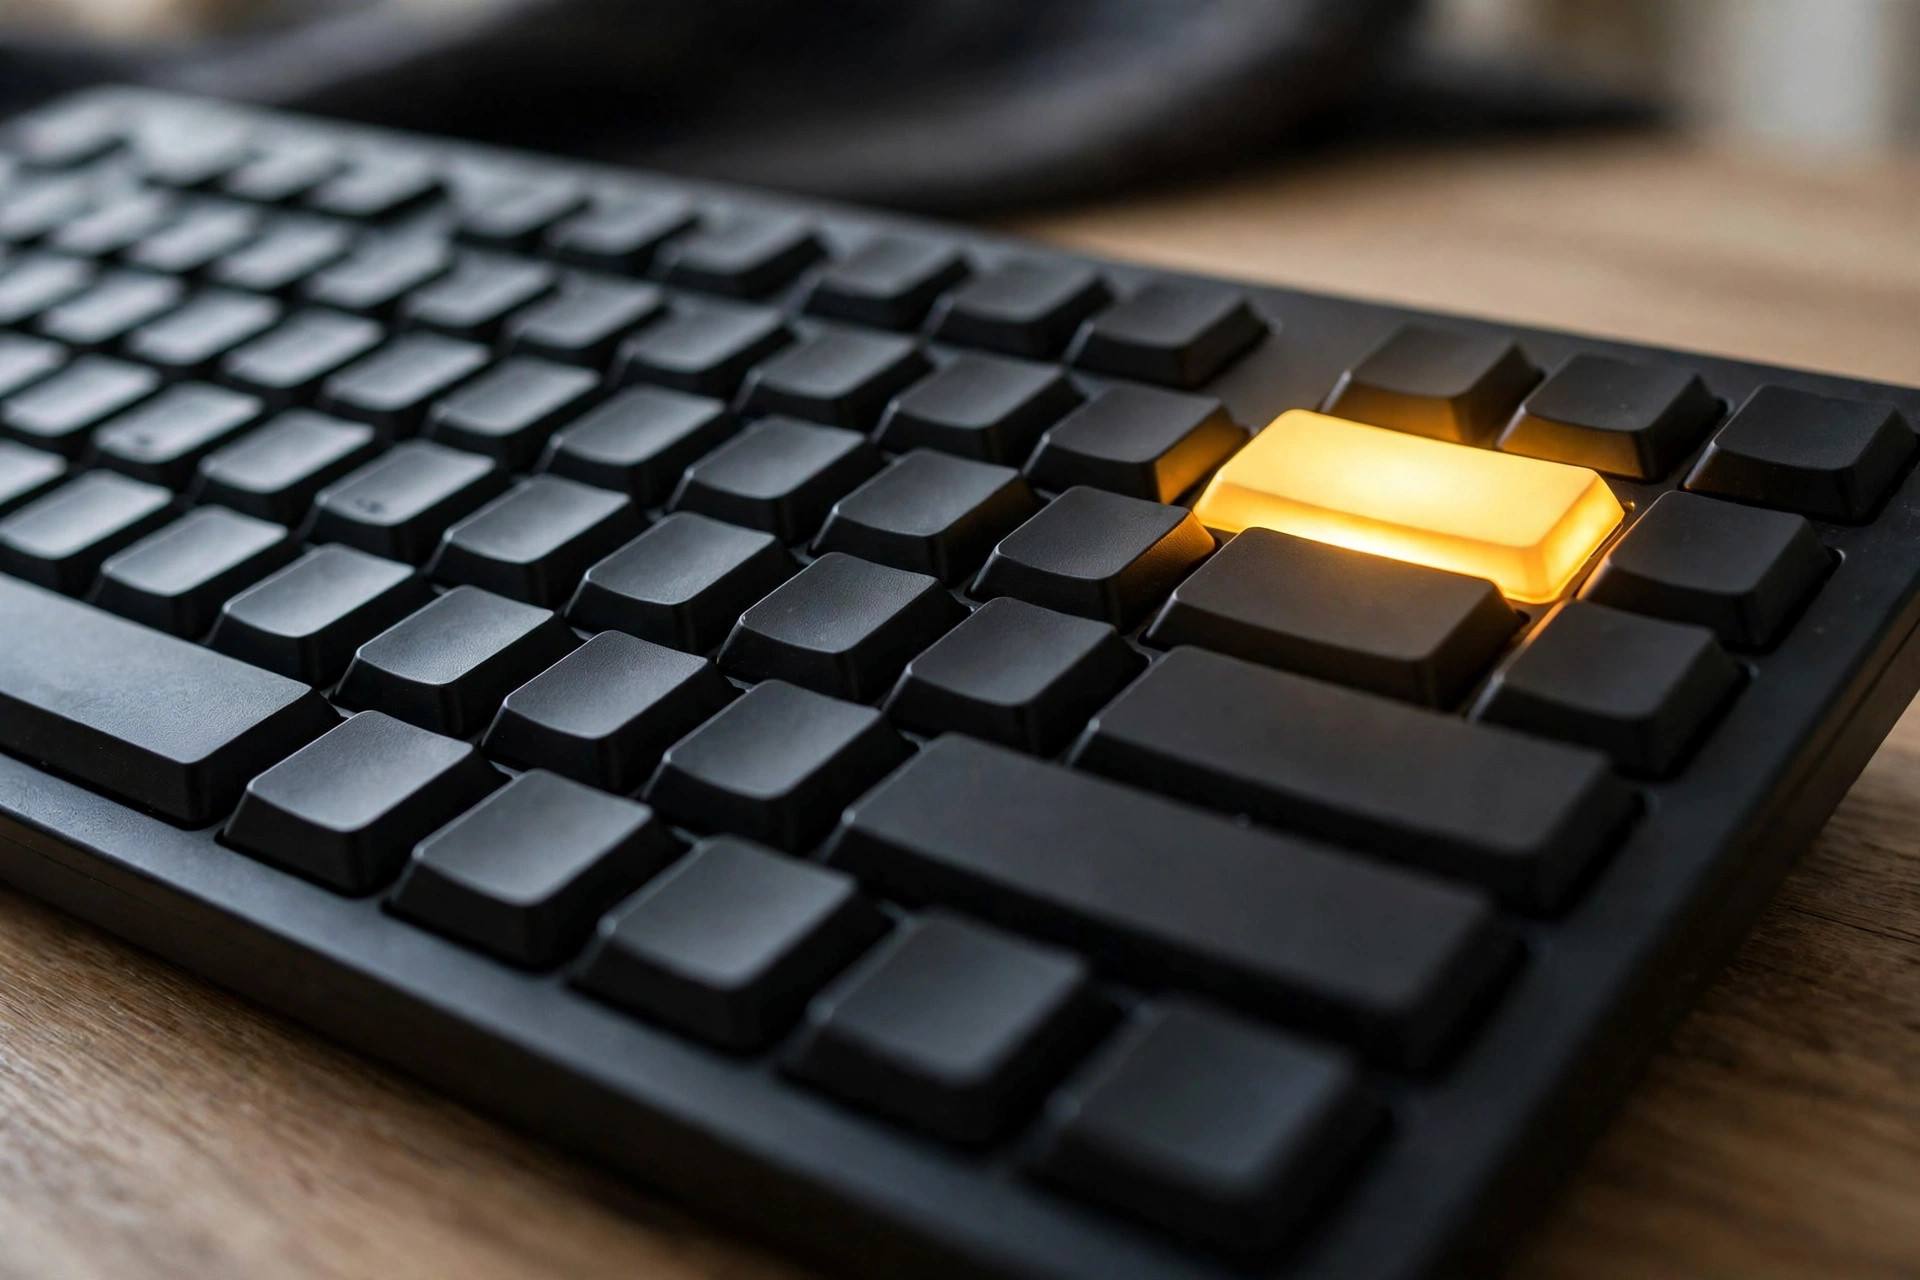
Your keyboard has a Print Screen key (often labeled PrtScn, PrtSc, or similar — sometimes shared with another key, requiring the Fn modifier on laptops). What it does depends on your Windows 11 settings:
- Default behavior: pressing Print Screen copies the entire screen to your clipboard. Paste it anywhere with Ctrl + V.
- With Windows 11’s updated setting: you can configure the Print Screen key to open the Snipping Tool instead (Settings → Accessibility → Keyboard → “Use the Print Screen key to open screen snipping”). I recommend turning this on — it makes the key far more useful.
- Alt + Print Screen: captures only the active window to the clipboard — no cropping needed.
- Windows key + Print Screen: captures the full screen and automatically saves it as a file (more on where below). The screen briefly dims to confirm.
Method 3: Xbox Game Bar (For Games and Apps)
Press Windows key + G to open the Xbox Game Bar — despite the name, it works in any app, not just games. Click the camera icon (or press Windows key + Alt + Print Screen) to capture the active window. Screenshots save automatically to your Videos → Captures folder.
This method shines for capturing games and full-screen applications where other methods can be finicky. It also records video clips (Windows + Alt + R), which is handy when a screenshot isn’t enough to show what’s happening.
Method 4: Snip & Sketch Legacy and Other Options
A few more tools worth knowing:
- The full Snipping Tool app: search “Snipping Tool” in the Start menu for the complete app with delay timer, annotation tools, and video screen recording (yes — Windows 11’s Snipping Tool now records video too).
- Third-party tools: apps like ShareX (free, extremely powerful) or Greenshot offer advanced features — automatic uploads, scrolling captures of entire web pages, and custom workflows. Worth exploring if you take screenshots constantly for work.
- Browser screenshots: Microsoft Edge has a built-in “Web capture” (Ctrl + Shift + S in Edge) that can screenshot an entire scrolling webpage — something the system tools can’t do natively.
Where Do Screenshots Go? (And How to Change It)
This confuses everyone, so let’s be precise:
- Clipboard captures (Print Screen alone, Windows + Shift + S): go to your clipboard. Paste with Ctrl + V into any app — or open the Snipping Tool notification to save as a file. Clipboard history (Windows + V) keeps multiple recent captures accessible.
- Windows + Print Screen: auto-saves PNG files to Pictures → Screenshots.
- Xbox Game Bar captures: save to Videos → Captures.
- Snipping Tool editor saves: go wherever you choose in the Save dialog (default: Pictures).
To change the default save location, right-click the Screenshots folder → Properties → Location tab → Move. Useful if you want captures going to a cloud-synced folder or a second drive.
Editing and Annotating Your Screenshots
A raw screenshot is often just the starting point. The Snipping Tool’s built-in editor covers the essentials:
- Crop: trim to exactly the relevant area.
- Pen and highlighter: circle the important part, underline key text.
- Eraser: remove stray marks.
- Ruler/protractor: for precise straight lines (more useful than you’d think for technical screenshots).
For anything beyond that — arrows, text labels, blurring sensitive info — the free Paint app (much improved in Windows 11) or Photos app handles it. Always blur or cover personal information (names, addresses, account numbers) before sharing screenshots publicly. It’s a small step that prevents real privacy headaches.
Screenshot Workflows for Common Situations
Sending an error to tech support: Windows + Shift + S → rectangle around the error → click notification → annotate the key part → save and attach. Include the full error text visible — cropped-too-tight screenshots frustrate support agents.
Documenting a process: use the Snipping Tool’s delay feature for dropdown menus, then number your screenshots in order. Save them to a dedicated folder as you go.
Capturing a whole webpage: Edge’s Web capture (Ctrl + Shift + S in Edge) with the “full page” option — the system screenshot tools can’t scroll-capture.
Quick share to a chat: Windows + Shift + S, then Ctrl + V directly into Teams, Discord, WhatsApp Web, or email. No saving needed — clipboard to chat in seconds.
Recording instead of screenshotting: when a still image won’t convey it, the Snipping Tool’s video recording or Game Bar’s clip capture (Windows + Alt + R) records your screen with a few keystrokes.
Troubleshooting Screenshot Problems
- Print Screen does nothing: on many laptops, you must hold Fn + Print Screen. Check your keyboard — if PrtScn shares a key, Fn is required.
- Windows + Shift + S doesn’t work: ensure the Snipping Tool is installed (Microsoft Store if missing) and that no other app has hijacked the shortcut.
- Screenshots are black: some apps (streaming services, DRM-protected content) block screen capture deliberately. This is by design, not a bug.
- Can’t find saved screenshots: check Pictures → Screenshots for Windows + Print Screen captures, and Videos → Captures for Game Bar. Clipboard captures aren’t saved anywhere until you paste or save them.
- Clipboard history not working: enable it in Settings → System → Clipboard → Clipboard history. Then Windows + V shows your capture history.
While you’re getting comfortable with Windows 11’s built-in tools, it’s worth knowing your system more broadly — understanding how computers work makes every troubleshooting session less mysterious. And if your PC feels sluggish overall, making your computer faster covers the maintenance that keeps everything — screenshots included — running smoothly.
Windows 11 Screenshot Shortcuts: Cheat Sheet
Pin this list somewhere handy until muscle memory takes over:
- Windows + Shift + S — Snipping Tool overlay (rectangle, freeform, window, fullscreen)
- Print Screen — copy full screen to clipboard (or open Snipping Tool if configured)
- Alt + Print Screen — copy active window to clipboard
- Windows + Print Screen — save full screen automatically to Pictures → Screenshots
- Windows + G — Xbox Game Bar (camera icon or Windows + Alt + Print Screen to capture)
- Windows + V — clipboard history (access recent screenshots)
- Ctrl + Shift + S (in Edge) — web capture including full-page screenshots
Now you know how to screenshot on Windows 11. Learn Windows + Shift + S first — it handles almost everything. Add Windows + Print Screen second for auto-saving. The rest you can pick up as needed.
Screenshot Privacy: Think Before You Share
Screenshots capture more than you intend. Before sharing one — especially publicly — scan for: personal information in background tabs or notifications, account numbers or addresses in forms, private messages peeking in from behind windows, and location data in photos. The Snipping Tool’s crop and Paint’s blur/cover tools handle most of this in seconds. Make it a habit: capture, review, redact, then share. It takes ten extra seconds and prevents the kind of oversharing that’s impossible to undo once it’s posted.
Also worth knowing: screenshots can contain metadata, and anything you paste into AI chatbots, public forums, or social media is effectively published. When in doubt, crop tighter than you think necessary. Your future self will never regret being careful with personal data.
FAQ
What is the fastest way to take a screenshot on Windows 11?
Press Windows + Shift + S for the Snipping Tool overlay — drag to capture any area, and it’s on your clipboard instantly. For a one-key full-screen capture that auto-saves, use Windows + Print Screen.
Where are my screenshots saved in Windows 11?
It depends on the method: Windows + Print Screen saves to Pictures → Screenshots; Xbox Game Bar saves to Videos → Captures; clipboard methods (Print Screen alone, Windows + Shift + S) aren’t saved as files until you paste or save them manually.
How do I screenshot just one window?
Press Alt + Print Screen to copy only the active window to your clipboard, or use Windows + Shift + S and choose Window mode from the toolbar, then click the window you want.
Can I take a scrolling screenshot of a whole webpage?
Windows’ built-in tools can’t do scrolling captures natively, but Microsoft Edge can: press Ctrl + Shift + S in Edge, choose “Capture full page” under Web capture. Third-party tools like ShareX also offer scrolling capture.
Why are my screenshots coming out black?
Some applications — particularly video streaming services and DRM-protected content — deliberately block screen capture. This is intentional content protection, not a malfunction. Standard apps and your desktop capture normally.