How to Organize Kitchen Cabinets: 7-Step Zone System

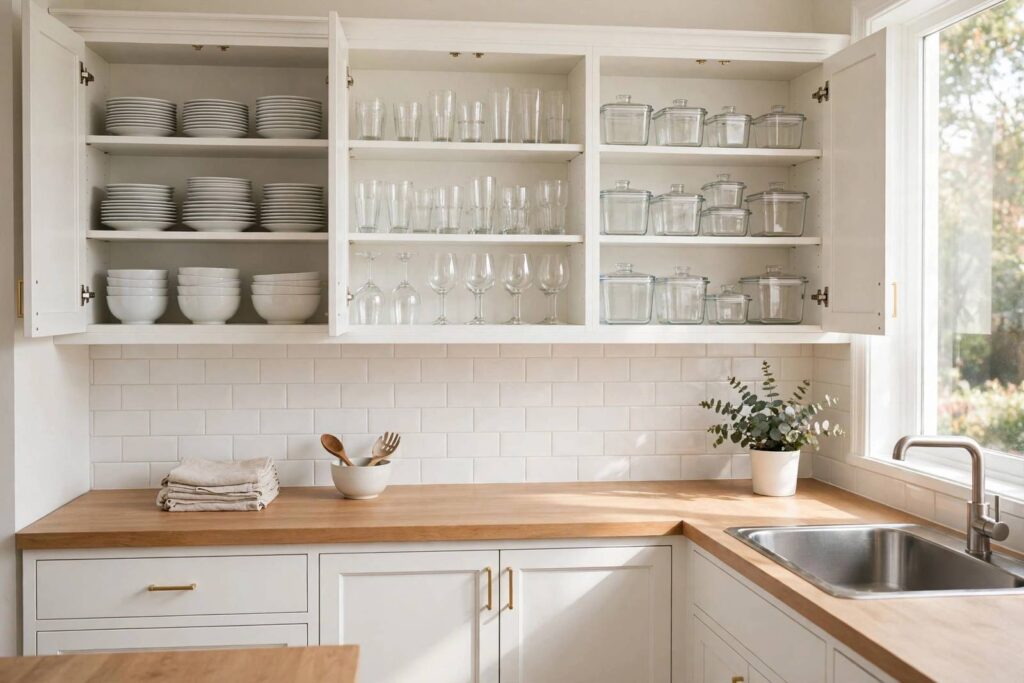
Most kitchen cabinets are organized by accident. You unpacked groceries on day one, shoved things where they fit, and five years later you’re digging behind the oatmeal to find the baking powder. Sound familiar?
Here’s the fix that actually lasts: stop organizing by shelf and start organizing by zone. A kitchen has jobs — cooking, prepping, cleaning up, storing — and each job deserves its own territory. Seven steps, one weekend, and a system that stays organized because it matches how you actually cook. Small steps, no perfection required.
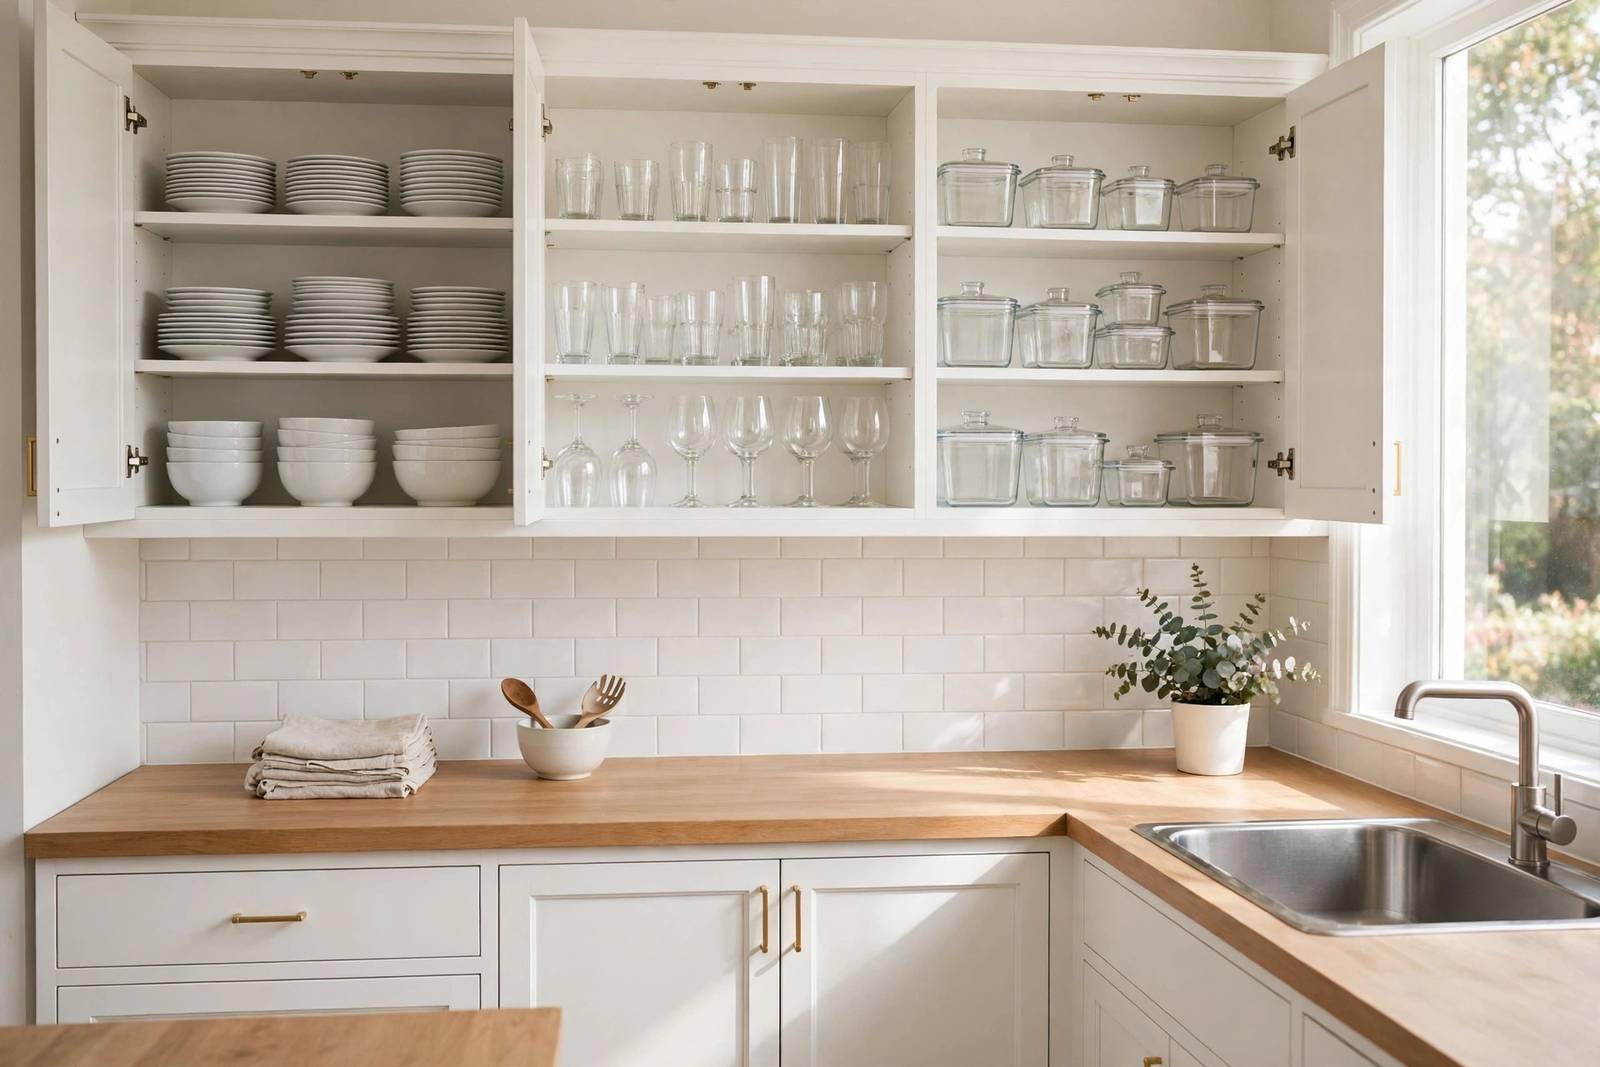
Start With Zones, Not Shelves
Before you touch a single cabinet, map the zones. Every kitchen has four:
- Cooking zone — near the stove: pots, pans, cooking oils, spices you reach for mid-recipe
- Prep zone — near the main counter: cutting boards, knives, mixing bowls, measuring tools
- Cleanup zone — near the sink and dishwasher: everyday dishes, glasses, dish soap, drying rack
- Storage zone — the pantry area: dry goods, canned food, rarely used appliances
Everything you’re about to organize gets assigned to a zone first, a shelf second. This is the whole secret: when every item lives near the job it serves, the kitchen practically organizes itself. Now the seven steps.
Step 1 — Empty Every Cabinet Completely
All of them. Every cabinet, every shelf, onto the counters and table. Yes, it’s a mess. That’s the point — you can’t organize what you can’t see, and you definitely can’t organize around the things hiding in the back.
Wipe the shelves while they’re empty. You’ll find crumbs from years ago. It’s fine. We’re all human.
Do this step properly and the rest gets easier, because Step 1 does something psychological: it breaks the “this is how it’s always been” inertia. An empty cabinet is a blank decision. A half-full cabinet is a negotiation with your past self. Empty them all.
Step 2 — Sort and Declutter
Group everything into categories: dishes, glassware, pots and pans, food storage containers. Seeing all of one category together is revelatory — you will discover you own four spatulas and eleven plastic lids with no containers.
Now the honest cut. Be ruthless about: chipped dishes, warped pans, containers with missing lids (and lids with missing containers), duplicates of things you use twice a year, and the novelty gadgets that seemed fun in the store. Donate the good duplicates. Recycle or trash the broken. What stays should earn its space.
Step 3 — Assess Storage Needs by Zone
Now assign. Match the storage to the zone’s job:
- Cooking zone: pots and pans belong here — ideally on pull-out drawers near the stove, because digging through a deep cabinet for a Dutch oven is how backs get hurt.
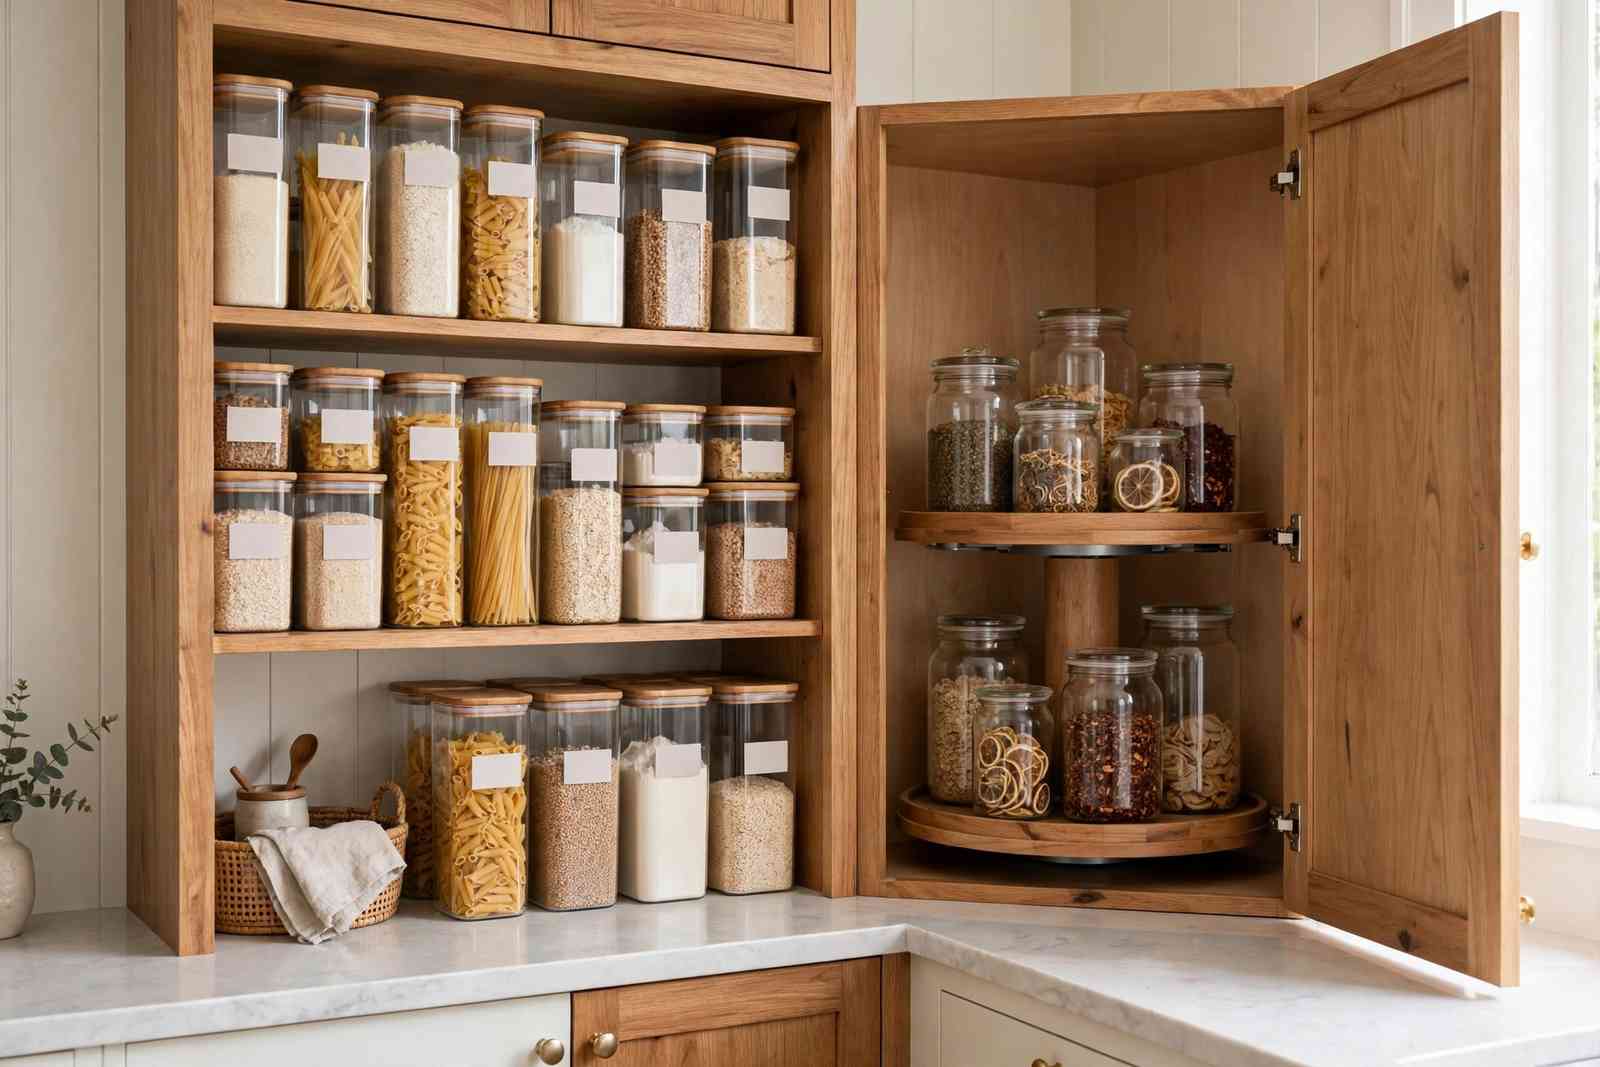
- Corners: the dreaded corner cabinet gets a lazy Susan — the rotating tray that brings the back of the cabinet to you.
- Daily items: whatever you touch every day lives at the easiest reach height. Bending and stretching for daily items is a design failure, not a fitness program.
The principle: the harder something is to reach, the less often you should need it.
Step 4 — Group Similar Items Together
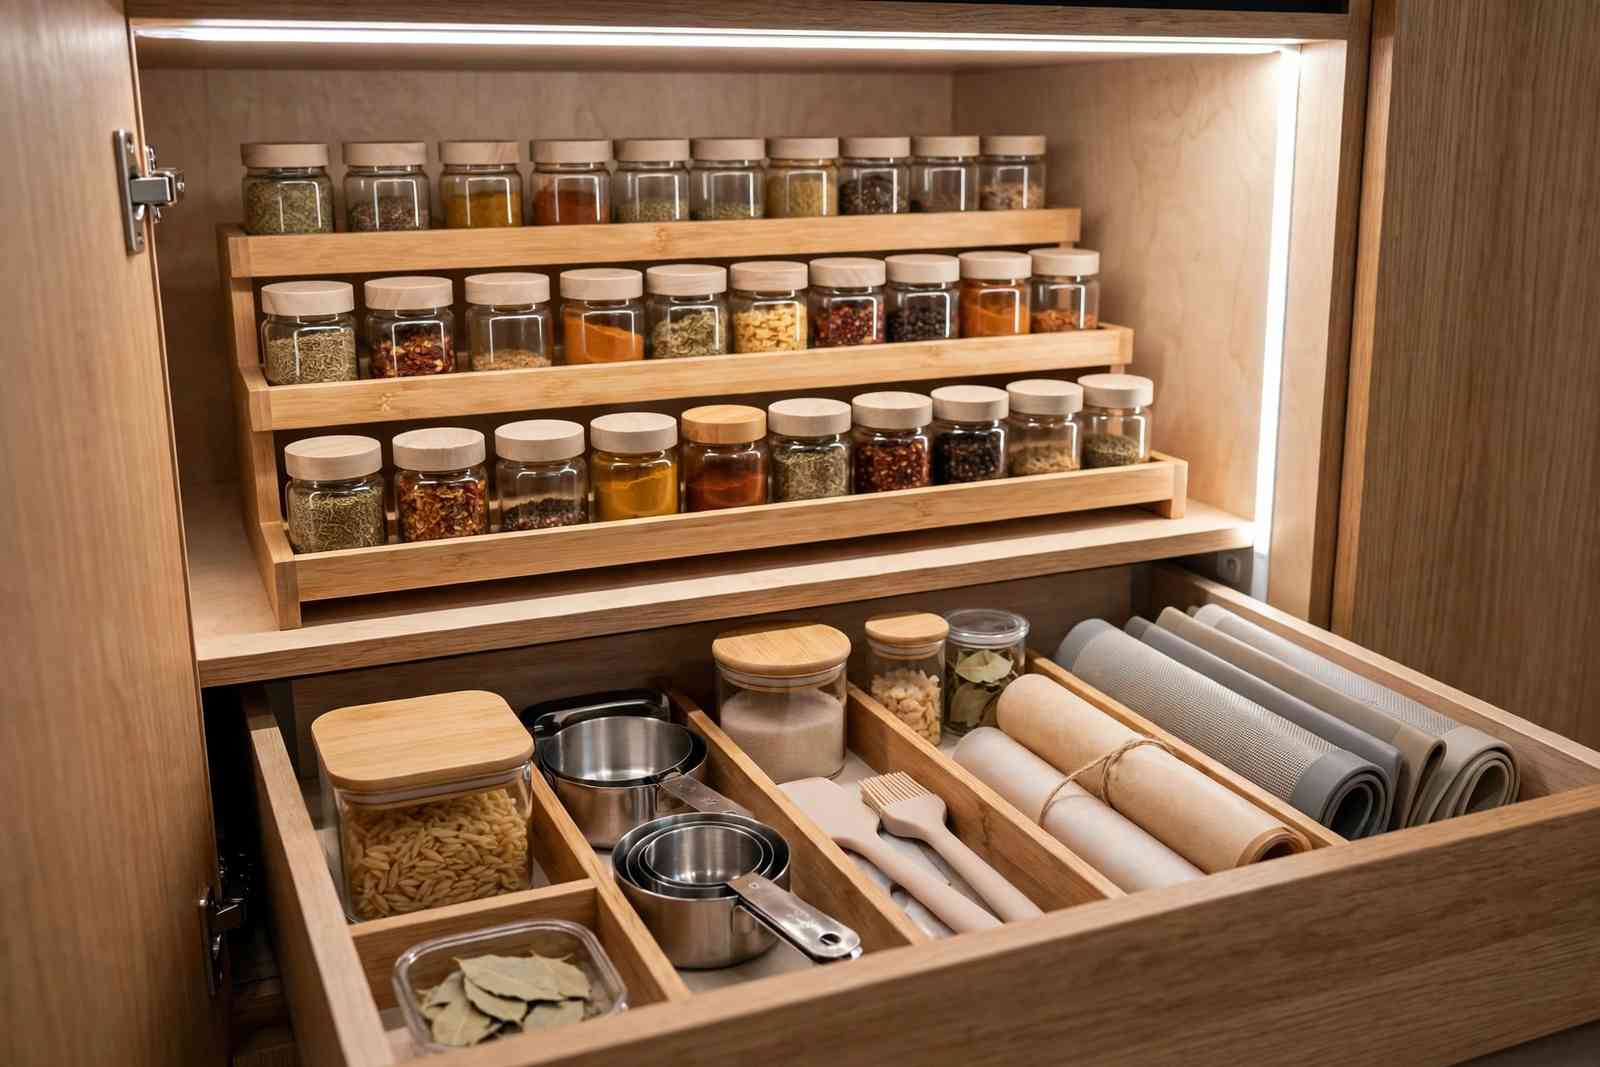
Within each zone, group by task. Baking supplies together, cooking supplies together — flour, sugar, and baking powder live as a family, not scattered across three cabinets. Cutlery gets proper inserts instead of a jumbled drawer. Spices get a real spice rack (or a tiered organizer) instead of a single-file line where you can’t read the labels.
The test: can you find what you need without moving three other things? If yes, the grouping works.
Step 5 — Use Organizers That Earn Their Space
Not every organizer is worth buying. The ones that earn their place:
- Drawer dividers — turn one chaotic drawer into neat compartments
- Pull-out shelves and baskets — convert deep cabinets from caves into drawers
- Corner solutions — lazy Susans or pull-out corner units for the dead zones
Skip the single-purpose gadgets. If an organizer only holds one specific thing and can’t adapt, it’s future clutter. Buy for the zone’s job, not for the catalog photo.
Step 6 — Label Shelves and Containers
Labels feel fussy until you live with someone else. In a multi-cook household — partners, roommates, kids learning to help — labels are what keep the system alive after you’re done organizing. A labeled shelf says “baking supplies go here” without you having to say it. Label the pantry containers, the spice zones, the cleaning shelf. Future you, unloading groceries at speed, will follow the labels without thinking.
Step 7 — Maintain: Everything Back in Its Spot
The unglamorous final step, and the one that determines whether this lasts. The rule is boring and absolute: everything goes back in its spot after each use. Not “later.” Not “when I do a big tidy.” After each use.
This takes about thirty seconds per item and saves the slow slide back to chaos. The system works because the zones make “its spot” obvious — you’re not memorizing locations, you’re returning things to their job’s territory.
And be honest with yourself about the first month. New systems feel effortful for about three weeks — you’ll put the olive oil back in the old spot twice before the new spot sticks. That’s normal, not failure. The zones are doing their quiet work in the background: every time you reach for something and it’s where the zone says it should be, the system gets a little more automatic. By week four, you’re not maintaining a system anymore. You’re just cooking in a kitchen that makes sense.
What Goes Where (Cheat Sheet)
The quick-reference version, from the zone logic above:
- Pots and pans — near the stove (cooking zone), on pull-outs if possible
- Everyday dishes — closest to the dishwasher (cleanup zone); you’ll unload straight into place
- Glasses — at eye level near the sink
- Rarely used items — up high, in the storage zone (holiday platters, the fondue set, the bread maker of good intentions)
What NOT to Store in Kitchen Cabinets
Three things don’t belong, no matter how convenient it seems:
- Cleaning chemicals — never stored with food or dishes. Under the sink is fine only if it’s separated; better in a dedicated spot away from anything edible.
- Heavy appliances on high shelves — the stand mixer lives low. Gravity plus a high shelf plus a heavy appliance is an accident waiting for a tired Tuesday evening.
- Perishables in heat traps — the cabinet above the stove looks convenient and cooks your spices and oils. Heat degrades both. Keep them cool.
Corner Cabinet Solutions
The corner cabinet is where organization goes to die — deep, dark, and unreachable. The fix that actually works: a pull-out lazy Susan. It rotates the back of the cabinet to the front, so nothing disappears into the void. It beats pushing things to the back and hoping, which is what most of us do now. If a full pull-out unit is too much, even a simple turntable on the existing shelf is a massive upgrade.
For the drawer-level version of this project, how-to-organize-a-junk-drawer applies the same zone thinking to the smallest space in the kitchen. For the bigger storage picture, small-apartment-storage-ideas and small-apartment-organization-ideas extend the system. And when the organized kitchen makes you want it to look good too, small-apartment-kitchen-decorating-ideas is the companion.
Frequently Asked Questions
What are the 7 steps to organize kitchen cabinets?
Empty every cabinet, sort and declutter, assess storage needs by zone, group similar items, add organizers that earn their space, label shelves and containers, and maintain by returning everything to its spot after each use.
How do you decide where to put things in kitchen cabinets?
Assign by zone, not by shelf: cooking items near the stove, prep tools near the counter, dishes near the sink/dishwasher, and pantry goods in the storage zone. Daily items get the easiest reach.
How do you lay out kitchen cabinets by zone?
Map four zones — cooking (near stove), prep (near counter), cleanup (near sink/dishwasher), storage (pantry) — then place each item in its zone’s territory before choosing the specific shelf.
What should not be stored in kitchen cabinets?
Cleaning chemicals (away from food/dishes), heavy appliances on high shelves, and perishables or spices in heat traps like the cabinet above the stove.
What are the best cabinet organizers for kitchens?
Drawer dividers, pull-out shelves and baskets, and corner solutions like lazy Susans. Skip single-purpose gadgets — buy for the zone’s job, not the catalog photo.
How do you organize a deep corner cabinet?
Install a pull-out lazy Susan — it rotates the back of the cabinet to the front so nothing gets lost. Even a simple turntable on the existing shelf is a big upgrade over pushing things to the back.