How to Organize a Junk Drawer: The 5-Step Method That Lasts

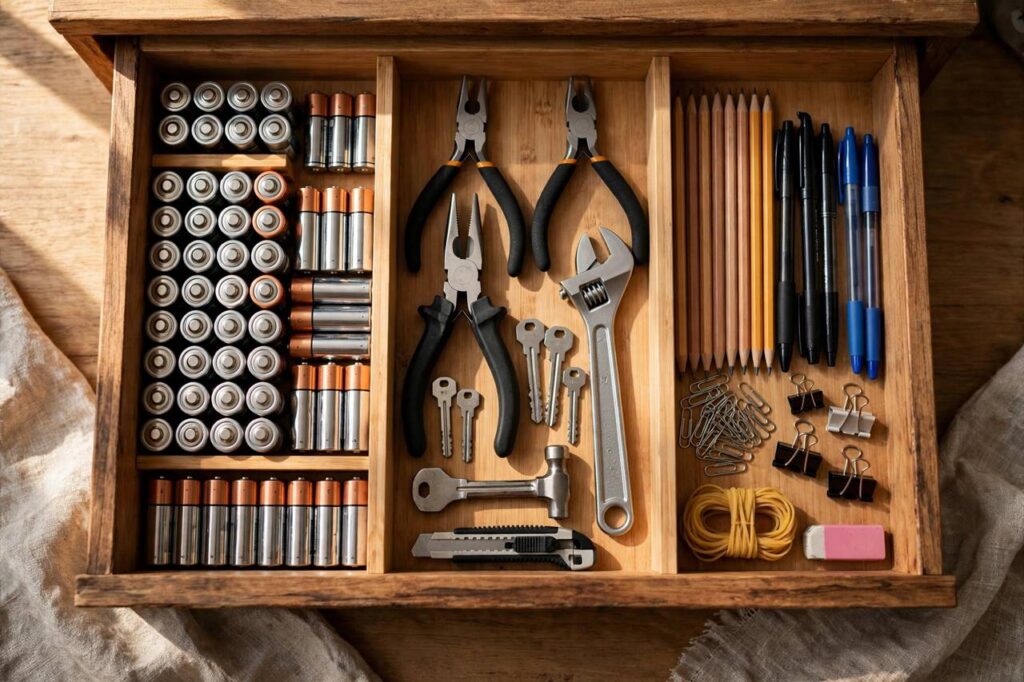
Every home has one: the drawer where batteries, rubber bands, mystery keys, and takeout menus go to live out their days in tangled chaos. I finally tackled how to organize a junk drawer after spending eleven minutes looking for scissors that were, of course, in the junk drawer the whole time. The project took 45 minutes, cost less than a takeaway dinner, and — here’s the real win — it has stayed organized for over a year. The secret wasn’t the dividers. It was the five-step method and the maintenance routine at the end. Here’s the whole thing.
Step 1: The Dump (and Why It’s Non-Negotiable)
Pull the drawer out and dump everything onto a table or towel. Everything. Yes, it’s dramatic. Yes, it’s necessary. You cannot organize what you can’t see, and the visual shock of the full pile is motivational fuel — it’s also the moment you discover you own four tape measures and no working pens.
Wipe the empty drawer clean while it’s out. Crumbs, dust, the fossilized remains of a cough drop — all of it goes. If the drawer is deep, consider a non-slip liner; it stops small items migrating and makes the next cleanout a two-minute job.
The one-drawer rule: if junk has spilled into two or three drawers, pick the kitchen one and make it the flagship — everything else consolidates into it. Two junk drawers never get maintained; one does, because one you can actually see. I learned this the hard way after “organizing” my office drawer and my kitchen drawer in the same weekend and maintaining exactly neither of them.
Step 2: The Edit — Sort Into Four Piles
Now sort the mountain into four piles, and be ruthless:
Keep: things you actually use — scissors, tape, batteries that work, the good screwdriver.
Relocate: things that belong somewhere else — the hammer goes to the toolbox, the gift cards to your wallet, the sunscreen to the bathroom.
Toss: dead batteries, dried-out pens (test every single one), expired coupons, instruction manuals for things you no longer own, mystery cables to devices long gone.
Donate/rehome: duplicates in good condition — the second stapler, the spare flashlight.
The edit is where junk drawers are truly organized; everything after this is just presentation. My rule of thumb: if you haven’t used it in a year and it has no clear future use, it doesn’t earn drawer space. Be especially honest about the “just in case” pile — “just in case” is how junk drawers are born. For the bigger version of this ruthlessness applied to a whole house, my guide on how to declutter your house uses the same keep-or-release logic room by room.
Step 3: Define Your 5–6 Categories
Group the keepers into five or six categories — no more, or the system gets too fiddly to maintain. Nearly every junk drawer settles into some version of these: tools & fix-it (screwdriver, tape measure, small hammer, super glue), power (working batteries, chargers, a power bank), stationery (pens that work, tape, scissors, sticky notes), household bits (rubber bands, safety pins, light bulbs, matches), personal (lip balm, spare keys, the good nail clippers), and paperwork in transit (stamps, a few envelopes, the takeout menu you actually order from).
Five or six zones is the sweet spot: fewer and things pile up in blobs; more and you spend your life deciding which tiny compartment a paperclip belongs in. This is the same zone logic that makes staying organized work in general — everything needs one obvious home, and “obvious” is doing the heavy lifting.
Step 4: Measure, Then Buy Dividers
This is the step everyone does backwards: they buy cute organizers first, then discover they don’t fit. Measure the drawer first — length, width, and depth — and write the numbers on your phone. Then buy dividers to fit the measurements and the categories: adjustable bamboo trays, shallow bins, or simple small boxes. You don’t need a matched set; a mix of small containers works fine as long as each category has its own walled zone.
Budget options that genuinely work: cut-down cardboard boxes wrapped in contact paper, silicone muffin trays for tiny bits (batteries, screws, pins), and magnetic strips stuck inside the drawer side for bobby pins and paperclips. Depth matters most — dividers taller than the drawer will jam it, which is the most common purchase mistake.
Step 5: Load It Back With Intention
Put things back one category at a time, heaviest-used items toward the front. Batteries go in a small lidded box (loose batteries rolling around is how you get the dreaded drawer rattle). Pens go tip-up in one compartment so you can grab without digging. Put a small trash bag or recycling bin nearby during this step — you’ll find a second wave of things to toss once everything has a place.
Label the zones if you share the house. A label maker is ideal; masking tape and a marker work just as well. Labels aren’t for you — they’re for everyone else in the house, and they’re what stops the drawer reverting to chaos within a month.
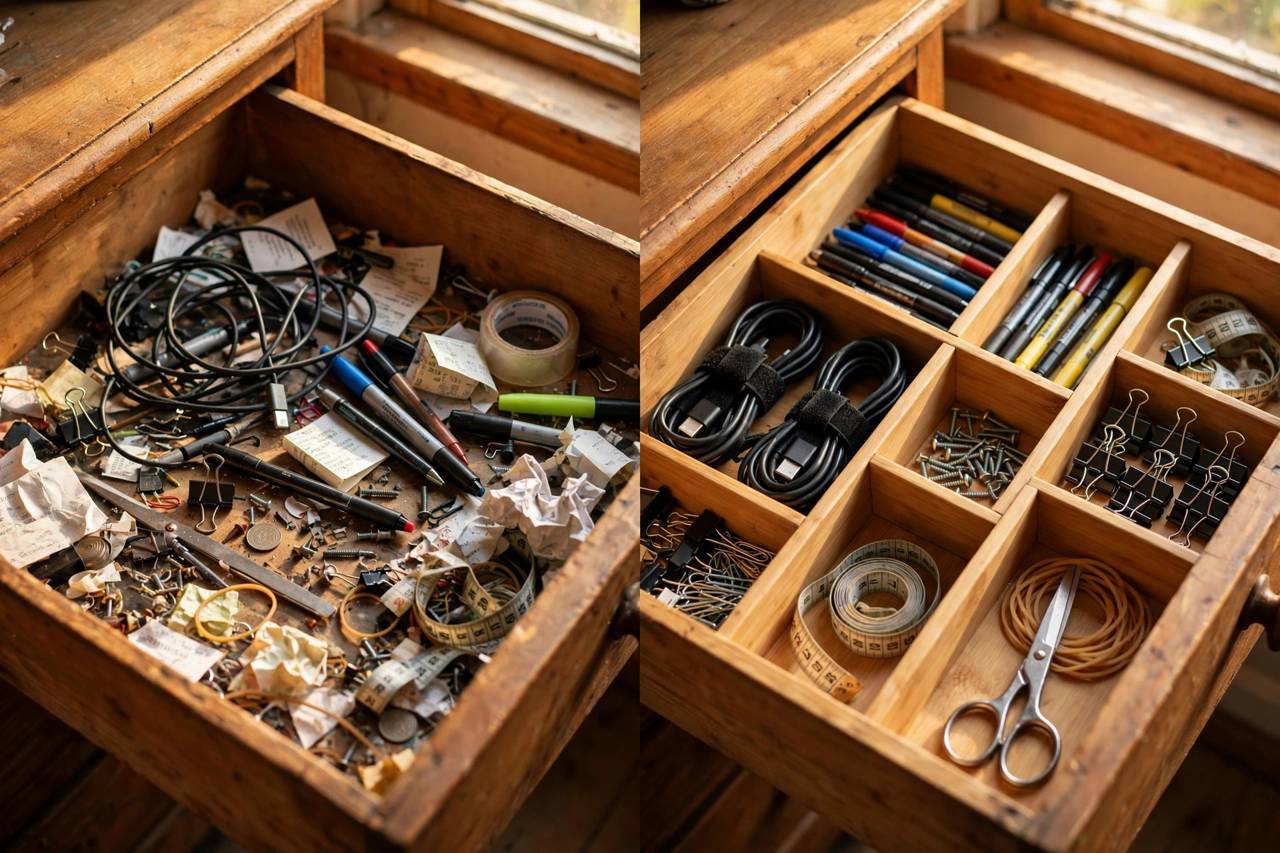
The ‘Stays Useful’ Maintenance Routine
Organization that needs constant effort isn’t organization — it’s a second job. So make maintenance nearly automatic: the one-minute weekly reset (every Sunday, or whenever you notice drift: toss the accumulated receipts, return strays to their zones, 60 seconds max), the quarterly purge (every three months, pull the drawer and repeat the four-pile edit — it takes ten minutes now that the system exists), and the one-in rule (a new gadget only enters if something leaves or a zone has empty space).
That’s it. The drawer stays useful because the system has a pressure valve: things that don’t belong get evicted on a schedule instead of accumulating until the next dramatic overhaul. If this small win has you eyeing bigger territory, organizing a small apartment applies the same zone-and-purge thinking to every room — and honestly, the junk drawer is the perfect training ground for it.
How to Organize a Junk Drawer in a Rental
Renters get the worst junk drawers — shallow, sticky, oddly sized — and can’t renovate their way out. The good news: the entire 5-step method works without modifying anything. Non-slip liner is your best friend: it protects the landlord’s drawer, stops items sliding, and lifts out for cleaning. Cut it slightly oversized and let the edges curl up the sides; it stays put without adhesive.
Skip anything that screws or sticks permanently. Tension-rod dividers, interlocking bamboo trays, and small lidded boxes all organize without a trace. Magnetic strips work if you mount them inside a removable metal tin rather than the drawer itself. And photograph the drawer empty before you start — not for the landlord, for you: it’s satisfying proof of the before, and it settles any deposit dispute about condition.
The rental constraint is secretly a gift: because you can’t build custom inserts, you’re forced into the modular system (trays and boxes) that’s actually easier to maintain and moves with you to the next place. Organize once, transport forever.
The 12 Things Every Junk Drawer Earns
After organizing dozens of these (mine, friends’, family’s), a pattern emerged — the items that genuinely earn drawer space versus the ones that just squat there. The keepers: 1. scissors that actually cut, 2. a roll of clear tape, 3. working pens (three max), 4. a small screwdriver or multi-tool, 5. a tape measure, 6. working batteries in the two sizes you actually use, 7. super glue, 8. a lighter or matches, 9. rubber bands and safety pins (small quantities), 10. sticky notes, 11. a spare phone charger, 12. stamps and two envelopes.
Notice what’s missing: the takeout menus (they’re online now), the mystery keys (label or toss), the dried-out markers, the instruction manuals (manufacturer PDFs exist), the single chopstick, the hotel sewing kit you’ll never open. A junk drawer with twelve working essentials beats a junk drawer with eighty maybes — and when something isn’t on the list, that’s your cue to find it a real home elsewhere or let it go.
Junk Drawer Organizers Worth Buying (and What’s a Waste)
Walk into any home store and there’s a wall of drawer organizers promising transformation. Here’s what’s actually worth money: adjustable bamboo trays (they expand to fit odd drawers and look good doing it), shallow stackable bins (for deep drawers — one layer of categories on top, lesser-used items below), and silicone muffin trays (the unsung hero for tiny items: batteries, screws, pins, each in its own cup, total cost pocket change).
What’s a waste: overly specific organizers (the 24-slot spice insert for a drawer that holds no spices), anything you didn’t measure for (the #1 regret purchase — measure first, always), and matching “systems” sold as sets (your categories are personal; a generic set never matches them). The honest truth: cut-down cardboard boxes work 90% as well as anything sold. Spend money only on the pieces that solve a specific problem your free options can’t — usually just the adjustable tray and the muffin cups.
One last thing: take the “after” photo. You’ll want it — partly for the satisfaction, mostly because six months from now, when the drawer has drifted slightly (all systems drift), the photo reminds you what “right” looks like and makes the ten-minute reset feel obvious instead of overwhelming. Organization isn’t a destination you arrive at; it’s a standard you return to. And now you know exactly what yours looks like.
Frequently Asked Questions
What should actually go in a junk drawer?
Everyday grab-and-go essentials in 5–6 categories: basic tools, working batteries and chargers, stationery, household bits like rubber bands and safety pins, personal items, and a small paperwork zone.
How do I keep my junk drawer organized long-term?
A one-minute weekly reset, a ten-minute quarterly purge, and a one-in rule for new items. Label the zones so everyone in the house maintains the system.
Should I buy drawer dividers before sorting?
No — sort and categorize first, then measure the drawer and buy dividers to fit. Buying organizers first is the most common mistake; they rarely fit the actual categories.
What’s the fastest way to organize a junk drawer?
The dump-and-sort method: empty everything, sort into keep/relocate/toss/donate piles, define 5–6 categories, then reload with dividers. About 45 minutes total.
How many categories should a junk drawer have?
Five or six. Fewer and items pile into blobs; more and the system becomes too fiddly to maintain day to day.