Garden Soil Preparation for Beginners: Feed the Soil First

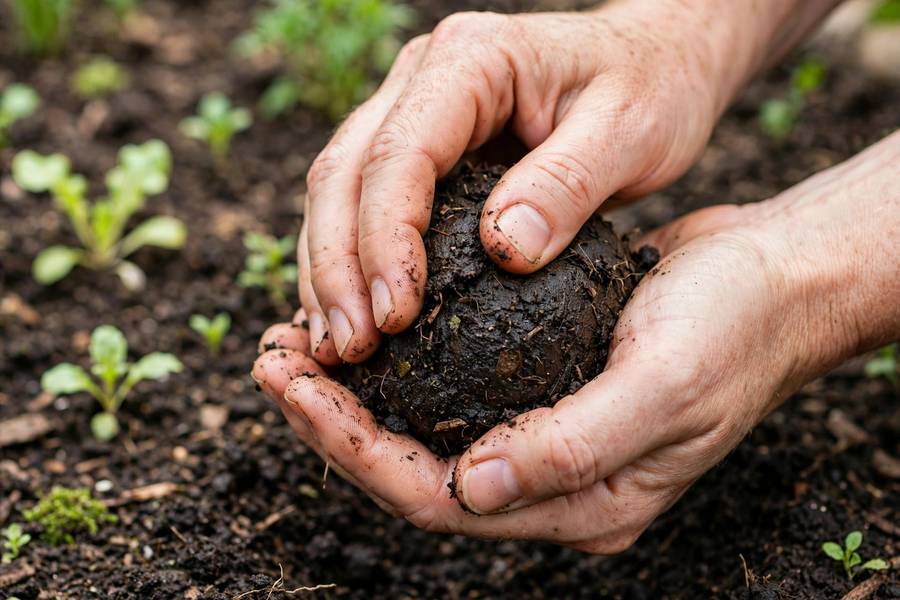
Here is the truth nobody told me when I started: I spent weeks choosing seeds and about ten minutes thinking about soil, and my first garden showed it. Pale plants, stunted carrots, tomatoes that just sat there. The second year, I flipped it around and spent my energy on the soil before a single seed went in, and the same varieties exploded. Garden soil preparation for beginners is not complicated, but it is the highest-leverage work you will do all season. Healthy soil holds water without waterlogging, feeds plants steadily, and teems with the microbial life that makes everything grow. In this guide, I will show you how to test what you have, loosen it properly, feed it with compost, and avoid the three soil mistakes that cost me my entire first carrot crop. This is the foundation underneath everything in my guide on how to start a garden; get the soil right and the rest gets dramatically easier.
Start With a Soil Test (It Is Easier Than You Think)
Before you add anything to your soil, find out what you actually have. A basic soil test from your local cooperative extension office costs very little and tells you your pH and the levels of key nutrients like nitrogen, phosphorus, and potassium. I skipped this my first year and dumped fertilizer on a problem that turned out to be pH, not nutrition. Twenty dollars of testing would have saved me a season of guessing.
Most vegetables want a pH between 6.0 and 7.0, slightly acidic to neutral. If your test shows very acidic or alkaline soil, the fix is usually lime or sulfur, applied in fall so it has months to work. The test also tells you what not to add, which matters: excess phosphorus is a real problem in many home gardens because people keep adding balanced fertilizer year after year. Test first, amend second. Your soil is not a mystery to be solved by guessing; it is a recipe card waiting to be read.
The Squeeze Test: Know Your Soil Type in 30 Seconds
While you wait for lab results, do the squeeze test. Grab a handful of moist soil and squeeze it into a ball. Sandy soil falls apart the moment you open your hand; it drains fast and needs organic matter to hold water and nutrients. Clay soil holds its shape in a tight, slick ball and may even shine; it holds nutrients well but drains poorly and compacts easily. Loam, the goal, forms a loose ball that crumbles when you poke it.
Most beginners have either sandy or clay soil, and both are fixable with the same medicine: organic matter. Compost improves sandy soil’s water retention and loosens clay soil’s structure. It is genuinely the universal soil amendment. I garden on clay that used to set like concrete in summer, and three years of annual compost applications have transformed it into something I can work with my hands. Whatever your soil type, do not try to change it overnight; feed it steadily and it will come around.
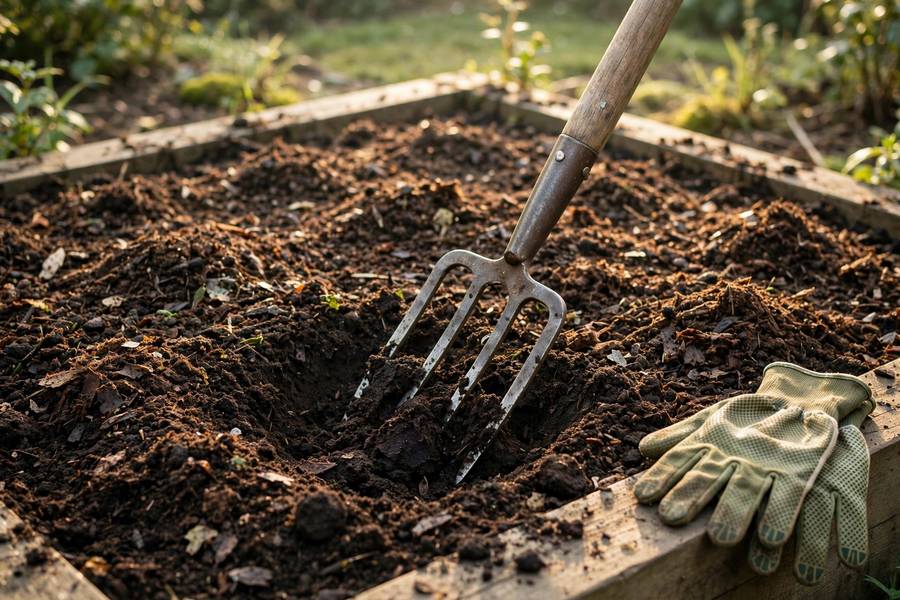
One warning about clay: never work it when it is wet. Digging or tilling wet clay destroys its structure and creates clods that bake into bricks. If a squeezed ball stays wet and sticky, wait a few dry days before you touch the bed.
Clearing and Loosening the Bed the Right Way
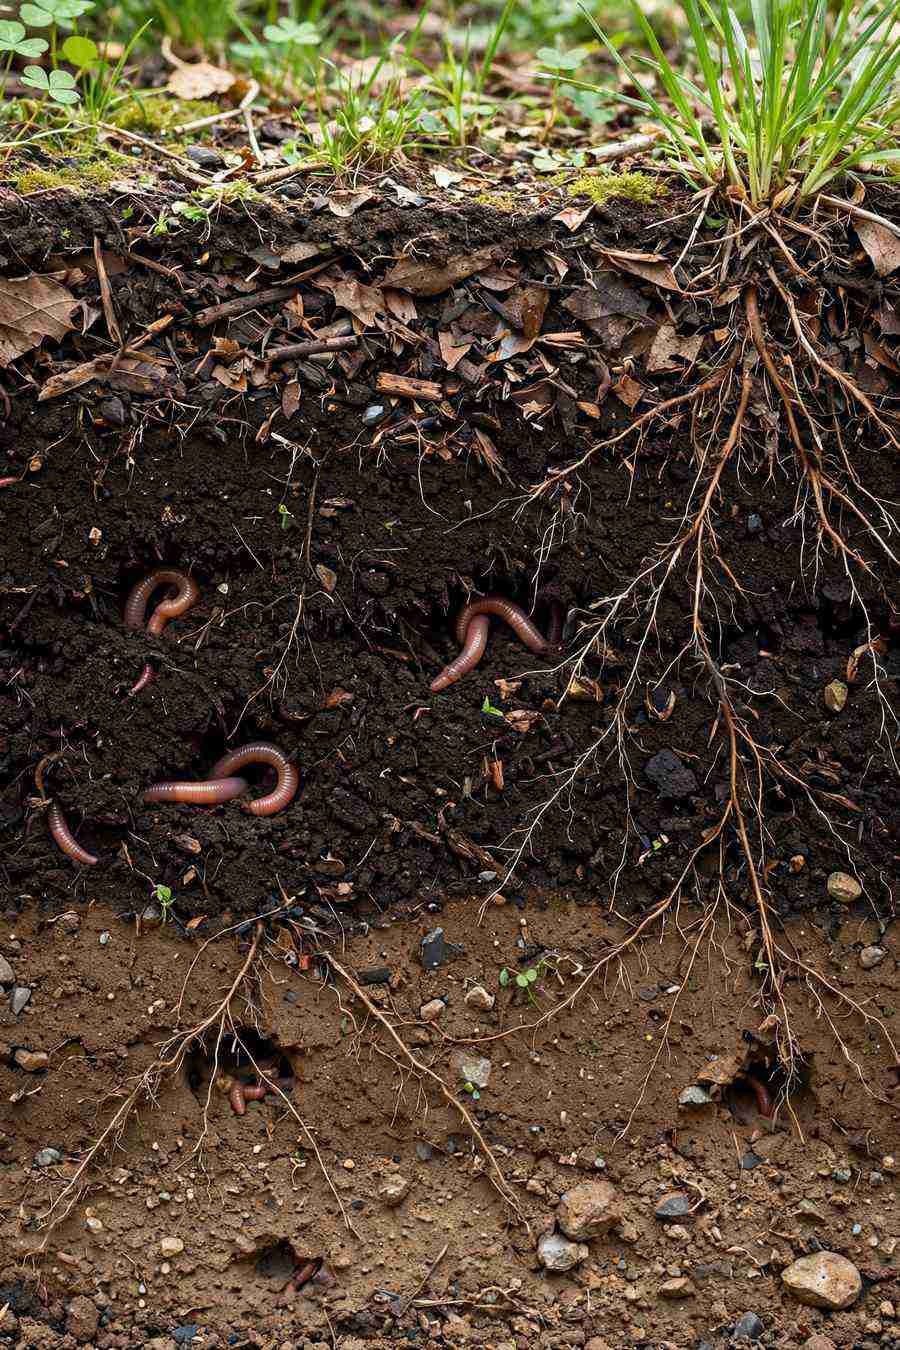
Start by clearing the area completely: pull weeds, remove grass, pick out rocks and roots. For grass, I smother it rather than digging it out. Lay cardboard over the area, wet it thoroughly, cover with several inches of compost or mulch, and wait a few weeks. The grass dies underneath, the cardboard decomposes, and the worms do your tilling for you. This no-dig approach preserves soil structure and the fungal networks that help plants feed.
If you are working an existing bed, loosen the top eight to ten inches with a garden fork, not a rototiller. A fork lifts and aerates without pulverizing the soil life or bringing buried weed seeds to the surface. I till once, lightly, when establishing a new bed on compacted ground, and then never again; after that it is fork-loosening and top-dressing only. Deep, aggressive tilling every year destroys the very soil biology you are trying to build. Think of it like this: you are fluffing a pillow, not demolishing a building.
Feeding Your Soil: Compost, Manure & Mulch
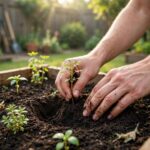
Compost is the single best thing you can add to garden soil, full stop. Spread two to three inches of finished compost over the bed and work it lightly into the top few inches. It adds nutrients slowly, feeds earthworms and microbes, improves both drainage and water retention, and you almost cannot overdo it. My beds get this treatment every spring and every fall, and the improvement compounds year after year.
Aged manure is the other classic amendment, with one critical word: aged. Fresh manure burns plants and can carry pathogens; it needs to compost for at least six months. Bagged composted manure from the garden center is safe and effective. After planting, mulch the bare soil with two to three inches of straw, shredded leaves, or wood chips. Mulch suppresses weeds, keeps soil moisture even, and breaks down into more organic matter. Bare soil is stressed soil; keep it covered the way nature does. If you want to make your own black gold, my guide to how to compost at home walks you through the simplest bin setup I know.
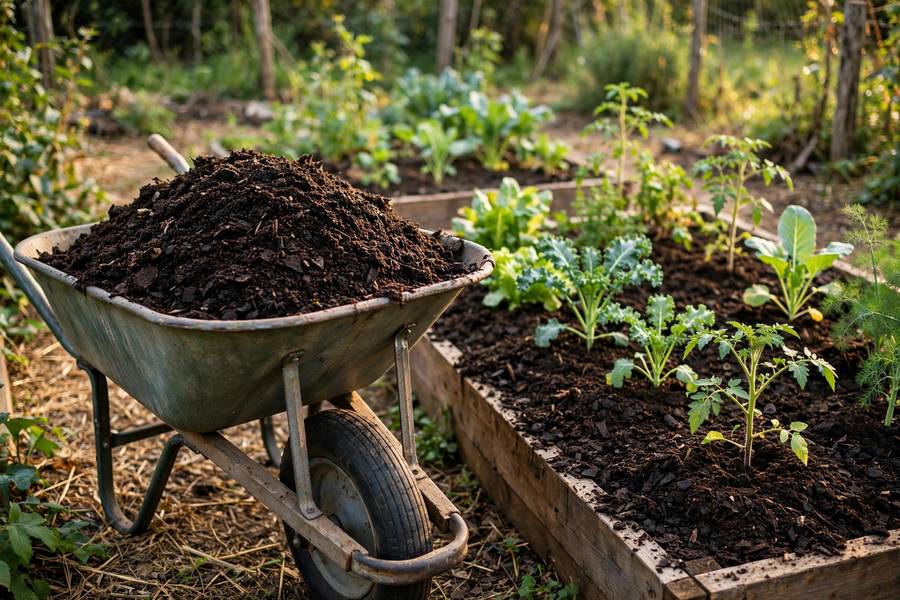
Avoid the temptation of synthetic quick-fix fertilizers as your main strategy. They feed the plant but starve the soil, and over time your soil becomes dependent on them. Compost feeds both.
Raised Beds: The Beginner’s Soil Shortcut
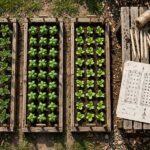
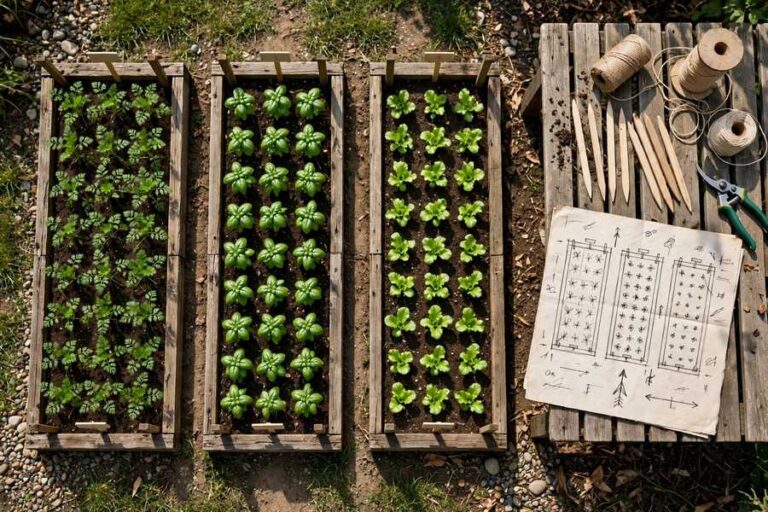
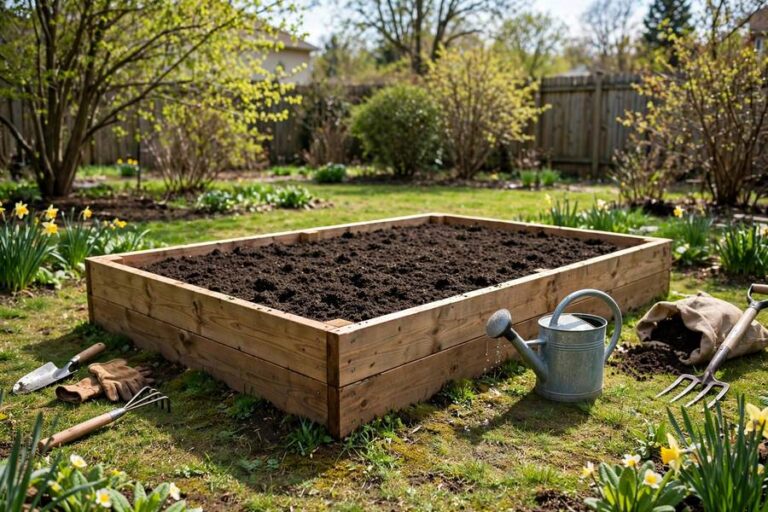
Here is my honest advice for beginners with truly terrible soil: do not fight it, go over it. A raised bed filled with a mix of topsoil and compost gives you perfect growing conditions on day one, no matter what lies underneath. A simple blend of 60 percent good topsoil and 40 percent compost has grown some of my best crops ever. It costs more upfront than amending native soil, but it removes the biggest variable in first-year gardening.
Raised beds also warm up faster in spring, drain better in wet climates, and save your back. Fill them in fall if you can, so the mix settles over winter, and top up with fresh compost each spring as the organic matter breaks down and the level drops. An inch or two of settling per year is normal. Even with raised beds, the no-dig principles apply: disturb the soil as little as possible, keep it covered, and feed it with compost annually. For small-space growers, the same soil logic works in pots; see what container gardening is for container-specific soil mixes.
The 3 Soil Mistakes That Cost Me Harvests
Mistake one: I added sand to my clay soil, having read somewhere that it improves drainage. It does not. Sand plus clay plus water makes something very close to concrete. The fix for clay is organic matter, always. Mistake two: I planted into soil that was too wet in spring because I was impatient, and compacted the whole bed with my feet and tools. Now I do the squeeze test before any spring work, and if the soil is wet, I wait.
Mistake three: I skipped mulch my first year because bare soil looked tidier. By August the soil surface had crusted, water ran off instead of soaking in, and weeds had moved into every inch. Mulch is not decoration; it is soil protection. Prepare your soil with the steps above, then follow my guide on how to start a garden for what to plant in it. Feed the soil, and the soil will feed you.
Clear weeds and grass (smother with cardboard for easiest results), test your soil pH and nutrients, loosen the top 8-10 inches with a garden fork, mix in 2-3 inches of compost, and mulch the surface. Never work clay soil when wet. This basic preparation suits almost all vegetables.
Yes, it is the cheapest insurance in gardening. A basic lab test tells you pH and nutrient levels so you amend correctly instead of guessing. Most vegetables want pH 6.0-7.0. Testing prevents both deficiencies and the excess phosphorus buildup common in over-fertilized home gardens.
Spread 2-3 inches of finished compost over the bed each spring and fall, working it lightly into the top few inches. You almost cannot overdo compost. For new raised beds, a mix of about 60% topsoil and 40% compost works beautifully.
No. Light tilling or fork-loosening once when establishing a new bed is fine, but yearly deep tilling destroys soil structure and microbial life. After establishment, just loosen the top few inches, top-dress with compost, and keep the soil mulched.
Yes, with patience and organic matter. Add 2-3 inches of compost yearly, never work the soil when wet, and keep it mulched. Do not add sand to clay (it makes concrete-like soil). Raised beds filled with topsoil-compost mix are a great shortcut while native clay improves.