Bridal Makeup Tips for Beginners: Look Like You, Just Radiant

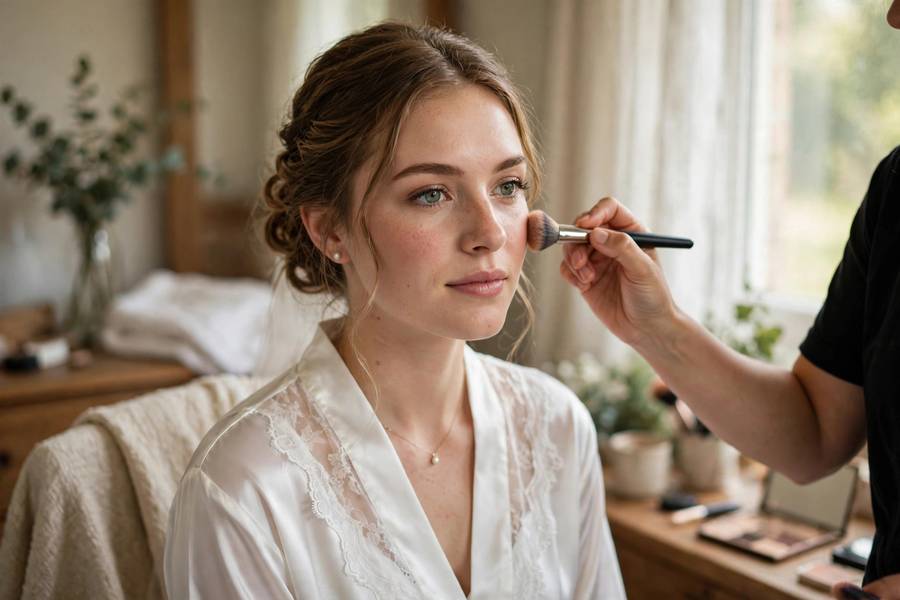
Don’t wear much makeup day-to-day? You’re not alone — and you don’t need to become a different person for your wedding. The goal of bridal makeup isn’t transformation. It’s the most polished, radiant, long-lasting version of YOU. Here’s how to get there, whether you’re hiring a pro or doing it yourself.
The Bridal Makeup Philosophy
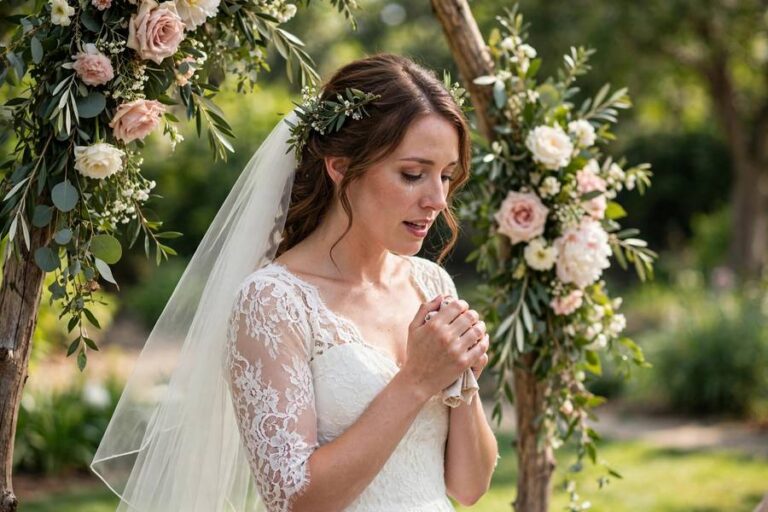
Wedding makeup needs to do three things drugstore-daily makeup doesn’t: last 10+ hours through tears and hugs, look good in professional photos (which wash out 30% of color), and look natural in person. That means slightly more than you’d wear to dinner — but applied so well it doesn’t read as “a lot.”
DIY vs Hiring a Pro
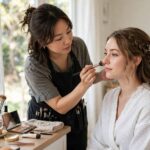
Hire a pro if: you’re truly a beginner, your wedding is formal, or makeup stress will ruin your morning. A good bridal artist ($150–400) is worth it for the calm alone. DIY if: you’re comfortable with basics, your wedding is casual, or budget demands it. Plenty of brides do their own beautifully.
Middle ground: hire a pro for yourself, DIY for bridesmaids. Or get a lesson from a makeup counter artist a month before and practice.
If You DIY: The Essentials
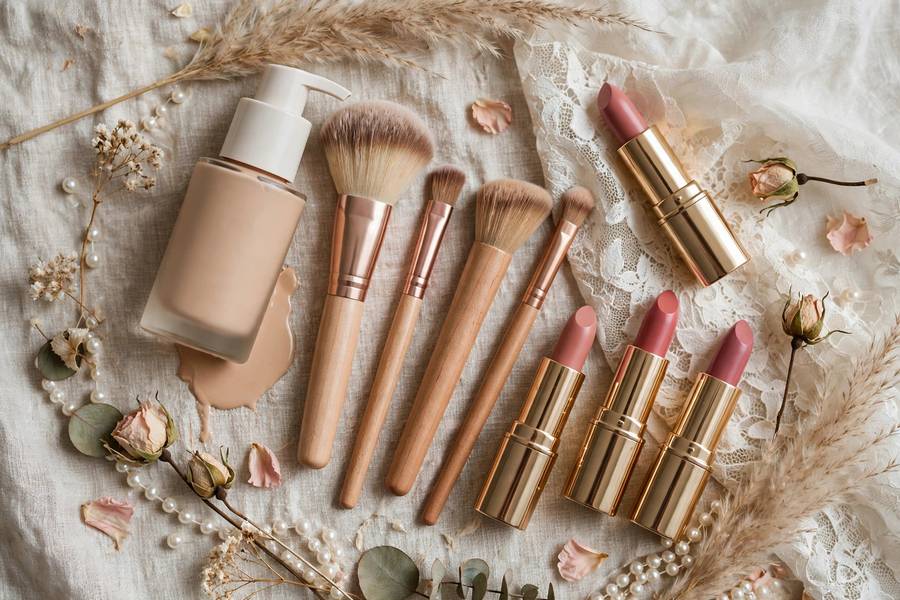
You don’t need 40 products. You need: primer (extends wear dramatically), a medium-coverage foundation matched to your neck (not your hand), concealer, setting powder for the T-zone, waterproof mascara (non-negotiable — you WILL cry), a neutral eyeshadow palette, blush, a lip color one shade deeper than your natural lip, and setting spray.
Application order matters: skincare → primer → foundation → concealer → powder → eyes → blush → lips → setting spray. Less is more — build in thin layers.
Long-Lasting Secrets
Primer and setting spray are the difference between makeup that lasts 4 hours and 12. Waterproof everything on eyes — mascara, eyeliner. Blot, don’t powder for touch-ups (powder builds up cakey). Lip stain + gloss outlasts lipstick through kissing, eating, and champagne.
Photography Considerations
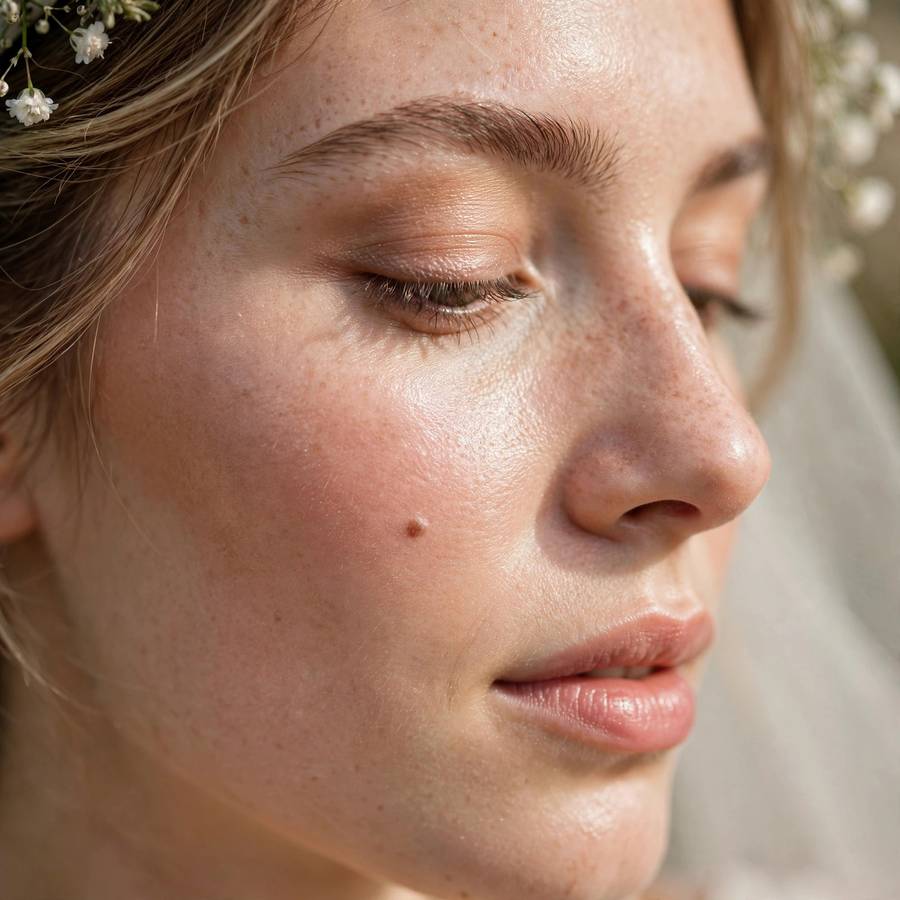
Camera flash washes out color, so go slightly bolder than feels natural — especially blush and lips. Avoid SPF-heavy foundations (they cause flashback, that white cast in photos). HD powders can also flash back; use sparingly. Tell your photographer you’ll do a touch-up before portraits.
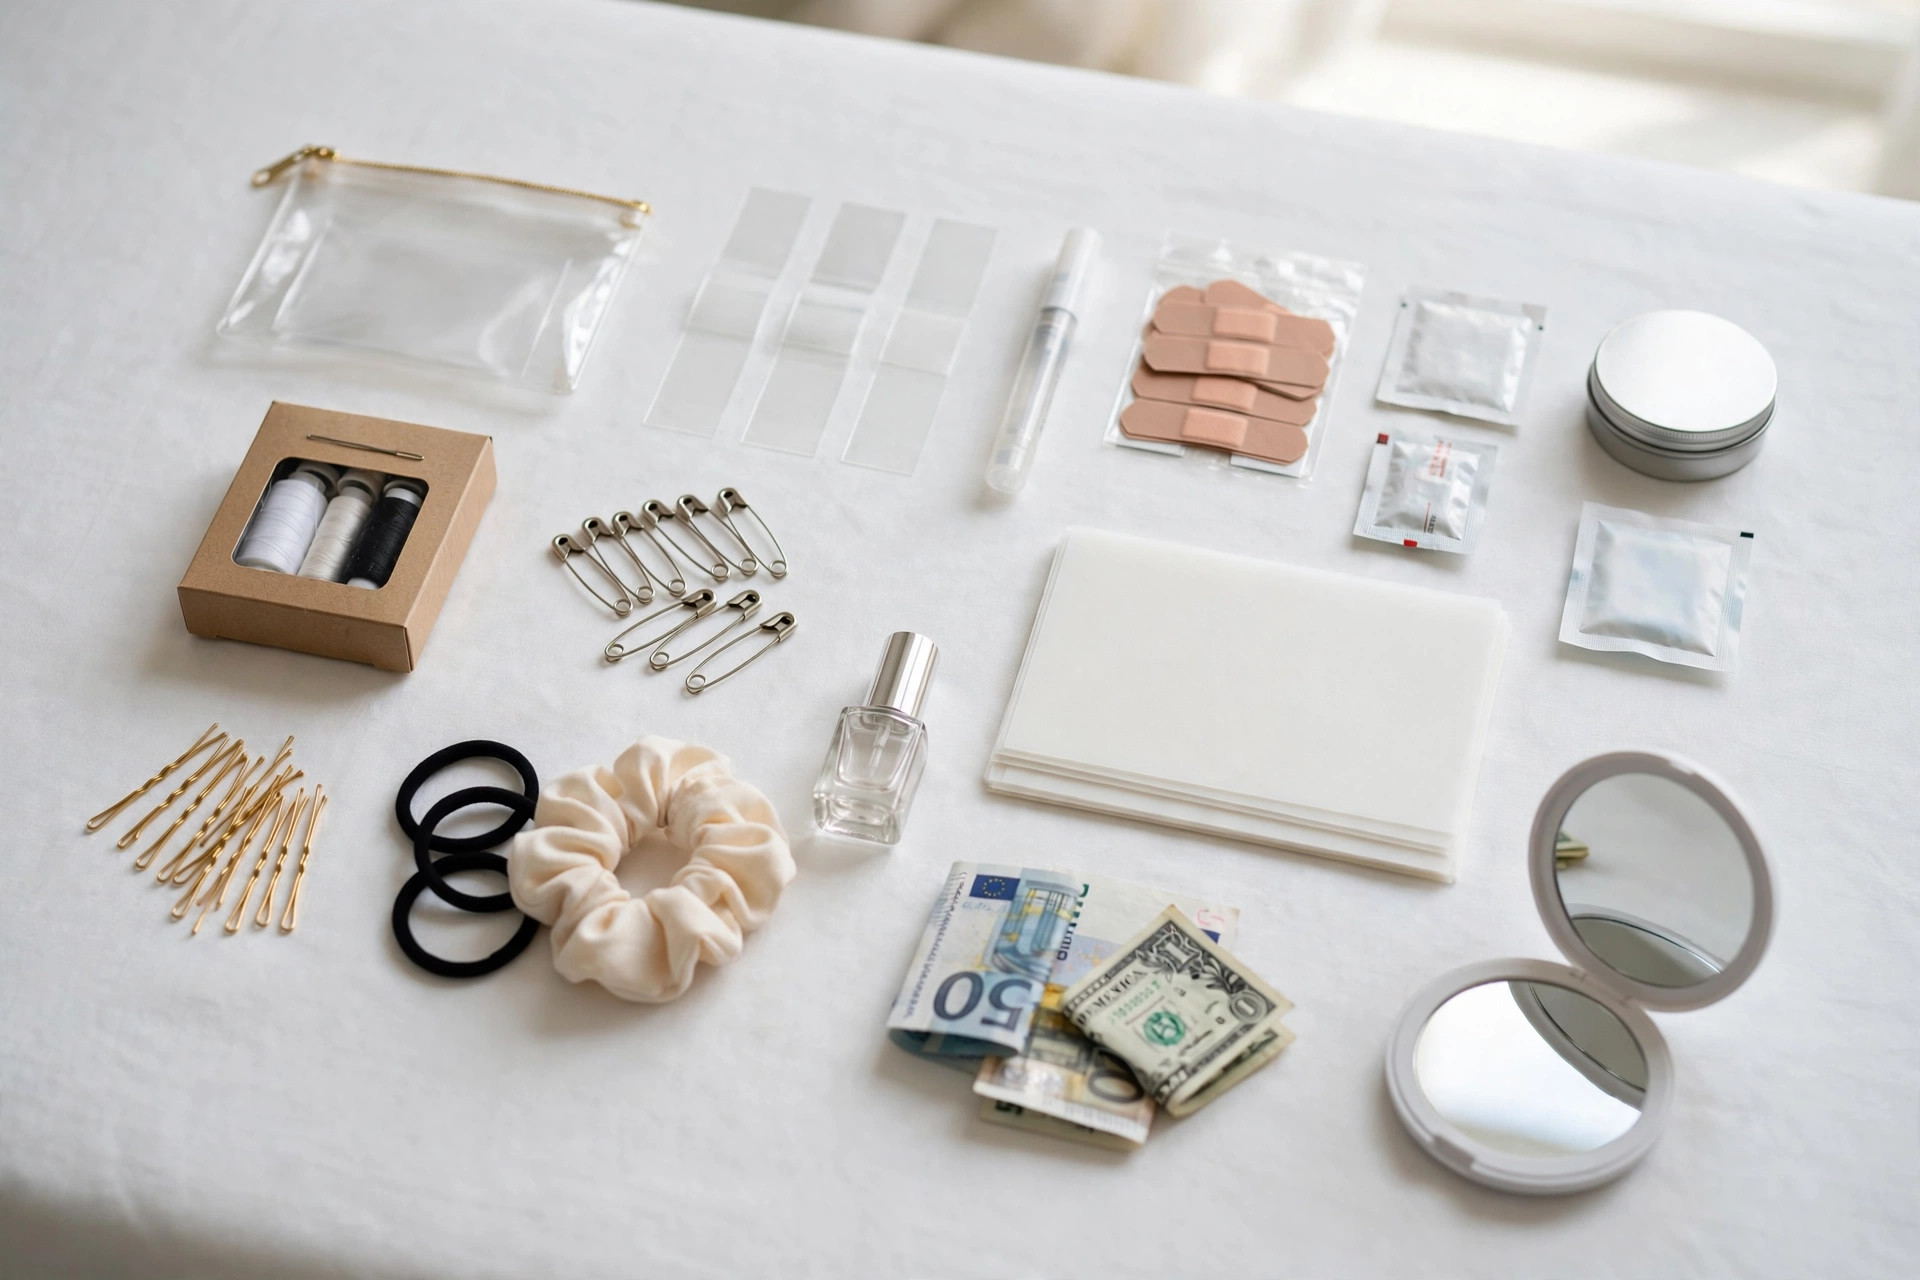
For the complete beauty guide, see wedding makeup tips. And pack everything in your wedding day emergency kit for touch-ups.
The Trial Run
Whether pro or DIY, do a full trial 4–6 weeks before. Wear it for 8+ hours. Photograph it in natural light, indoor light, and with flash. Note what fades, what creases, what irritates. This is also when you learn if you’re allergic to anything — better now than on the wedding day.
Day-Of Timeline
Start makeup 2–3 hours before you need to be dressed. Bride goes last (so it’s freshest) or first (so she’s done and relaxed) — discuss with your artist. Eat before makeup starts. And designate someone to hold your touch-up kit: blotting papers, lip color, mini powder.
Building Your Kit on a Budget
You don’t need a $500 kit. The beginner’s bridal essentials: primer ($10–15, e.l.f. and NYX make excellent ones), medium-coverage foundation or BB cream ($12–20), concealer one shade lighter than skin ($8–12), translucent powder ($8), neutral eyeshadow palette ($15–25), waterproof mascara ($10), blush ($8–12), lip color + liner ($15 total), setting spray ($10). Total: under $120.
Spend on: foundation (shade match matters) and mascara (waterproof is non-negotiable). Save on: eyeshadow (drugstore neutrals are excellent now), brushes (a $15 set works fine with good technique), and highlighter (a light eyeshadow doubles as highlighter).
The Week-Before Prep Plan
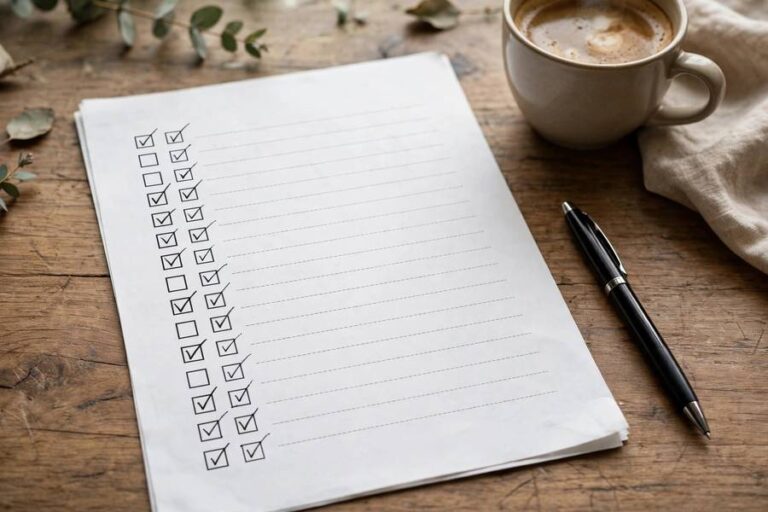
Great wedding makeup starts a week before: 7 days out: gentle exfoliation (not a new harsh product), start hydrating seriously. 3 days out: shape brows (not the day before — redness needs time to fade), avoid new skincare. 1 day before: hydrating sheet mask, early bedtime, no alcohol (puffiness is makeup’s enemy). Morning of: cleanse, moisturize, wait 10 full minutes before primer. No experimenting — only products you’ve worn before.
The biggest beginner mistake: trying a new product on the wedding day. New mascara that smudges, new foundation that oxidizes orange, new lipstick that feathers — I’ve seen all of it. Wedding day is for trusted products only.
Photography-Friendly Makeup Rules
Camera makeup differs from mirror makeup: go 20% heavier than everyday — cameras wash out color. Matte over shimmer for foundation and powder (shimmer photographs as shine). Define brows — they’re the frame of your face in photos. Blush is mandatory — without it, flash photography makes you look washed out. Avoid SPF-heavy foundations in flash photography (they cause white cast) — check your foundation in a flash photo beforehand.
Test everything with photos: take flash and natural-light selfies wearing the full look. What looks perfect in the mirror can look invisible on camera — and vice versa. Your trial run should include a photo test, not just a mirror check.
The Wedding Morning Makeup Timeline
When to do what on the wedding morning:
3 hours before the ceremony: Start makeup (for the bride). This feels early but isn’t — bridal makeup takes 45–60 minutes, plus buffer for photos, touch-ups, and the inevitable interruption. Order of operations: skincare → primer (wait 2 min) → foundation → concealer → powder → eyes → brows → blush/bronzer → lips → setting spray. 2 hours before: Bridesmaids’ makeup (30–40 min each — stagger starts). 1 hour before: Final touch-ups, setting spray refresh, lip color applied. 30 minutes before: STOP. No more makeup. Get dressed, take a breath, be present.
Build in buffer: everything takes 20% longer than planned on wedding mornings. Someone cries, someone can’t find the lipstick, the flower girl needs attention. Buffer isn’t wasted time — it’s the difference between calm and chaos.
DIY makeup is one of the smartest budget moves — professional bridal makeup runs $150–400, and doing it yourself (with practice) looks just as good in photos. It’s also more comfortable: nobody knows your face like you do. For more ways to save without sacrificing, see affordable wedding ideas.
Makeup for Bridesmaids: The Group Plan
Doing makeup for the whole bridal party? Here’s the system:
Decide: professional or DIY for bridesmaids? Professional for all ($50–100 per person) is lovely but expensive. DIY for all is free but time-consuming. The hybrid: professional for the bride, DIY for bridesmaids (with the bride’s guidance). Most bridesmaids prefer doing their own — they know their faces.
If DIY: share a simple, coordinated look in advance (not identical — coordinated). “Neutral eyes, pink lips, glowy skin” gives direction without uniformity. Do a practice session together 2–3 weeks before (it’s fun, and you’ll catch problems). Provide shared supplies: setting spray, blotting papers, bobby pins, mini deodorant — the communal kit.
Timing: 30–40 minutes per bridesmaid. Stagger starts (don’t have everyone start at once — you’ll run out of mirrors and outlets). The bride goes FIRST or LAST (first = done and relaxed; last = freshest for photos — choose based on your anxiety level).
The rule: bridesmaids should look like themselves, just polished. No one should feel like they’re in costume. Coordinated, not identical — that’s the goal.
Makeup Trials: How to Do Them Right
A trial isn’t just a preview — it’s a rehearsal. Run it properly:
When: 4–6 weeks before the wedding (close enough that your skin/tan is similar, far enough to adjust). Bring: inspiration photos (3–5, not 50), your veil or hair accessory, and honest feedback. Wear it all day. Don’t wash it off after the trial — wear it 8+ hours. Go about your day. See how it holds, how it photographs, how it FEELS.
Photograph everything: natural light, indoor light, flash. The trial that looks perfect in the salon mirror might look different in photos — and photos are what last. Take notes: what products were used? What did you love? What needs adjusting? (“More blush,” “less eyeliner,” “different lip color.”) Be specific — “it’s fine” helps no one.
DIY trials: same process, on yourself. Do the full look, wear it all day, photograph in all lights. Do it 2–3 times before the wedding (not once). Each trial teaches you something — application gets faster, the look gets better, your confidence grows.
The trial is also a relationship test (if hiring a pro). Do you feel heard? Comfortable? Rushed? The wedding morning is intimate — you want an artist you trust, not just one who’s skilled. If the trial felt wrong, it’s OK to switch. Better now than on the wedding day.
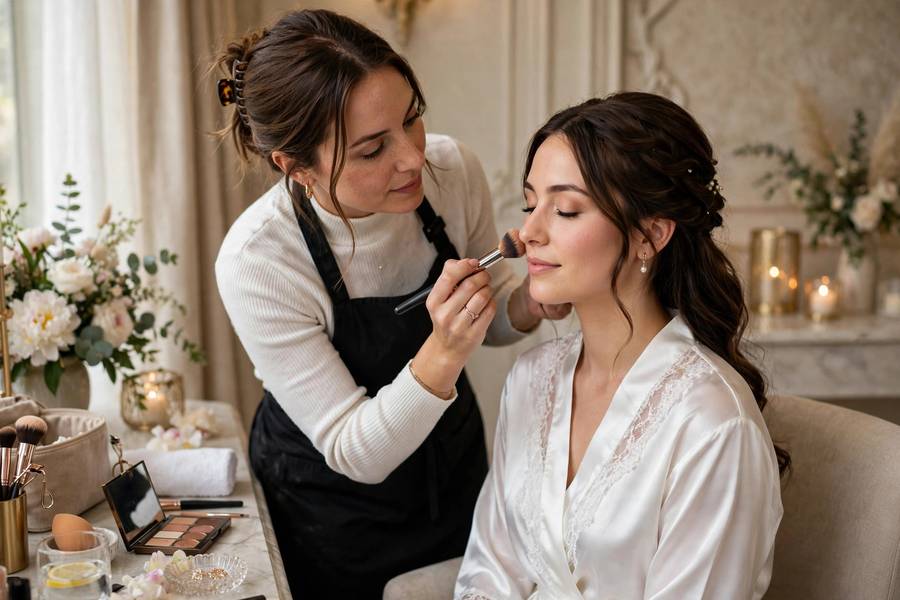
If you’re comfortable with basics and your wedding is casual, yes. If you’re truly a beginner or the wedding is formal, hiring a pro ($150–400) buys expertise and morning calm.
Primer, medium-coverage foundation, concealer, setting powder, waterproof mascara, neutral eyeshadow, blush, lip color, and setting spray. Primer and setting spray matter most for longevity.
Primer + setting spray, waterproof eye products, thin layers built up gradually, and blotting papers (not powder) for touch-ups.
Professional photography washes out about 30% of color, and SPF foundations cause white flashback. Go slightly bolder than feels natural and avoid high-SPF base products.
4–6 weeks before the wedding. Wear it 8+ hours, photograph in multiple lights, and note what fades or irritates.