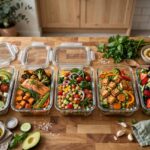
Best Meal Prep Containers: What Actually Works (Tested in a Real Kitchen)

Friend, let me save you from my mistakes: I once bought a 50-pack of flimsy containers because they were cheap, and spent the next month dealing with cracked lids, stained plastic, and one memorable incident involving tomato sauce and a work bag. The best meal prep containers aren’t the cheapest — they’re the ones you’ll still love using a year from now.
After years of prepping lunches, freezing batches, and packing food for my whole crew, I’ve figured out what actually matters in a meal prep container — and what doesn’t. Here’s my honest, kitchen-tested guide.
Best Meal Prep Containers: What Makes Them Great
Before brands and materials, know what you’re evaluating:
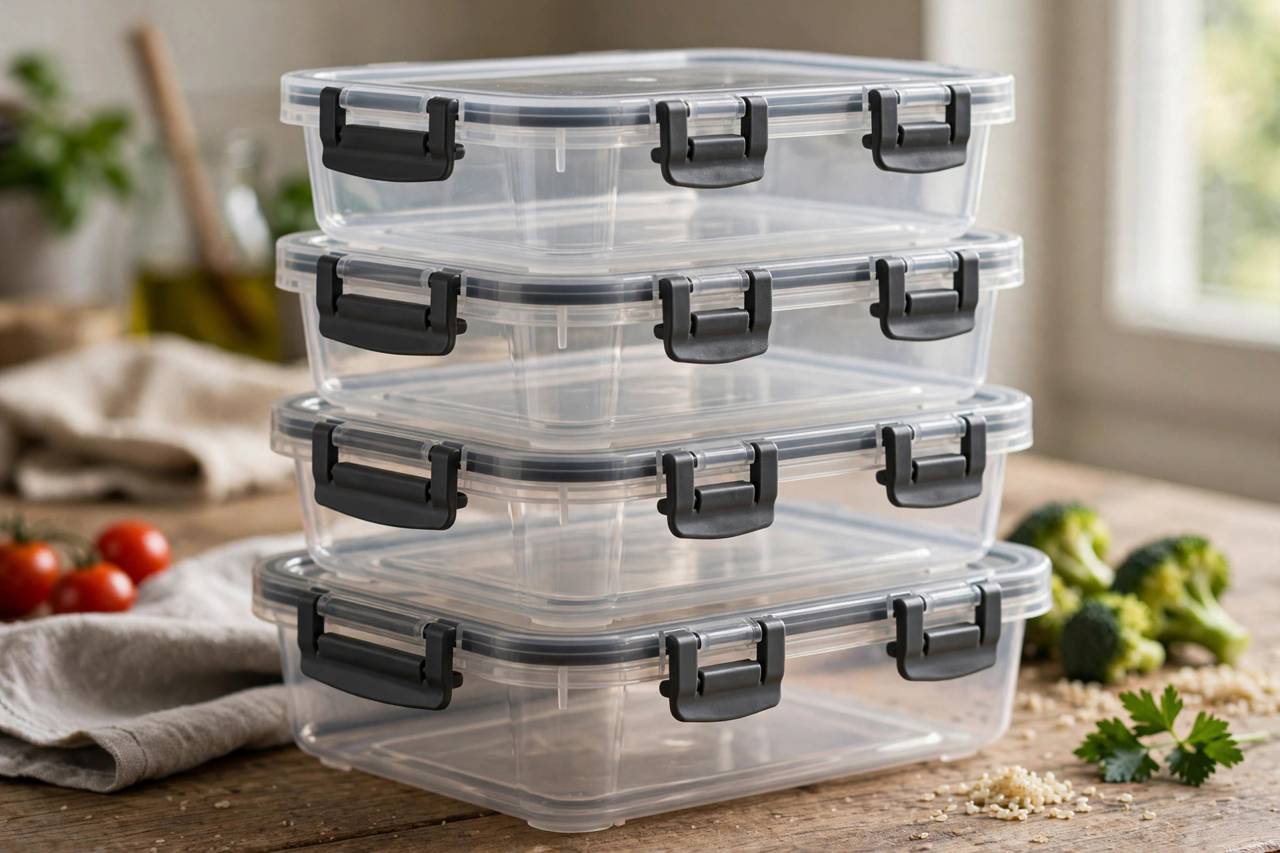
- Airtight, leakproof lids. The #1 feature. A container that leaks in your bag is useless no matter how nice it looks. Look for silicone gaskets and locking clips — press-seal lids are fine for the fridge but risky for transport.
- Microwave and freezer safe. You’ll reheat in these and freeze in these. If a container can’t do both, it’s adding dishes to your life instead of removing them.
- Stain and odor resistance. Tomato sauce, curry, turmeric — they stain cheap plastic permanently and the smell lingers. Better materials resist this.
- Stackability. Containers that nest when empty and stack when full save enormous fridge and cabinet space. Odd-shaped “cute” containers are a storage nightmare.
- The right sizes. Most meals fit 2-4 cup containers. A set with a few sizes beats 20 identical containers.
- Easy to clean. Wide openings, no fiddly crevices, dishwasher safe. If it’s annoying to wash, you won’t use it.
Glass vs. Plastic: The Honest Comparison
This is the big decision, so let’s lay it out fairly:
Glass containers
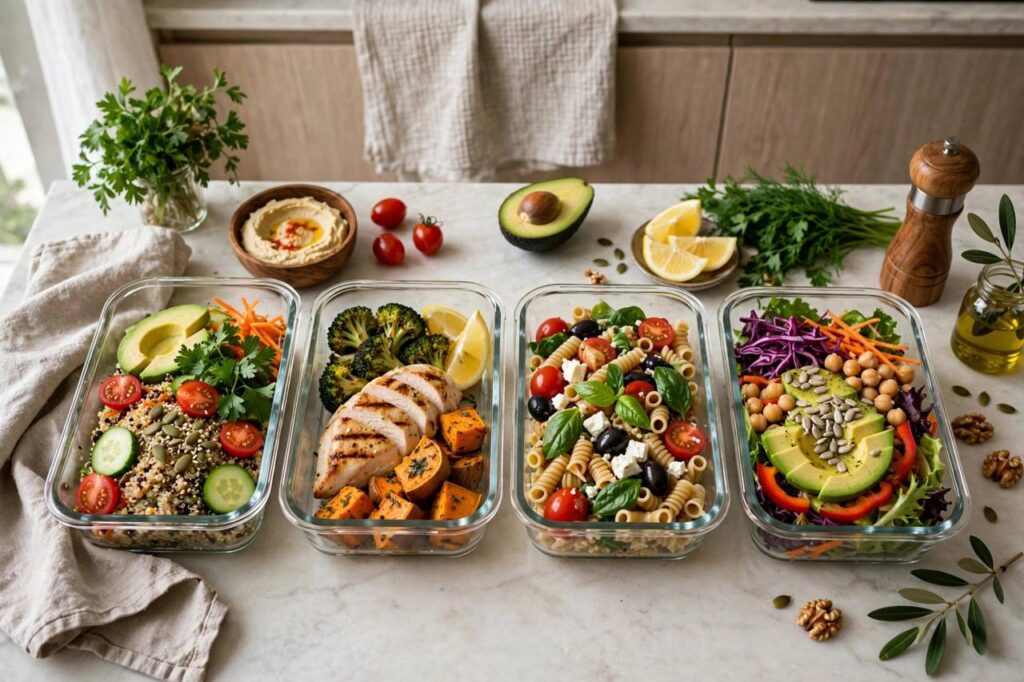
- Pros: Won’t stain or absorb odors, microwave beautifully, oven-safe (great for reheating), last for years, don’t leach anything, look nice enough to serve from.
- Cons: Heavy (matters if you carry lunch far), breakable, more expensive upfront, lids are usually plastic anyway (and the first thing to wear out).
- Best for: Home fridge storage, reheating, anyone prioritizing longevity and food safety.
Plastic containers (BPA-free)
- Pros: Lightweight, cheap, won’t shatter if dropped, great for kids’ lunches and transport.
- Cons: Stain and retain odors over time, can warp in the dishwasher, need replacing every year or two, shouldn’t be microwaved when worn or scratched.
- Best for: Packed lunches, kids, budget setups, situations where breakage is likely.
My recommendation:
Use both, for different jobs. Glass for home — the workhorse containers that live in your fridge, go in the microwave, and last for years. A smaller set of good plastic for transport — lunch bags, kids, and anywhere glass is risky. This hybrid approach gives you the best of both without the downsides of either.
Container Types for Different Meal Prep Styles
Single-compartment (the all-rounder)
One big space — the most versatile shape. Perfect for grain bowls, pasta, salads (dressing separate!), curries with rice, and anything mixed. If you buy only one type, make it this one in the 3-4 cup size.
Multi-compartment/bento style
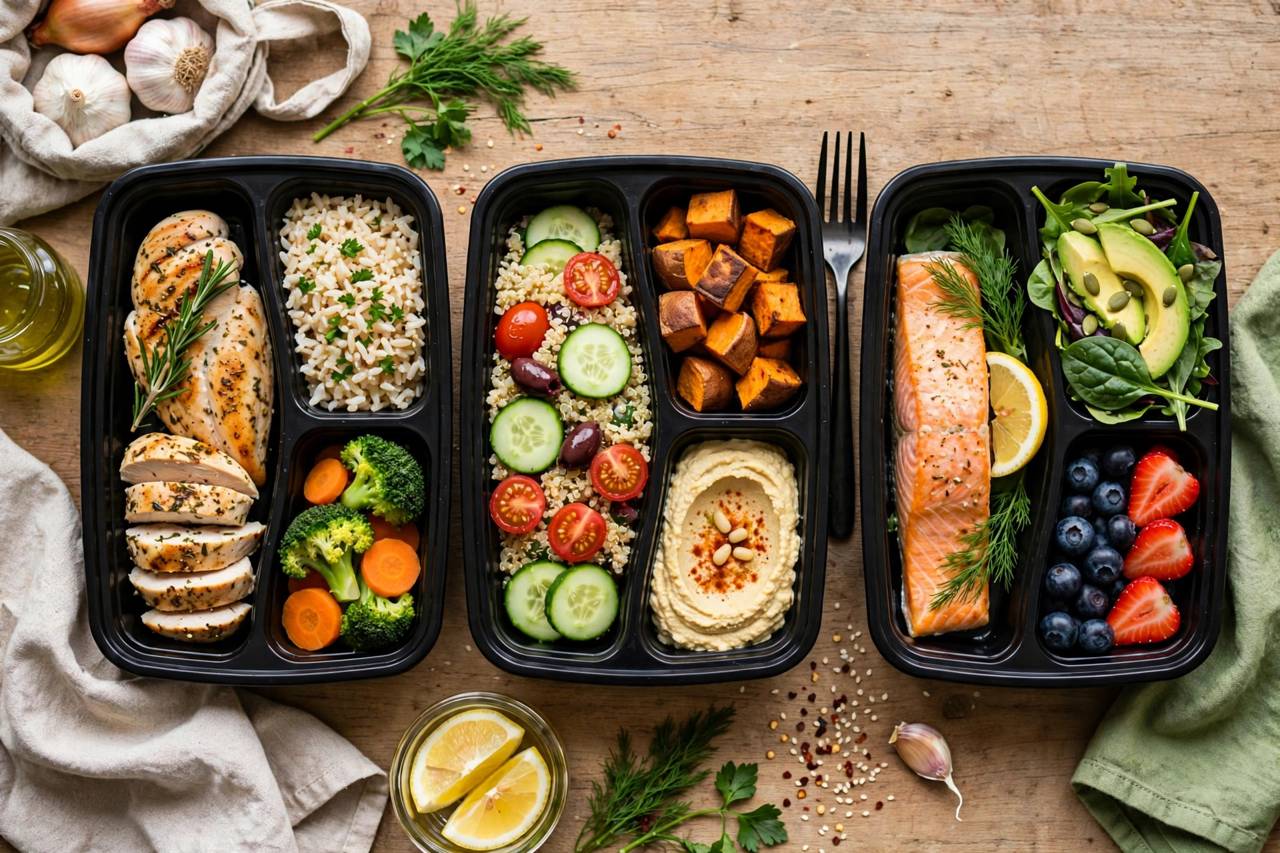
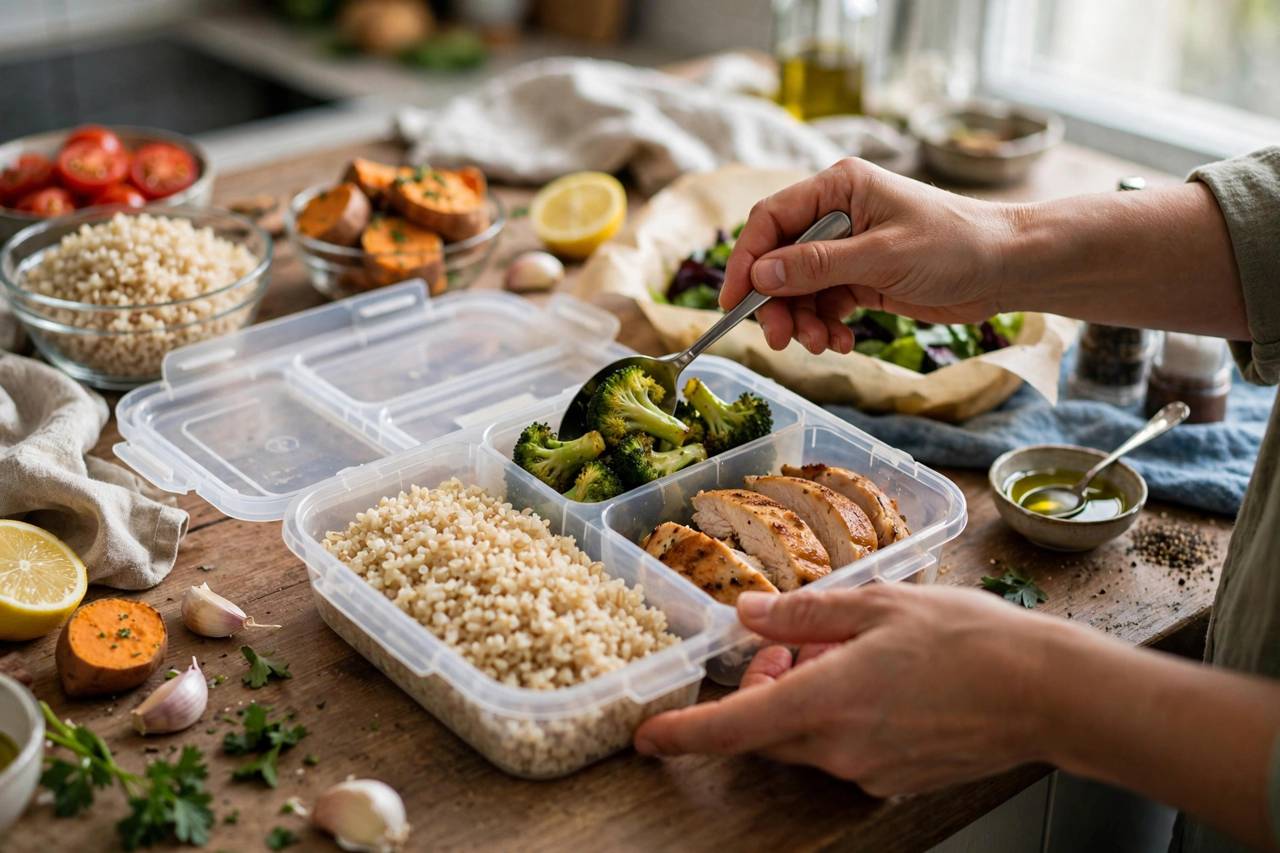
Divided sections keep foods separate — ideal for picky eaters (remember: foods touching is a real issue!), portion control, and meals with components best kept apart (like crackers that would go soggy). Look for truly sealed dividers, not just decorative walls — otherwise sauces migrate.
Round containers (soups and stews)
Round shapes are better for liquids — no corners for soup to hide in, easier to clean, and they pour neatly. Keep a few 2-cup rounds specifically for soups, stews, and oatmeal.
Mason jars (salads and overnight oats)
The humble mason jar is a meal prep star: layered salads (dressing on the bottom, greens on top — stays crisp for days), overnight oats, parfaits, smoothies. Cheap, glass, endlessly reusable, and the two-part lids seal beautifully.
Silicone bags and wraps
Reusable silicone bags replace disposable baggies for snacks, sandwiches, and freezer portions. They seal well, wash easily, and reduce waste. Not a full container replacement, but a great supplement.
What Size Containers Do You Actually Need?
Don’t buy a 30-piece set of identical containers. Here’s the practical mix for one person prepping 4-5 days of lunches:
- 6-8 containers, 3-4 cups: Your main meal size. Lunch portions, dinner leftovers.
- 4 containers, 1-2 cups: Sides, snacks, sauces, breakfast portions.
- 2-3 containers, 6+ cups: Big-batch storage — the full pot of soup before portioning, family-size sides.
- A few mason jars (pint size): Salads, oats, parfaits.
For a family, roughly double the mains. And here’s my golden rule: buy containers for the meals you ACTUALLY prep, not the aspirational ones. If you always make grain bowls, you need single-compartment. If you do bento-style variety, get dividers.
Meal Prep Container Care: Make Them Last
- Cool food before sealing. Sealing hot food traps steam, creating condensation that makes food soggy and breeds bacteria. Let it cool to room temp (within 2 hours for safety), then seal and refrigerate.
- Don’t microwave with the lid sealed. Vent it or use a microwave cover — sealed lids warp or pop under steam pressure.
- Hand-wash lids when you can. Lids (especially gasket lids) last much longer hand-washed than dishwashed. The container bodies handle the dishwasher fine.
- Baking soda deodorizes. Smelly container? Soak with a tablespoon of baking soda in warm water for an hour. For stains, a paste of baking soda left in sunlight works wonders.
- Replace when worn. Warped lids that don’t seal, scratched plastic, cracked corners — retire them. A container that doesn’t seal is just a bowl with commitment issues.
- Label everything. Freezer tape and a marker — contents and date. Future you will not remember what “mystery red container” holds, and the guessing game ends with wasted food.
Putting It All Together: The Meal Prep System
Containers are just tools — the system is what saves you time and money. If you’re new to prepping, start here: pick 2-3 recipes, cook them on Sunday (here’s what batch cooking is if you want the full method), portion into your containers while everything’s fresh, cool, seal, and refrigerate. Most prepped meals keep 4-5 days refrigerated; freeze anything you won’t eat by Thursday.
Start small — prep just lunches for the work week. Once that’s effortless, expand. The people who succeed at meal prep aren’t the ones with the prettiest containers; they’re the ones who started simple and stayed consistent. You’ve got this, friend.
Meal Prep Container Mistakes to Avoid
- Buying before planning. The #1 mistake — a 30-pack of identical containers before knowing what you’ll prep. Start with a small versatile set, learn your actual patterns, then expand.
- Ignoring lid quality. People compare container bodies and ignore lids — but lids fail first, leak most, and matter most. A great container with a bad lid is a bad container.
- Microwaving old plastic. Scratched, cloudy, warped plastic shouldn’t be microwaved — heat plus damaged plastic is not a combination you want near food. When plastic looks tired, retire it to non-food duty or recycle it.
- One size for everything. A single container size means soup in a giant tub or a full meal crammed into a tiny cup. The multi-size mix I outlined above exists for a reason.
- Sealing hot food. Trapped steam = soggy food + condensation + faster spoilage. Cool first (within food-safety time limits), then seal.
- Forgetting the freezer. If you prep 5 days of food but only eat 3, the rest should’ve been frozen on day one. Containers that aren’t freezer-safe limit your options — check before buying.
Budget-Friendly Meal Prep Container Strategies
You don’t need to spend a fortune to prep well:
- Start with what you have. Mason jars, repurposed glass jars (pasta sauce jars are perfect single servings), and any decent containers already in your cabinet. Upgrade gradually.
- Buy in stages. Get the core set now (6-8 mains), add specialty pieces later as you discover needs. Your wallet and your cabinet space will thank you.
- Watch for sales. Container sets go on deep discount regularly — there’s no reason to pay full price if you can wait a few weeks.
- Thrift stores are goldmines. Glass containers and mason jars for pennies. Just inspect lids carefully and replace any worn gaskets.
- The deli container hack. Those sturdy plastic containers from restaurant takeout or deli counters? Wash and reuse them — they’re surprisingly durable, free, and the perfect portion size. When they wear out, recycle without guilt.
Special Situations: Kids, Freezer Meals, and Portion Control
- Kids’ lunches: Bento-style divided containers are unbeatable — compartments keep foods separate (critical for picky eaters), portions are kid-sized, and the fun factor gets more food eaten. Choose durable plastic over glass for little hands.
- Freezer meal prep: Use containers specifically rated freezer-safe, leave headspace for expansion (liquids expand!), and consider silicone muffin trays for freezing perfect single portions of soups and sauces — pop out the pucks, bag them, done.
- Portion control: Divided containers with measured compartments take the guesswork out — protein section, veggie section, grain section. It’s the simplest portion system there is because the container does the thinking.
- Salads that stay crisp: Mason jars (dressing on the bottom, hearty veggies next, greens on top) or containers with separate dressing cups. The dressing-separation rule is non-negotiable for multi-day salad prep.
FAQ
What are the best meal prep containers for beginners?
Start with 6-8 glass containers (3-4 cup size) with locking lids for home use, plus a few BPA-free plastic ones for transport. Add mason jars for salads and oats. This covers 90% of meal prep needs without overbuying.
Are glass or plastic meal prep containers better?
Glass wins for home storage and reheating — no stains, no odors, lasts years, oven-safe. Plastic wins for transport — lighter, cheaper, won’t shatter. Most experienced meal preppers use both: glass at home, plastic for lunch bags.
How long does meal prepped food last in containers?
Most cooked meals keep 4-5 days refrigerated in airtight containers. Soups and stews often last 5 days; fish is best within 2-3 days. Freeze anything you won’t eat within that window — properly frozen meals keep 2-3 months.
Can you microwave meal prep containers?
Glass containers: yes, absolutely (vent the lid). BPA-free plastic labeled microwave-safe: yes, but avoid microwaving old, scratched, or warped plastic. When in doubt, transfer to a plate or glass container for reheating.
How do you prevent meal prep containers from leaking?
Use containers with silicone gaskets and locking clips for transport — press-seal lids are fridge-only. Don’t overfill (leave headspace), make sure rims are clean before sealing, and carry containers upright. For soups, round containers with screw-top lids are the most leakproof option.