How to Transfer Photos From iPhone to Computer: 5 Easy Methods

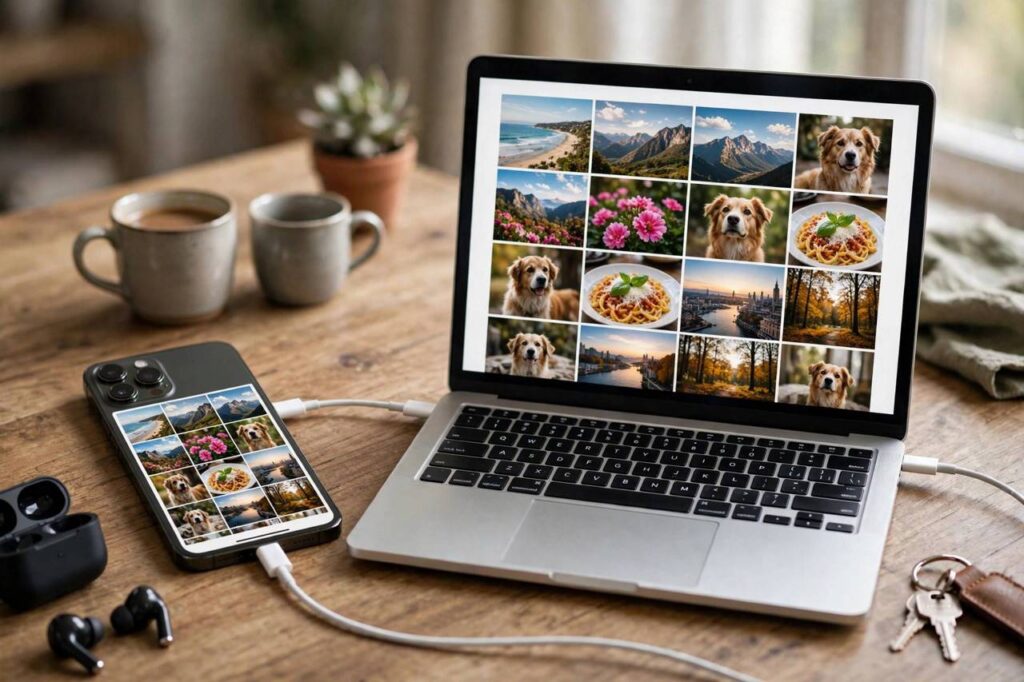
Your iPhone is bursting with 12,000 photos, the “storage almost full” warning will not go away, and those pictures deserve better than living on a single device. Moving them to your computer sounds like it should take two seconds, but between cables, cloud settings, and Windows quirks, it is easy to get stuck. Take a breath. This guide walks you through how to transfer photos from iPhone to computer step by step, on both Mac and Windows, with five reliable methods. One of them will fit your situation perfectly.
How to Transfer Photos From iPhone to Computer: 3 Quick Prep Steps
A few minutes of preparation prevents most transfer headaches. First, free up iPhone space anxiety: you do not need space to transfer off the phone, but the Photos app behaves better when it is not critically full. Second, unlock your iPhone and tap “Trust” when your computer asks. This prompt appears the first time you connect via cable; without it, the computer cannot see your photos. Third, keep your phone awake and connected to Wi-Fi for wireless methods, and use an Apple-certified cable for wired ones. Cheap cables cause most mysterious failures.
Also decide what you actually want: every photo ever, or just recent ones? A full archive transfer takes longer but you do it once. Selective transfers are faster for ongoing maintenance.
Method 1: iPhone to Mac With a Cable (Fastest for Mac)
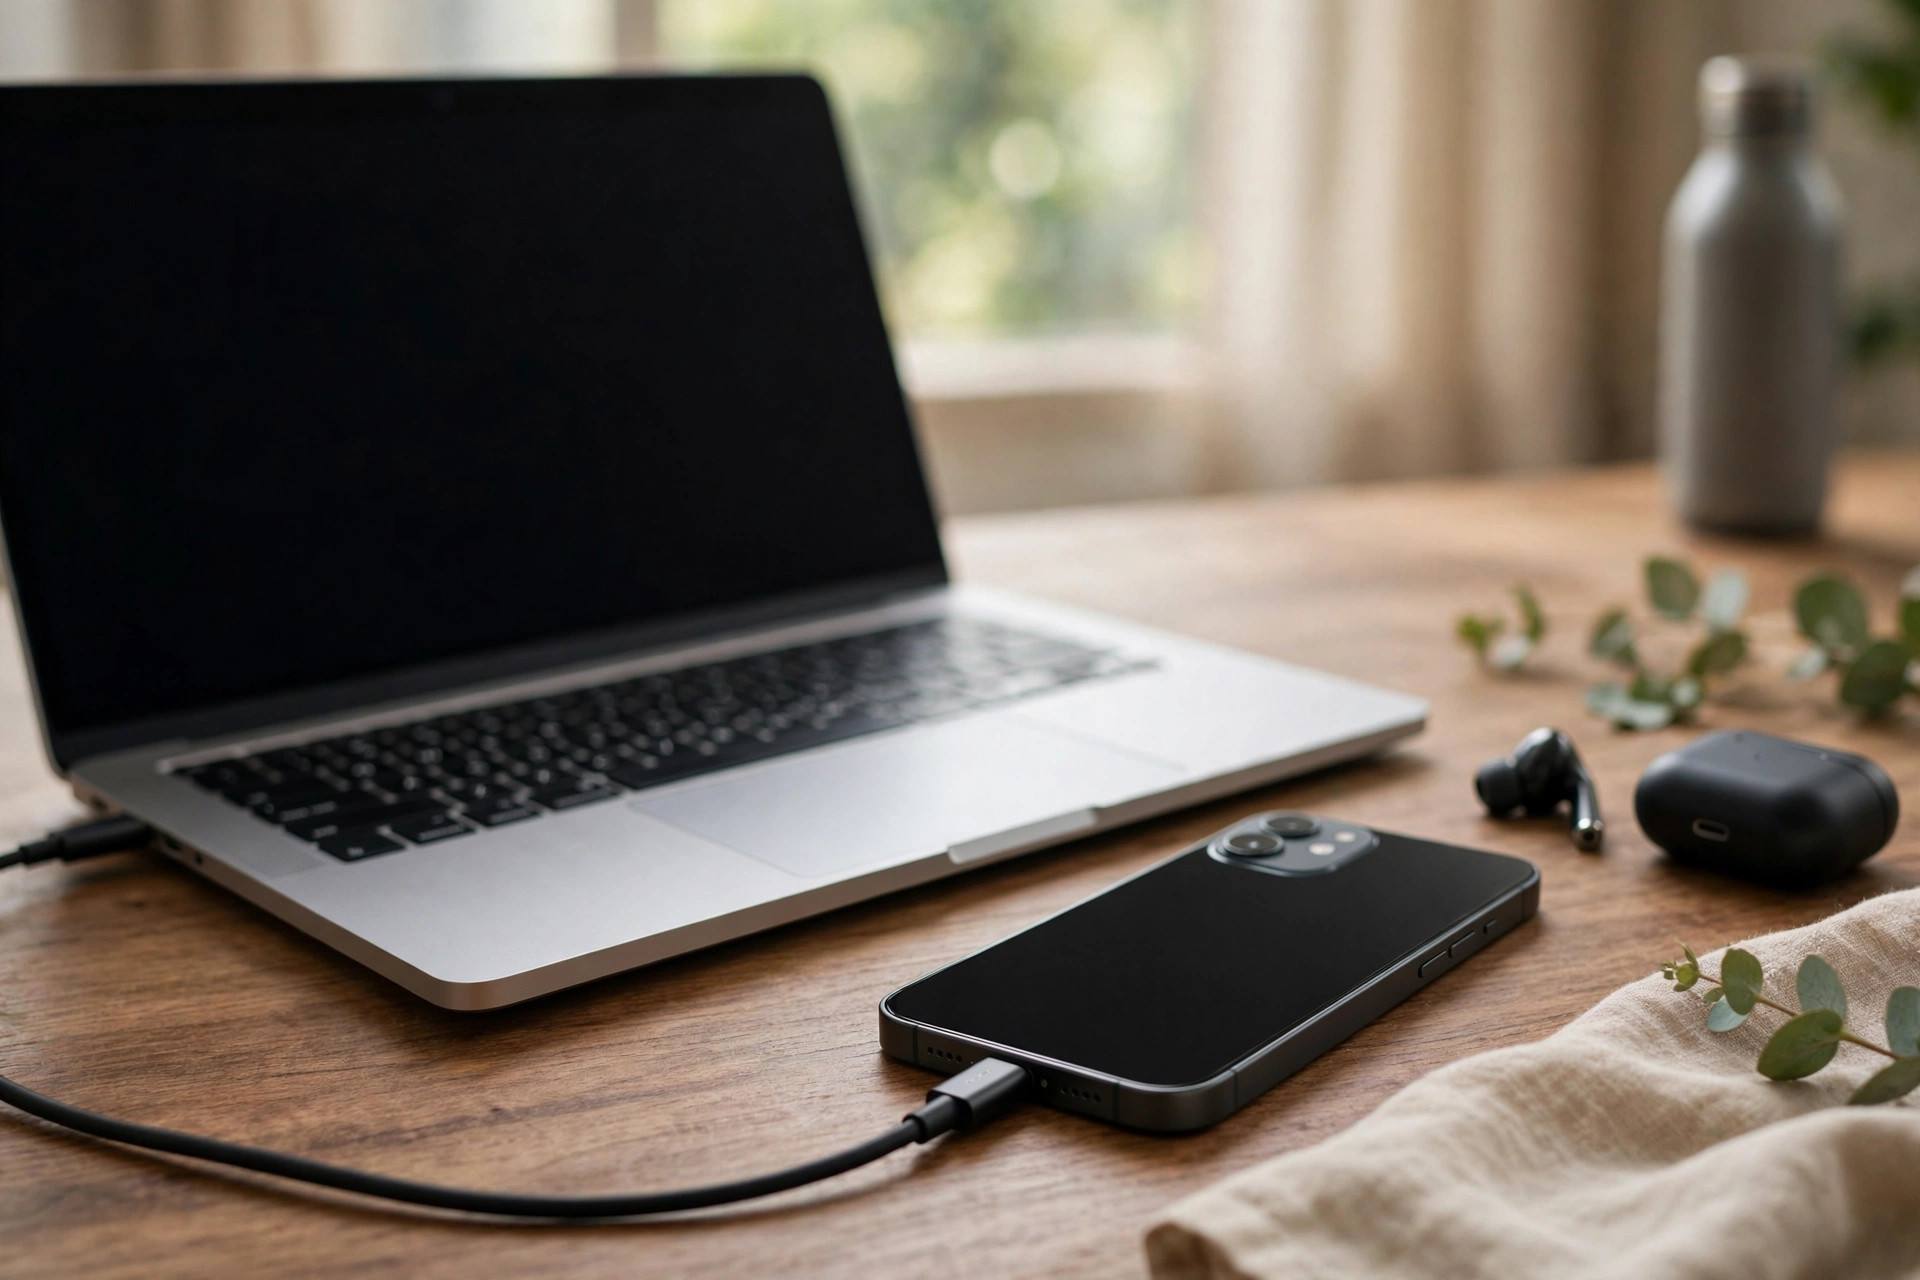
For Mac users, a wired transfer is the speed champion, especially for thousands of photos.
Step 1: Connect your iPhone to your Mac with a USB cable. Unlock the phone and tap Trust This Computer if asked.
Step 2: Open the Photos app on your Mac. Your iPhone appears in the sidebar under Devices. Click it.
Step 3: You will see an Import screen showing new photos. Choose “Import All New Photos” or select specific ones, then click Import. Pick an album or create one to keep things organized.
Step 4: Check “Delete items after import” only if you are confident the import succeeded and you have another backup. Otherwise leave it unchecked.
On older Macs you might use Image Capture instead (in Applications), which works the same way and lets you choose exactly where files land. Either way, wired Mac imports are fast and preserve full quality.
Method 2: iPhone to Windows PC With a Cable
Windows takes a couple more steps but works just as well once set up.
Step 1: Install iTunes from the Microsoft Store if you have not already (Windows needs Apple’s drivers to recognize the iPhone). Connect via cable, unlock, tap Trust.
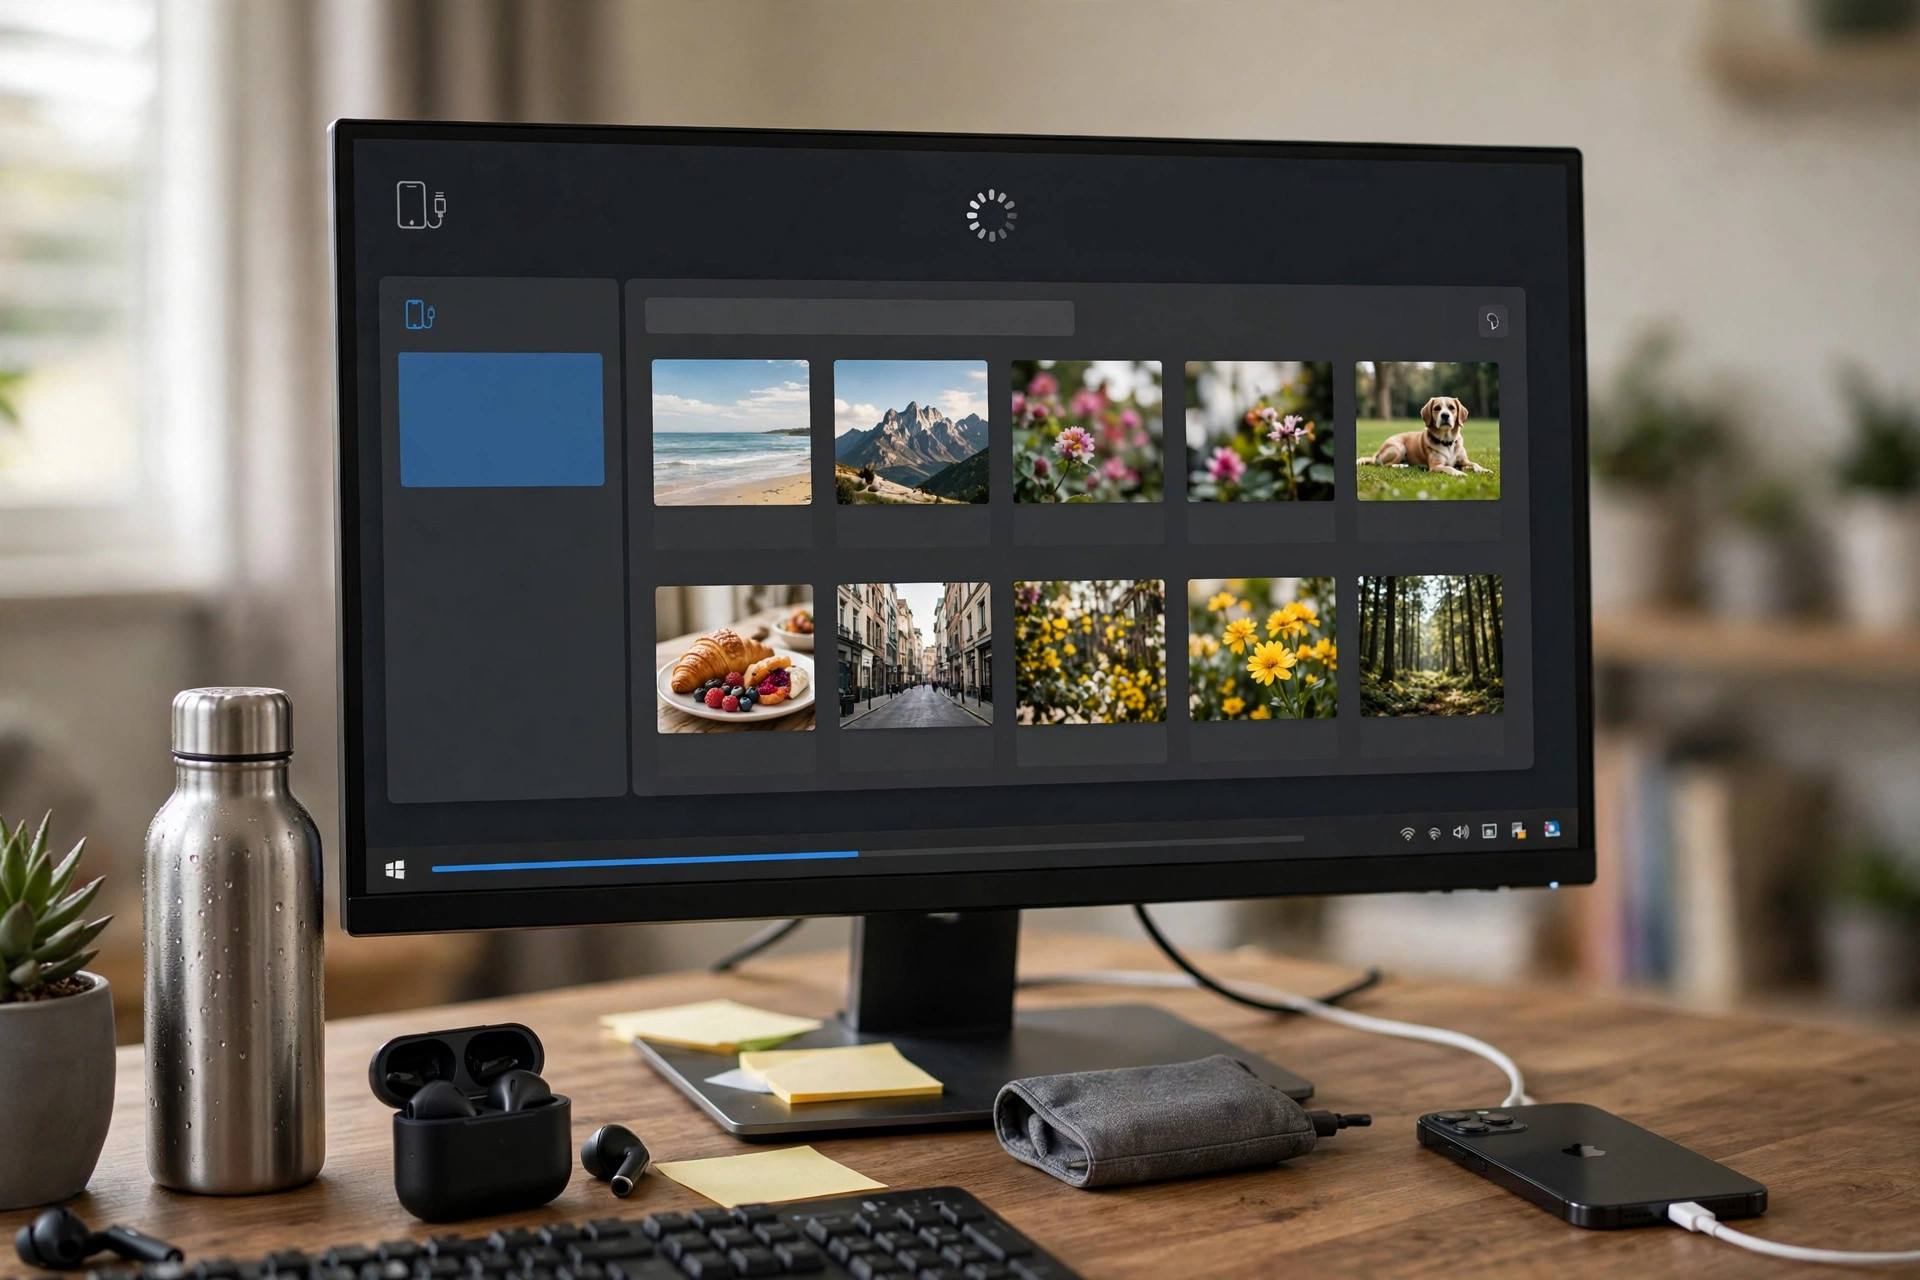
Step 2: Open the Photos app in Windows. Click Import in the top bar, then select “From a USB device.”
Step 3: Windows scans the phone and shows your photos. Choose the ones you want (or Select All), pick a destination folder, and click Import.
Troubleshooting Windows transfers: If the iPhone does not appear, try a different USB port, preferably one directly on the computer rather than a hub. Make sure iTunes is fully installed, not just downloaded. If photos import as HEIC files you cannot open, install the free HEIF Image Extensions from the Microsoft Store, or change your iPhone’s transfer setting to Automatic (Settings, Photos, Transfer to Mac or PC, Automatic) so it converts to JPEG on the way.
Method 3: iCloud Photos (Best for Ongoing Sync)
If you want photos to appear on your computer automatically going forward, iCloud Photos is the set-and-forget answer.
On your iPhone: Go to Settings, tap your name, iCloud, Photos, and turn on “Sync this iPhone.” Choose “Optimize iPhone Storage” to keep smaller versions on the phone and full versions in the cloud.
On a Mac: Open Photos, go to Settings, iCloud, and check iCloud Photos. Your library syncs automatically.
On Windows: Install iCloud for Windows from the Microsoft Store, sign in, and enable Photos. Your iCloud photos appear in File Explorer under iCloud Photos.
Via browser (any computer): Visit iCloud.com, sign in, open Photos, select what you want, and download. Handy for grabbing a handful of pictures on someone else’s computer.
The catch: Apple’s free iCloud tier is only 5GB, which fills fast. Most photo libraries need a paid plan. Treat iCloud as sync plus convenience, and keep a real backup too. Our guide on how to backup an iPhone covers full-device backups so nothing is ever living in just one place.
Method 4: AirDrop (Mac Only, Great for Batches)
For moving a few dozen photos to a Mac wirelessly, AirDrop is delightful. On your iPhone, open Photos, tap Select, choose your photos, tap Share, then AirDrop, and pick your Mac. On the Mac, accept, and choose where to save. No cables, no cloud, full quality.
Two gotchas: both devices need Wi-Fi and Bluetooth on, and AirDrop works best for batches rather than 10,000-photo archives. For a full library move, use Method 1. For “send tonight’s photos to my laptop,” AirDrop is unbeatable.
Method 5: Google Photos and Other Cloud Alternatives
Not an iCloud person? Google Photos offers 15GB free and excellent search (“show me beach photos from 2022” actually works). Install the app, enable backup, and access everything at photos.google.com on any computer. Dropbox, OneDrive, and Amazon Photos (free unlimited photo storage for Prime members) follow the same pattern: install app, enable camera upload, download from the web.
Cloud methods shine for access-anywhere convenience but depend on your internet speed for the initial upload of a large library. Plug into power, connect to Wi-Fi, and let the first backup run overnight.

Organizing Photos After the Transfer
Transferring is only half the job; a folder called “iPhone Import 2026” with 8,000 unsorted photos helps no one. Spend 20 minutes organizing: create folders by year, then by event or month inside each year. Rename the truly important ones descriptively. Delete the obvious duds now: screenshots of long-expired parking spots, 14 near-identical sunset attempts, blurry accidental pocket photos.
Then set up a simple ongoing system. Monthly, move new photos to the computer and file them. Yearly, back the whole thing to an external drive. Photos you cannot find might as well not exist, and a tiny organizing habit beats a heroic annual sort.
If disaster has already struck and pictures are missing, do not panic: our guide on how to recover deleted photos walks through your options. And if you are moving to a brand-new device entirely, see how to transfer to a new iPhone for the full-device process.
Which Method Should You Choose?
Mac + big library: Method 1, cable to Photos app. Fastest, simplest, full quality.
Windows + big library: Method 2, cable to Windows Photos. Install iTunes first for the drivers.
Want automatic going forward: Method 3, iCloud Photos. Pay for enough storage and never think about it again.
Just a few photos right now: Method 4, AirDrop (Mac) or Method 3 via iCloud.com (any computer).
Avoiding Apple cloud: Method 5, Google Photos or equivalent. Great search, generous free tier.
Fixing Common Transfer Errors
Even straightforward transfers hit snags. Here is how to fix the usual suspects.
“Trust This Computer” never appears. Disconnect, unlock the iPhone with your passcode (not Face ID alone), then reconnect. If it still does not appear, reset the trust settings: Settings, General, Transfer or Reset iPhone, Reset, Reset Location and Privacy. Reconnect and the prompt returns.
Import stalls or fails halfway. This is usually a cable or port issue. Switch to a different USB port directly on the computer, try another certified cable, and keep the iPhone screen awake during the transfer (set Auto-Lock to Never temporarily). For very large imports, transfer in batches of a few thousand rather than all at once.
Photos appear but videos will not transfer. Large videos, especially 4K, sometimes time out. Transfer videos separately in smaller batches, or use iCloud.com to download them individually. Ensure the computer has enough free disk space; a full drive fails silently.
Duplicates everywhere after import. Both Photos apps try to import only new items, but interruptions confuse the tracking. Before re-importing, sort by date and delete the partial batch, then start fresh. Going forward, let one method handle imports to avoid double-tracking.
HEIC files will not open on Windows. Install HEIF Image Extensions from the Microsoft Store (free). Or prevent the issue entirely: on the iPhone, go to Settings, Photos, Transfer to Mac or PC, and select Automatic, which converts to compatible JPEG during transfer.
When in doubt, restart both devices. It is a cliche because it works: restarts clear the stuck background processes behind most transfer failures.
Key Takeaways
To transfer photos from iPhone to computer: Mac users get the fastest results with a cable into the Photos app; Windows users should install iTunes first, then import via the Photos app; iCloud Photos handles automatic ongoing sync on any platform; AirDrop is perfect for quick wireless batches to a Mac; and Google Photos is a strong non-Apple alternative. Always tap Trust on the iPhone, use a good cable, organize after importing, and keep a real backup. Your memories deserve more than one copy.
FAQ
Why won’t my computer recognize my iPhone?
The most common causes: you did not tap “Trust This Computer” on the iPhone, a faulty cable, or missing Apple drivers on Windows (install iTunes). Try a different USB port directly on the computer.
Do transferred photos lose quality?
Not with the methods in this guide. Cable transfers, AirDrop, and iCloud all move full-resolution originals. Just avoid screenshotting or messaging photos to yourself, which compresses them.
What is the HEIC format and why can’t Windows open it?
HEIC is Apple’s efficient photo format. Install the free HEIF Image Extensions from the Microsoft Store, or set your iPhone to convert automatically (Settings, Photos, Transfer to Mac or PC, Automatic).
Can I transfer photos without a cable?
Yes. iCloud Photos syncs wirelessly to Mac, Windows (via iCloud for Windows), or any browser at iCloud.com. AirDrop sends batches wirelessly to a Mac. Google Photos works from any device.
How do I transfer 10,000+ photos at once?
Use a wired transfer (Method 1 or 2); it is far faster and more reliable than wireless for huge libraries. Plug into power, start the import, and let it run. Verify the count afterward before deleting anything from the phone.