How to Do Planks With Correct Form: The Mistakes-First Guide

The plank is the most butchered exercise in fitness. I have watched gym-goers hold planks for three minutes with their backs sagging like hammocks, then wonder why their lower back hurts and their abs never change. Here is the truth about how to do planks with correct form: a 30-second plank done right beats a 3-minute plank done wrong, every single time. Form is the exercise; the timer is just decoration.
I am going to do this backwards from most guides. Instead of starting with instructions, I will start with the mistakes, because if you are doing any of these, the instructions do not matter yet. Then the correct form checklist, a self-assessment you can do today, and regressions for beginners who are not ready for a full plank (no shame in that; smart training beats ego training).
Quick note: I am a fitness coach, not a medical professional. If you have back issues, are pregnant, or have any condition that makes core exercise risky, check with your doctor or physical therapist first.
The 5 Plank Mistakes Everyone Makes
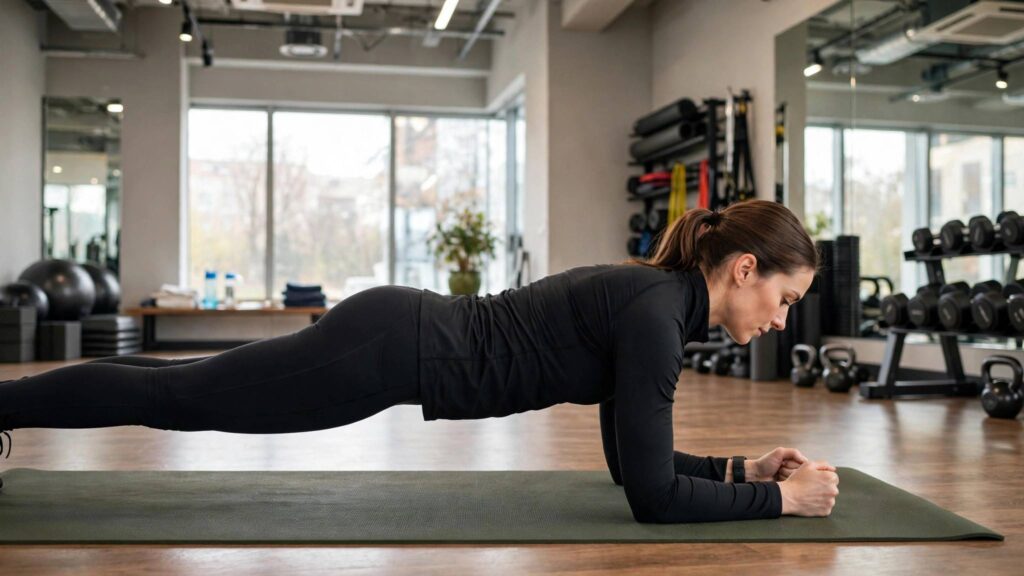
Mistake 1: The sagging lower back. The classic. Hips drop toward the floor, the lower back arches, and the lumbar spine takes load it was not designed for. This is the mistake behind most plank-related back pain. Your body should form one straight line from head to heels; if your back looks like a banana, stop and reset.
Mistake 2: The piked hips. The opposite error: hips jacked up toward the ceiling, turning the plank into a weird downward-dog hybrid. This unloads the core, which defeats the entire purpose. You are resting, not planking.
Mistake 3: Holding your breath. People brace so hard they stop breathing, face goes red, and they gasp at the end. Bracing your core does not require holding your breath. Breathe steadily behind the brace; if you cannot, you are bracing too hard or holding too long.
Mistake 4: The neck crane. Craning the neck up to look at the TV or mirror breaks the straight line and strains the neck. Your gaze should be at the floor a few inches in front of your hands, neck neutral, an extension of your spine.
Mistake 5: Chasing the clock. Holding a deteriorating plank for minutes to beat a personal record. The moment your form breaks, the set is over; everything after that is just practicing bad positions and inviting injury. Quality reps beat long reps.
How to Do Planks With Correct Form: The Step-by-Step Checklist
Here is the setup, in order. Do not skip steps; each one builds on the last.
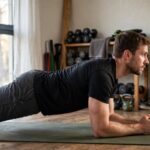
1. Start on forearms and knees first. Even if you plan to do a full plank, learn the positions here. Forearms on the floor, elbows directly under shoulders, hands flat or lightly clasped.
2. Set your shoulders. Push the floor away slightly so your shoulder blades spread across your back (protraction), rather than pinching together or letting your chest sink between your shoulders. Your upper back should be flat, not rounded or caved.
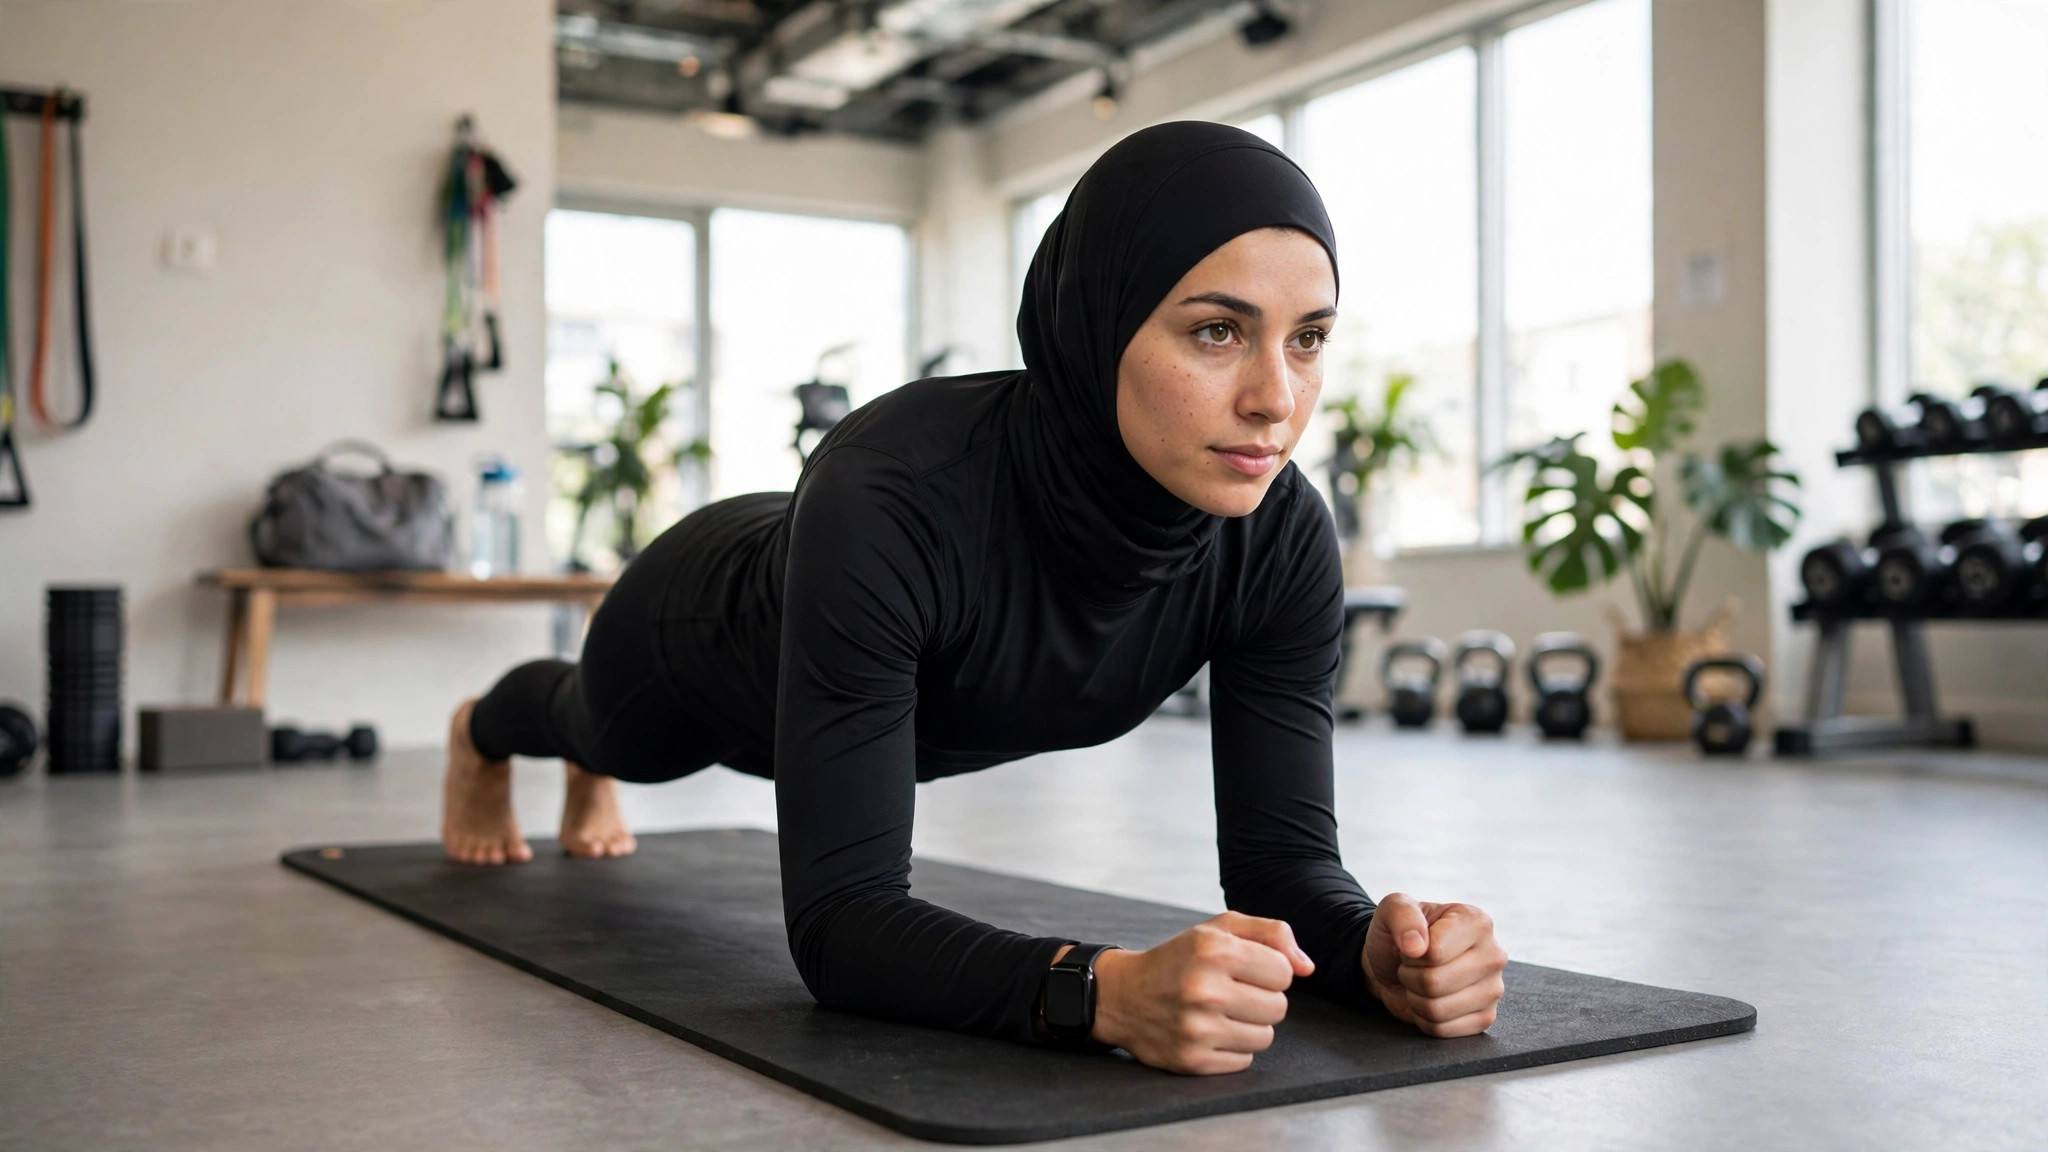
3. Extend to full plank. Step or walk your feet back until your body forms one straight line from head to heels. Feet hip-width apart (wider is easier and more stable; together is harder).
4. Tuck the pelvis slightly. Think about pulling your belt buckle toward your chin, just a touch. This posterior pelvic tilt flattens the lower back and switches the abs on. This single cue fixes the sagging-back mistake for most people.
5. Squeeze the glutes. Actively tighten your glutes. This locks the pelvis in position and takes load off the lower back. If your glutes are soft during a plank, your lower back is doing their job.
6. Brace, do not suck in. Brace your core like someone is about to lightly punch your stomach, a firm 360-degree tension, not a hollow “suck in your gut” that collapses your posture.
7. Head and neck neutral. Gaze at the floor, chin slightly tucked, the back of your neck long. Imagine a straight line from the crown of your head to your heels.
8. Breathe. Steady nasal breathing behind the brace. If you find yourself holding your breath, the set is too long; shorten it.
Self-Assessment: Check Your Form Today
You cannot fix what you cannot see. Do this assessment now:
The video test. Prop your phone to record yourself from the side during a 30-second plank. Watch for: hips in line (not sagging or piked), lower back flat, head neutral. Most people are shocked by what they see; the plank you feel and the plank you do are often different.
The broomstick test. Have someone lay a broomstick along your back during the plank. It should touch three points: the back of your head, your upper back, and your glutes, with only a small natural gap at the lower back. Big gaps or rocking mean misalignment.
The talk test. You should be able to speak a short sentence while planking. If you cannot get words out, you are either holding your breath or bracing far beyond what the set requires.
The shake test. Mild muscle trembling is normal, especially in the abs and shoulders. Sharp pain, particularly in the lower back, is not; stop immediately if you feel it.
Beginner Regressions (Start Here If Full Planks Are Too Much)
There is no prize for starting with the hardest version. Progress through these in order:
Level 1: Knee plank. Same form cues as the full plank, but on your knees instead of your toes. Keep the straight line from head to knees. Master 3 sets of 30 seconds with clean form before progressing.
Level 2: Incline plank. Hands or forearms on an elevated surface (bench, sturdy table, wall). The higher the surface, the easier. This is excellent for building the pattern with less load.
Level 3: Full plank, short sets. Full position, but 15-20 second sets with perfect form. Add 5 seconds per week. Three clean 30-second sets beats one shaky 60-second hold.
Level 4: Full plank, full sets. 3 sets of 45-60 seconds with all cues locked in. Beyond 60 seconds with perfect form, progress to plank variations (shoulder taps, body saws) rather than adding minutes; endless planking has diminishing returns.
How to Program Planks Into Your Week
Two to three sessions per week is plenty. Pair planks with your existing routine: 3 sets after a workout, or as part of a short core circuit. A simple progression: Week 1-2, knee planks; Week 3-4, incline; Week 5+, full planks. Track your clean-form time, not your total time; the number that matters is how long you can hold perfect form.
Complement planks with movement-based core work (dead bugs, bird dogs, Pallof presses) rather than doing planks alone forever. The plank builds anti-extension strength brilliantly, but a complete core needs rotation resistance and dynamic stability too. Our guide to workout routines for beginners shows how to fit core work into a full program, and how to cool down after exercise covers the recovery side.
Plank Variations Once You Master the Basics
When three clean 60-second planks feel easy, progress with variations rather than adding minutes. Shoulder taps: in a high plank, tap each shoulder with the opposite hand while keeping hips perfectly still; this trains anti-rotation, the core’s job in real life. Body saws: in a forearm plank, rock your body forward and back a few inches using your shoulders; the moving lever dramatically increases the demand. Side planks: stack your feet, prop on one forearm, and hold a straight line; this targets the obliques and lateral stability that front planks miss.
Program variations the same way: two to three sessions per week, 3 sets of 20-40 seconds per side or variation, stopping when form breaks. And keep one honest front plank in the rotation as your benchmark; if your variation work is paying off, your clean front-plank time will keep improving without you directly training it. Avoid weighted planks until your unweighted form is flawless; loading a bad position just builds a stronger bad position. Rotate variations every few weeks to keep training fresh and cover all the core’s functions: anti-extension, anti-rotation, and lateral stability.
Frequently Asked Questions
How long should you hold a plank?
Hold only as long as you can maintain perfect form: for most people, 20-60 seconds per set. Three clean 30-second sets beat one 3-minute set with sagging form. Stop the set the moment form breaks.
Why does my lower back hurt during planks?
Almost always sagging hips: the lower back arches and takes load meant for the abs and glutes. Fix it with the posterior pelvic tilt cue (belt buckle toward chin) and active glute squeezing. If pain persists with correct form, stop and consult a professional.
Are planks better than crunches?
For most goals, yes. Planks train the core’s stabilizing function with minimal spinal flexion, while crunches repeatedly flex the spine under load. Planks also engage the shoulders, glutes, and full trunk. Crunches are not useless, but planks are the better default.
How often should beginners do planks?
Two to three times per week with rest days between. Daily max-effort planking leads to form breakdown and overuse; frequency matters less than clean execution.
Do planks burn belly fat?
No exercise burns fat from a specific area; spot reduction is a myth. Planks build core strength and stability, which is valuable, but visible abs come from overall body fat reduction through diet and full-body training.
What is the difference between a forearm plank and a high plank?
Forearm planks (on elbows) are slightly easier on the wrists and emphasize the core; high planks (on hands, like the top of a push-up) add shoulder and wrist demand. Both are effective; choose based on wrist comfort and mix both into your training.
Final Thoughts
The plank rewards honesty. Film yourself, fix the sag, squeeze the glutes, breathe, and stop when form breaks. Do that consistently and a humble 30-second plank will build more real core strength than someone else’s three-minute hammock. Form first, clock second, always.