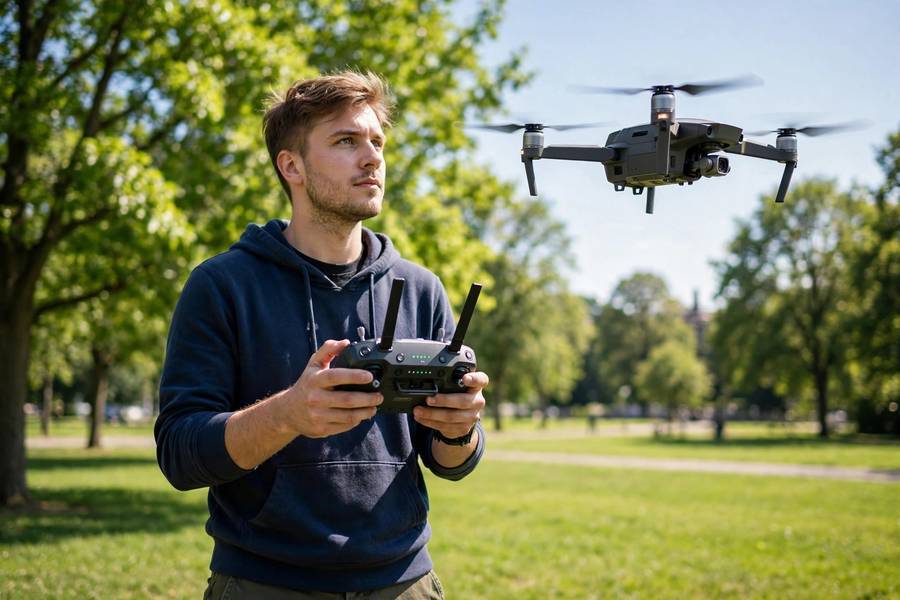
My first drone flight lasted eleven seconds and ended in a bush. I pushed the wrong stick, panicked, and watched $300 of plastic and optimism cartwheel into shrubbery. The good news: the bush was soft, the drone survived, and I learned more in those eleven seconds than in an hour of YouTube tutorials. Flying a drone is genuinely easy to learn — but there are a few things nobody tells you until you’ve already made the mistakes. This guide is the one I wish I’d read first.
Table of Contents
- The 60-Second Version
- Before You Fly: Rules That Actually Matter
- Understanding Your Controller
- Your First Flight: Step by Step
- The Core Maneuvers to Practice
- How to Take Good Drone Photos and Video
- Common Beginner Mistakes (I’ve Made Them All)
- What to Look for in a First Drone
- Frequently Asked Questions
The 60-Second Version
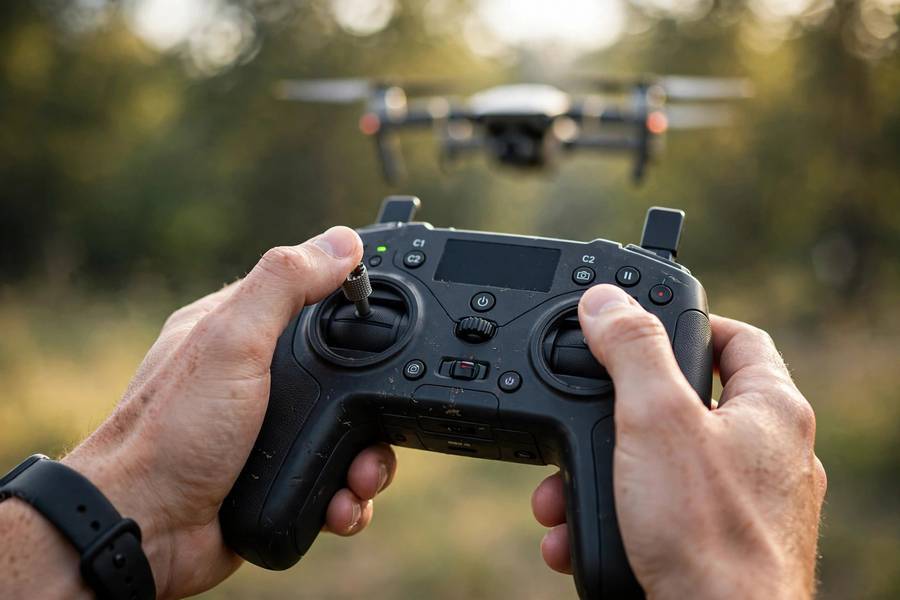
A drone flies using four (or more) spinning propellers. Your controller has two sticks: the left stick controls altitude (up/down) and rotation (spin left/right), and the right stick controls direction (forward, backward, left, right). Push gently, keep the drone where you can see it, and land before the battery gets low. That’s 90% of it — everything else is practice.
Before You Fly: Rules That Actually Matter
I know, rules are boring. But drone rules are the kind that come with fines, so let’s get them out of the way:
- Register if required. In the US, drones over 250g (0.55 lbs) must be registered with the FAA; many countries have similar requirements. Check your country’s aviation authority before flying.
- Stay under 400 feet (120m) above ground level in most countries.
- Keep the drone in your line of sight. If you can’t see it, you’re flying blind — and probably breaking the rules.
- Don’t fly near airports, stadiums, emergency scenes, or over crowds. Most drone apps show no-fly zones on a map — check before takeoff.
- Respect privacy. Flying over someone’s backyard with a camera is a fast way to make enemies and possibly break the law.
- Many sub-250g drones (like the DJI Mini series) dodge registration requirements in several countries — one reason they’re the most popular beginner choice.
Rules vary by country and change, so verify with your local authority.
Understanding Your Controller
Nearly all consumer drones use the same control layout, called Mode 2 (the default):
Left stick: – Push up: drone climbs. Pull down: drone descends. – Push left/right: drone rotates (yaws) left/right — it spins in place, like a top.
Right stick: – Push up: drone flies forward. Pull down: drone flies backward. – Push left/right: drone slides (strafes) left/right.
That’s it — four movements per stick, eight total. Most controllers also have a dedicated takeoff/land button, a return-to-home button (the drone flies itself back to where it launched), and dials for the camera gimbal (tilt up/down) plus a photo/video shutter button.
Modern drones also have GPS stabilization, which is the real reason beginners can fly at all. Let go of the sticks and the drone hovers in place, fighting the wind for you. My first drone had this, and it’s the only reason the bush incident wasn’t worse. Older or toy-grade drones without GPS drift constantly and are dramatically harder to control — avoid them as a first drone.
Your First Flight: Step by Step
Find a big, open space — a park field or sports ground, somewhere with no trees, people, or power lines. Morning with calm wind is ideal.
- Charge everything the night before: drone battery, controller, and your phone (which runs the app).
- Do a pre-flight check. Propellers undamaged and firmly attached? Battery clicked in? Phone connected to the controller?
- Power on in order: controller first, then the drone. Open the app and wait for GPS lock — the app will tell you when it has enough satellites (usually 10+). Don’t skip this; GPS is what makes return-to-home work.
- Calibrate the compass if the app asks. It takes 20 seconds — just rotate the drone as shown on screen.
- Take off gently. Use the auto-takeoff button, or push the left stick slowly upward. Let the drone rise to about 6–10 feet and hover.
- Just hover. Watch it. Get used to how it holds position, how it responds to wind. Do this for a full minute. Boring? Good — boring means controlled.
- Small movements. Nudge the right stick forward a few feet, then back. Slide left, then right. Gentle inputs — the sticks are sensitive.
- Practice rotating. Push the left stick left and right to spin the drone. This is disorienting at first because the controls are relative to the drone’s nose, not yours — when the drone faces you, left and right feel reversed.
- Land. Bring it back overhead, descend slowly with the left stick, and let it touch down gently — or press the auto-land button. Don’t cut the motors while it’s still in the air.
Total first session: 15–20 minutes, one battery. That’s plenty — your brain needs time to build the muscle memory.
The Core Maneuvers to Practice
Once hovering feels easy, work through these in order. Each builds on the last:
- The box: Fly forward 20 feet, slide right 20 feet, fly back 20 feet, slide left 20 feet — a square. Land where you started.
- Nose-in hover: Rotate the drone 180° so it faces you, then hover. The reversed controls are disorienting at first. Master this — it’s the skill that saves you when the drone is coming toward you.
- Figure-eight: Fly a lazy figure-eight. This combines forward flight with turning and is the foundation of smooth cinematic movement.
- Slow orbit: Pick a tree or a bench and circle it, keeping the camera pointed at it. This is the move behind half the drone footage you’ve ever admired.
- Return-to-home test: Fly out 100 feet, press return-to-home, and watch. Know what it does before you need it in a panic — and note where it lands (it returns to the takeoff point, so launch from a clear spot).
Practice each until it’s boring before moving on. Ten short sessions beat one long marathon — fatigue is when mistakes happen.
How to Take Good Drone Photos and Video
Flying is half the hobby; the camera is the other half. A few things I learned the expensive way:
- Shoot in the golden hours. Early morning and late afternoon light makes everything look cinematic. Midday sun makes everything look flat.
- Slow down. The #1 beginner video mistake is flying too fast. Cinematic drone footage is slow — barely-moving reveals, gentle orbits. If it feels too slow while flying, it’s probably about right on video.
- Use the gimbal, not the drone, for vertical moves. Tilting the camera down while hovering looks smoother than descending the whole aircraft.
- Shoot in the highest quality and edit later. Storage is cheap; re-flying a location because the footage was low-res is not.
- Check your exposure before the shot, not after. Bright sky + dark ground fools auto-exposure. Tap to expose for your subject.
- Mind the noise. Drones are loud — that angry-bee buzz carries. Don’t hover over picnics, weddings, or quiet neighborhoods. (And if you’re into audio gear, you’ll appreciate how noise-cancelling headphones work — sadly they don’t help with your own drone.)
If you want to get serious about the filming side, our filmmaking tips cover composition and storytelling that apply just as well from 200 feet up.
Common Beginner Mistakes (I’ve Made Them All)
- Flying with low battery. The drone warns you; beginners ignore it. When it hits the low-battery warning, bring it home immediately. Wind on the return trip eats more power than you think.
- Losing orientation. At 200 feet away, you can’t tell which way the nose points. Use the app’s map/radar view — it shows the drone’s heading relative to you.
- Flying backward into things. The obstacle sensors (if your drone has them) usually only face forward. Backward flight is blind — turn around first.
- Ignoring wind. If the drone is struggling to hold position or the app shows a wind warning, land. Gusts at altitude are stronger than at ground level.
- Forgetting return-to-home height. RTH flies the drone up to a set altitude before coming back. If that altitude is below the trees between you and the drone… you see the problem. Set it above the tallest nearby obstacle.
- Not checking the no-fly map. That cool spot by the river might be in restricted airspace. Check the app every time, even at familiar locations.
What to Look for in a First Drone
You don’t need the $2,000 flagship. For a first drone, prioritize:
- Under 250g weight — dodges registration in many countries and is less intimidating to fly.
- GPS + return-to-home — non-negotiable for a beginner.
- Obstacle avoidance — at least forward-facing sensors. They’ve saved my drone more than once.
- Decent camera — 4K video and 12MP+ photos are standard even on mid-range models now.
- 30+ minute battery life — advertised; expect 20–25 in real wind. Buy at least one spare battery.
- A well-reviewed app — you’ll live in this app; check recent reviews, not just the star rating.
My honest take: the sub-250g category from the major brands is so good now that there’s little reason for a beginner to start anywhere else. Buy the popular one, not the exotic one — popularity means tutorials, spare parts, and community help when something goes wrong.
Frequently Asked Questions
Not very — most people can hover and do basic movements within their first 30-minute session, thanks to GPS stabilization doing most of the hard work. Smooth, confident flying takes a few weeks of short practice sessions. The rules and safety habits take longer to internalize than the stick skills.
It depends on your country and the drone’s weight. In the US, recreational flyers need to pass the free TRUST test, and drones over 250g must be registered with the FAA; commercial use requires a Part 107 license. Many countries have similar tiered systems. Check your national aviation authority for current rules.
On the standard Mode 2 layout: the left stick controls altitude (up/down) and rotation (left/right spin), while the right stick controls forward/backward and left/right sideways movement. Letting go of both sticks makes a GPS-equipped drone hover in place.
Most consumer drones can technically fly several miles, but regulations in most countries require keeping the drone within your visual line of sight and below 400 feet (120m). As a beginner, stay well within those limits — start within 100-200 feet until your orientation skills are solid.
First, stop giving it inputs — release the sticks and let GPS stabilization hover it. If it’s drifting toward an obstacle, gently steer away. As a last resort, most drones have an emergency motor-stop combination, but that drops it from the sky — only use it over a safe area like grass, never over people.
Light wind is fine — most consumer drones handle 15-20 mph winds — but gusts are the real danger, and wind is stronger at altitude than at ground level. Never fly in rain: water damages the electronics and most consumer drones aren’t waterproof. If the app shows a wind warning, land.