How to Winterize Your Home: The Complete Fall Checklist

Winter doesn’t negotiate. It finds every gap in your weatherstripping, every uninsulated pipe, every drafty window — and it sends you the bill in January. The good news: a weekend of how to winterize your home preparation in the fall saves real money all winter and prevents the disasters (burst pipes, dead furnaces, ice dams) that turn cold weather into expensive weather. Here’s the complete checklist, in the order I’d actually do it.
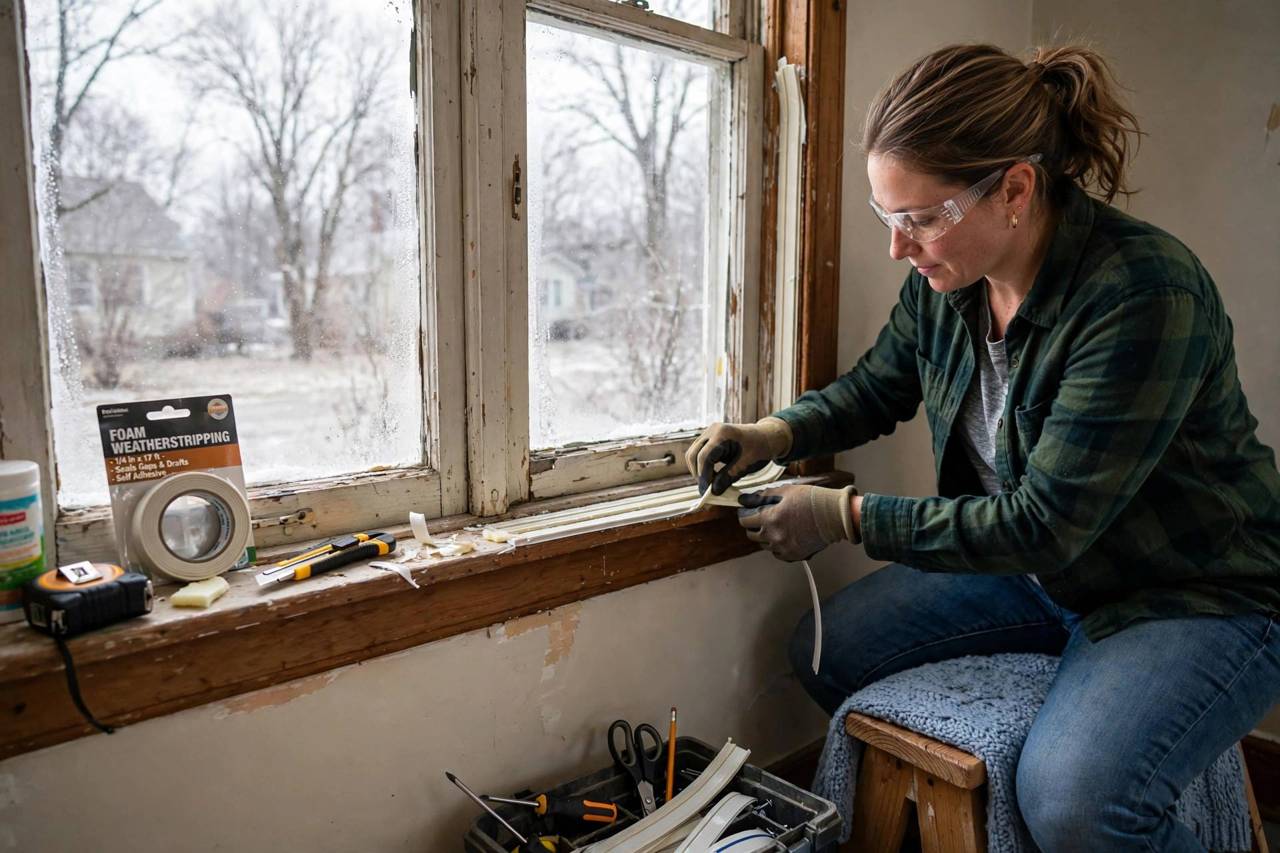
We’ll go outside-in: exterior first, then the heating system, then plumbing, then the interior details. Do it once, do it right, and winter becomes something you watch from a warm house instead of something you fight.
Start Outside: The Exterior Checklist
Clean the gutters — twice. Once after most leaves fall, once more in late fall. Clogged gutters cause ice dams: water backs up under shingles, melts, refreezes, and forces its way into your house. While you’re up there, check that downspouts direct water at least 4-6 feet from the foundation.
Disconnect and drain hoses. Remove all garden hoses, drain them, and store them inside. Shut off exterior faucets from the inside valve if you have one, then open the outside faucet to drain the line. A $5 foam faucet cover is cheap insurance on top of that. Frozen hose bibs burst inside the wall — a repair that costs hundreds for want of a two-minute job.
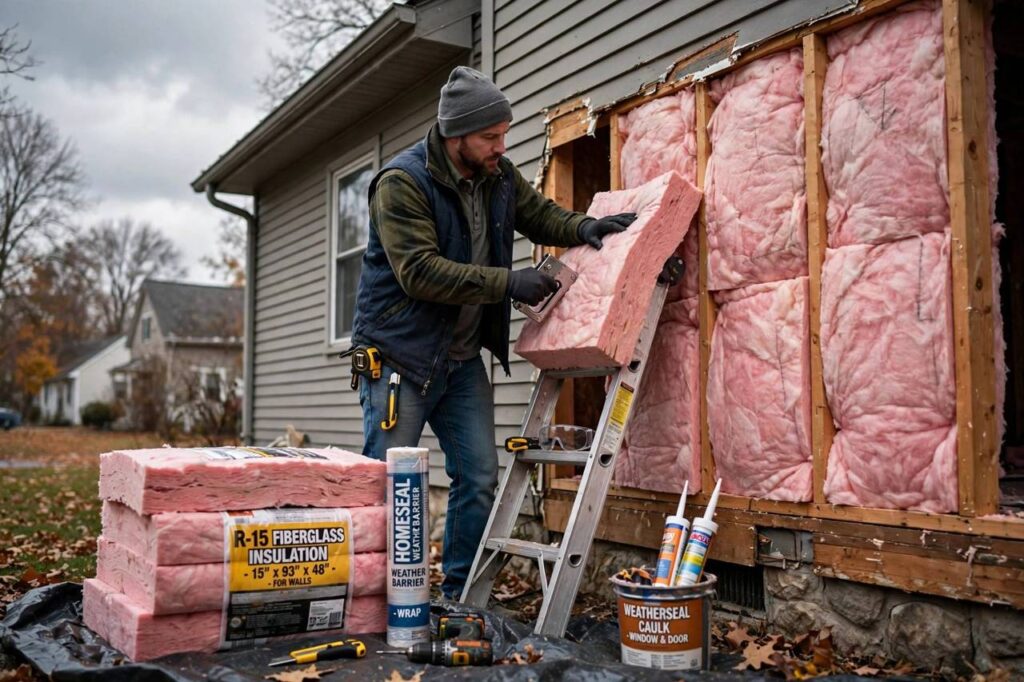
Seal the envelope. Walk the perimeter and caulk gaps around windows, doors, vents, and where utilities enter the house. Check weatherstripping on exterior doors — if you can see daylight around a closed door, you’re heating the neighborhood. A $10 tube of exterior caulk and an afternoon pays for itself in weeks.
Put the yard to bed. Drain and store fountains, cover outdoor furniture (or bring it in), and give the lawn its final mow. Fall leaves make excellent mulch or compost — composting turns that yard waste into next spring’s garden gold. If you have garden beds, starting a garden basics cover putting them to sleep properly for winter.
Heating System: Service It Before You Need It
Schedule a furnace checkup. Once a year, before heating season — a technician cleans, inspects, and tests everything. This catches failing igniters, cracked heat exchangers, and efficiency problems while they’re cheap fixes, not midnight emergencies. If you have a fireplace or wood stove, get the chimney swept and inspected annually — creosote buildup is a genuine fire hazard.
Replace filters. Dirty filters strangle airflow, making your system work harder for less heat. Check monthly during heating season; replace every 1-3 months depending on your filter type and whether you have pets. This is the highest-ROI maintenance in your entire house.
Test before the cold hits. Turn the heat on in early fall, before you actually need it. Let it run for 30 minutes. Strange smells (dusty burning is normal for the first run; anything else isn’t), odd noises, or rooms not heating are problems you want to discover in October, not January.
Know your backup plan. If your heat dies at 2 a.m. in a cold snap, what’s the plan? Know where your main water shutoff is (critical if pipes are at risk), have the HVAC company’s emergency number saved, and keep a few emergency supplies: blankets, a safe space heater, and pipe insulation for vulnerable spots.
Plumbing: Prevent the Burst-Pipe Disaster
Burst pipes are the most expensive common winter disaster, and they’re almost entirely preventable:
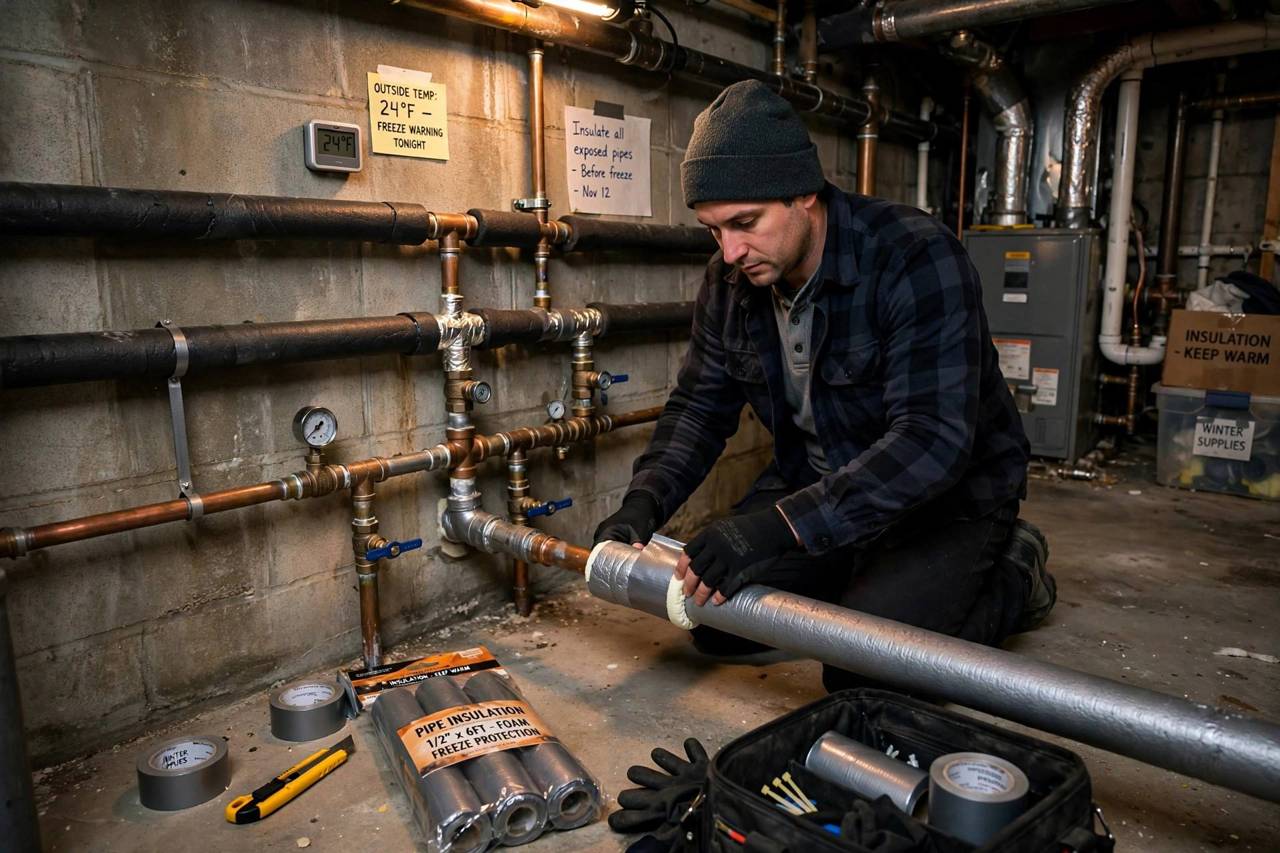
Insulate exposed pipes. Any pipe in an unheated space — basement, crawlspace, attic, garage, exterior walls — gets foam pipe insulation. It’s cheap, it slides on in seconds, and it’s the single best burst-pipe prevention there is. Pay special attention to pipes on exterior walls.
Know your main shutoff. If a pipe does burst, shutting off water in the first minute versus the first hour is the difference between a mop-up and a renovation. Find your main shutoff now, make sure it turns (old valves seize), and show everyone in the house where it is.
Let faucets drip in extreme cold. When temperatures drop into the single digits (or below zero), let vulnerable faucets drip slightly — moving water is much harder to freeze. Open cabinet doors under sinks on exterior walls so warm air reaches the pipes.
Don’t turn the heat off if you travel. Set the thermostat to at least 55°F (13°C) when away. The heating bill for an empty house is nothing compared to a burst-pipe flood. Have someone check the house if you’re gone more than a few days.
Let me expand on the pipe situation, because burst pipes are the most expensive winter disaster and the most preventable. Know where your main water shutoff is — right now, before anything happens. It’s usually near where the water line enters the house, in a utility room, basement, or crawlspace. Put a tag on it. Show everyone in the household. In a burst-pipe emergency, the difference between “we shut it off in 30 seconds” and “where IS that thing” is the difference between a mop-up and a five-figure insurance claim.
Pipes in exterior walls and unheated spaces (garages, crawlspaces, attics) are the ones that freeze. Foam pipe insulation sleeves are cheap and take minutes to install — do every accessible run in an unheated space. For the truly vulnerable spots, heat tape (electric heating cable) with a built-in thermostat is the belt-and-suspenders option. And the old advice about letting faucets drip during extreme cold? It’s real — moving water freezes slower. A pencil-thin stream from the faucet farthest from where water enters the house, on nights well below freezing, is cheap insurance.
Inside: The Comfort and Efficiency Details
Reverse your ceiling fans. Flip the little switch so fans run clockwise on low — this pushes warm air (which rises and pools at the ceiling) back down. It’s a two-second job most people never do.
Check detectors. Test smoke and carbon monoxide detectors, replace batteries, and check expiration dates. Heating season is CO season — furnaces, fireplaces, and generators all produce it. This isn’t efficiency, it’s survival. Do it now.
Seal drafts inside. Drafty windows get interior window film kits (cheap, effective, nearly invisible). Drafty doors get draft stoppers. Electrical outlets on exterior walls get foam gaskets behind the cover plates — a notorious and overlooked leak. Attic hatches get weatherstripped.
Service your humidifier (or get one). Winter air is dry, and dry air feels colder — proper humidity (30-50%) makes 68°F feel comfortable instead of chilly, letting you nudge the thermostat down. It also protects wood floors, furniture, and your sinuses.
A few more inside jobs that punch above their weight. Reverse your ceiling fans — flip the little switch on the fan housing so blades spin clockwise at low speed, which pushes warm air pooled at the ceiling back down. It feels like nothing, but rooms genuinely feel 2-3 degrees warmer. Bleed your radiators if you have hot-water heat: trapped air creates cold spots, and a radiator key plus a towel takes five minutes per radiator. Check the fireplace damper — an open damper is literally a hole in your roof leaking heated air 24/7. And humidify sensibly: winter air is dry, and properly humidified air (30-50% relative humidity) feels warmer at the same temperature, letting you nudge the thermostat down a degree or two without noticing.
How to Winterize Your Home: The Weekend Plan
Here’s how I’d schedule it across one fall weekend:
Saturday morning: exterior — gutters, hoses, caulking, yard. Saturday afternoon: heating — filters, test run, detector check. Sunday morning: plumbing — pipe insulation, shutoff check, faucet covers. Sunday afternoon: interior — fans, drafts, humidifier, window film.
Total cost if you DIY: mostly under $100-150 in materials (caulk, insulation, filters, faucet covers, window film). Total savings: lower heating bills all winter, plus the disasters you prevented — any one of which costs 10-50x the prevention. That’s the math of winterizing: small effort in fall, big payoff all winter. Your January self will thank your October self.
The Attic: Where Your Heat Is Actually Escaping
If I could only winterize one part of a house, it would be the attic — no contest. Heat rises, and in most homes the attic is where it escapes fastest. The Department of Energy folks aren’t exaggerating when they say proper attic insulation is the single highest-ROI energy improvement most homeowners can make.
Check your insulation depth first. Grab a tape measure and head up there. If you can see the tops of the ceiling joists, you don’t have enough — you want insulation level with or above the joists, roughly 10-14 inches of blown fiberglass or cellulose in cold climates. Adding insulation is one of the few DIY jobs that’s genuinely hard to mess up: rent a blower from the hardware store (often free with enough bags of insulation), suit up with a mask and goggles, and blow it in. A weekend, a few hundred dollars, and your January heating bill drops noticeably.
Seal the air leaks before you insulate. This is the step everyone skips and it’s arguably more important than the insulation itself. Warm air leaking into the attic through gaps around light fixtures, plumbing vents, the attic hatch, and wiring holes carries moisture with it — which condenses on cold surfaces and can cause mold and rot. A few cans of expanding foam and a tube of caulk, applied to every gap you can find, takes an afternoon and pays for itself many times over.
Don’t forget attic ventilation. It sounds backwards — why ventilate the space you’re trying to keep warm? Because a cold roof deck prevents ice dams (those ridges of ice that force meltwater under your shingles). Soffit vents plus a ridge vent keep air flowing above the insulation. Insulation without ventilation is a recipe for moisture problems; you need both.
FAQ
When should I winterize my home?
Start in early to mid-fall, before the first hard freeze — typically October in most climates. Do the exterior work (gutters, hoses, caulking) first while weather is still workable, then heating and plumbing.
What is the most important winterizing task?
Preventing frozen pipes: insulate exposed pipes, disconnect exterior hoses, and know your main water shutoff. Burst pipes are the most expensive common winter disaster and the most preventable.
How can I lower my heating bill in winter?
Seal air leaks (caulk, weatherstripping, window film), replace furnace filters monthly, reverse ceiling fans to push warm air down, maintain 30-50% humidity so lower temperatures feel comfortable, and service your heating system annually.
Should I drip faucets to prevent freezing?
In extreme cold (single digits or below), yes — let vulnerable faucets drip slightly and open cabinet doors under sinks on exterior walls. Moving water resists freezing far better than still water.
What temperature should I keep my house in winter when away?
At least 55°F (13°C). Never turn the heat off completely in winter — the heating cost is trivial compared to burst-pipe damage. Have someone check the house if you’re away more than a few days.
How much does it cost to winterize a house?
A basic DIY winterization — weatherstripping, caulk, pipe insulation, furnace filter, and the other weekend-warrior tasks — typically runs $100 to $300 in materials. Adding blown attic insulation yourself is the biggest-ticket DIY item at roughly $500 to $1,000 depending on attic size. Hiring pros for everything (energy audit, insulation, HVAC tune-up) can run $1,500 to $4,000, but much of that pays for itself in one to three heating seasons through lower energy bills.