How to Make Homemade Pizza Dough: Chewy, Crispy, Perfect

Friday night in my house used to mean takeout pizza, until the night the delivery took ninety minutes and arrived lukewarm. I decided, half out of spite, to learn how to make homemade pizza dough. The first attempt was a dense frisbee. The second was better. By the fifth, my family voted unanimously: no more delivery. Homemade dough is not just cheaper — it is genuinely better, because you control the chew, the char, the thickness, and it takes about ten minutes of actual work. The yeast does the rest while you live your life. Here is the whole method, including every mistake I made so you do not have to.
The Ingredients: Five Things, No Surprises
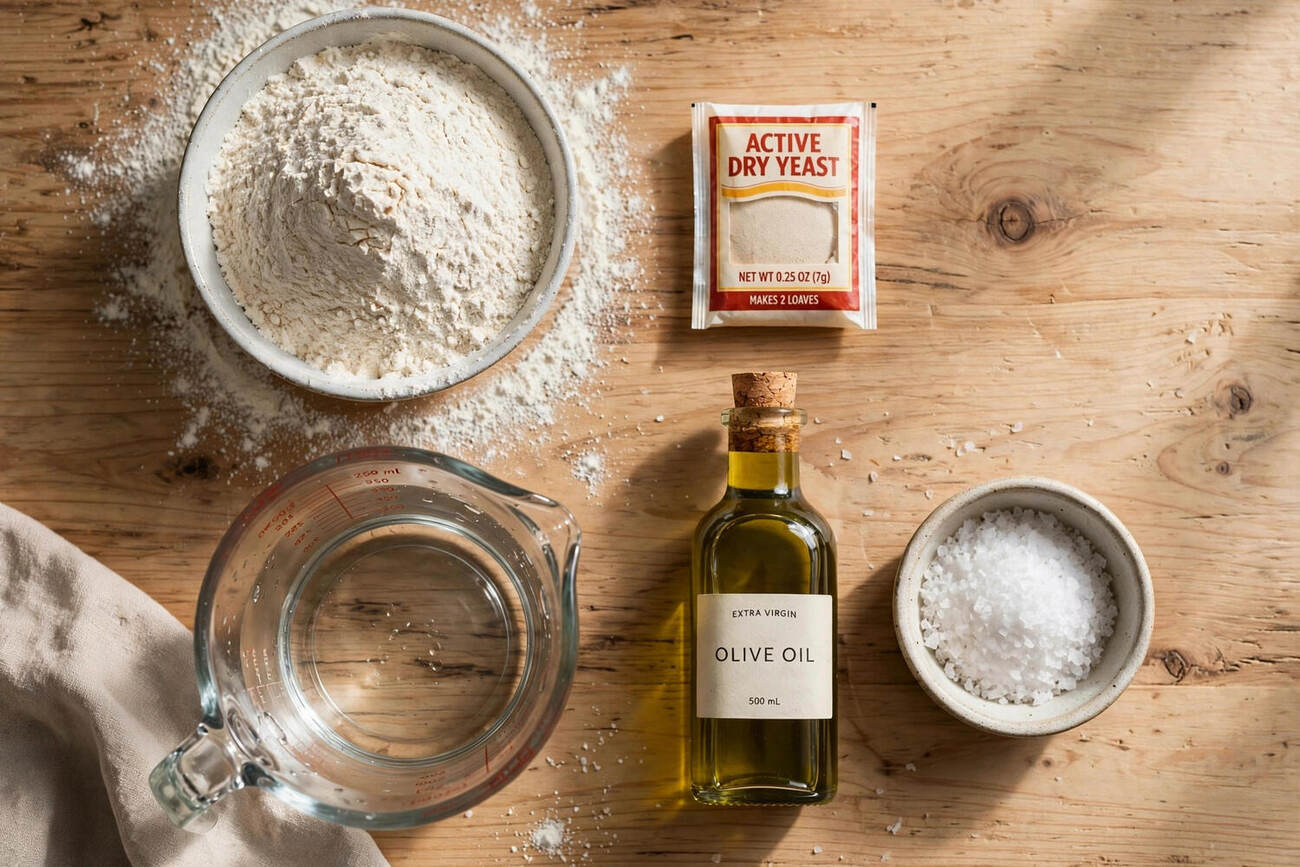
Flour, water, yeast, salt, olive oil. That is pizza dough — the same five ingredients Neapolitan pizzaiolos have used for centuries. For one large pizza (or two small), you need three and a half cups of flour, one and a quarter cups of warm water, two and a quarter teaspoons of instant yeast (one packet), two teaspoons of salt, and two tablespoons of olive oil, plus a teaspoon of sugar or honey to wake the yeast up.
Flour choice matters more than anything else on this list. Bread flour, with its higher protein, gives you the chewy, structured crust that defines great pizza. All-purpose flour works and still beats delivery, but the crust will be a little softer and less chewy. If you want to get serious, “00” flour — the finely milled Italian standard — produces a tender, leopard-spotted crust in a very hot oven. Water should be warm, not hot: around 105–115°F, comfortable on your wrist. Hot water kills yeast, and dead yeast makes crackers.
Mixing and Kneading: Ten Minutes That Matter
Whisk the flour and salt in a large bowl. In a separate cup, stir the yeast and sugar into the warm water and wait five minutes until it foams — proof that your yeast is alive. If it does not foam, your yeast is dead; start over with fresh yeast rather than wasting flour on a dough that will never rise.
Pour the yeasty water and the olive oil into the flour and stir until a shaggy mass forms, then turn it onto a floured counter and knead for eight to ten minutes. Push the dough away with the heel of your hand, fold it back, quarter-turn, repeat. It starts rough and sticky and finishes smooth and elastic — the transformation is unmistakable. The windowpane test tells you when you are done: stretch a small piece thin; if you can see light through it without it tearing, the gluten is developed. Under-kneaded dough tears when you stretch it and bakes up dense. If you own a stand mixer, the dough hook does this in six to seven minutes on medium-low, and your arms will thank you.
The Rise: Where Flavor Is Born
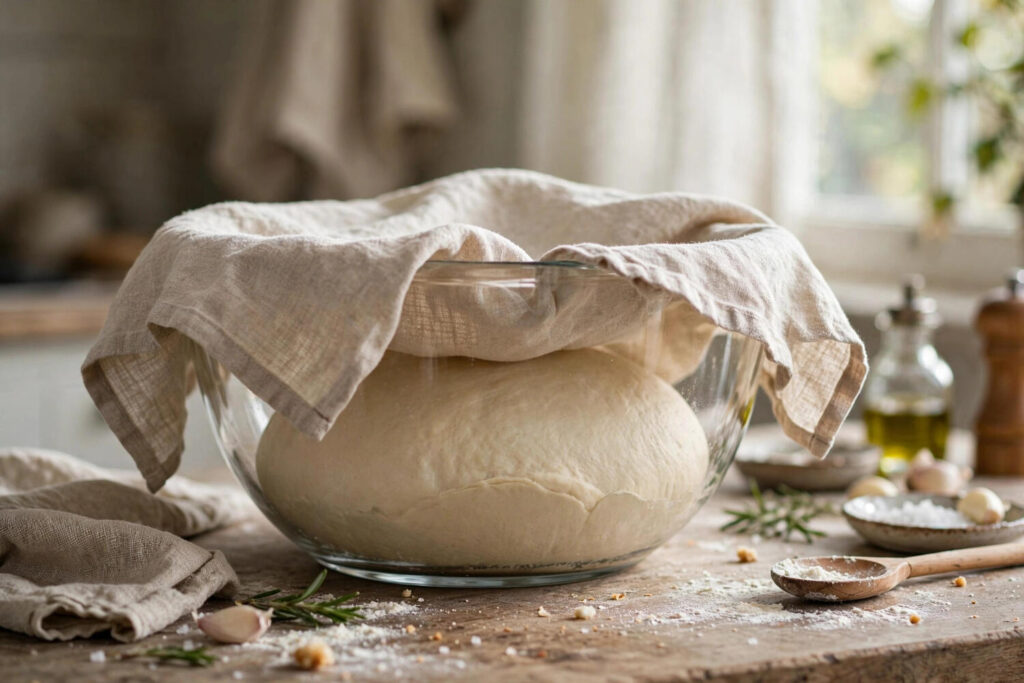
Place the kneaded dough in a lightly oiled bowl, turn it once to coat, cover with a damp towel or plastic wrap, and let it rise in a warm spot until doubled — about one to one and a half hours. This first rise is where the yeast produces the gases that make the crust airy and the compounds that make it taste like something.
Here is the upgrade that separates good pizza from great pizza: the cold ferment. After kneading, instead of the warm rise, put the covered bowl straight in the refrigerator for 24 to 72 hours. The cold slows the yeast dramatically, and the long, slow fermentation builds complex flavor — subtle tang, deeper wheat notes — that a quick rise cannot match. When you are ready, let the cold dough sit at room temperature for one to two hours before shaping. This single change improved my pizza more than any flour swap ever did.
Shaping Without Tears (Or a Rolling Pin)
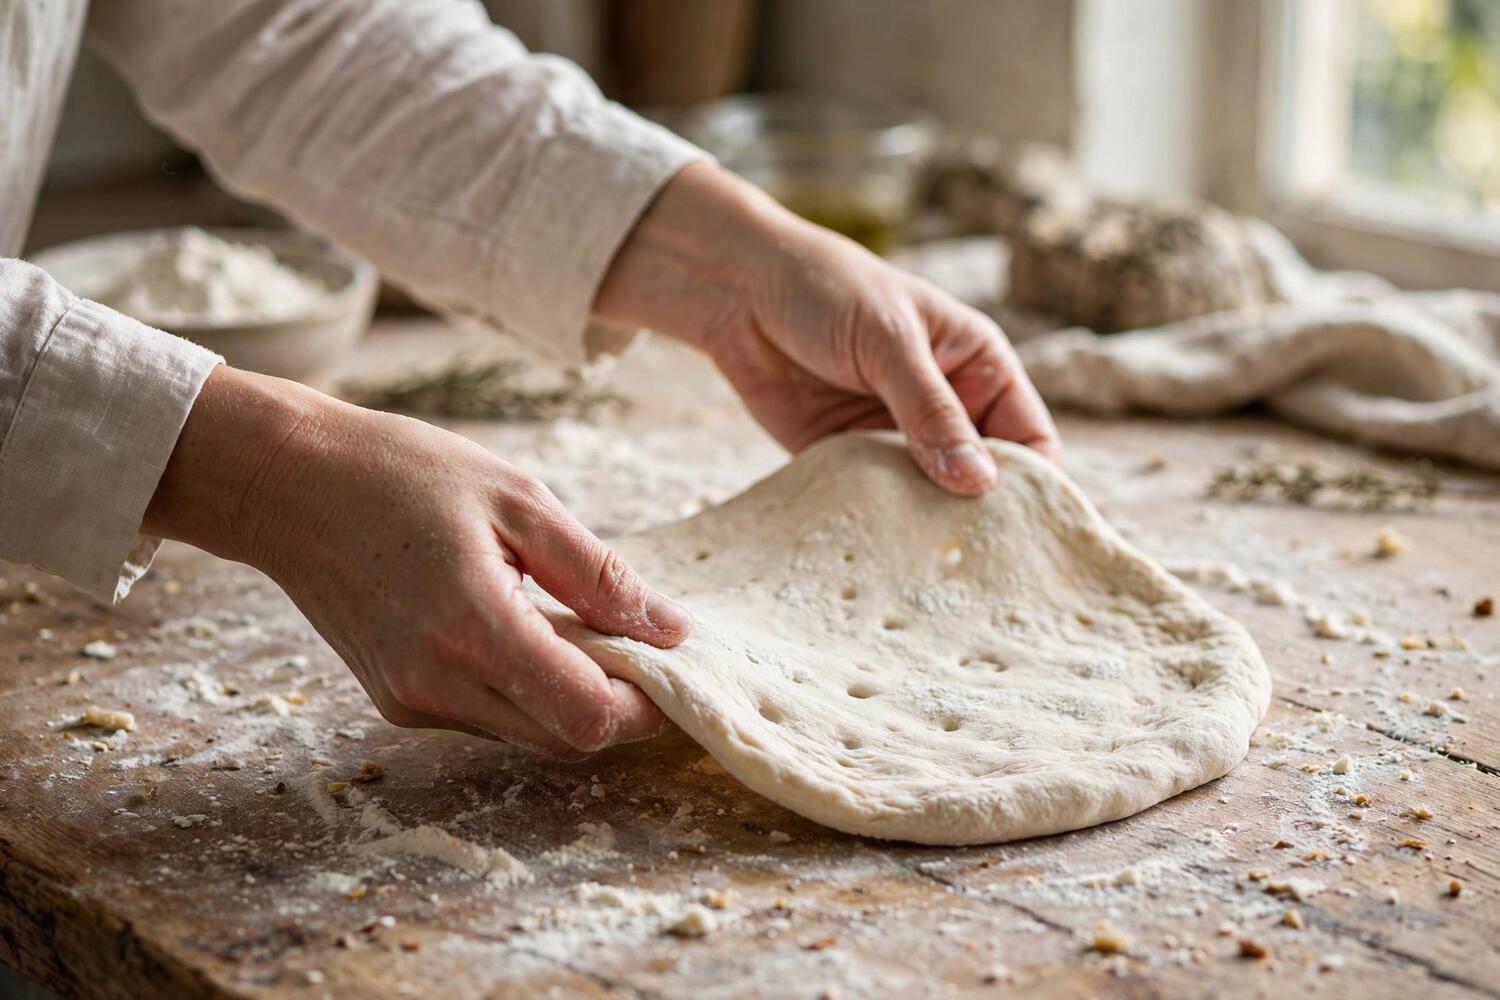
A rolling pin is the enemy of airy crust — it crushes the gas bubbles you spent hours building. Shape by hand. Place the dough ball on a floured surface and press from the center outward with your fingertips, pushing the air toward the edges to form the puffy rim (the cornicione, if you want the fancy word). Then pick it up and drape it over your knuckles, letting gravity stretch it as you rotate. If it resists and springs back, it needs to rest — gluten tightens when worked. Walk away for ten minutes and it will stretch like a dream.
Aim for about twelve inches for a classic thin-ish crust with body, or stretch thinner if you like it crackery. Do not obsess over a perfect circle; rustic ovals taste identical and have more charm. Transfer to a floured pizza peel or the back of a baking sheet before topping — moving a topped pizza is how toppings end up on the oven floor.
Topping Rules: Less Is More
The number one homemade pizza mistake is overloading. A soggy center is almost always too much sauce, too much cheese, or wet toppings. Use a thin layer of sauce — about a third of a cup for a twelve-inch pizza — and spread it almost to the edge of the rim. Fresh mozzarella is wonderful but watery; pat it dry or use low-moisture mozzarella for the meltiest result. Pre-cook watery vegetables like mushrooms and peppers, or slice them thin so they cook through. And remember: the pizza continues cooking the toppings, so ingredients that are good raw or lightly cooked — basil, arugula, prosciutto — go on after baking, not before.
Baking: As Hot As Your Oven Goes
Professional pizza ovens run near 900°F; your home oven maxes out around 500–550°F. So preheat to the absolute maximum, with a pizza stone or steel inside for at least 45 minutes — the stored heat is what crisps the bottom. A steel beats a stone for home ovens: it transfers heat faster and will not crack. No stone or steel? An upside-down heavy baking sheet, preheated the same way, works surprisingly well.
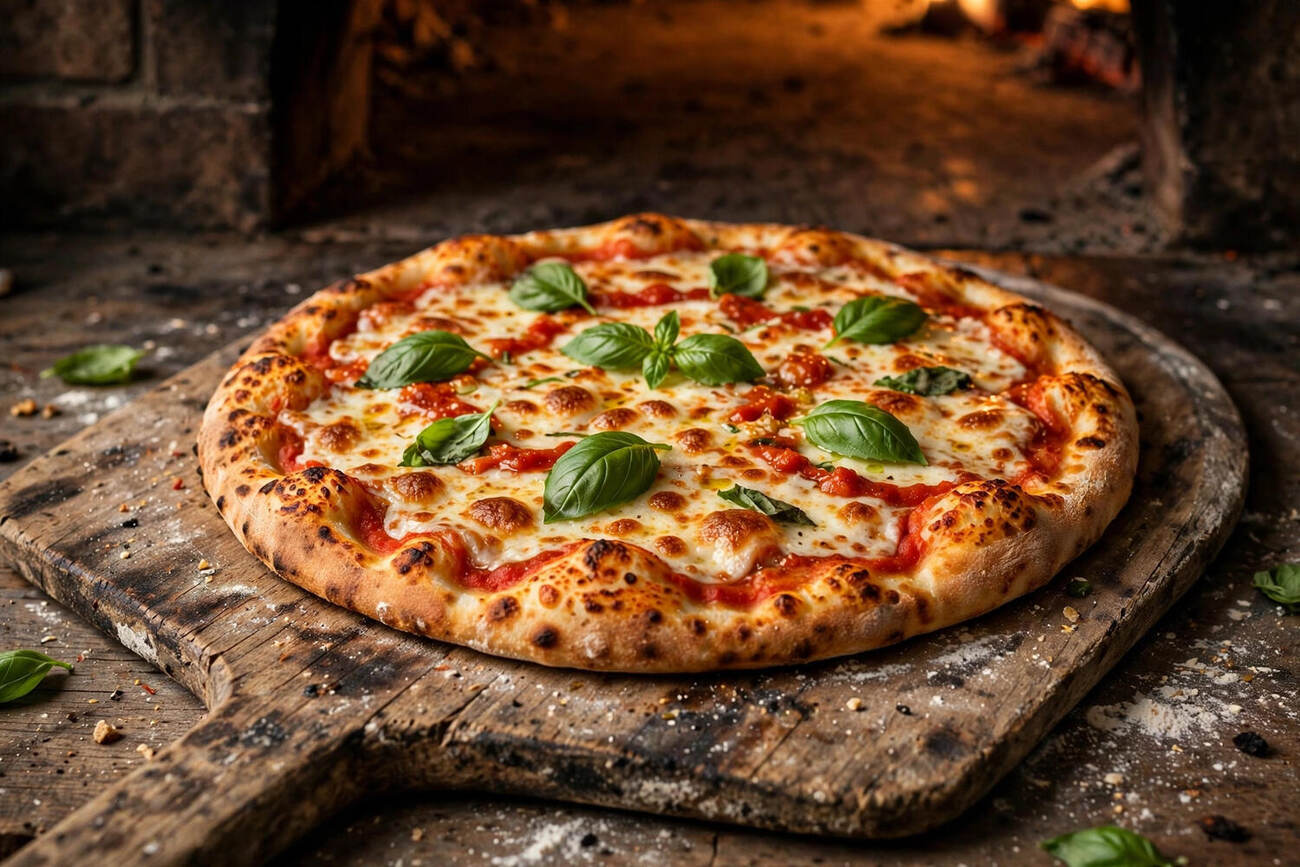
Launch the pizza onto the hot surface and bake for seven to ten minutes, until the crust is golden with charred spots and the cheese bubbles and browns. Rotate once halfway if your oven has hot spots. Then — and this is the hardest step — let it rest for two to three minutes before cutting. The cheese needs to set; cutting immediately turns your beautiful pizza into a slide of toppings.
Make-Ahead, Freezing, and Leftover Dough
Pizza dough is a meal-prep dream. After kneading, divide into balls, coat lightly with oil, and refrigerate for up to three days — the flavor improves daily. For longer storage, freeze the balls in oiled bags for up to three months; thaw overnight in the refrigerator, then bring to room temperature for an hour or two before shaping. You can also par-bake: stretch the dough, bake naked at max heat for three to four minutes until set but not browned, cool, and freeze between parchment sheets. Par-baked crusts go from freezer to topped to table in about eight minutes — faster than delivery ever was.
How to Make Homemade Pizza Dough Without Yeast
No yeast in the house? You still get pizza night. A no-yeast dough — two cups of flour, one tablespoon of baking powder, a teaspoon of salt, three-quarters cup of milk or water, two tablespoons of olive oil — mixes in five minutes and bakes into a perfectly respectable thin, crackery crust. It will not have the chew or complex flavor of yeasted dough; baking powder gives lift, not fermentation. But brushed with garlic oil and topped well, it satisfies the craving completely.
Roll it thin, since it will not puff the way yeasted dough does, and bake it hot on your preheated stone or steel. Think of it as flatbread’s ambitious cousin rather than true pizza dough, and you will not be disappointed. Keep a packet of yeast in the freezer for next time — frozen yeast keeps for months — but never let an empty yeast jar cancel pizza night.
Thin Crust, Thick Crust, and Stuffed Crust Variations
The master recipe is a template; thickness is a choice. For cracker-thin crust, divide the dough into three balls instead of two and stretch each to twelve inches — thin, crisp, tavern-style. For thick, fluffy crust, use the full recipe for one twelve-inch pizza and let the shaped dough proof a second time, covered, for thirty minutes before topping; the extra rise gives you a puffy, focaccia-like base. Detroit-style goes in an oiled rectangular pan with cheese spread edge to edge so it caramelizes against the metal — a religious experience if you have never had it.
Stuffed crust is easier than it looks: stretch the dough two inches wider than your pan, lay string cheese around the rim, and fold the edge over it, pinching to seal. Kids lose their minds over it, and it uses the exact same dough. Calzones are just pizza folded in half and sealed — same dough, same toppings, crimped edges, baked until golden. One recipe, five dinners. That is the kind of math I like.
Frequently Asked Questions
Can I make pizza dough without a stand mixer?
Absolutely — hand kneading for eight to ten minutes works perfectly and gives you a better feel for the dough. A stand mixer with a dough hook just saves your arms.
Why is my pizza dough not rising?
Usually dead yeast (water too hot, or expired yeast) or too cold a room. Proof the yeast in warm water first — it should foam — and let dough rise somewhere warm, around 75–80°F.
How long should pizza dough rise?
One to one and a half hours at room temperature until doubled, or 24 to 72 hours in the refrigerator for far better flavor. Cold-fermented dough is the single biggest upgrade you can make.
Can I use all-purpose flour for pizza dough?
Yes, though bread flour gives a chewier crust thanks to higher protein. “00” flour is the premium choice for Neapolitan-style pizza in very hot ovens.
Why is my homemade pizza soggy in the middle?
Almost always too many wet toppings or too much sauce. Use sauce sparingly, pat fresh mozzarella dry, pre-cook watery vegetables, and bake on a fully preheated stone or steel.
Can you freeze pizza dough?
Yes — freeze oiled dough balls for up to three months. Thaw overnight in the fridge, then rest at room temperature one to two hours before shaping.