How to Fix a Door That Will Not Latch: 6 Real Causes

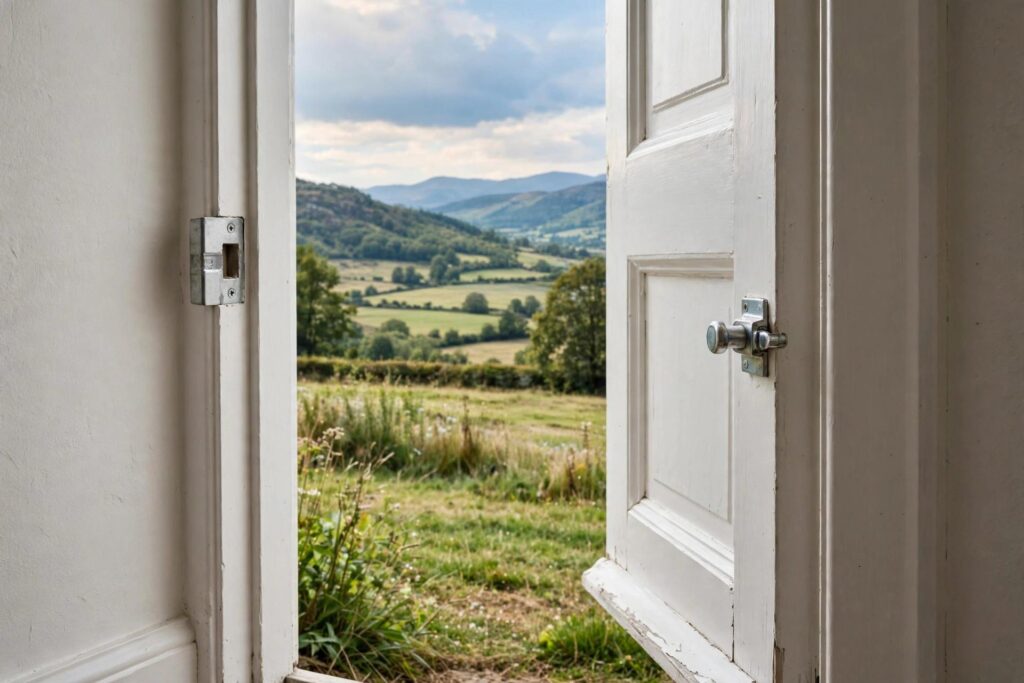
A door that swings shut and then just… doesn’t catch is one of those small failures that drives you quietly insane. Figuring out how to fix a door that will not latch starts with understanding that “won’t latch” is a symptom, not a diagnosis — the latch bolt and the strike plate hole are missing each other by a few millimeters, and your job is to find out why. I’ve fixed this exact problem in houses from brand-new builds to century-old farmhouses, and the causes are almost always one of six things. Once you know which one you’ve got, the fix is usually under half an hour.
We’ll start with the dead-simple diagnostic test that tells you exactly what’s misaligned, then go through each cause and its fix in order of likelihood.
The 30-Second Diagnostic: Find Out What’s Misaligned
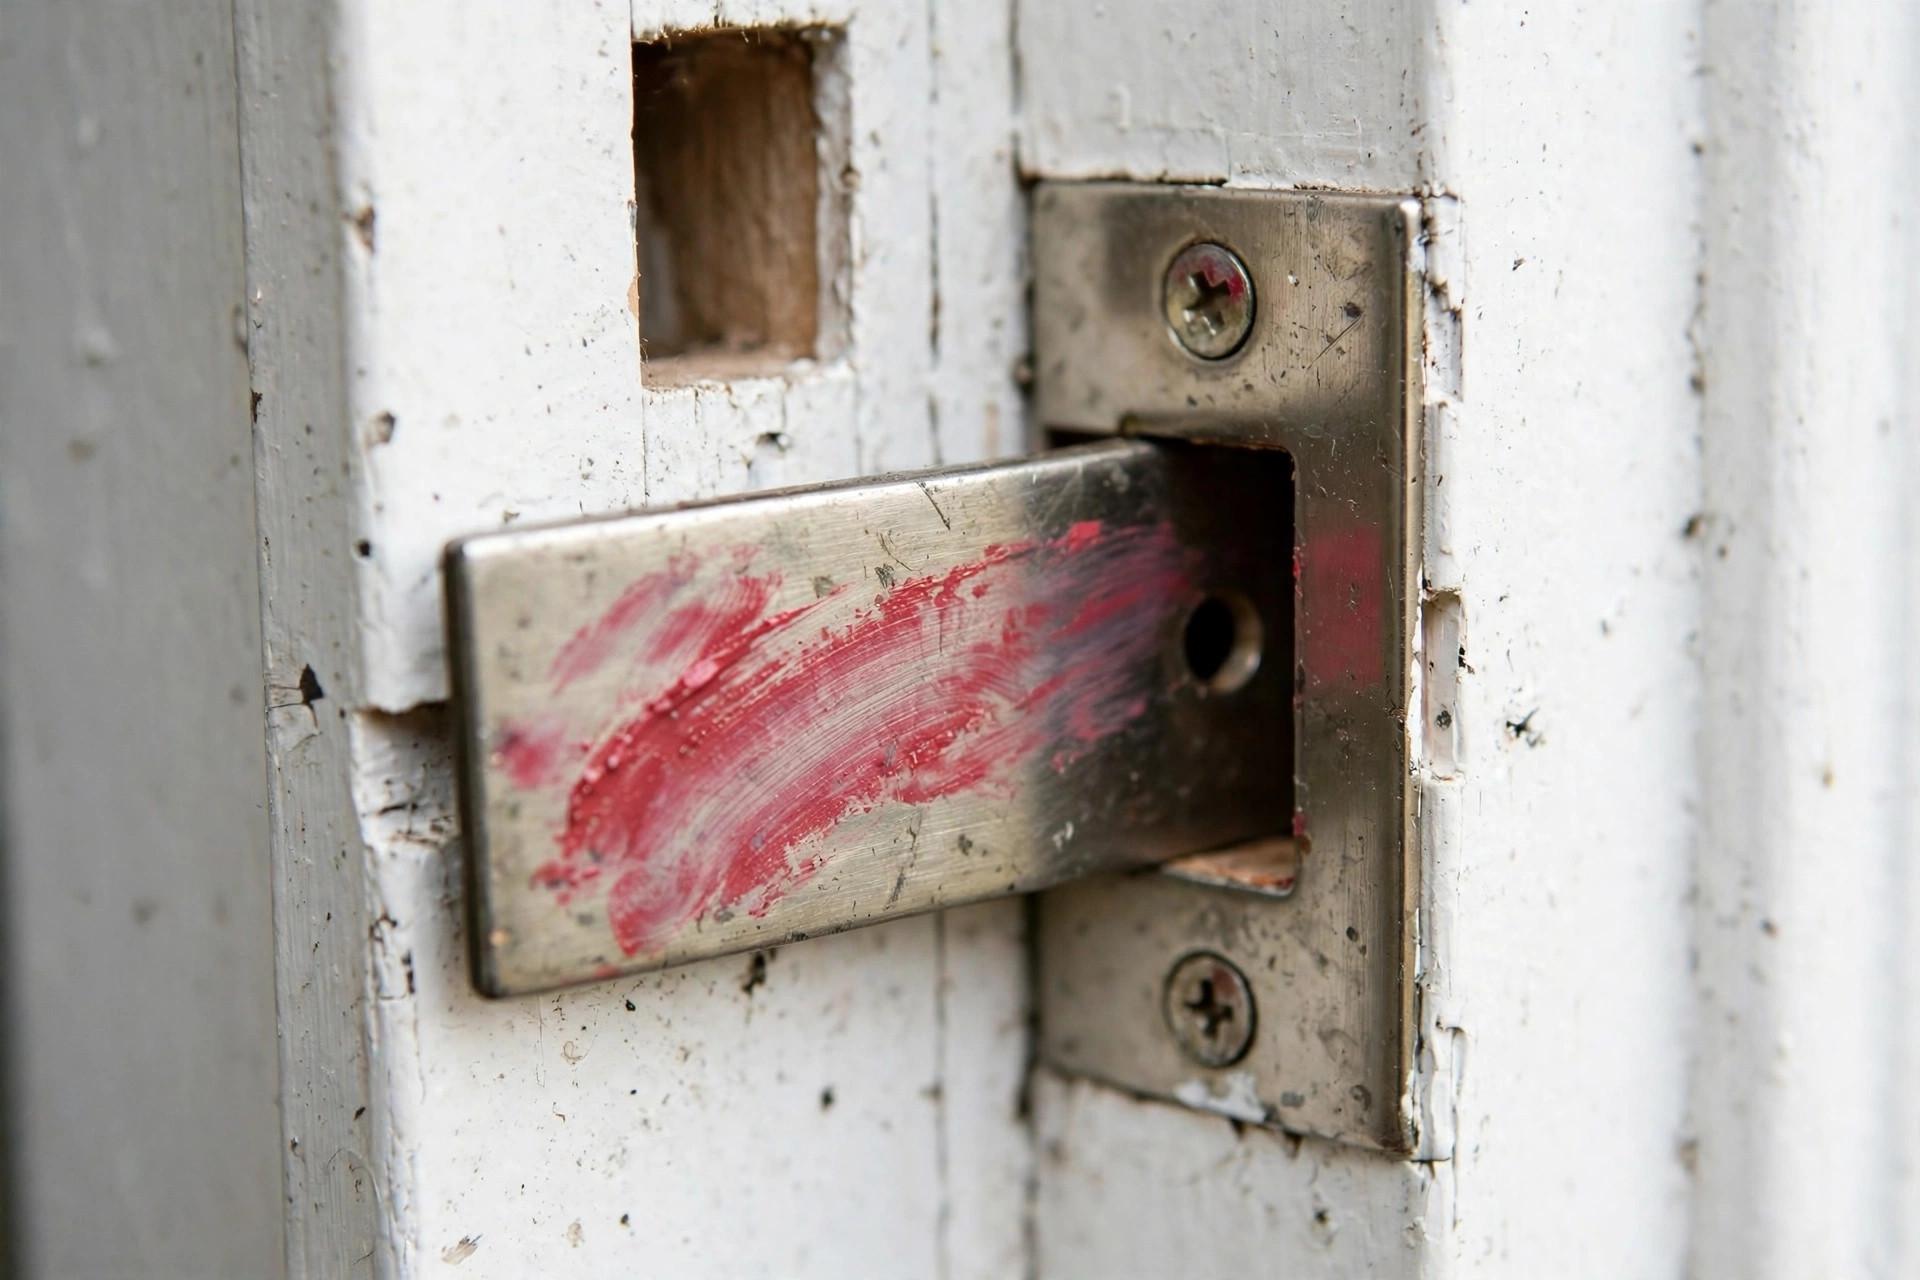
Here’s the test I use on every non-latching door. Put a piece of masking tape over the strike plate (the metal plate on the frame), then smear a dab of lipstick — or a marker — on the end of the latch bolt. Close the door gently. Open it and look at the tape: the mark shows you exactly where the bolt is hitting relative to the hole.
If the mark is above or below the hole, the door has shifted vertically — usually sagging hinges. If the mark is in front of or behind the hole, the door is sitting too deep or too shallow in the frame. If the mark is right on the hole but the door still won’t catch, the bolt isn’t extending fully. That one test narrows six possible causes down to one or two. Now let’s fix them.
How to Fix a Door That Will Not Latch: The 6 Causes
1. The strike plate is slightly off
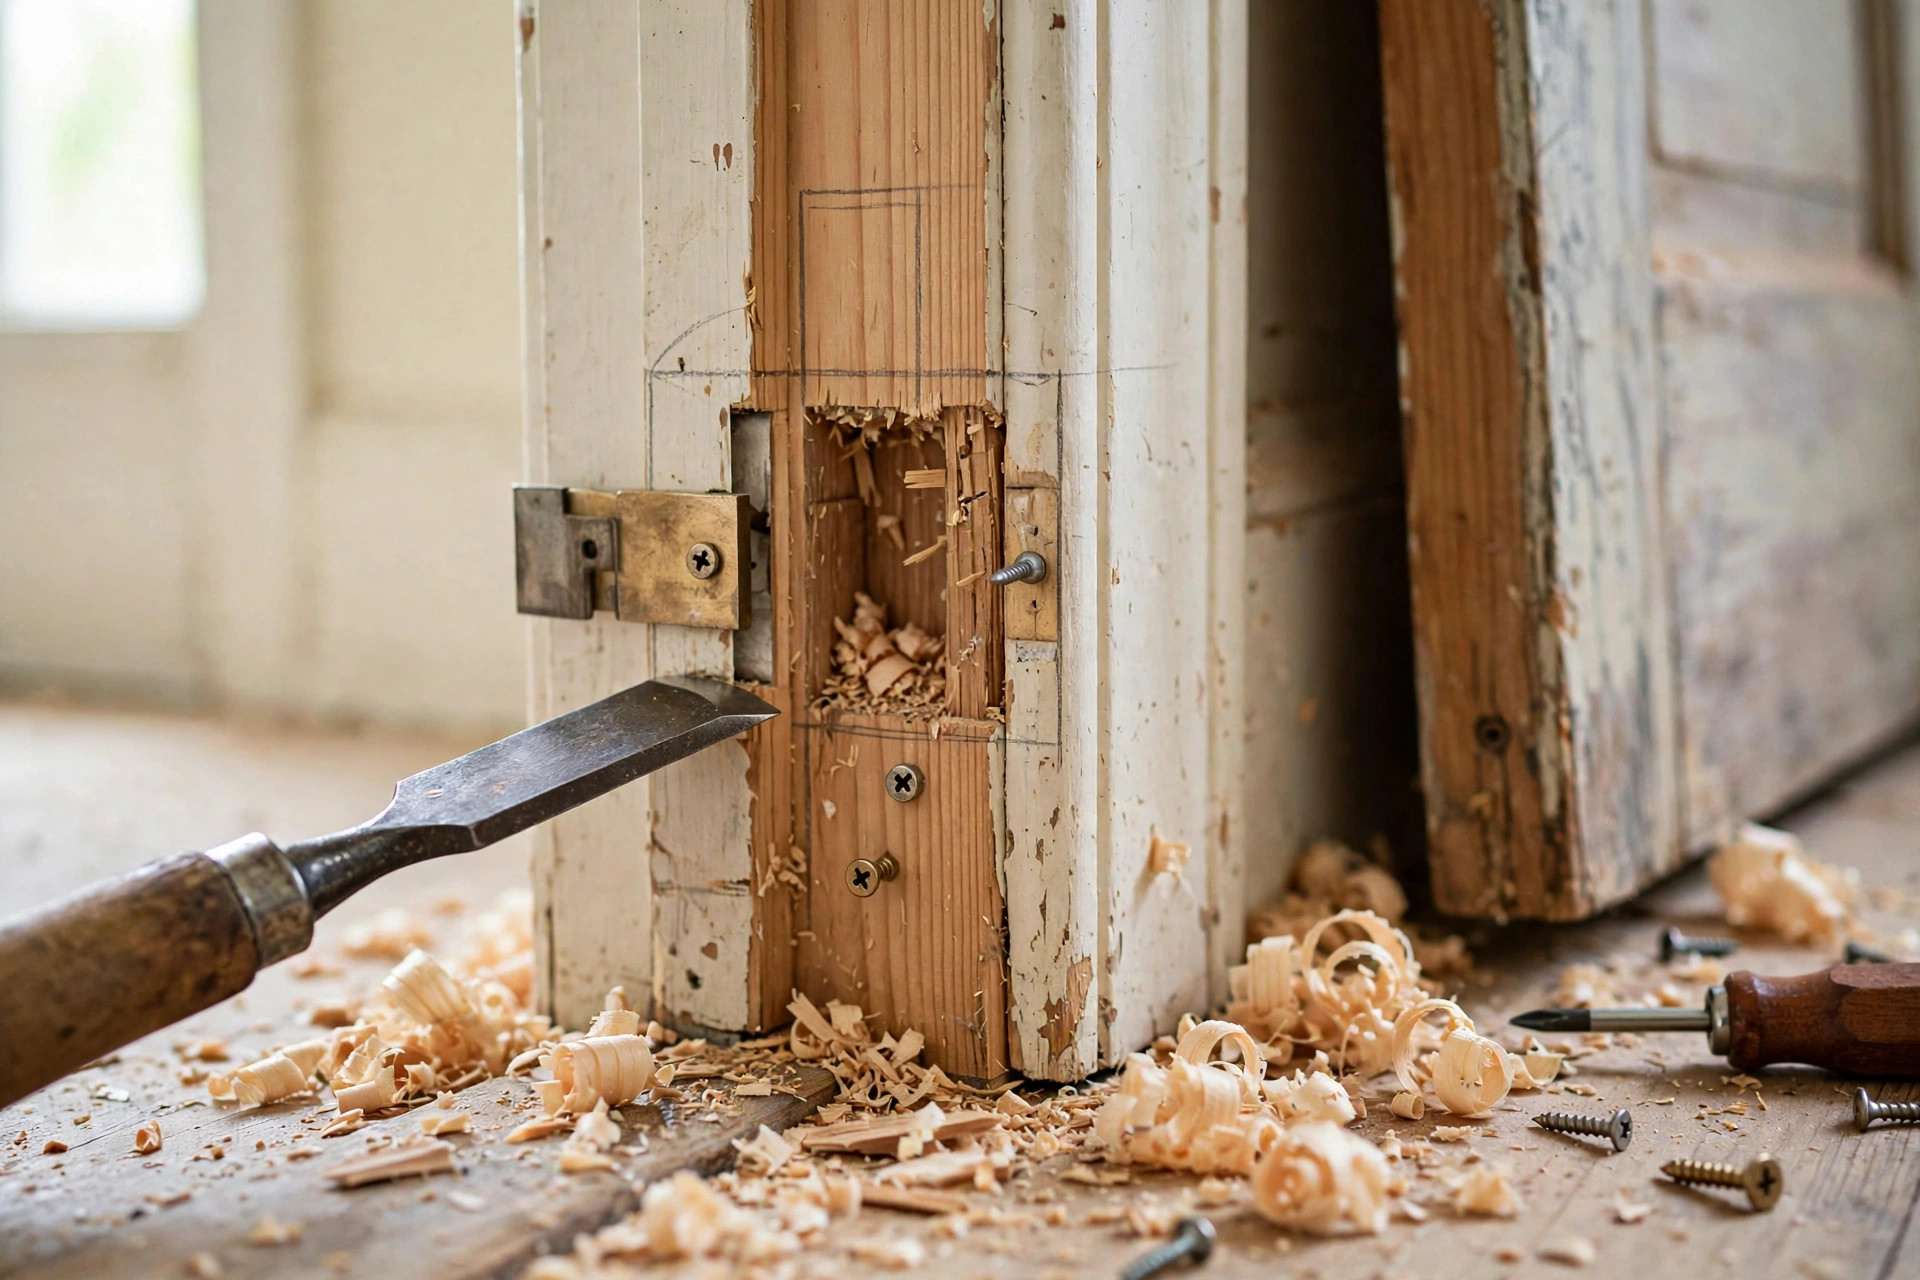
This is the most common cause, and the easiest fix. If your test mark is just barely missing the hole, loosen the strike plate screws and nudge the plate toward the mark. If the misalignment is bigger, you’ll need to move the plate: fill the old screw holes with toothpicks and wood glue, let it dry, then reposition the plate and chisel the mortise a hair deeper or wider as needed. Take your time — a sixteenth of an inch matters here.
2. The door is sagging on its hinges
If the mark shows the bolt hitting low, the door has dropped. First check the hinge screws — on the top hinge especially, the screws into the frame often work loose over the years. Tighten them. If the screw holes are stripped and the screws just spin, that’s your culprit: pull the screws, pack the holes with wooden matchsticks or dowels dipped in wood glue, let it set, and re-drive the screws. The door will lift right back up.
3. The door or frame has swollen with humidity
If the door used to latch fine and stopped during a humid spell, moisture is your prime suspect. Look for a tight spot — rub a pencil or chalk along the door edge and close it to find where it’s binding. For a mild swell, sometimes just waiting out the season works. For a real bind, mark the high spot, take the door off, and shave a whisper off with a plane or belt sander, then seal the bare wood with paint or polyurethane so it doesn’t swell again. An unsealed door edge is a door that swells every summer.
4. The latch bolt isn’t extending fully
If your test mark landed right on the hole but the door still pops open, the bolt itself is the problem. Open the door and work the knob — the bolt should snap out smartly and fully. If it’s sluggish, spray a little silicone lubricant into the mechanism (not oil, which gums up lock internals) and work it until it moves freely. If the bolt is visibly worn or the spring inside has given up, replacing the latch assembly is a fifteen-minute job with two screws.
5. The door was hung slightly twisted
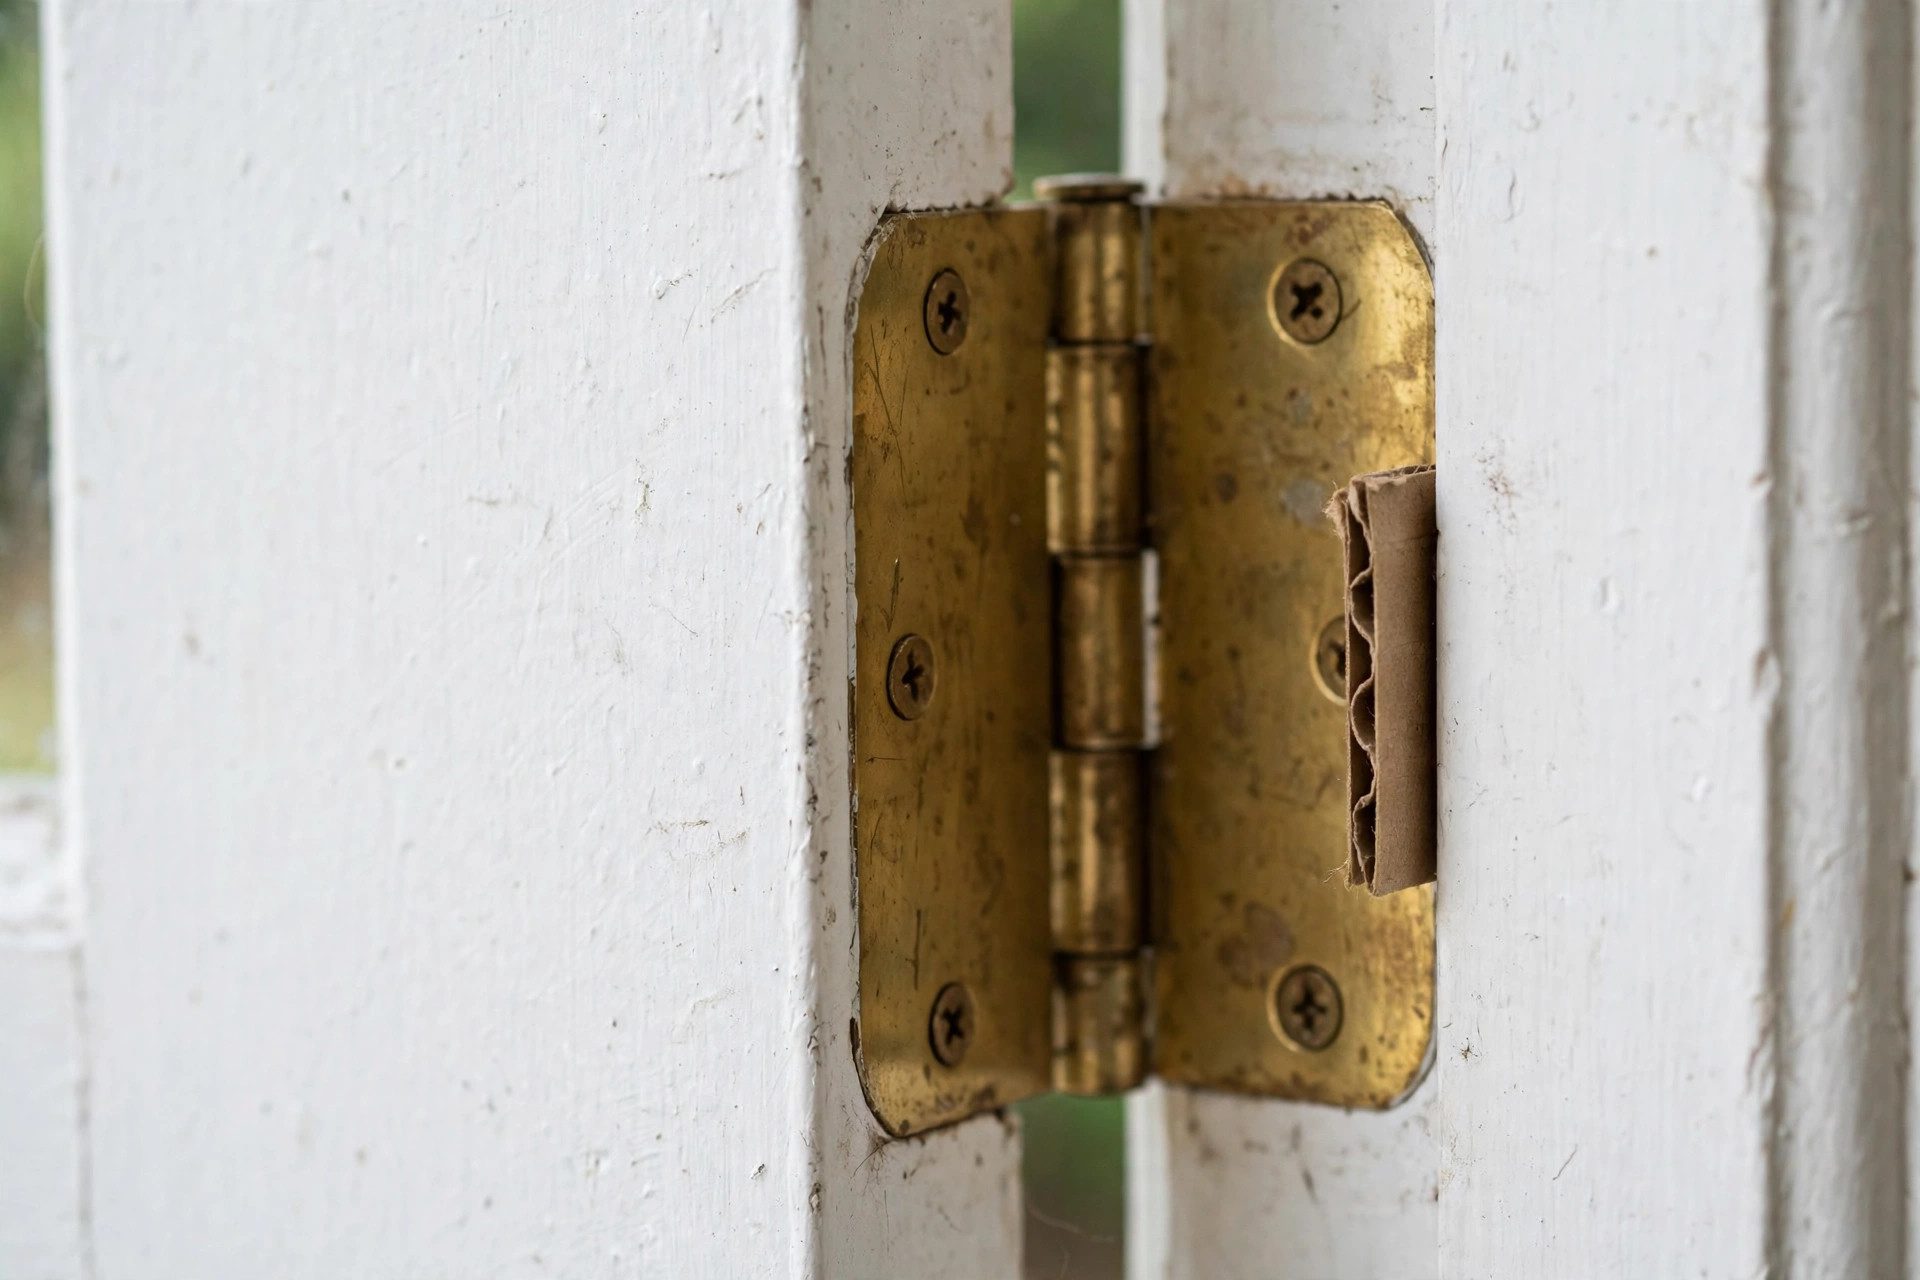
Sometimes the gap between the door and the frame is wider at the top than the bottom, or vice versa — the door is sitting crooked in the frame. A classic fix: slip a thin cardboard shim behind one hinge leaf to push that side of the door out a touch. One or two layers of cereal-box cardboard is often all it takes. Adjust, test, and add or remove shims until the bolt lines up with the hole.
6. The house has settled
In older homes, the whole frame can shift as the house settles, and a door that latched perfectly for twenty years suddenly doesn’t. The fixes above still apply — you’re just compensating for a frame that moved instead of a door that moved. If multiple doors in the house all stopped latching around the same time, that’s your sign it’s settlement, and you adjust the strike plates and hinges to match the new reality rather than fighting it.
What Not to Do
Two things I see people do that make it worse: cranking the strike plate screws down harder when the plate is misaligned (stripped holes, same problem) and shaving the door before diagnosing (you can’t un-shave wood). Diagnose first with the tape test, then pick the one fix that matches. Also, resist the urge to file the strike plate hole bigger as a first resort — it works, but it’s ugly and it weakens the plate. Reposition properly and it’ll look like it was always right.
The Short Tool List
You don’t need a workshop for this job. Here’s everything I reach for, and why:
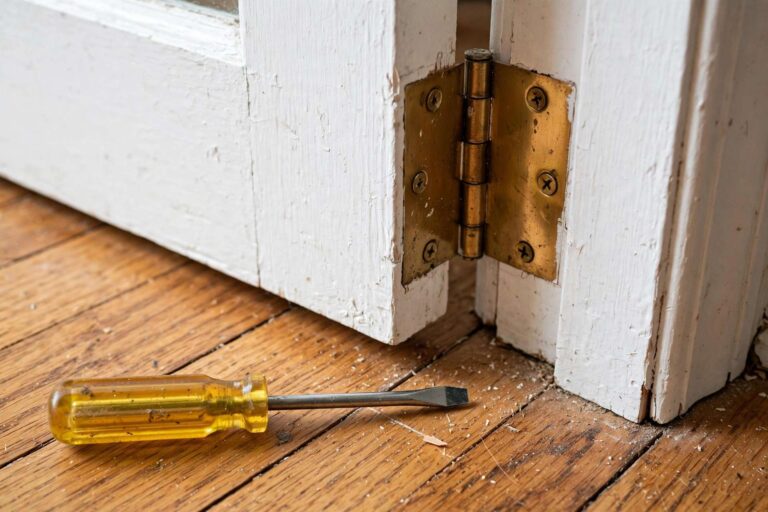
- Screwdrivers (Phillips and flathead) — for hinge screws, strike plate screws, and latch assembly screws. A multi-bit driver covers it all.
- Hammer and nail set — for tapping hinge pins if you need to remove the door.
- Wood chisel (3/4 inch) and utility knife — for adjusting the strike plate mortise. Score the outline with the utility knife first for clean edges.
- Masking tape and a marker or lipstick — for the diagnostic test. Don’t skip the test; it’s the whole job, really.
- Toothpicks or matchsticks and wood glue — for rebuilding stripped screw holes. The oldest trick in carpentry and still the best.
- Thin cardboard — cereal-box cardboard makes perfect hinge shims.
- Silicone lubricant — for a sluggish latch bolt. Not oil, not WD-40 for this — silicone won’t gum up the mechanism.
- A hand plane or belt sander — only if you’re shaving a swollen door. Borrow one if you don’t own one; it’s a two-minute task.
That’s it. If you own a basic toolbox, you probably own all of this except possibly the chisel — and a decent one costs less than a service call.
Exterior Doors: When a Latch Problem Is a Security Problem
On an interior door, a latch that won’t catch is an annoyance. On an exterior door, it’s a security gap — a door that doesn’t latch can often be pushed open with a shoulder, deadbolt or not, because the deadbolt only helps if the door is actually closed and held in the frame.
Exterior doors deserve the full treatment. First, fix the latch using the same diagnostic process — the causes are identical. Then go further:
- Check the deadbolt separately. Throw the deadbolt and check that it extends fully into the strike hole — a full inch of throw is the standard. A deadbolt that barely engages is barely a deadbolt.
- Upgrade the strike plate screws. The short screws that come with most strike plates bite only into the door jamb, which is thin. Replace them with 3-inch screws that reach through the jamb and into the framing stud behind it. This single change makes kick-ins dramatically harder.
- Consider a reinforced strike plate. Heavy-duty strike plates with a deeper box and longer screws distribute force across more of the frame. They’re inexpensive and install with the same screw holes.
- Don’t ignore a sagging exterior door. Exterior doors are heavy, and a sagging one stresses the latch and deadbolt alignment constantly. Fix the hinges properly — with the dowel-and-glue method for stripped holes, not just longer screws into mush.
And one more exterior-specific note: if your door swelled shut in summer humidity and you shaved it to fit, remember that winter’s dry air will shrink it again. Shave the minimum, seal every bare edge thoroughly, and accept a slightly snug fit in August as the price of a secure fit in January.
FAQ: Doors That Won’t Latch
Why does my door latch sometimes but not others?
Intermittent latching almost always means humidity swelling or a hinge that’s right on the edge of holding. The door latches when conditions are dry or when it happens to swing shut with a little extra force. Fix the underlying cause — seal the door edges, tighten the hinges — and the intermittence goes away.
Can temperature changes cause this?
Absolutely. Wood expands and contracts with humidity, and metal hardware moves a little with temperature. A door that’s perfectly adjusted in winter can bind in a humid summer. That’s normal, and it’s why sealing all six sides of a door matters.
The latch bolt barely reaches the strike plate. Is that a problem?
Yes — a bolt that only catches by a millimeter or two will pop open with the slightest bump. You want the bolt fully extending into the hole. If the gap between door and frame is too wide, the door may need to be re-hung or the strike plate moved out with a shim behind it.
Should I call a carpenter for this?
For one door, almost certainly not — everything here is a beginner-friendly fix with basic hand tools. Call someone if the frame itself is visibly racked or twisted, if the door is badly warped, or if you’ve tried the fixes and the geometry just won’t cooperate.
How do I keep it from happening again?
Keep hinge screws tight (check them once a year), keep all door edges sealed against moisture, and don’t let kids hang off the doorknob — that’s how top hinges get wrecked and doors start sagging. Small habits, big difference.